homelink JEEP COMPASS 2011 1.G User Guide
[x] Cancel search | Manufacturer: JEEP, Model Year: 2011, Model line: COMPASS, Model: JEEP COMPASS 2011 1.GPages: 80, PDF Size: 3.09 MB
Page 3 of 80
INTRODUCTION/WELCOMEWelcome From Chrysler Group LLC....2
CONTROLS AT A GLANCEDriver Cockpit................4
Instrument Cluster .............6
GETTING STARTEDKeyFob...................8
Remote Start................8
Theft Alarm .................9
Seat Belt ..................9
Supplemental Restraint System (SRS)
— Air Bags ................ 10
Child Restraints .............. 11
Front Seats ................ 13
Rear Seats ................ 14
Tilt Steering Column ........... 15
Heated Seats ............... 15
OPERATING YOUR VEHICLETurn Signal/Lights Lever ......... 17
Wiper/Washer Lever ........... 18
Speed Control .............. 19
Continuously Variable Automatic
Transmission (CVT) ............ 20
Manual Climate Controls ......... 20
Automatic Temperature Controls (ATC) . . 21
Power Sunroof .............. 22
Wind Buffeting .............. 23
ELECTRONICSYour Vehicle's Sound System ...... 24
Non-Touch-Screen Radios ........ 26
Touch-Screen Radio ........... 29
Steering Wheel Audio Controls ...... 33
Uconnect™ Phone ............ 33
Uconnect™ Voice Command ...... 35
iPod
®/USB/MP3 Control ......... 36
Electronic Vehicle Information Center
(EVIC) ................... 37
Programmable Features ......... 38
Universal Garage Door Opener
(HomeLink
®) ............... 40
Power Inverter .............. 41 Power Outlet
............... 42
OFF-ROAD CAPABILITIESFour-Wheel Drive Operation ....... 43
UTILITYTrailer Towing Weights (Maximum Trailer
Weight Ratings).............. 44
Recreational Towing (Behind Motorhome,
Etc.) .................... 44
WHAT TO DO IN EMERGENCIES24-Hour Towing Assistance ....... 45
Instrument Cluster Warning Lights .... 45
If Your Engine Overheats ......... 49
Automatic Transmission Overheating . . . 50
Jacking And Tire Changing ........ 50
Jump-Starting .............. 53
Shift Lever Override ............ 55
Towing A Disabled Vehicle ........ 56
Freeing A Stuck Vehicle .......... 57
Event Data Recorder (EDR) ........ 58
MAINTAINING YOUR VEHICLEOpening The Hood............ 59
Engine Compartment ........... 60
Fluids And Capacities ........... 62
Maintenance Chart ............ 64
Fuses ................... 67
Tire Pressures ............... 68
Wheel And Wheel Trim Care ....... 69
Exterior Bulbs ............... 69
CONSUMER ASSISTANCEChrysler Group LLC Customer Center . . 70
Chrysler Canada Inc. Customer Center . 70
Assistance For The Hearing Impaired . . 70
Publications Ordering ........... 70
Reporting Safety Defects In The
50 United States And
Washington, D.C. ............. 71
MOPAR ACCESSORIESAuthentic Accessories By MOPAR®... 72
INDEX.................. 73
TABLE OF CONTENTS
Page 42 of 80
UNIVERSAL GARAGE DOOR OPENER (HomeLink®)
Programming HomeLink®
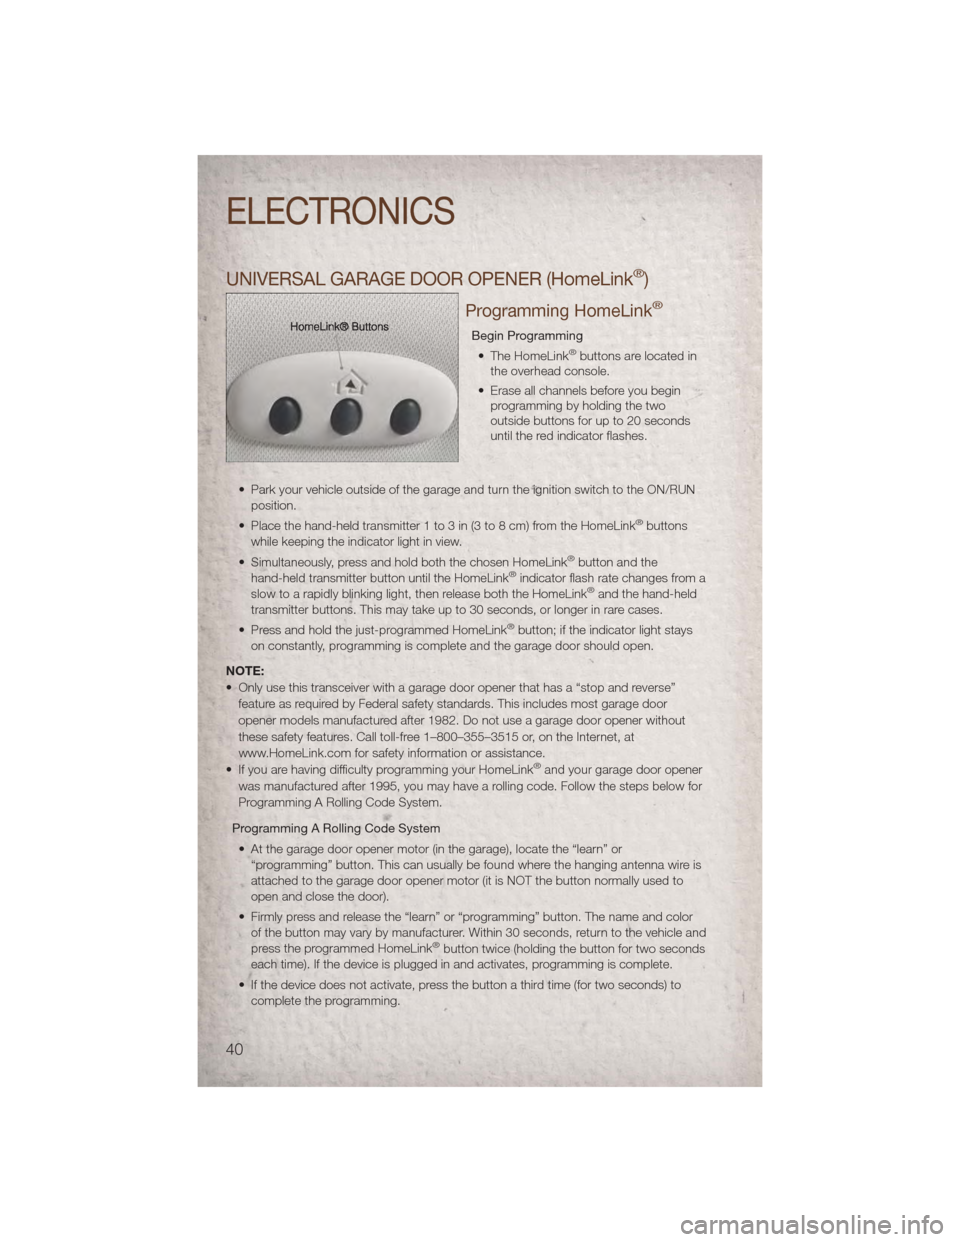
Begin Programming• The HomeLink®buttons are located in
the overhead console.
• Erase all channels before you begin programming by holding the two
outside buttons for up to 20 seconds
until the red indicator flashes.
• Park your vehicle outside of the garage and turn the ignition switch to the ON/RUN position.
• Place the hand-held transmitter 1 to 3 in (3 to 8 cm) from the HomeLink
®buttons
while keeping the indicator light in view.
• Simultaneously, press and hold both the chosen HomeLink
®button and the
hand-held transmitter button until the HomeLink®indicator flash rate changes from a
slow to a rapidly blinking light, then release both the HomeLink®and the hand-held
transmitter buttons. This may take up to 30 seconds, or longer in rare cases.
• Press and hold the just-programmed HomeLink
®button; if the indicator light stays
on constantly, programming is complete and the garage door should open.
NOTE:
• Only use this transceiver with a garage door opener that has a “stop and reverse” feature as required by Federal safety standards. This includes most garage door
opener models manufactured after 1982. Do not use a garage door opener without
these safety features. Call toll-free 1–800–355–3515 or, on the Internet, at
www.HomeLink.com for safety information or assistance.
• If you are having difficulty programming your HomeLink
®and your garage door opener
was manufactured after 1995, you may have a rolling code. Follow the steps below for
Programming A Rolling Code System.
Programming A Rolling Code System • At the garage door opener motor (in the garage), locate the “learn” or “programming” button. This can usually be found where the hanging antenna wire is
attached to the garage door opener motor (it is NOT the button normally used to
open and close the door).
• Firmly press and release the “learn” or “programming” button. The name and color of the button may vary by manufacturer. Within 30 seconds, return to the vehicle and
press the programmed HomeLink
®button twice (holding the button for two seconds
each time). If the device is plugged in and activates, programming is complete.
• If the device does not activate, press the button a third time (for two seconds) to complete the programming.
ELECTRONICS
40
Page 43 of 80
Using HomeLink®
• To operate, simply press and release the programmed HomeLink®button and the
programmed device will operate.
• Refer to your Owner’s Manual on the DVD for further details. If you have any problems programming HomeLink
®, or require assistance, please call toll-free
1–800–355–3515 or, on the Internet, at www.HomeLink.com.
WARNING!
• Your motorized door or gate will open and close while you are programming the universal transceiver. Do not program the transceiver if people or pets are
in the path of the door or gate.
• Do not run your vehicle in a closed garage or confined area while programming the transceiver. Exhaust gas from your vehicle contains Carbon Monoxide (CO)
which is odorless and colorless. Carbon Monoxide is poisonous when inhaled
and can cause you and others to be severely injured or killed.
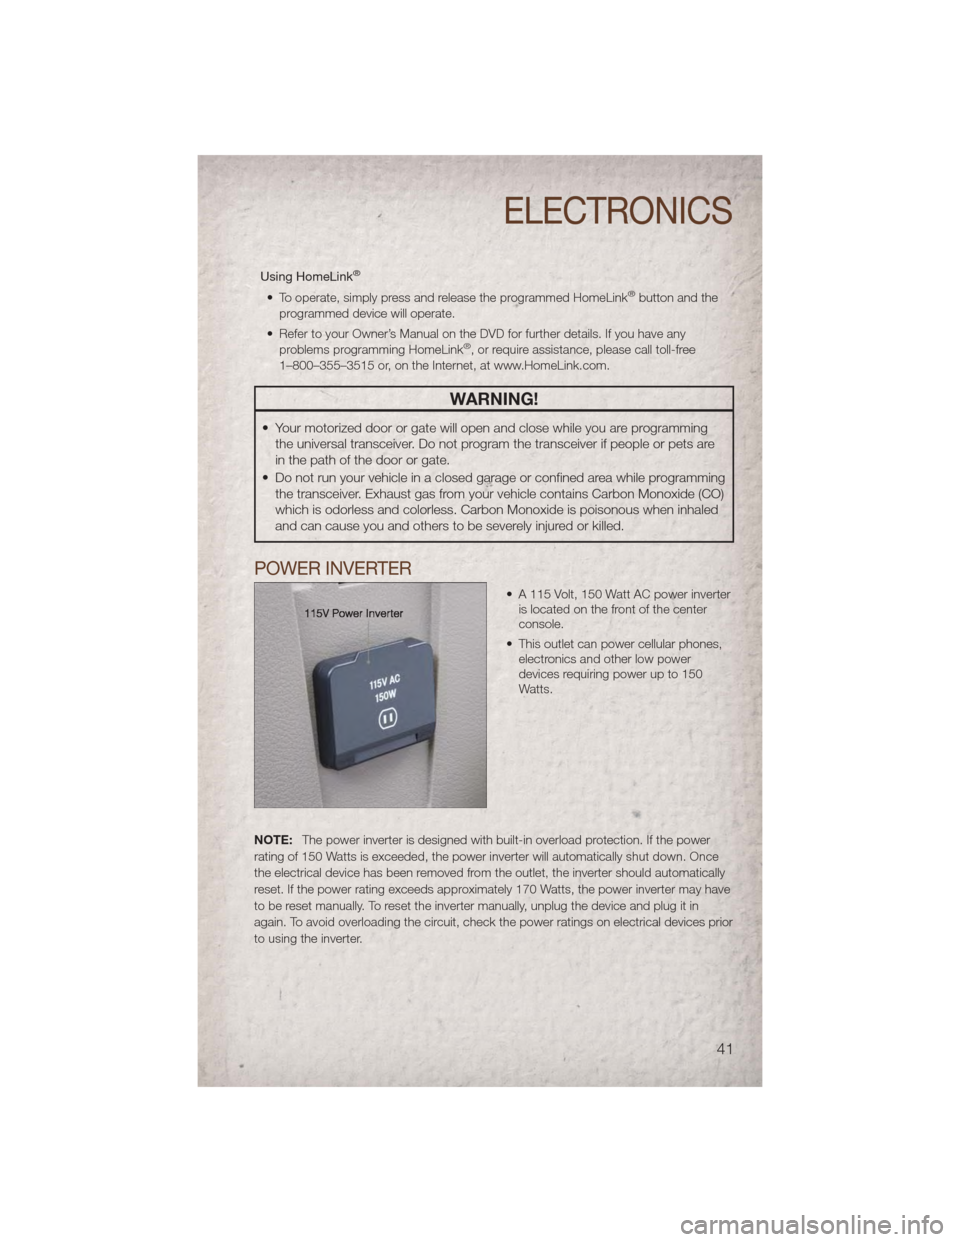
POWER INVERTER
• A 115 Volt, 150 Watt AC power inverteris located on the front of the center
console.
• This outlet can power cellular phones, electronics and other low power
devices requiring power up to 150
Watts.
NOTE: The power inverter is designed with built-in overload protection. If the power
rating of 150 Watts is exceeded, the power inverter will automatically shut down. Once
the electrical device has been removed from the outlet, the inverter should automatically
reset. If the power rating exceeds approximately 170 Watts, the power inverter may have
to be reset manually. To reset the inverter manually, unplug the device and plug it in
again. To avoid overloading the circuit, check the power ratings on electrical devices prior
to using the inverter.
ELECTRONICS
41
Page 75 of 80
Airbag ..................10
Alarm,Panic ...............8
Arming Theft System (Security
Alarm) ...................9
Audio Jack...............29
Audio Settings ............27,28
Automatic Temperature Control
(ATC) ...................21
Automatic Transmission FluidType ...............62
Overheating ..............50
AxleFluid ................62
Belts, Seat ................9
BrakeFluid ...............62
Bulb Replacement ...........69
Calibration, Compass ..........38
Change Oil Indicator ..........49
Child Restraint ..............11
Child Restraint Tether Anchors ....11
Clock Setting ............28,30
Compass Calibration ..........38
Cooling System Coolant Capacity ...........62
Cruise Control (Speed Control) ....19
CruiseLight ...............19
Customer Assistance ..........70
Defects, Reporting ...........71
Dimmer Control .............17
Dimmer Switch, Headlight .......17
Disarming, Theft System .........9
Driver Cockpit ..............4
Electronic Speed Control (Cruise
Control) .................19
Electronic Vehicle Information Center
(EVIC) .................37,38
Electronics Your Vehicle's Sound System ....24
Emergency, In Case of Overheating ..............49
Engine Compartment .............60
OilSelection .............62
Overheating ..............49 Event Data Recorder
..........58
Exterior Lights ..............69
Flash-To-Pass ..............17
Fluid Capacities .............62
Fluids ...................62
FogLights ................17
Folding Front Passenger Seat .....14
Folding Rear Seat ............14
Four Wheel Drive Operation ......43
Freeing A Stuck Vehicle ........57
Front Heated Seats ...........15
Fuel Specifications .............62
Garage Door Opener (HomeLink®) . . 40
Hard Disk Drive .............30
Headlights ................17
Dimmer Switch ............17
High Beam ..............17
HeatedSeats ..............15
High Beam/Low Beam Select (Dimmer)
Switch ..................17
HomeLink® (Garage Door Opener)
Transmitter ................40
Hood Release ..............59
Instrument Cluster ............6
Indicators ................7
Instrument Cluster Warning Lights . 6,45
Intermittent Wipers (Delay Wipers) . . 18
Introduction ................2
Inverter Outlet (115V) ..........41
Inverter
, Power .............41
iPod®/USB/MP3 Control .......36
Bluetooth Streaming Audio .....37
Jack Location ..............50
Jump Starting ..............53
KeyFob ..................8
Key Fob Programmable Features . . . 38
Lane Change Assist ..........17
INDEX
73
Page 77 of 80
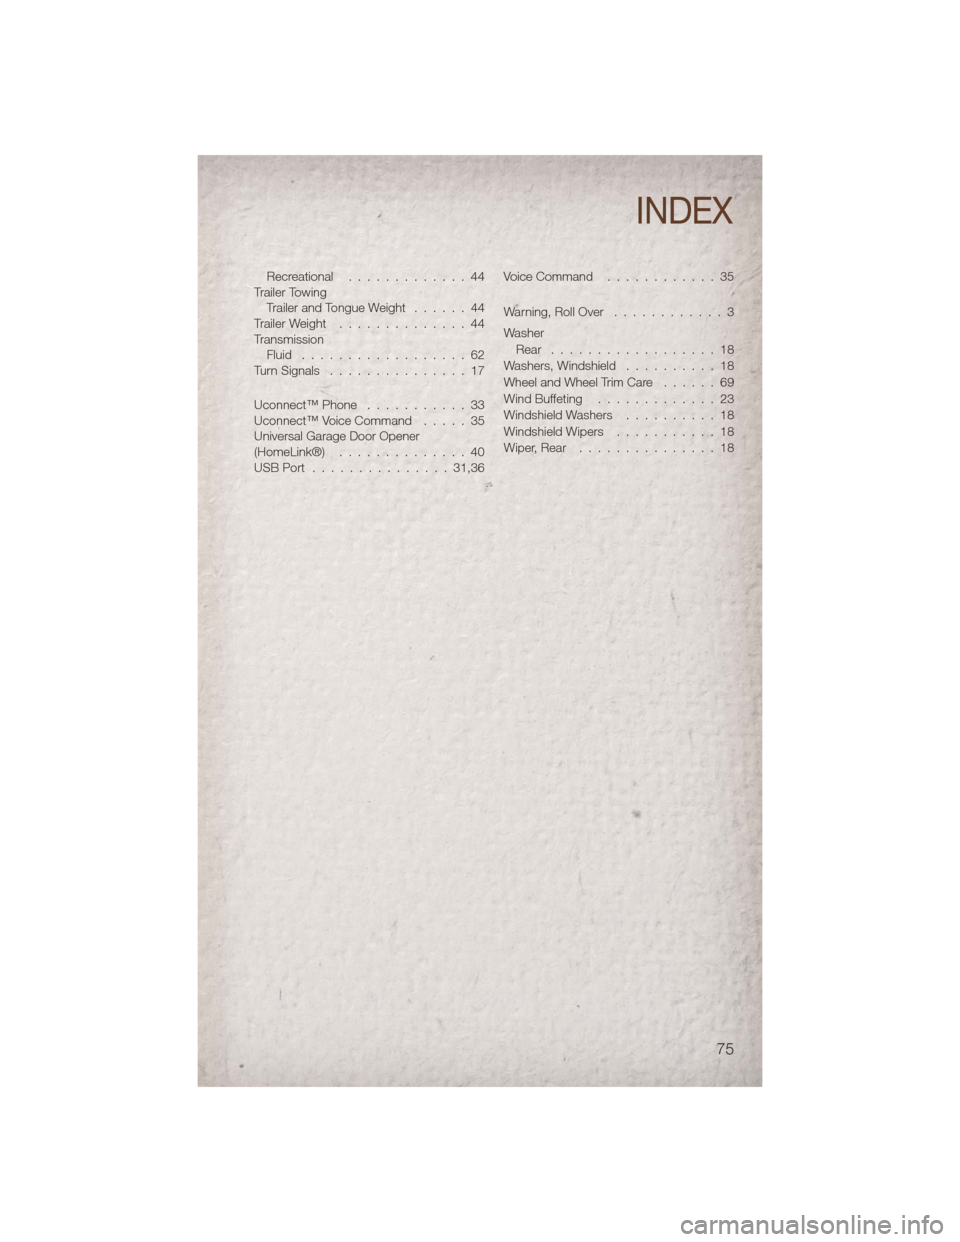
Recreational.............44
Trailer Towing Trailer and Tongue Weight ......44
Trailer Weight ..............44
Transmission Fluid ..................62
Turn Signals ...............17
Uconnect™ Phone ...........33
Uconnect™ Voice Command .....35
Universal Garage Door Opener
(HomeLink®) ..............40
USBPort ...............31,36 Voice Command
............35
Warning, Roll Over ............3
Washer Rear ..................18
Washers, Windshield ..........18
Wheel and Wheel Trim Care ......69
Wind Buffeting .............23
Windshield Washers ..........18
WindshieldWipers ...........18
Wiper,Rear ...............18
INDEX
75