charging JEEP COMPASS 2012 1.G User Guide
[x] Cancel search | Manufacturer: JEEP, Model Year: 2012, Model line: COMPASS, Model: JEEP COMPASS 2012 1.GPages: 108, PDF Size: 4.03 MB
Page 8 of 108

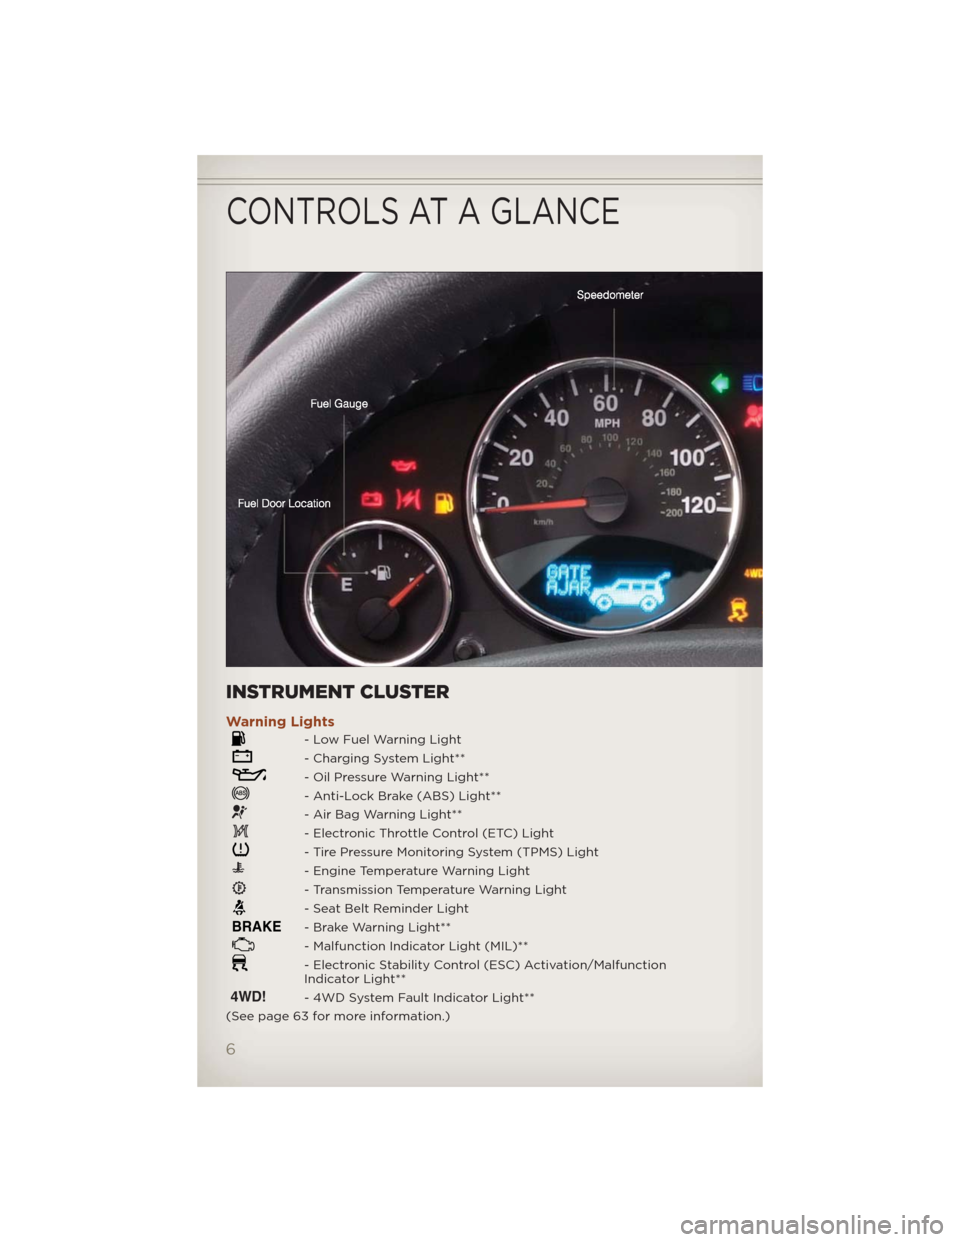
INSTRUMENT CLUSTER
Warning Lights
- Low Fuel Warning Light
- Charging System Light**
- Oil Pressure Warning Light**
- Anti-Lock Brake (ABS) Light**
- Air Bag Warning Light**
- Electronic Throttle Control (ETC) Light
- Tire Pressure Monitoring System (TPMS) Light
- Engine Temperature Warning Light
- Transmission Temperature Warning Light
- Seat Belt Reminder Light
BRAKE- Brake Warning Light**
- Malfunction Indicator Light (MIL)**
- Electronic Stability Control (ESC) Activation/Malfunction
Indicator Light**
4WD!- 4WD System Fault Indicator Light**
(See page 63 for more information.)
CONTROLS AT A GLANCE
6
Page 67 of 108

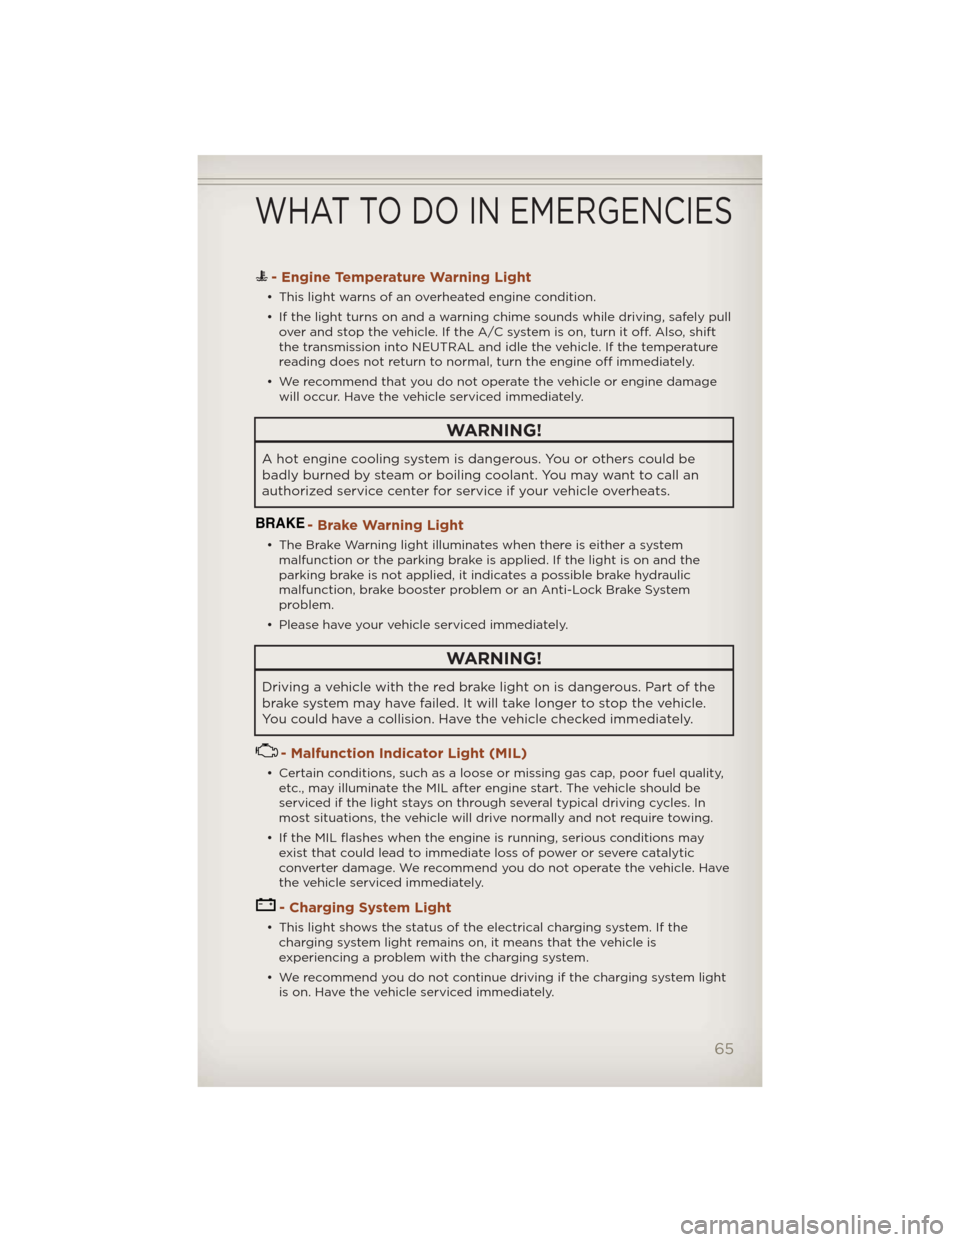
- Engine Temperature Warning Light
• This light warns of an overheated engine condition.
• If the light turns on and a warning chime sounds while driving, safely pull
over and stop the vehicle. If the A/C system is on, turn it off. Also, shift
the transmission into NEUTRAL and idle the vehicle. If the temperature
reading does not return to normal, turn the engine off immediately.
• We recommend that you do not operate the vehicle or engine damage
will occur. Have the vehicle serviced immediately.
WARNING!
A hot engine cooling system is dangerous. You or others could be
badly burned by steam or boiling coolant. You may want to call an
authorized service center for service if your vehicle overheats.
BRAKE- Brake Warning Light
• The Brake Warning light illuminates when there is either a system
malfunction or the parking brake is applied. If the light is on and the
parking brake is not applied, it indicates a possible brake hydraulic
malfunction, brake booster problem or an Anti-Lock Brake System
problem.
• Please have your vehicle serviced immediately.
WARNING!
Driving a vehicle with the red brake light on is dangerous. Part of the
brake system may have failed. It will take longer to stop the vehicle.
You could have a collision. Have the vehicle checked immediately.
- Malfunction Indicator Light (MIL)
• Certain conditions, such as a loose or missing gas cap, poor fuel quality,
etc., may illuminate the MIL after engine start. The vehicle should be
serviced if the light stays on through several typical driving cycles. In
most situations, the vehicle will drive normally and not require towing.
• If the MIL flashes when the engine is running, serious conditions may
exist that could lead to immediate loss of power or severe catalytic
converter damage. We recommend you do not operate the vehicle. Have
the vehicle serviced immediately.
- Charging System Light
• This light shows the status of the electrical charging system. If the
charging system light remains on, it means that the vehicle is
experiencing a problem with the charging system.
• We recommend you do not continue driving if the charging system light
is on. Have the vehicle serviced immediately.
WHAT TO DO IN EMERGENCIES
65
Page 77 of 108

Jump-Starting Procedure
NOTE:Remove Air Intake before proceeding with this Jump-Starting
procedure.
1. Connect the positive(+)end of the jumper cable to the positive(+)post
of the discharged vehicle.
2. Connect the opposite end of the positive(+)jumper cable to the
positive(+)post of the booster battery.
3. Connect the negative end(-)of the jumper cable to the negative(-)
post of the booster battery.
4. Connect the opposite end of the negative(-)jumper cable to a good
engine ground (exposed metal part of the discharged vehicle’s engine)
away from the battery and the fuel injection system.
5. Start the engine in the vehicle that has the booster battery, let the
engine idle a few minutes, and then start the engine in the vehicle with
the discharged battery.
Once the engine is started, remove the jumper cables in the reverse
sequence:
6. Disconnect the negative(-)jumper cable from the engine ground of the
vehicle with the discharged battery.
7. Disconnect the negative end(-)of the jumper cable from the negative
(-)post of the booster battery.
8. Disconnect the opposite end of the positive(+)jumper cable from the
positive(+)post of the booster battery.
9. Disconnect the positive(+)end of the jumper cable from the positive
(+)post of the discharged vehicle.
10. Reinstall the air intake duct.
NOTE:If frequent jump-starting is required to start your vehicle you should
have the battery and charging system inspected at your authorized dealer.
CAUTION!
• Accessories that can be plugged into the vehicle power outlets
draw power from the vehicle’s battery, even when not in use (i.e.,
cellular phones, etc.). Eventually, if plugged in long enough, the
vehicle’s battery will discharge sufficiently to degrade battery life
and/or prevent the engine from starting.
• Do not use a portable battery booster pack or any other booster
source with a system voltage greater than 12 Volts or damage to the
battery, starter motor, alternator or electrical system may occur.
• Failure to follow these procedures could result in damage to the
charging system of the booster vehicle or the discharged vehicle.
WHAT TO DO IN EMERGENCIES
75