manual radio set JEEP COMPASS 2014 1.G User Guide
[x] Cancel search | Manufacturer: JEEP, Model Year: 2014, Model line: COMPASS, Model: JEEP COMPASS 2014 1.GPages: 124, PDF Size: 2.64 MB
Page 51 of 124

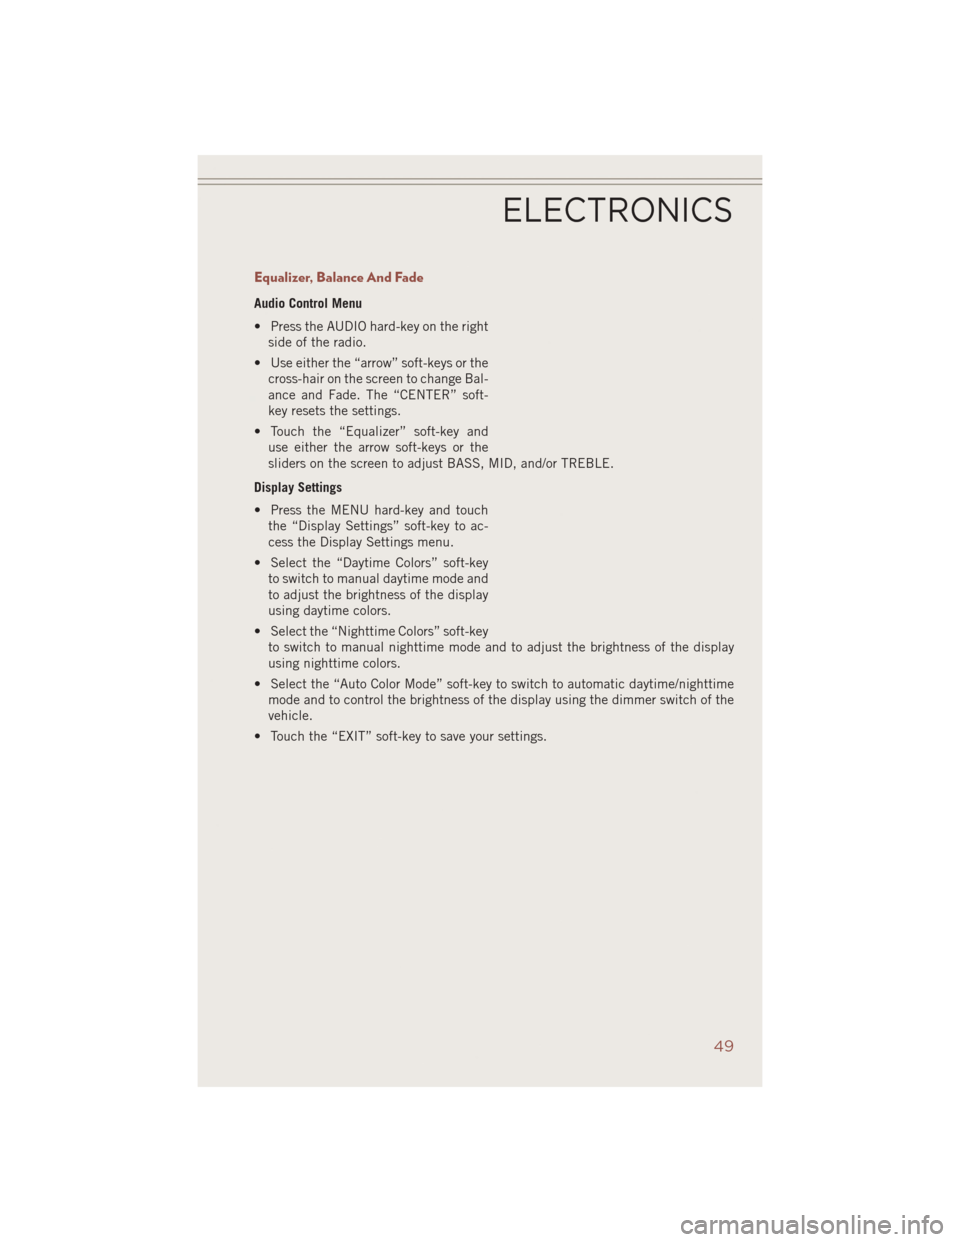
Equalizer, Balance And Fade
Audio Control Menu
• Press the AUDIO hard-key on the rightside of the radio.
• Use either the “arrow” soft-keys or the cross-hair on the screen to change Bal-
ance and Fade. The “CENTER” soft-
key resets the settings.
• Touch the “Equalizer” soft-key and use either the arrow soft-keys or the
sliders on the screen to adjust BASS, MID, and/or TREBLE.
Display Settings
• Press the MENU hard-key and touch the “Display Settings” soft-key to ac-
cess the Display Settings menu.
• Select the “Daytime Colors” soft-key to switch to manual daytime mode and
to adjust the brightness of the display
using daytime colors.
• Select the “Nighttime Colors” soft-key to switch to manual nighttime mode and to adjust the brightness of the display
using nighttime colors.
• Select the “Auto Color Mode” soft-key to switch to automatic daytime/nighttime mode and to control the brightness of the display using the dimmer switch of the
vehicle.
• Touch the “EXIT” soft-key to save your settings.
ELECTRONICS
49
Page 64 of 124

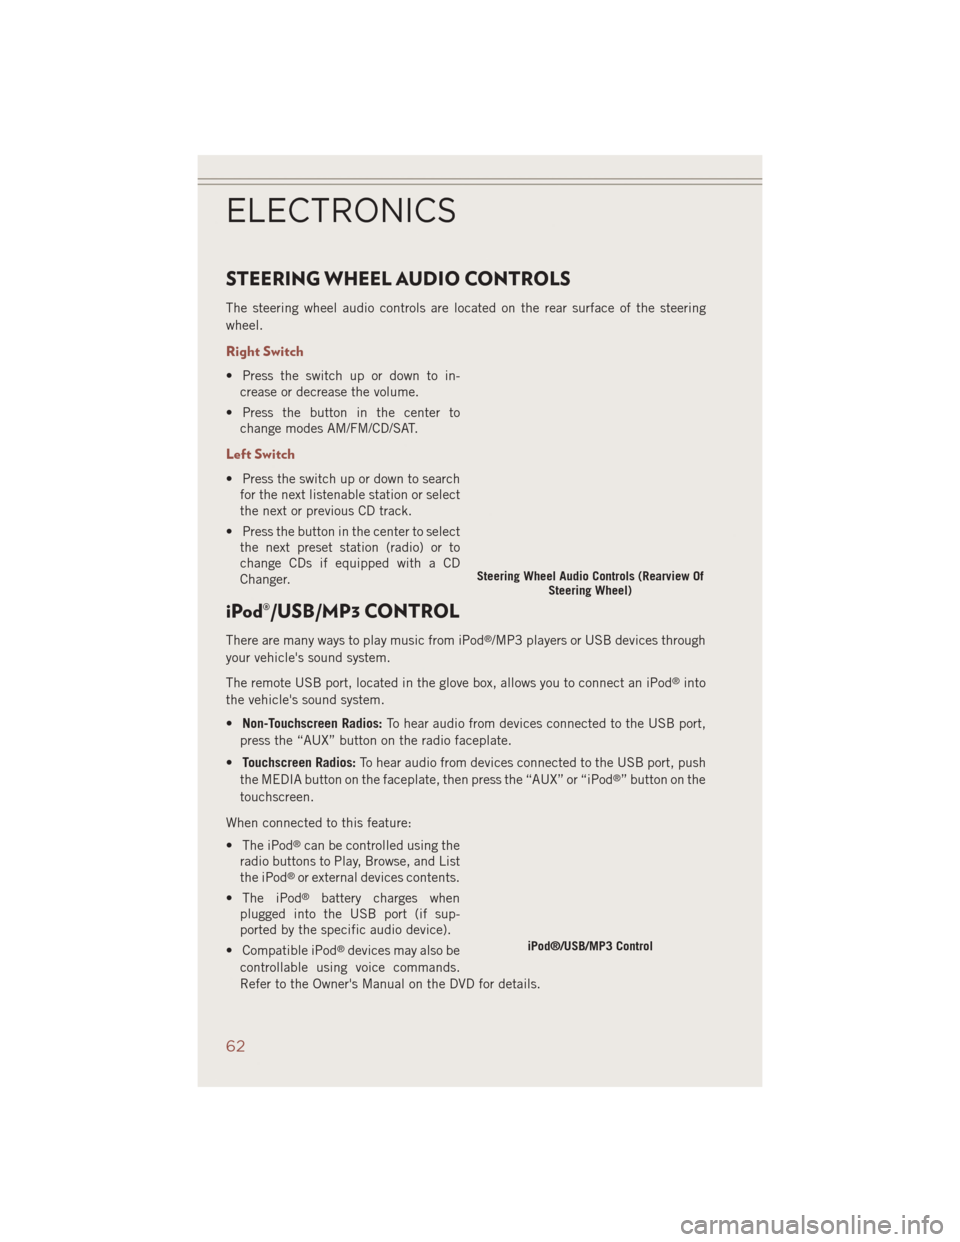
STEERING WHEEL AUDIO CONTROLS
The steering wheel audio controls are located on the rear surface of the steering
wheel.
Right Switch
• Press the switch up or down to in-crease or decrease the volume.
• Press the button in the center to change modes AM/FM/CD/SAT.
Left Switch
• Press the switch up or down to searchfor the next listenable station or select
the next or previous CD track.
• Press the button in the center to select the next preset station (radio) or to
change CDs if equipped with a CD
Changer.
iPod®/USB/MP3 CONTROL
There are many ways to play music from iPod®/MP3 players or USB devices through
your vehicle's sound system.
The remote USB port, located in the glove box, allows you to connect an iPod
®into
the vehicle's sound system.
• Non-Touchscreen Radios: To hear audio from devices connected to the USB port,
press the “AUX” button on the radio faceplate.
• Touchscreen Radios: To hear audio from devices connected to the USB port, push
the MEDIA button on the faceplate, then press the “AUX” or “iPod
®” button on the
touchscreen.
When connected to this feature:
• The iPod
®can be controlled using the
radio buttons to Play, Browse, and List
the iPod
®or external devices contents.
• The iPod
®battery charges when
plugged into the USB port (if sup-
ported by the specific audio device).
• Compatible iPod
®devices may also be
controllable using voice commands.
Refer to the Owner's Manual on the DVD for details.
Steering Wheel Audio Controls (Rearview Of Steering Wheel)
iPod®/USB/MP3 Control
ELECTRONICS
62
Page 71 of 124

Bluetooth® STREAMING AUDIO
If equipped with Uconnect®Voice Command, your Bluetooth®-equipped iPod®
devices, cell phones or other media players, may also be able to stream music to your
vehicle's speakers. Your connected device must be Bluetooth®-compatible, and
paired with your radio (see Uconnect®Phone for pairing instructions).
• Non-Touchscreen Radios:
Press the
“AUX” button on the radio faceplate
until “BT” or “Audio Streaming” is dis-
played on the radio screen.
• Touchscreen-Radios: Press the RADIO/
MEDIA or MEDIA hard-key and then
touch the “AUX” soft-key tab.
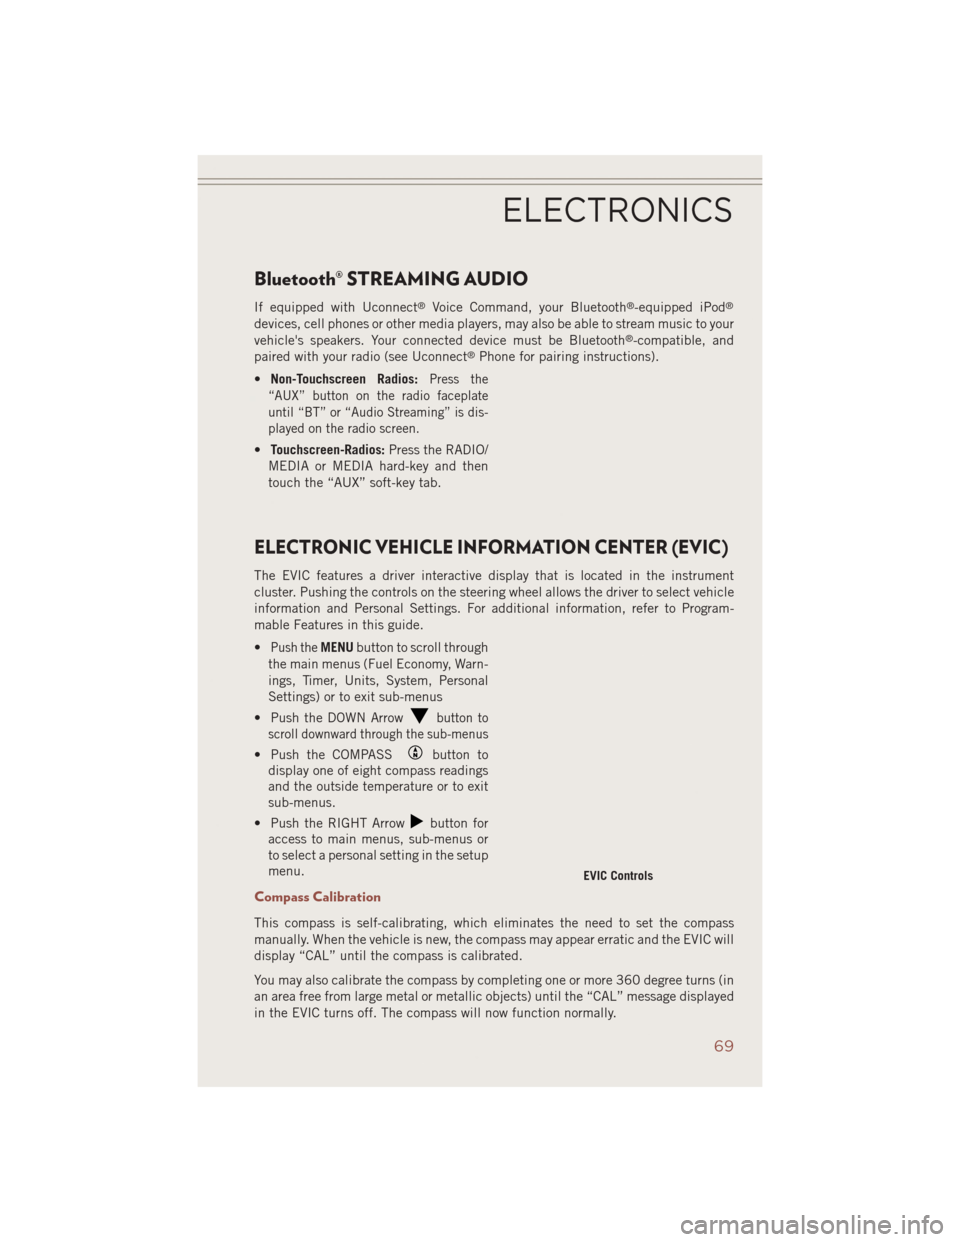
ELECTRONIC VEHICLE INFORMATION CENTER (EVIC)
The EVIC features a driver interactive display that is located in the instrument
cluster. Pushing the controls on the steering wheel allows the driver to select vehicle
information and Personal Settings. For additional information, refer to Program-
mable Features in this guide.
•
Push theMENU button to scroll through
the main menus (Fuel Economy, Warn-
ings, Timer, Units, System, Personal
Settings) or to exit sub-menus
• Push the DOWN Arrow
button to
scroll downward through the sub-menus
• Push the COMPASSbutton to
display one of eight compass readings
and the outside temperature or to exit
sub-menus.
• Push the RIGHT Arrow
button for
access to main menus, sub-menus or
to select a personal setting in the setup
menu.
Compass Calibration
This compass is self-calibrating, which eliminates the need to set the compass
manually. When the vehicle is new, the compass may appear erratic and the EVIC will
display “CAL” until the compass is calibrated.
You may also calibrate the compass by completing one or more 360 degree turns (in
an area free from large metal or metallic objects) until the “CAL” message displayed
in the EVIC turns off. The compass will now function normally.
EVIC Controls
ELECTRONICS
69
Page 120 of 124

Lumbar Support............20
Maintenance Record .........107
MaintenanceSchedule........103
Malfunction Indicator Light (CheckEngine) ...........82
Media Center Radio ........44,47
MOPAR
®Accessories .........114
Navigation ................55
Navigation System (Uconnect
®gps) ..........56
Navigation Voice Prompt Volume . . .56
New Vehicle Break-In Period .....25
Oil Change Indicator ..........84
Oil, Engine Capacity ..............102
Oil Pressure Light ...........83
Outlet Power ................75
Overheating, Engine ..........85
Panic Alarm ...............10
Phone (Uconnect
®) ..........63
Placard, Tire and Loading Information .............110
Power Inverter ...............74
Outlet (Auxiliary Electrical
Outlet) ...............75
Seats ................19
Steering ..............102
Power Sunroof .............33
Preparation for Jacking ........86
Programmable Electronic Features . .70
Radio Operation .....39,42,45,50
Rain Sensitive Wiper System .....27
RearSeat,Folding...........22
RearWiper/Washer...........27
Remote Keyless Entry (RKE) Arm The Alarm ...........12
Disarm The Alarm .........13
Lock The Doors ...........10
Panic Alarm ............10
Remote Keyless Entry (RKE) . . .10
Unlock The Doors .........10 Remote Starting
HowToUseRemoteStart .....11
KeyFob ...............11
Remote Starting System .....11
Remote Starting System ........11
Replacement Bulbs ..........111
Reporting Safety Defects .......113
RollOverWarning ............4
Satellite Radio (Uconnect
®studios) . . .41, 43, 46
Schedule,Maintenance .......103
Seat Belt Automatic Locking Retractor
(ALR) ................13
Child Restraints ........13,15
Energy Management Feature . . .13
Engage The Automatic Locking
Mode ................17
Lap/Shoulder Belts .........13
Seat Belt Pretensioner ......13
SeatBeltReminder ........13
Seats ...................19
Adjustment .............19
Folding Front Passenger .....21
Heated ...............23
Height Adjustment ........20
Manual ...............19
Power ................19
RearFolding ............22
Security Alarm Arm The System ..........12
Disarm The System ........13
Security Alarm ...........12
Shift Lever Override ..........95
Signals, Turn ..............27
SIRIUS Travel Link ...........58
SpareTire................86
SparkPlugs..............102
Speed Control Accel/Decel ............28
Cancel ...............29
Resume ...............29
Set .................28
Starting Remote ...............11
Steering TiltColumn .............24
INDEX
118