seats JEEP COMPASS 2014 1.G User Guide
[x] Cancel search | Manufacturer: JEEP, Model Year: 2014, Model line: COMPASS, Model: JEEP COMPASS 2014 1.GPages: 124, PDF Size: 2.64 MB
Page 3 of 124
INTRODUCTION/WELCOME
WELCOME FROM CHRYSLER
GROUP LLC.................. 2
CONTROLS AT A GLANCE
DRIVER COCKPIT .............. 6
INSTRUMENT CLUSTER .......... 8
GETTING STARTED
KEYFOB ................... 10
REMOTE START............... 11
VEHICLE SECURITY ALARM ....... 12
SEATBELT .................. 13
SUPPLEMENTAL RESTRAINT
SYSTEM (SRS) — AIR BAGS ....... 14
CHILD RESTRAINTS ............ 15
FRONT SEATS ................ 19
REAR SEATS ................ 22
HEATEDSEATS ............... 23
TILT STEERING COLUMN ......... 24
OPERATING YOUR VEHICLE
ENGINE BREAK-IN
RECOMMENDATIONS........... 25
TURN SIGNAL/LIGHTS LEVER ...... 26
WIPER/WASHER LEVER .......... 27
ELECTRONIC SPEED CONTROL ..... 28
CONTINUOUSLY VARIABLE AUTOMATIC
TRANSMISSION (CVT) ........... 30
SIX-SPEED AUTOMATIC
TRANSMISSION ............... 30
MANUAL CLIMATE CONTROLS ...... 31
AUTOMATIC TEMPERATURE
CONTROLS (ATC) .............. 32
POWER SUNROOF ............. 33
WIND BUFFETING ............. 35
ELECTRONICS
YOUR VEHICLE'S SOUND SYSTEM . . . 36
Uconnect®130 ............... 38
Uconnect®130 WITH SiriusXM
SATELLITE RADIO .............. 41
Uconnect
®230 ............... 44
Uconnect®430/430N ........... 47
SiriusXM SATELLITE RADIO/TRAVEL
LINK ...................... 58
STEERING WHEEL AUDIO
CONTROLS ................. 62
iPod
®/USB/MP3 CONTROL ........ 62
Uconnect®PHONE ............. 63
Uconnect®VOICE COMMAND ....... 66
Bluetooth®STREAMING AUDIO ..... 69
ELECTRONIC VEHICLE INFORMATION
CENTER (EVIC) ............... 69
PROGRAMMABLE FEATURES ....... 70
UNIVERSAL GARAGE DOOR OPENER
(HomeLink
®) ................. 71 POWER INVERTER
............. 74
POWER OUTLET .............. 75
OFF-ROAD CAPABILITIES
FOUR-WHEEL DRIVE OPERATION . . . 76
UTILITY
TRAILER TOWING WEIGHTS (MAXIMUM
TRAILER WEIGHT RATINGS) ....... 78
RECREATIONAL TOWING (BEHIND
MOTORHOME, ETC.) ............ 79
WHATTODOIN
EMERGENCIES
ROADSIDE ASSISTANCE .......... 80
INSTRUMENT CLUSTER WARNING
LIGHTS .................... 80
IF YOUR ENGINE OVERHEATS ...... 85
AUTOMATIC TRANSMISSION
OVERHEATING ............... 85
JACKING AND TIRE CHANGING ..... 86
JUMP-STARTING PROCEDURES ..... 92
SHIFT LEVER OVERRIDE ......... 95
TOWING A DISABLED VEHICLE ..... 96
FREEING A STUCK VEHICLE ....... 97
EVENT DATA RECORDER (EDR) ..... 98
MAINTAINING YOUR VEHICLE
OPENING THE HOOD........... 99
ENGINE COMPARTMENT ........ 100
FLUIDS AND CAPACITIES ........ 102
MAINTENANCE SCHEDULE ...... 103
FUSES .................... 108
TIRE PRESSURES ............. 110
WHEEL AND WHEEL TRIM CARE . . . 111
EXTERIOR BULBS ............ 111
CUSTOMER ASSISTANCE
CHRYSLER GROUP LLC CUSTOMER
CENTER.................. 112
CHRYSLER CANADA INC. CUSTOMER
CENTER .................. 112
ASSISTANCE FOR THE HEARING
IMPAIRED ................. 112
PUBLICATIONS ORDERING ....... 112
REPORTING SAFETY DEFECTS IN THE
UNITEDSTATES .............. 113
MOPAR® ACCESSORIES
AUTHENTIC ACCESSORIES
BY MOPAR®................ 114
FAQ(HowTo?)
FREQUENTLY ASKED QUESTIONS . . . 115
INDEX................... 116
TABLE OF CONTENTS
Page 17 of 124
CHILD RESTRAINTS
Children 12 years or younger should ride properly buckled up in a rear seat, if
available. According to crash statistics, children are safer when properly restrained in
the rear seats rather than in the front.
Every state in the United States and all Canadian provinces require that small
children ride in proper restraint systems. This is the law, and you can be prosecuted
for ignoring it.
NOTE:
•
For additional information, refer to www.seatcheck.org or call 1–866–SEATCHECK
(1–866–732–8243).
•Canadian residents, should refer to Transport Canada’s website for additional informa-
tion: http://www.tc.gc.ca/eng/roadsafety/safedrivers-childsafety-index-53.htm
LATCH — Lower Anchors And Tethers For CHildren
• Your vehicle is equipped with the child restraint anchorage system called LATCH, which stands for Lower Anchors and Tethers for CHildren.
• The rear outboard seating positions have lower anchors and top tether anchors. The rear center seating position has a top tether anchor only.
• You may use the LATCH anchorage system until the combined weight of
the child and the child restraint is
65 lbs (29.5 kg). Use the seat belt and
tether anchor instead of the LATCH
system once the combined weight is
more than 65 lbs (29.5 kg).
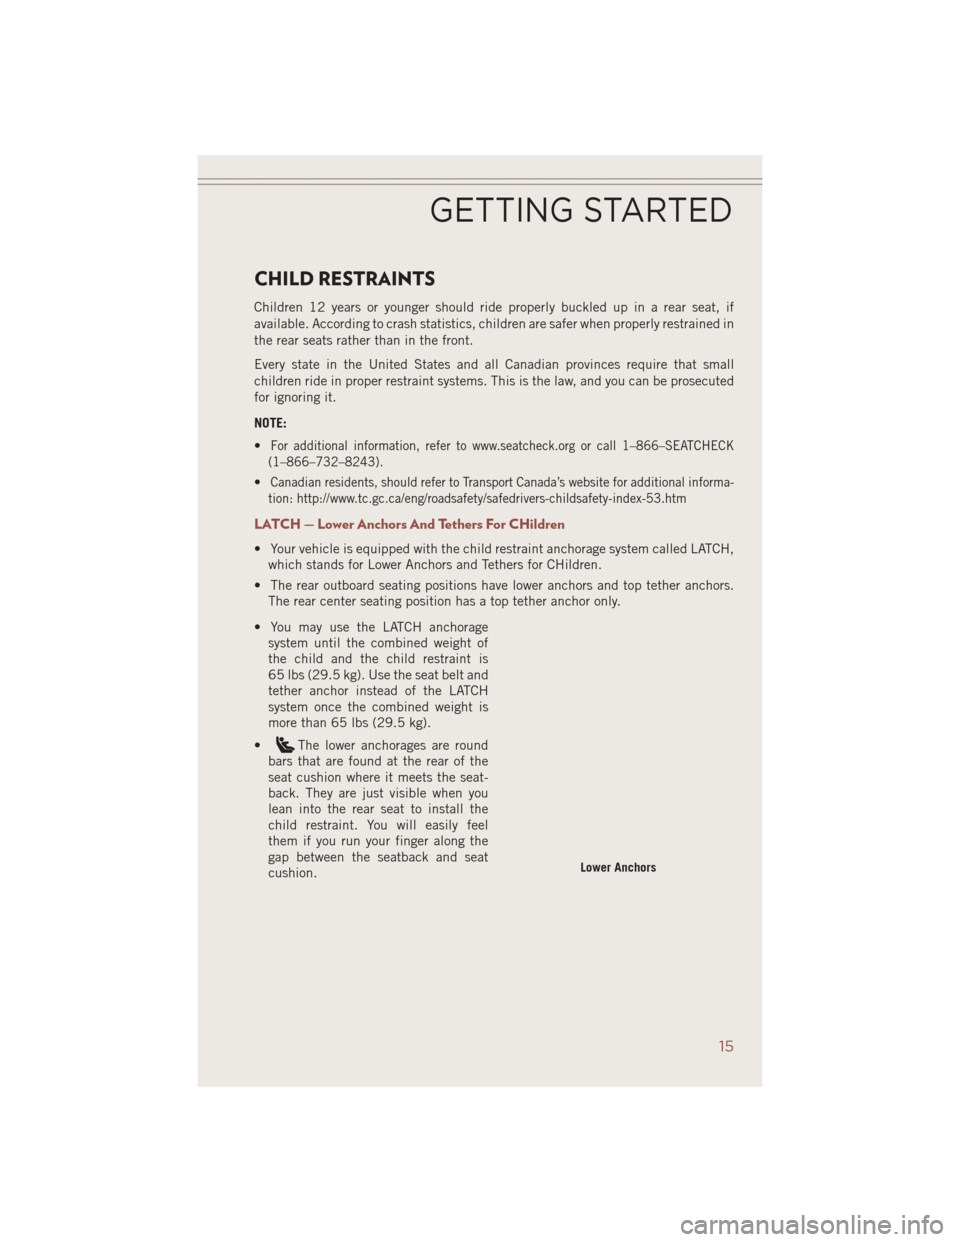
•
The lower anchorages are round
bars that are found at the rear of the
seat cushion where it meets the seat-
back. They are just visible when you
lean into the rear seat to install the
child restraint. You will easily feel
them if you run your finger along the
gap between the seatback and seat
cushion.
Lower Anchors
GETTING STARTED
15
Page 20 of 124
Installing The Top Tether Strap (With Either Lower Anchors Or Vehicle Seat Belt):
When installing a forward-facing child restraint, always secure the top tether strap,
up to the tether anchor weight limit, whether the child restraint is installed with the
lower anchors or the vehicle seat belt.
1. Route the tether strap to provide the most direct path for the strap between theanchor and the child seat, routing it over the center of the head restraint.
2. Attach the tether strap hook of the child restraint to the top tether anchorage and remove slack in the tether strap according to the child restraint manufacturer’s
instructions.
WARNING!
• In a collision, an unrestrained child, even a tiny baby, can become a projectileinside the vehicle. The force required to hold even an infant on your lap could
become so great that you could not hold the child, no matter how strong you
are. The child and others could be severely injured or killed. Any child riding in
your vehicle should be in a proper restraint for the child's size.
• Rearward-facing child seats must never be used in the front seat of a vehicle
with a front passenger air bag. An air bag deployment could cause severe injury
or death to infants in this position.
• Only use a rearward-facing child restraint in a vehicle with a rear seat.
• Improper installation of a child restraint to the LATCH anchorages can lead to
failure of an infant or child restraint. The child could be severely injured or
killed. Follow the manufacturer’s directions exactly when installing an infant or
child restraint.
• An incorrectly anchored tether strap could lead to increased head motion and
possible injury to the child. Use only the anchor positions directly behind the
child seat to secure a child restraint top tether strap.
• If your vehicle is equipped with a split rear seat, make sure the tether strap
does not slip into the opening between the seatbacks as you remove slack in
the strap.
GETTING STARTED
18
Page 21 of 124
FRONT SEATS
Power Seats
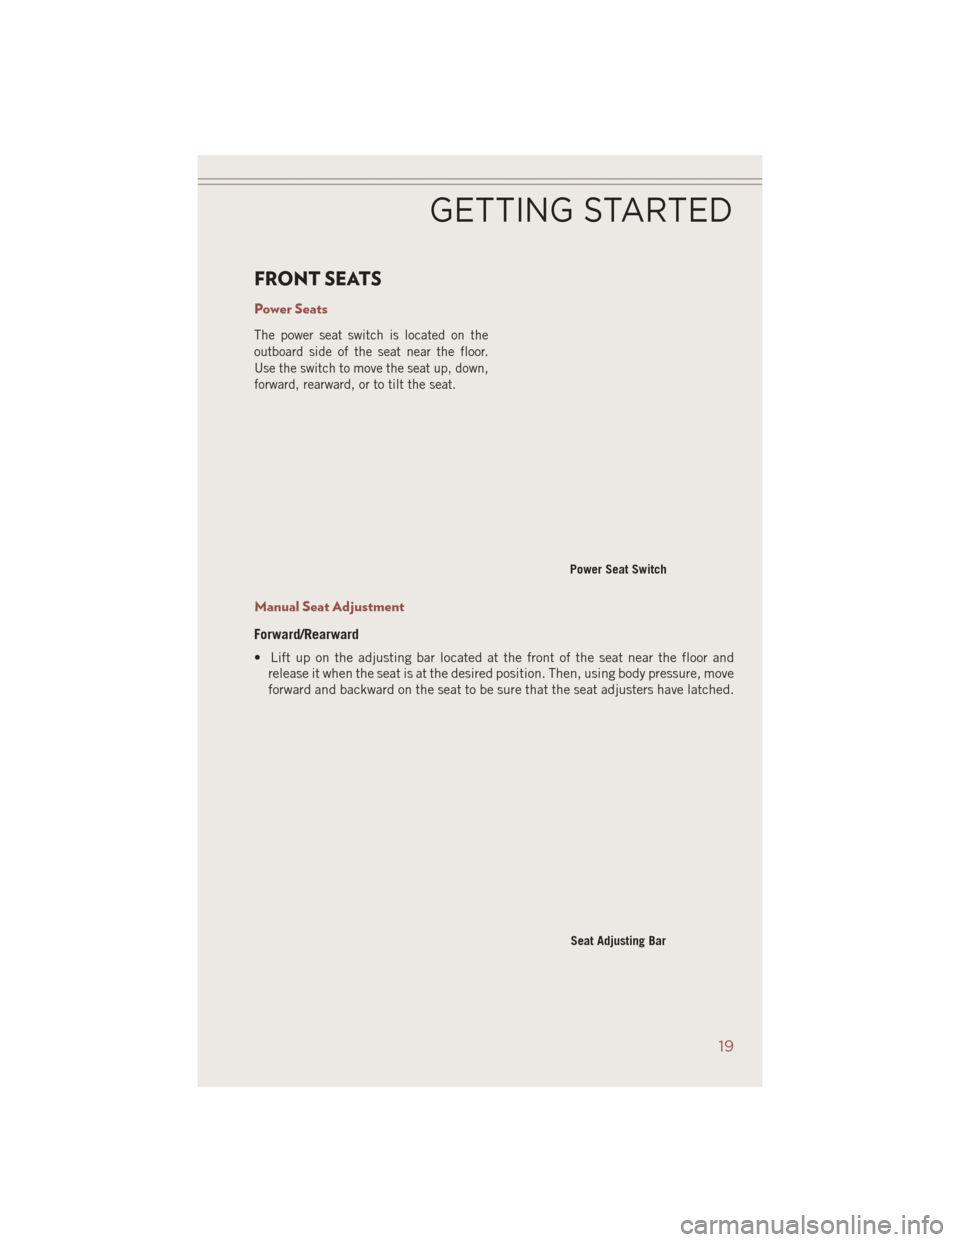
The power seat switch is located on the
outboard side of the seat near the floor.
Use the switch to move the seat up, down,
forward, rearward, or to tilt the seat.
Manual Seat Adjustment
Forward/Rearward
• Lift up on the adjusting bar located at the front of the seat near the floor andrelease it when the seat is at the desired position. Then, using body pressure, move
forward and backward on the seat to be sure that the seat adjusters have latched.
Power Seat Switch
Seat Adjusting Bar
GETTING STARTED
19
Page 24 of 124
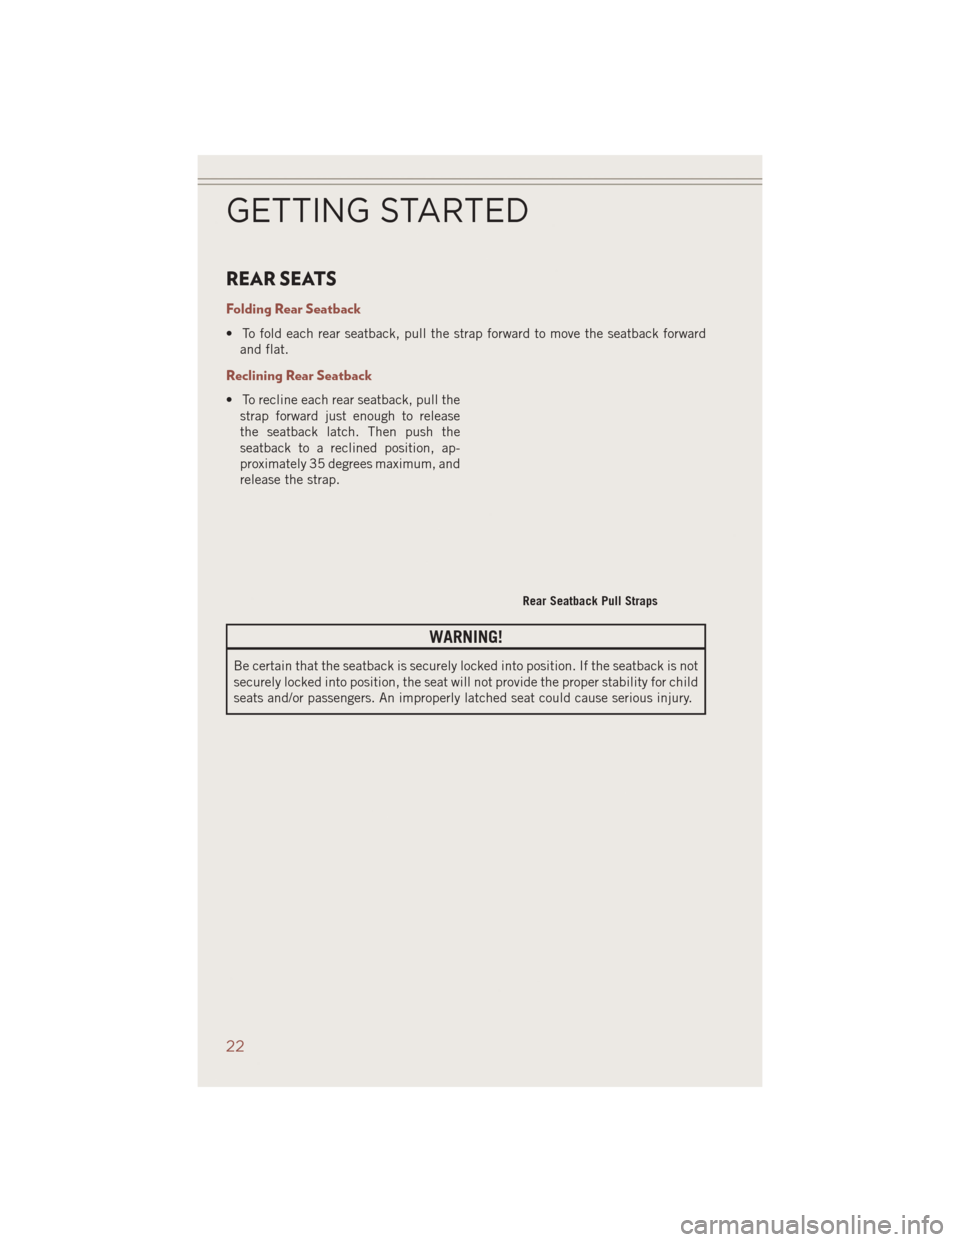
REAR SEATS
Folding Rear Seatback
• To fold each rear seatback, pull the strap forward to move the seatback forwardand flat.
Reclining Rear Seatback
• To recline each rear seatback, pull thestrap forward just enough to release
the seatback latch. Then push the
seatback to a reclined position, ap-
proximately 35 degrees maximum, and
release the strap.
WARNING!
Be certain that the seatback is securely locked into position. If the seatback is not
securely locked into position, the seat will not provide the proper stability for child
seats and/or passengers. An improperly latched seat could cause serious injury.
Rear Seatback Pull Straps
GETTING STARTED
22
Page 25 of 124
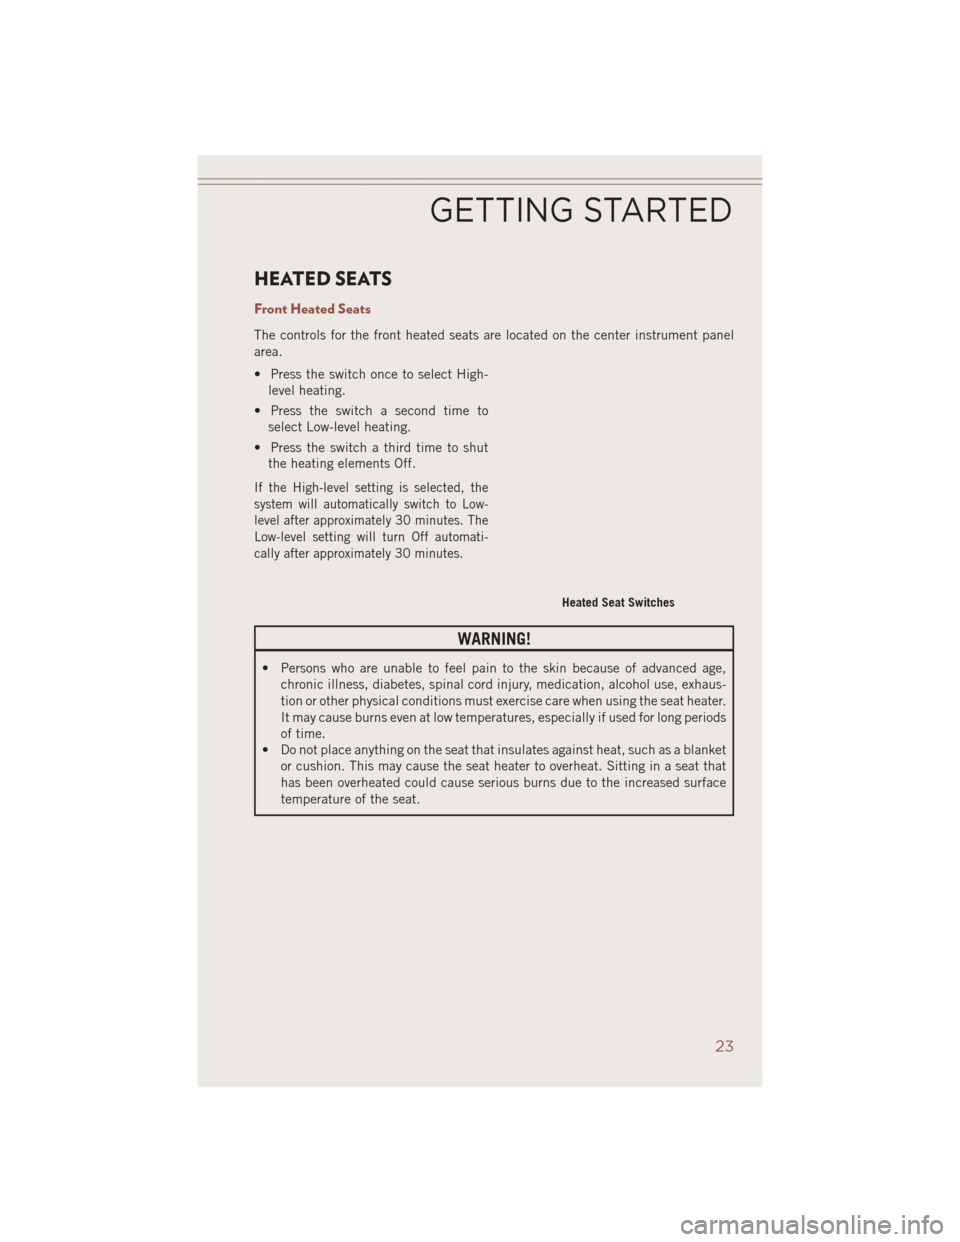
HEATED SEATS
Front Heated Seats
The controls for the front heated seats are located on the center instrument panel
area.
• Press the switch once to select High-level heating.
• Press the switch a second time to select Low-level heating.
• Press the switch a third time to shut the heating elements Off.
If the High-level setting is selected, the
system will automatically switch to Low-
level after approximately 30 minutes. The
Low-level setting will turn Off automati-
cally after approximately 30 minutes.
WARNING!
• Persons who are unable to feel pain to the skin because of advanced age,
chronic illness, diabetes, spinal cord injury, medication, alcohol use, exhaus-
tion or other physical conditions must exercise care when using the seat heater.
It may cause burns even at low temperatures, especially if used for long periods
of time.
• Do not place anything on the seat that insulates against heat, such as a blanket
or cushion. This may cause the seat heater to overheat. Sitting in a seat that
has been overheated could cause serious burns due to the increased surface
temperature of the seat.
Heated Seat Switches
GETTING STARTED
23
Page 78 of 124
FOUR-WHEEL DRIVE OPERATION
This vehicle has two full time, on-demand, four-wheel-drive (4WD) systems avail-
able, Freedom Drive I™ and Freedom-Drive II™. They provide for all-weather,
all-terrain capability for added driving security in less-than-ideal road conditions.
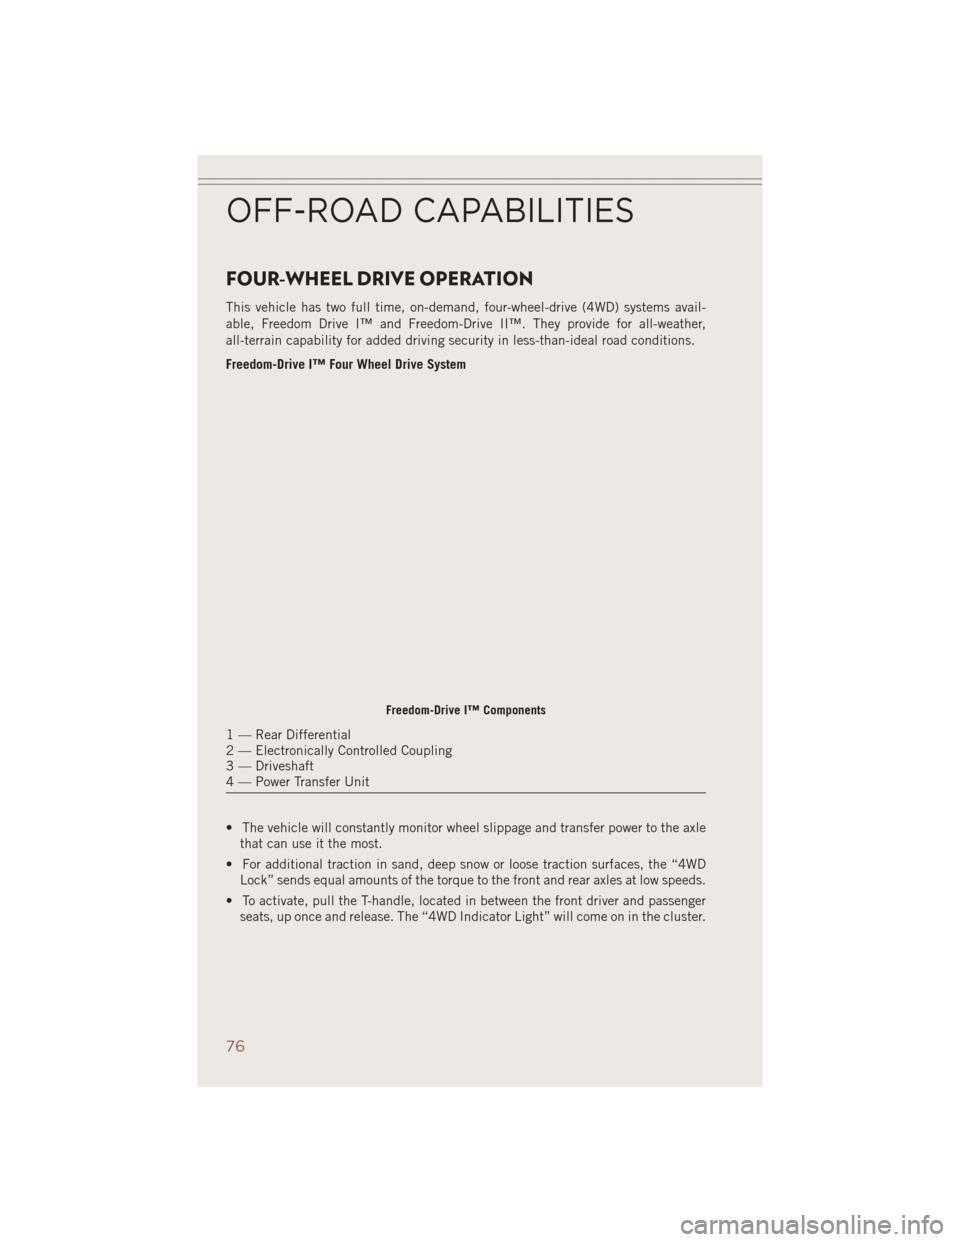
Freedom-Drive I™ Four Wheel Drive System
• The vehicle will constantly monitor wheel slippage and transfer power to the axlethat can use it the most.
• For additional traction in sand, deep snow or loose traction surfaces, the “4WD Lock” sends equal amounts of the torque to the front and rear axles at low speeds.
• To activate, pull the T-handle, located in between the front driver and passenger seats, up once and release. The “4WD Indicator Light” will come on in the cluster.
Freedom-Drive I™ Components
1 — Rear Differential
2 — Electronically Controlled Coupling
3 — Driveshaft
4 — Power Transfer Unit
OFF-ROAD CAPABILITIES
76
Page 110 of 124
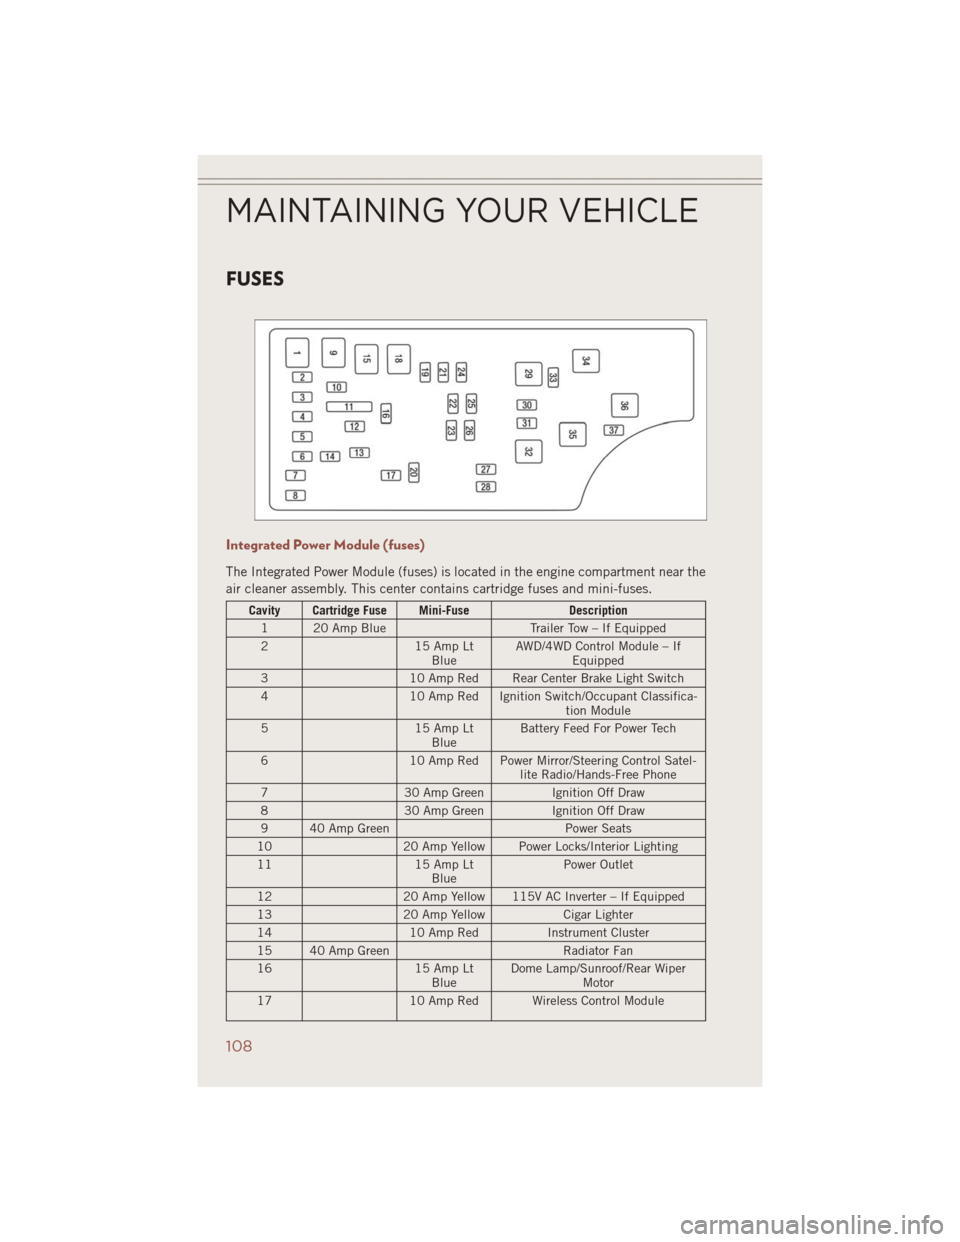
FUSES
Integrated Power Module (fuses)
The Integrated Power Module (fuses) is located in the engine compartment near the
air cleaner assembly. This center contains cartridge fuses and mini-fuses.
Cavity Cartridge Fuse Mini-FuseDescription
1 20 Amp Blue Trailer Tow – If Equipped
2 15 Amp Lt
Blue AWD/4WD Control Module – If
Equipped
3 10 Amp Red Rear Center Brake Light Switch
4 10 Amp Red Ignition Switch/Occupant Classifica-
tion Module
5 15 Amp Lt
Blue Battery Feed For Power Tech
6 10 Amp Red Power Mirror/Steering Control Satel-
lite Radio/Hands-Free Phone
7 30 Amp Green Ignition Off Draw
8 30 Amp Green Ignition Off Draw
9 40 Amp Green Power Seats
10 20 Amp Yellow Power Locks/Interior Lighting
11 15 Amp Lt
Blue Power Outlet
12 20 Amp Yellow 115V AC Inverter – If Equipped
13 20 Amp Yellow Cigar Lighter
14 10 Amp RedInstrument Cluster
15 40 Amp Green Radiator Fan
16 15 Amp Lt
Blue Dome Lamp/Sunroof/Rear Wiper
Motor
17 10 Amp Red Wireless Control Module
MAINTAINING YOUR VEHICLE
108
Page 116 of 124
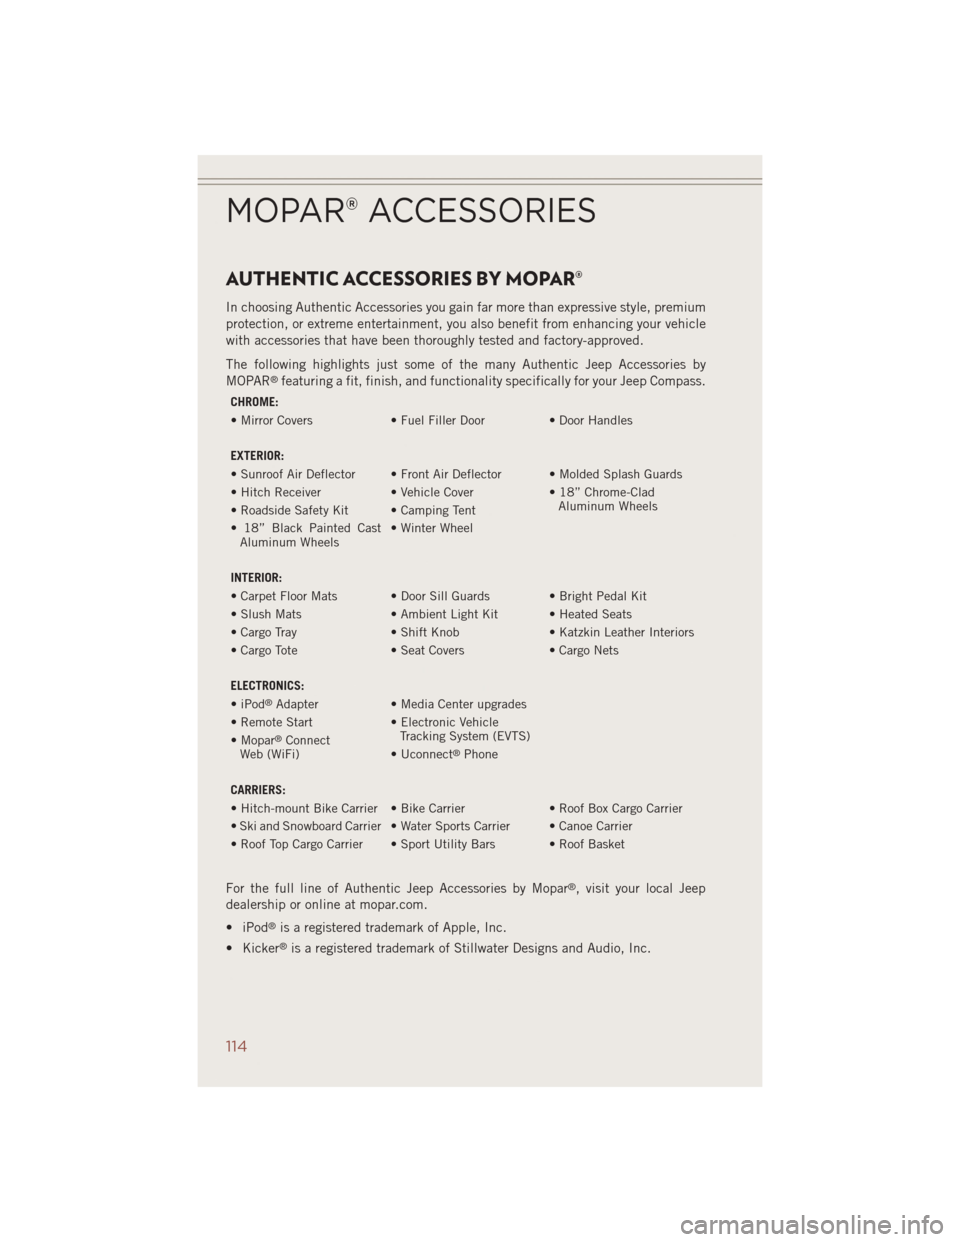
AUTHENTIC ACCESSORIES BY MOPAR®
In choosing Authentic Accessories you gain far more than expressive style, premium
protection, or extreme entertainment, you also benefit from enhancing your vehicle
with accessories that have been thoroughly tested and factory-approved.
The following highlights just some of the many Authentic Jeep Accessories by
MOPAR
®featuring a fit, finish, and functionality specifically for your Jeep Compass.
CHROME:
• Mirror Covers• Fuel Filler Door• Door Handles
EXTERIOR:
• Sunroof Air Deflector • Front Air Deflector • Molded Splash Guards
• Hitch Receiver • Vehicle Cover• 18” Chrome-Clad
Aluminum Wheels
• Roadside Safety Kit • Camping Tent
• 18” Black Painted Cast
Aluminum Wheels • Winter Wheel
INTERIOR:
• Carpet Floor Mats • Door Sill Guards • Bright Pedal Kit
• Slush Mats • Ambient Light Kit • Heated Seats
• Cargo Tray • Shift Knob• Katzkin Leather Interiors
• Cargo Tote • Seat Covers• Cargo Nets
ELECTRONICS:
• iPod
®Adapter • Media Center upgrades
• Remote Start • Electronic Vehicle
Tracking System (EVTS)
• Mopar
®Connect
Web (WiFi) • Uconnect®Phone
CARRIERS:
• Hitch-mount Bike Carrier • Bike Carrier • Roof Box Cargo Carrier
• Ski and Snowboard Carrier • Water Sports Carrier • Canoe Carrier
• Roof Top Cargo Carrier • Sport Utility Bars • Roof Basket
For the full line of Authentic Jeep Accessories by Mopar®, visit your local Jeep
dealership or online at mopar.com.
• iPod
®is a registered trademark of Apple, Inc.
• Kicker
®is a registered trademark of Stillwater Designs and Audio, Inc.
MOPAR® ACCESSORIES
114
Page 117 of 124
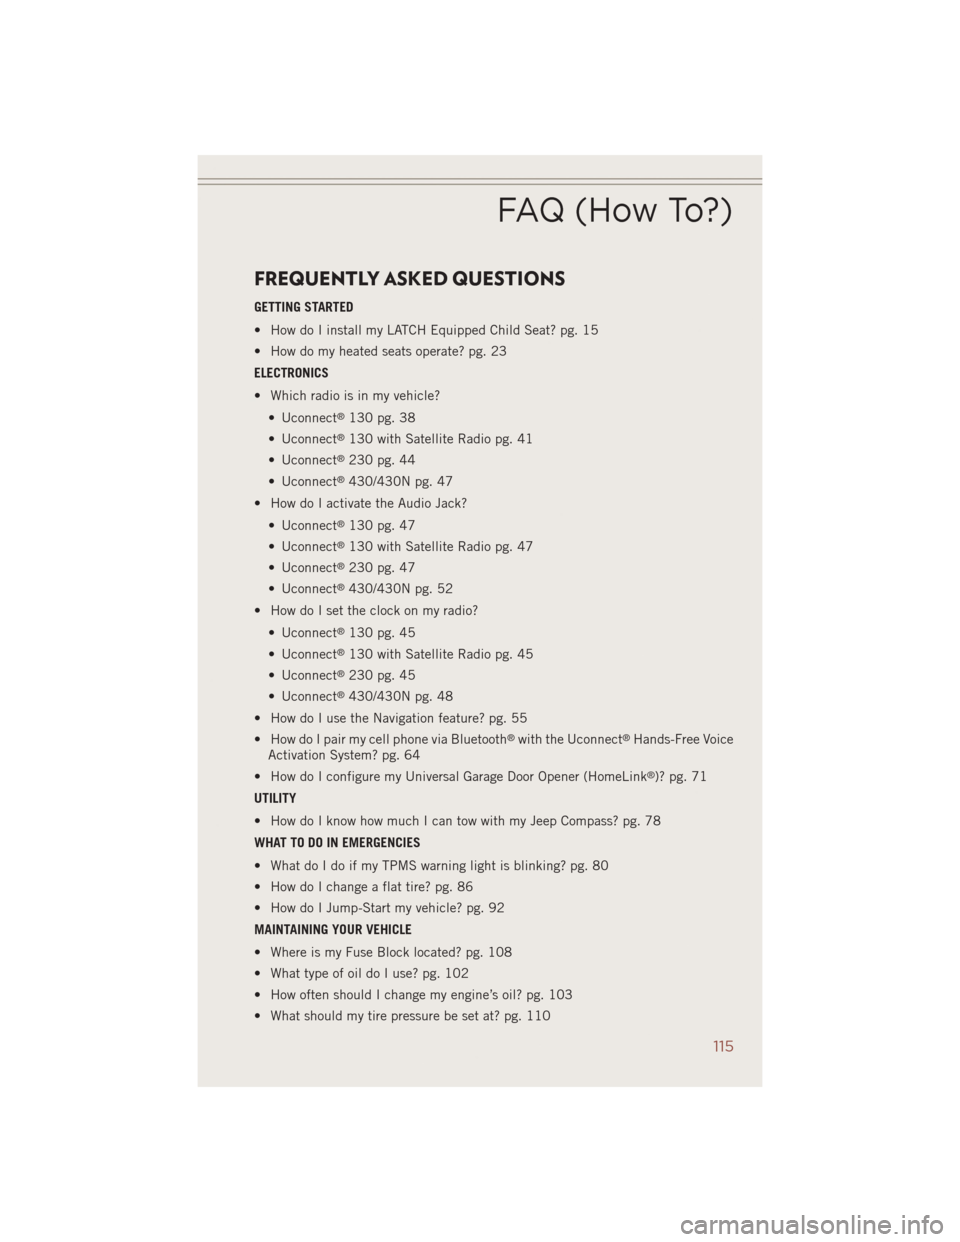
FREQUENTLY ASKED QUESTIONS
GETTING STARTED
• How do I install my LATCH Equipped Child Seat? pg. 15
• How do my heated seats operate? pg. 23
ELECTRONICS
• Which radio is in my vehicle?• Uconnect
®130 pg. 38
• Uconnect
®130 with Satellite Radio pg. 41
• Uconnect
®230 pg. 44
• Uconnect
®430/430N pg. 47
• How do I activate the Audio Jack?
• Uconnect
®130 pg. 47
• Uconnect
®130 with Satellite Radio pg. 47
• Uconnect
®230 pg. 47
• Uconnect
®430/430N pg. 52
• How do I set the clock on my radio?
• Uconnect
®130 pg. 45
• Uconnect
®130 with Satellite Radio pg. 45
• Uconnect
®230 pg. 45
• Uconnect
®430/430N pg. 48
• How do I use the Navigation feature? pg. 55
• How do I pair my cell phone via Bluetooth
®with the Uconnect®Hands-Free Voice
Activation System? pg. 64
• How do I configure my Universal Garage Door Opener (HomeLink
®)? pg. 71
UTILITY
• How do I know how much I can tow with my Jeep Compass? pg. 78
WHAT TO DO IN EMERGENCIES
• What do I do if my TPMS warning light is blinking? pg. 80
• How do I change a flat tire? pg. 86
• How do I Jump-Start my vehicle? pg. 92
MAINTAINING YOUR VEHICLE
• Where is my Fuse Block located? pg. 108
• What type of oil do I use? pg. 102
• How often should I change my engine’s oil? pg. 103
• What should my tire pressure be set at? pg. 110
FAQ (How To?)
115