inflation pressure JEEP COMPASS 2015 1.G Owner's Manual
[x] Cancel search | Manufacturer: JEEP, Model Year: 2015, Model line: COMPASS, Model: JEEP COMPASS 2015 1.GPages: 560, PDF Size: 11.51 MB
Page 422 of 560
WARNING!(Continued)
•Total weight must be distributed between the tow
vehicle and the trailer such that the following four
ratings are not exceeded:
1. GVWR
2. GTW
3. GAWR
4. Tongue weight rating for the trailer hitch uti-
lized.
Towing Requirements — Tires
•Do not attempt to tow a trailer while using a compact
spare tire.
•Proper tire inflation pressures are essential to the safe
and satisfactory operation of your vehicle. Refer to
“Tires – General Information” in “Starting And Oper-
ating” for proper tire inflation procedures.
•Check the trailer tires for proper tire inflation pres-
sures before trailer usage.
•Check for signs of tire wear or visible tire damage
before towing a trailer. Refer to “Tires – General
Information” in “Starting And Operating” for the
proper inspection procedure.
•When replacing tires, refer to “Tires – General Infor-
mation” in “Starting And Operating” for the proper
tire replacement procedures. Replacing tires with a
higher load carrying capacity will not increase the
vehicle’s GVWR and GAWR limits.
420 STARTING AND OPERATING
Page 451 of 560
If the tire does not inflate to at least 26 psi (1.8 Bar)
pressure within 15 minutes:
•The tire is too badly damaged. Do not attempt to drive
the vehicle further. Call for assistance.
NOTE:If the tire becomes over-inflated, press the Defla-
tion Button to reduce the tire pressure to the recom-
mended inflation pressure before continuing.
If the tire inflates to the recommended pressure or is at
least 26 psi (1.8 Bar) pressure within 15 minutes:
1. Press the Power Button (4) to turn off the Tire Service
Kit.
2. Remove the Speed Limit sticker from the top of the
Sealant Bottle (1) and place the sticker on the instru-
ment panel.
3. Immediately disconnect the Sealant Hose (6) from the
valve stem, reinstall the cap on the fitting at the end of
the hose, and place the Tire Service Kit in the vehicle
storage location. Quickly proceed to (D) “Drive Ve-
hicle.”
CAUTION!
•The metal end fitting from Power Plug (8) may get
hot after use, so it should be handled carefully.
•Failure to reinstall the cap on the fitting at the end
of the Sealant Hose (6) can result in sealant con-
tacting your skin, clothing, and the vehicle’s inte-
rior. It can also result in sealant contacting internal
Tire Service Kit components which may cause
permanent damage to the kit.
6
WHAT TO DO IN EMERGENCIES 449
Page 453 of 560
If the tire pressure is 19 psi (1.3 Bar) or higher:
1. Press the Power Button (4) to turn on Tire Service Kit
and inflate the tire to the pressure indicated on the tire
and loading information label on the driver-side door
opening.
NOTE:If the tire becomes over-inflated, press the Defla-
tion Button to reduce the tire pressure to the recom-
mended inflation pressure before continuing.
2. Disconnect the Tire Service Kit from the valve stem,
reinstall the cap on the valve stem and unplug from
12 Volt outlet.
3. Place the Tire Service Kit in its proper storage area in
the vehicle.
4. Have the tire inspected and repaired or replaced at the
earliest opportunity at an authorized dealer or tire
service center.
5. Remove the Speed Limit sticker from the instrument
panel after the tire has been repaired.
6. Replace the Sealant Bottle (1) and Sealant Hose (6)
assembly at your authorized dealer as soon as pos-
sible. Refer to (F) “Sealant Bottle and Hose Replace-
ment”.
NOTE:When having the tire serviced, advise the autho-
rized dealer or service center that the tire has been sealed
using the Tire Service Kit.
(F) Sealant Bottle And Hose Replacement:
1. Uncoil the Sealant Hose (6) (clear in color).
2. Locate the round Sealant Bottle release button in the
recessed area under the sealant bottle.
3. Press the Sealant Bottle release button. The Sealant
Bottle (1) will pop up. Remove the bottle and dispose
of it accordingly.
6
WHAT TO DO IN EMERGENCIES 451
Page 523 of 560
Severe Duty All Models
Change Engine Oil at 4000 miles (6,500 km) if the vehicle
is operated in a dusty and off road environment. This
type of vehicle use is considered Severe Duty.
Once A Month Or Before A Long Trip:
•Check engine oil level
•Check windshield washer fluid level
•Check the tire inflation pressures and look for unusual
wear or damage
•Check the fluid levels of the coolant reservoir, brake
master cylinder, power steering and fill as needed
•Check function of all interior and exterior lights
Required Maintenance Intervals.
Refer to the maintenance schedules on the following
page for the required maintenance intervals.
At Every Oil Change Interval As Indicated By Oil
Change Indicator System:
•Change oil and filter.
•Rotate the tires.Rotate at the first sign of irregu-
lar wear, even if it occurs before the oil indicator
system turns on.
•Inspect battery and clean and tighten terminals as
required.
•Inspect brake pads, shoes, rotors, drums, hoses
and park brake.
•Inspect engine cooling system protection and
hoses.
•Inspect exhaust system.
•Inspect engine air cleaner if using in dusty or
off-road conditions.
8
MAINTENANCE
SCHEDULES
MAINTENANCE SCHEDULES 521
Page 555 of 560
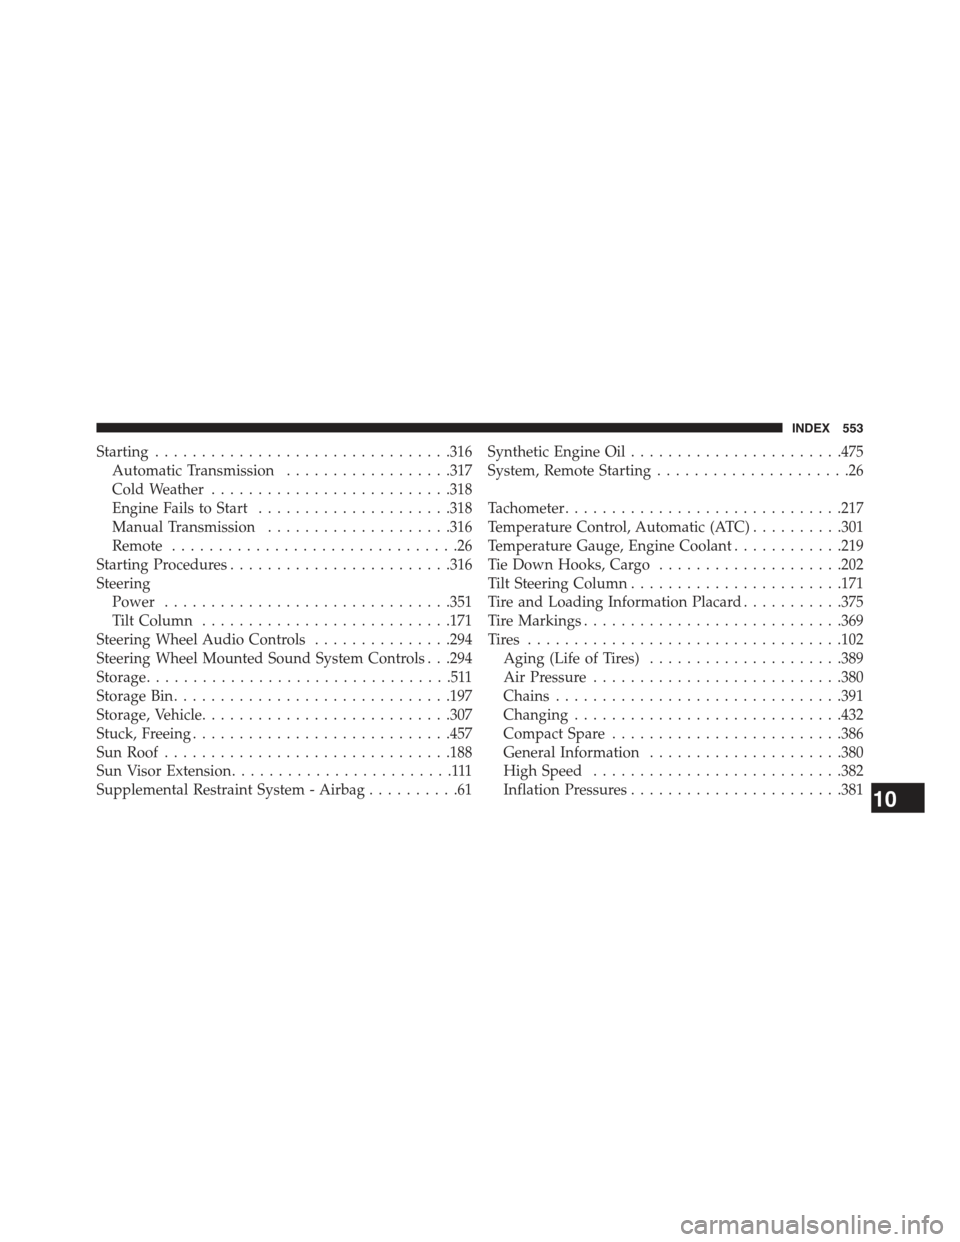
Starting................................316
Automatic Transmission..................317
Cold Weather..........................318
Engine Fails to Start.....................318
Manual Transmission....................316
Remote...............................26
Starting Procedures........................316
Steering
Power...............................351
Tilt Column...........................171
Steering Wheel Audio Controls...............294
Steering Wheel Mounted Sound System Controls . . .294
Storage.................................511
Storage Bin..............................197
Storage, Vehicle...........................307
Stuck, Freeing............................457
Sun Roof...............................188
Sun Visor Extension........................111
Supplemental Restraint System - Airbag..........61
Synthetic Engine Oil.......................475
System, Remote Starting.....................26
Tachometer..............................217
Temperature Control, Automatic (ATC)..........301
Temperature Gauge, Engine Coolant............219
Tie Down Hooks, Cargo....................202
Tilt Steering Column.......................171
Tire and Loading Information Placard...........375
Tire Markings............................369
Ti re s . . . . . . . . . . . . . . . . . . . . . . . . . . . . . . . . ..102
Aging (Life of Tires).....................389
Air Pressure...........................380
Chains...............................391
Changing.............................432
Compact Spare.........................386
General Information.....................380
High Speed...........................382
Inflation Pressures.......................38110
INDEX 553