key JEEP COMPASS 2017 2.G User Guide
[x] Cancel search | Manufacturer: JEEP, Model Year: 2017, Model line: COMPASS, Model: JEEP COMPASS 2017 2.GPages: 429, PDF Size: 3.46 MB
Page 30 of 429
Remote Start Abort Message Display
The following messages will display if the vehicle fails to
remote start or exits remote start prematurely:
•Remote Start Aborted — Door Open
• Remote Start Aborted — Hood Open
• Remote Start Aborted — L/Gate Open
• Remote Start Aborted — Fuel Low
• Remote Start Aborted — System Fault
The message stays active until the ignition is placed in the
ON/RUN position.
To Enter Remote Start
Push and release the Remote Startbutton on the key
fob twice within five seconds. The vehicle doors will
lock, the parking lights will flash, and the horn will
chirp twice (if programmed). Then, the engine will start
and the vehicle will remain in the Remote Start mode for
a 15-minute cycle.
NOTE:
• The park lamps will turn on and remain on during
Remote Start mode.
• For security, power window and power sunroof opera-
tion (if equipped) are disabled when the vehicle is in the
Remote Start mode.
• If your power door locks were unlocked, Remote Start
will automatically lock the doors.
• The engine can be started two consecutive times (two
15-minute cycles) with the key fob. However, the igni-
tion must be placed in the ON/RUN position before you
can repeat the start sequence for a third cycle.
Remote Start will also cancel if any of the following occur:
• The engine stalls or RPM exceeds 2500.
• Any engine warning lamps come on.
• Low Fuel Light turns on.
• The hood is opened.
• The hazard switch is pushed.
• The transmission is moved out of PARK.
• The brake pedal is pushed.
28 GETTING TO KNOW YOUR VEHICLE
Page 31 of 429
To Exit Remote Start Mode Without Driving The
Vehicle
Push and release the Remote Startbutton one time or
allow the engine to run for the entire 15-minute cycle.
NOTE: To avoid unintentional shut downs, the system will
disable the one time push of the Remote Start
button
for two seconds after receiving a valid Remote Start
request.
To Exit Remote Start Mode And Drive The Vehicle
Before the end of the 15-minute cycle, push and release the
unlock
button on the key fob to unlock the doors and
disarm the Vehicle Security Alarm (if equipped). Then,
insert the key into the ignition and place the ignition in
the ON/RUN position.
NOTE: The ignition must be placed in the ON/RUN
position in order to drive the vehicle.
DOOR LOCKS
Manual Door Locks
Use the manual door lock knob to lock the doors from
inside the vehicle. If the lock knob is down when the door is closed, the door will lock. Make sure the keys are not
inside the vehicle before closing the door.
WARNING!
•
For personal security and safety in the event of an
collision, lock the vehicle doors as you drive as well
as when you park and leave the vehicle.
• Never leave children alone in a vehicle, or with
access to an unlocked vehicle. Allowing children to
be in a vehicle unattended is dangerous for a number
(Continued)
Manual Door Lock Knob
3
GETTING TO KNOW YOUR VEHICLE 29
Page 32 of 429
WARNING!(Continued)
of reasons. A child or others could be seriously or
fatally injured. Children should be warned not to
touch the parking brake, brake pedal or the gear
selector.
• Do not leave the key fob in or near the vehicle, or in
a location accessible to children. A child could oper-
ate power windows, other controls, or move the
vehicle.
CAUTION!
Always remove the key fobs from the vehicle and lock
all doors when leaving the vehicle unattended.
Power Door Locks
A power door lock switch is located on the driver’s and
front passenger’s door panel. Push these switches to lock
or unlockthe doors and liftgate.
NOTE: To prevent from locking the key in the vehicle, the
power door lock switch will not operate when the key is in
the ignition and either front door is open. A chime will
sound as a reminder to remove the key.
Auto Lock Doors — If Equipped
The auto door lock feature default condition is enabled.
When enabled, the door locks will lock automatically when
the vehicle’s speed exceeds 15 mph (24 km/h).
Driver Power Door Lock Switch
1— Unlock doors and liftgate
2 — Lock doors and liftgate
30 GETTING TO KNOW YOUR VEHICLE
Page 33 of 429
Auto Lock Doors Programming
The Automatic Door Locks feature can be enabled or
disabled as follows:
•For vehicles equipped with the instrument cluster dis-
play, refer to “Instrument Cluster Display — If
Equipped/Personal Settings (Customer Programmable
Features)” in “Getting To Know Your Instrument Panel”
for further information.
• For vehicles not equipped with the instrument cluster
display, perform the following procedure:
1. Close all doors and place the key in the ignition.
2. Within 15 seconds, place the ignition between LOCK and ON/RUN and then back to LOCK four times,
ending up in the LOCK position (do not start the
engine).
3. Within 30 seconds, push the power door LOCK switch to lock the doors.
4. A single chime will indicate the completion of the programming. 5. Repeat these steps if you want to return this feature
to its previous setting.
NOTE:
• If you do not hear the chime, it means that the system
did not enter the programming mode and you will need
to repeat the procedure.
• Use the Automatic Door Lock feature in accordance with
local laws.
Automatic Unlock Doors On Exit
The doors will unlock automatically if:
•The Automatic Unlock Doors On Exit feature is enabled.
• The transmission was in gear, and the vehicle speed
returned to 0 MPH (0 km/h).
• The transmission is in NEUTRAL or PARK.
• The driver’s door is opened.
• The doors were not previously unlocked.
3
GETTING TO KNOW YOUR VEHICLE 31
Page 34 of 429
Automatic Unlock Doors On Exit Programming
The Automatic Unlock Doors On Exit feature can be
enabled or disabled as follows:
•For vehicles equipped with the instrument cluster dis-
play, refer to “Instrument Cluster Display — If
Equipped/Personal Settings (Customer-Programmable
Features)” in “Getting To Know Your Instrument Panel”
for further information.
• For vehicles not equipped with the instrument cluster
display, perform the following procedure:
1. Close all doors and place the key in the ignition.
2. Within 15 seconds, place the ignition between LOCK and ON/RUN and then back to LOCK five times,
ending up in the ON/RUN position (do not start the
engine).
3. Within 30 seconds, push the power door UNLOCK switch to unlock the doors. 4. A single chime will indicate the completion of the
programming.
5. Repeat these steps if you want to return this feature to its previous setting.
NOTE:
• If you do not hear the chime, it means that the system
did not enter the programming mode and you will need
to repeat the procedure.
• Use the Automatic Unlock Doors On Exit feature in
accordance with local laws.
Child-Protection Door Lock System — Rear Doors
To provide a safer environment for small children riding in
the rear seats, the rear doors are equipped with Child-
Protection Door Lock system.
32 GETTING TO KNOW YOUR VEHICLE
Page 35 of 429
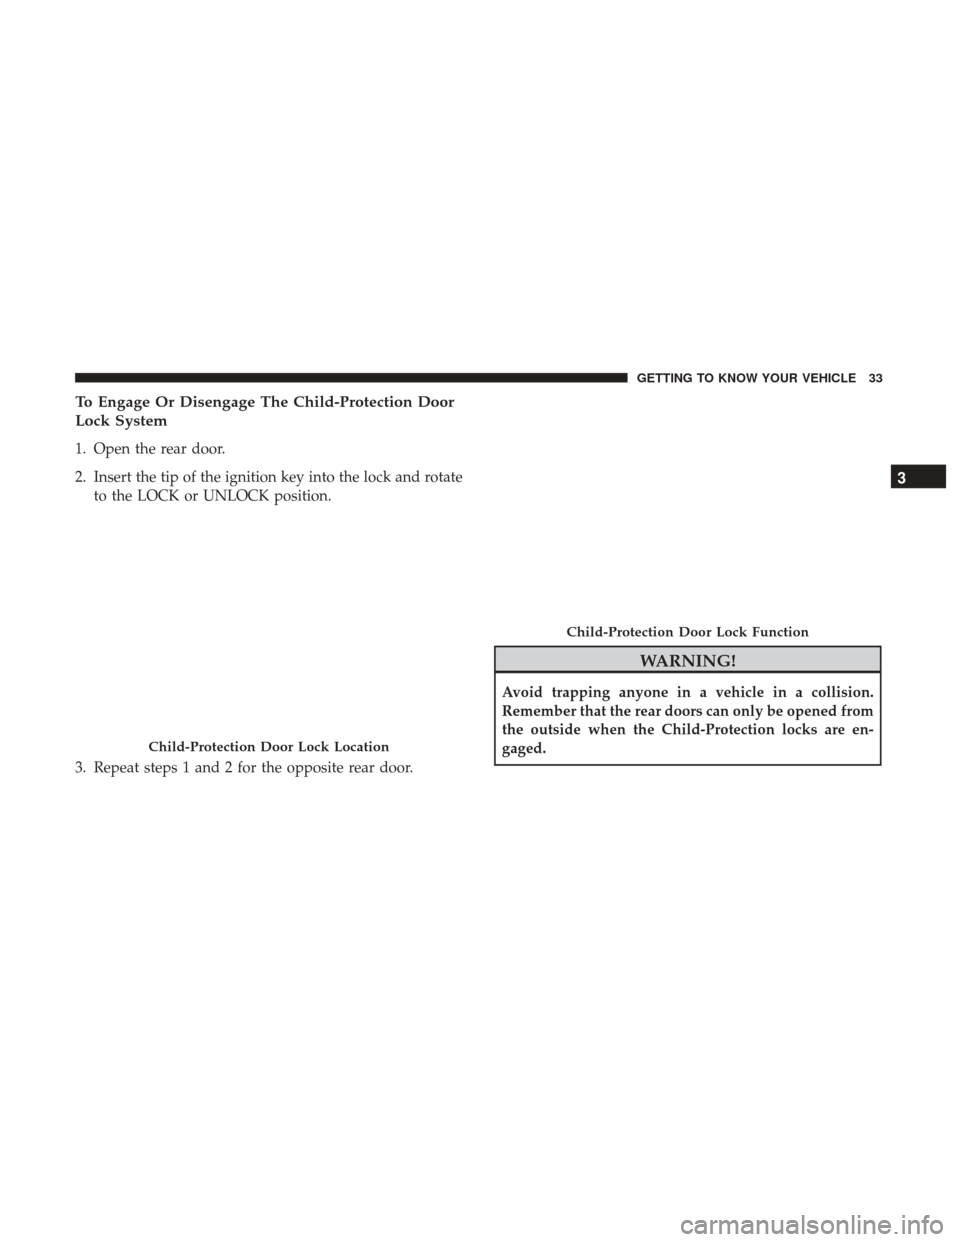
To Engage Or Disengage The Child-Protection Door
Lock System
1. Open the rear door.
2. Insert the tip of the ignition key into the lock and rotateto the LOCK or UNLOCK position.
3. Repeat steps 1 and 2 for the opposite rear door.
WARNING!
Avoid trapping anyone in a vehicle in a collision.
Remember that the rear doors can only be opened from
the outside when the Child-Protection locks are en-
gaged.
Child-Protection Door Lock Location
Child-Protection Door Lock Function
3
GETTING TO KNOW YOUR VEHICLE 33
Page 70 of 429
POWER WINDOWS — IF EQUIPPED
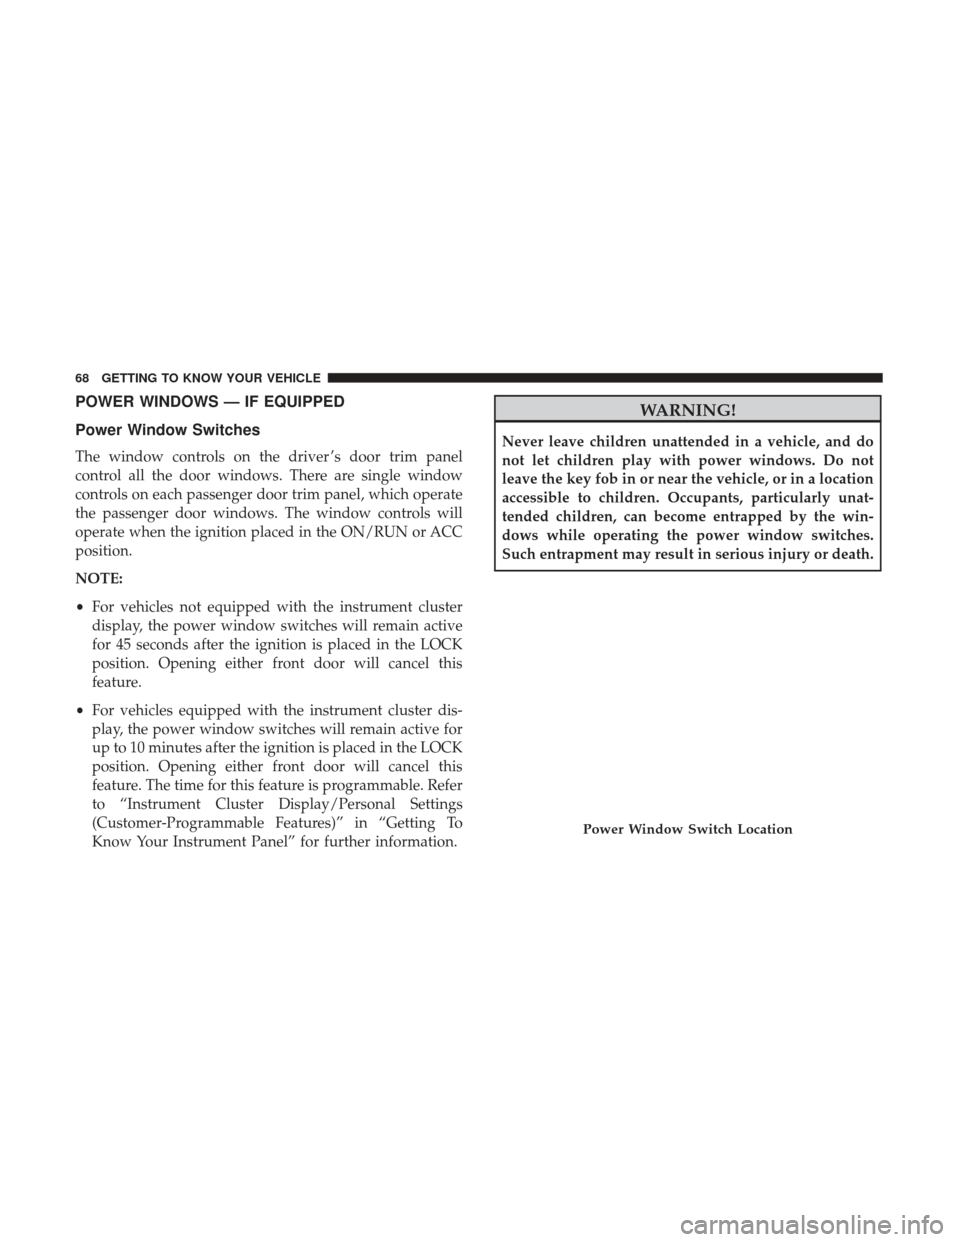
Power Window Switches
The window controls on the driver ’s door trim panel
control all the door windows. There are single window
controls on each passenger door trim panel, which operate
the passenger door windows. The window controls will
operate when the ignition placed in the ON/RUN or ACC
position.
NOTE:
•For vehicles not equipped with the instrument cluster
display, the power window switches will remain active
for 45 seconds after the ignition is placed in the LOCK
position. Opening either front door will cancel this
feature.
• For vehicles equipped with the instrument cluster dis-
play, the power window switches will remain active for
up to 10 minutes after the ignition is placed in the LOCK
position. Opening either front door will cancel this
feature. The time for this feature is programmable. Refer
to “Instrument Cluster Display/Personal Settings
(Customer-Programmable Features)” in “Getting To
Know Your Instrument Panel” for further information.
WARNING!
Never leave children unattended in a vehicle, and do
not let children play with power windows. Do not
leave the key fob in or near the vehicle, or in a location
accessible to children. Occupants, particularly unat-
tended children, can become entrapped by the win-
dows while operating the power window switches.
Such entrapment may result in serious injury or death.
Power Window Switch Location
68 GETTING TO KNOW YOUR VEHICLE
Page 72 of 429
POWER SUNROOF — IF EQUIPPED
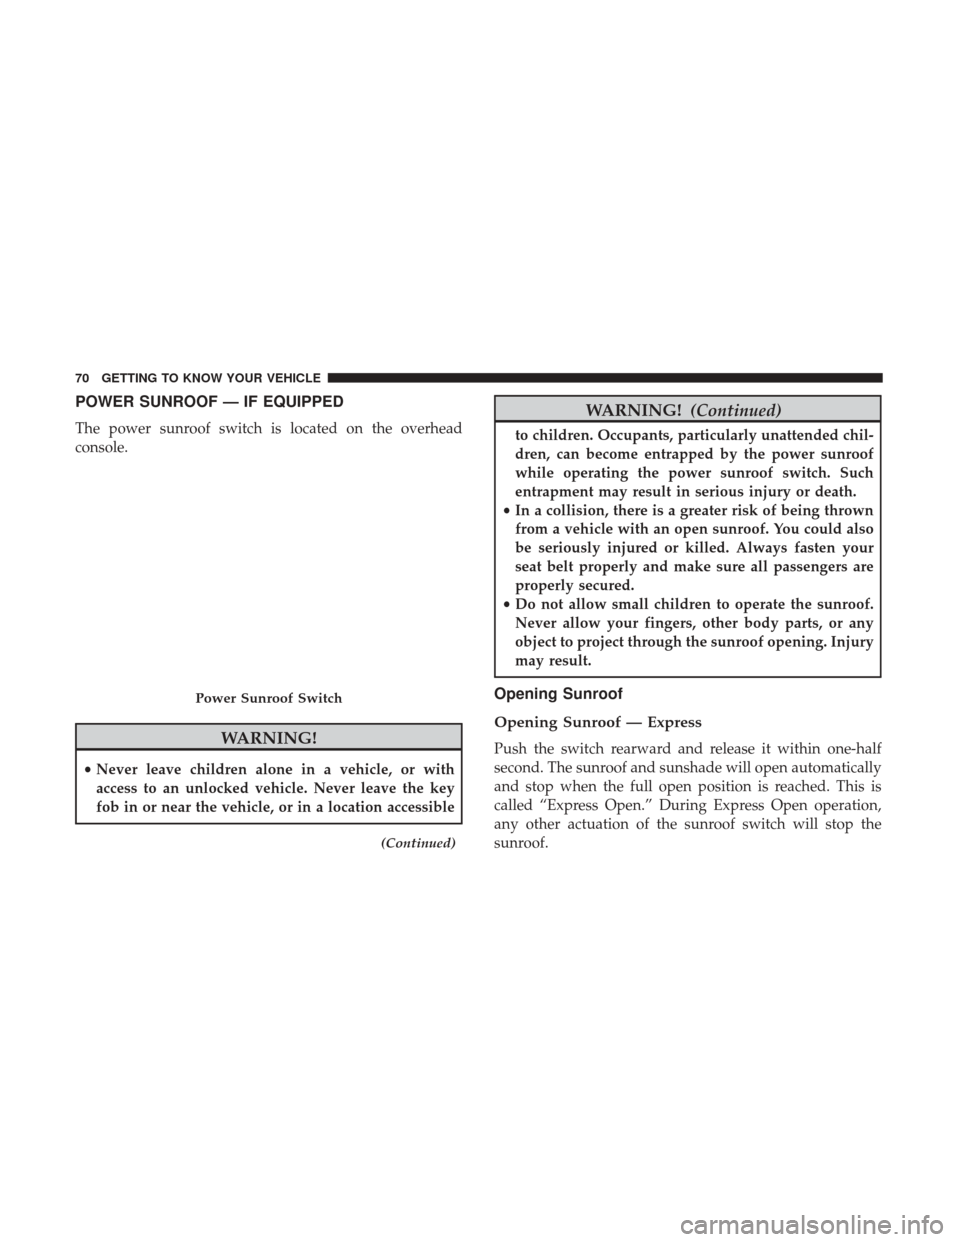
The power sunroof switch is located on the overhead
console.
WARNING!
•Never leave children alone in a vehicle, or with
access to an unlocked vehicle. Never leave the key
fob in or near the vehicle, or in a location accessible
(Continued)
WARNING! (Continued)
to children. Occupants, particularly unattended chil-
dren, can become entrapped by the power sunroof
while operating the power sunroof switch. Such
entrapment may result in serious injury or death.
• In a collision, there is a greater risk of being thrown
from a vehicle with an open sunroof. You could also
be seriously injured or killed. Always fasten your
seat belt properly and make sure all passengers are
properly secured.
• Do not allow small children to operate the sunroof.
Never allow your fingers, other body parts, or any
object to project through the sunroof opening. Injury
may result.
Opening Sunroof
Opening Sunroof — Express
Push the switch rearward and release it within one-half
second. The sunroof and sunshade will open automatically
and stop when the full open position is reached. This is
called “Express Open.” During Express Open operation,
any other actuation of the sunroof switch will stop the
sunroof.
Power Sunroof Switch
70 GETTING TO KNOW YOUR VEHICLE
Page 76 of 429
CAUTION!
To prevent possible damage:
•Before closing hood, make sure the hood prop rod is
fully seated into its storage retaining clips.
• Do not slam the hood to close it. Use a firm down-
ward push at the center front edge of the hood to
ensure that both latches engage. Never drive your
vehicle unless the hood is fully closed, with both
latches engaged.
LIFTGATE
NOTE: The key that is used to start the vehicle is also used
to lock or unlock the doors and open the liftgate.
To unlock the liftgate, insert the key into the lock and turn
it to the right (manual lock models only). The liftgate can
also be unlocked
using the key fob or by activating
the power door lock
switches located on the front
doors. The central locking/unlocking feature (if
equipped) can also be activated from the liftgate key
cylinder.
Once unlocked, the liftgate can be opened or closed
without using the key fob. To open the liftgate, squeeze the
liftgate release and pull the liftgate open with one fluid
motion.
NOTE:
• In the event of a power malfunction, or the key fob is
inoperative, insert the key fob into the liftgate lock
cylinder and turn to the right (manual lock models
only). Using the liftgate handle, pull the liftgate open
with one fluid motion.
Liftgate Handle Location
74 GETTING TO KNOW YOUR VEHICLE
Page 83 of 429
To program the remaining two HomeLink buttons, repeat
each step for each remaining button. DO NOT erase the
channels.
Programming A Non-Rolling Code
For programming Garage Door Openers manufactured
before 1995:
1. Place the ignition in the ON/RUN position.
NOTE:For vehicles equipped with Keyless Enter-N-Go,
place the ignition in the RUN position with the engine ON.
Make sure while programming HomeLink with the engine
ON that your vehicle is outside of your garage, or that the
garage door remains open at all times.
2. Place the hand-held transmitter 1 to 3 inches (3 to 8 cm) away from the HomeLink button you wish to program
while keeping the HomeLink indicator light in view.
3. Push and hold the Homelink button you want to program while you push and hold the hand-held trans-
mitter button.
4. Continue to hold both buttons and observe the indicator light. The Homelink indicator will flash slowly and then
rapidly after HomeLink has received the frequency signal from the hand-held transmitter. Release both
buttons after the indicator light changes from slow to
rapid.
5. Push and hold the programmed HomeLink button and observe the indicator light.
• If the indicator light stays on constantly, programming
is complete and the garage door/device should acti-
vate when the HomeLink button is pushed.
• To program the two remaining HomeLink buttons,
repeat each step for each remaining button. DO NOT
erase the channels.
Reprogramming A Single HomeLink Button
(Non-Rolling Code)
To reprogram a channel that has been previously trained,
follow these steps:
1. Cycle the ignition to the ON/RUN position.
NOTE: For vehicles equipped with Keyless Enter-N-Go,
place the ignition in the RUN position with the engine ON.
Make sure while programming HomeLink with the engine
ON that your vehicle is outside of your garage, or that the
garage door remains open at all times.
3
GETTING TO KNOW YOUR VEHICLE 81