JEEP GRAND CHEROKEE 2006 WK / 3.G Owners Manual
Manufacturer: JEEP, Model Year: 2006, Model line: GRAND CHEROKEE, Model: JEEP GRAND CHEROKEE 2006 WK / 3.GPages: 448, PDF Size: 6.65 MB
Page 161 of 448

Sunshade Operation
The sunshade can be opened manually. However, the
sunshade will open automatically as the sunroof opens.
NOTE:The sunshade cannot be closed if the sunroof is
open.
Wind Buffeting
Wind buffeting can be described as the perception of
pressure on the ears or a helicopter type sound in the
ears. Your vehicle may exhibit wind buffeting with the
windows down, or the sunroof (if equipped) in certain
open or partially open positions. This is a normal occur-
rence and can be minimized. If the buffeting occurs with
the rear windows open, open the front and rear windows
together to minimize the buffeting. If the buffeting occurs
with the sunroof open, adjust the sunroof opening to
minimize the buffeting or open any window.
Sunroof Maintenance
Use only a non-abrasive cleaner and a soft cloth to clean
the glass panel.
Ignition Off Operation
The power sunroof switches remain active for 10 minutes
after the ignition switch has been turned off. Opening
either front door will cancel this feature.
Sunroof Fully Closed
Press the switch forward and release to ensure that the
sunroof is fully closed.
UNDERSTANDING THE FEATURES OF YOUR VEHICLE 161
3
Page 162 of 448

POWER OUTLET
To the right of the convenience tray (lower center of
instrument panel) is an outlet for electrically powered
accessories. Pull lightly on the tab of the plastic cover to
access the outlet.The rear power outlet (if equipped) is located in the left
rear cargo area.
Front Power Outlet
Rear Power Outlet
162 UNDERSTANDING THE FEATURES OF YOUR VEHICLE
Page 163 of 448

The power outlets are a direct feed from the battery so
they receive power whether the ignition is in the ON or
OFF position.
All accessories connected to this outlet should be re-
moved or turned off when the vehicle is not in use to
protect the battery against discharge.CAUTION!
Electrical Outlet Use With Engine Off
•Many accessories that can be plugged in draw
power from the vehicle’s battery, even when not
in use (i.e., cellular phones, etc.). Eventually, if
plugged in long enough, the vehicle’s battery will
discharge sufficiently to degrade battery life
and/or prevent engine starting.
•Accessories that draw higher power (i.e., coolers,
vacuum cleaners, lights, etc.) will degrade the
battery even more quickly. Only use these inter-
mittently and with greater caution.
•After the use of high power draw accessories, or
long periods of the vehicle not being started (with
accessories still plugged in), the vehicle must be
driven a sufficient length of time to allow the
generator to recharge the vehicle’s battery.
UNDERSTANDING THE FEATURES OF YOUR VEHICLE 163
3
Page 164 of 448

CUP HOLDERS
In the center console there are two cup holders for the
front seat passengers.
NOTE:The cup holder insert is removable, from the
console, for cleaning. It can be reinstalled with the largercup depression towards the passenger seat, but the top
surface will not be flush with the console surface.
The rear passengers have access to two cup holders that
pull out from the lower center of the rear seat.
Front Cup Holders
Rear Cup Holders
164 UNDERSTANDING THE FEATURES OF YOUR VEHICLE
Page 165 of 448

CARGO AREA FEATURES
Cargo Light
The cargo area light is activated by opening the liftgate,
opening any door, or by rotating the dimmer control on
the multi-function control lever to the extreme top posi-
tion. If all doors are closed and only the liftgate is open,
pushing on the cargo light lens surface will turn off all
interior lamps. Push on the lens surface a second time to
restore the interior lights to normal operation.
Rear Storage Compartment
The rear storage compartment is located on the driver’s
side behind the second row seat.
Rear Storage Compartment
UNDERSTANDING THE FEATURES OF YOUR VEHICLE 165
3
Page 166 of 448

Retractable Cargo Area Cover—If Equipped
NOTE:The purpose of this cover is for privacy, not to
secure loads. It will not prevent cargo from shifting or
protect passengers from loose cargo.
To cover the cargo area:
1. Grasp the cover at the center handle. Pull it over the
cargo area.
2. Insert the pins on the ends of the cover into the slots in
the pillar trim cover.
3. The liftgate may be opened with the cargo cover in
place.
Rear Cargo Cover
166 UNDERSTANDING THE FEATURES OF YOUR VEHICLE
Page 167 of 448

WARNING!
In an accident a cargo cover loose in the vehicle
could cause injury. It could fly around in a sudden
stop and strike someone in the vehicle. Do not store
the cargo cover on the cargo floor or in the passenger
compartment. Remove the cover from the vehicle
when taken from its mounting. Do not store in the
vehicle.
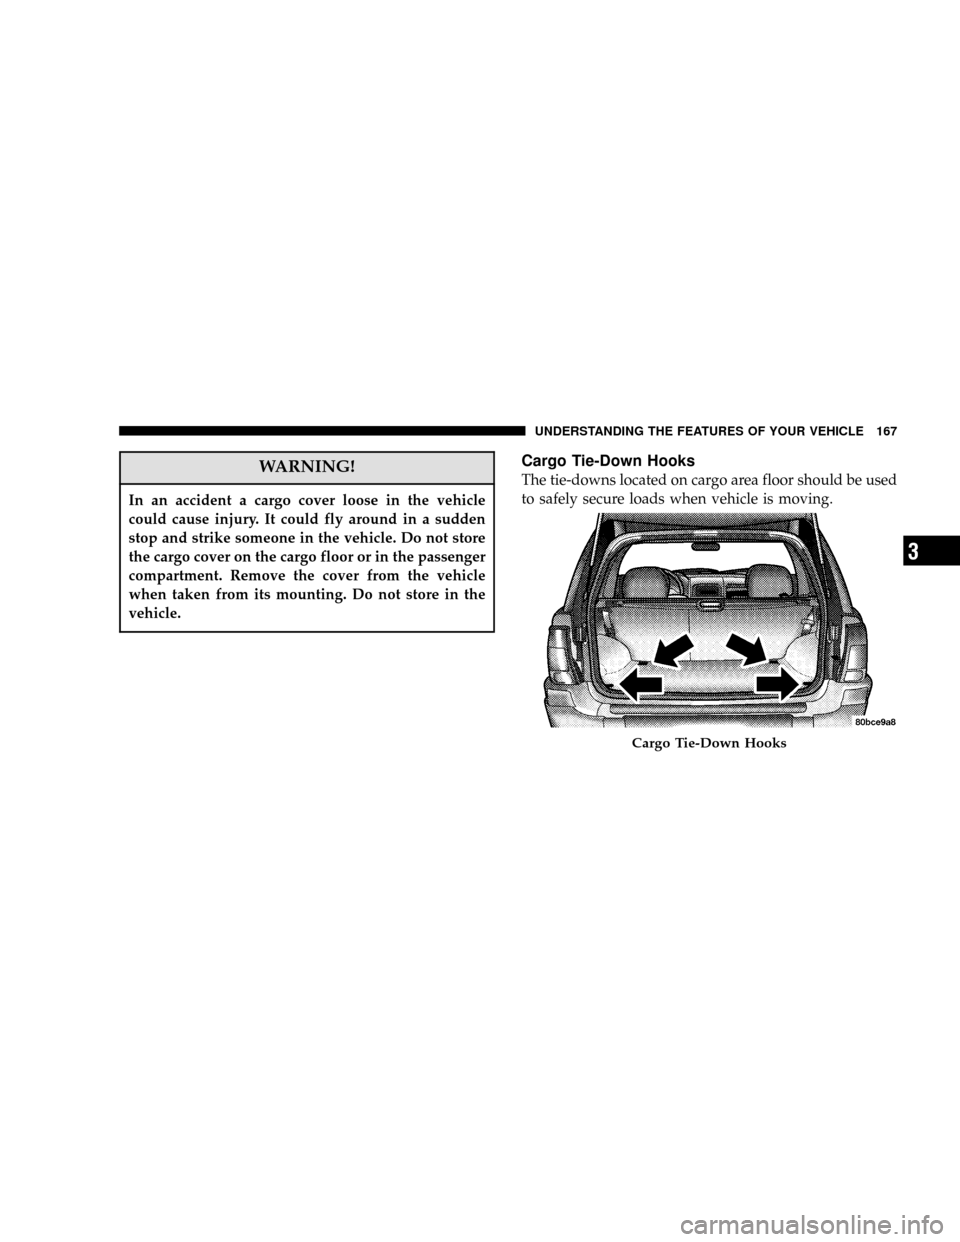
Cargo Tie-Down Hooks
The tie-downs located on cargo area floor should be used
to safely secure loads when vehicle is moving.
Cargo Tie-Down Hooks
UNDERSTANDING THE FEATURES OF YOUR VEHICLE 167
3
Page 168 of 448

WARNING!
Cargo tie-down hooks are not safe anchors for a
child seat tether strap. In a sudden stop or collision
a hook could pull loose and allow the child seat to
come loose. A child could be badly injured. Use only
the anchors provided for child seat tethers.
WARNING!
The weight and position of cargo and passengers can
change the vehicle center of gravity and vehicle
handling. To avoid loss of control resulting in per-
sonal injury, follow these guidelines for loading
your vehicle:
•Do not carry loads which exceed the load limits
described on the label attached to the left door or left
door center pillar.
•Always place cargo evenly on the cargo floor. Put
heavier objects as low and as far forward as possible.
•Place as much cargo as possible in front of the rear
axle. Too much weight or improperly placed weight
over or behind the rear axle can cause the rear of the
vehicle to sway.
•Do not pile luggage or cargo higher than the top of the
seatback. This could impair visibility or become a
dangerous projectile in a sudden stop or collision.
168 UNDERSTANDING THE FEATURES OF YOUR VEHICLE
Page 169 of 448

WARNING!
To help protect against personal injury, passengers
should not be seated in the rear cargo area. The rear
cargo space is intended for load carrying purposes
only, not for passengers, who should sit in seats and
use seat belts.
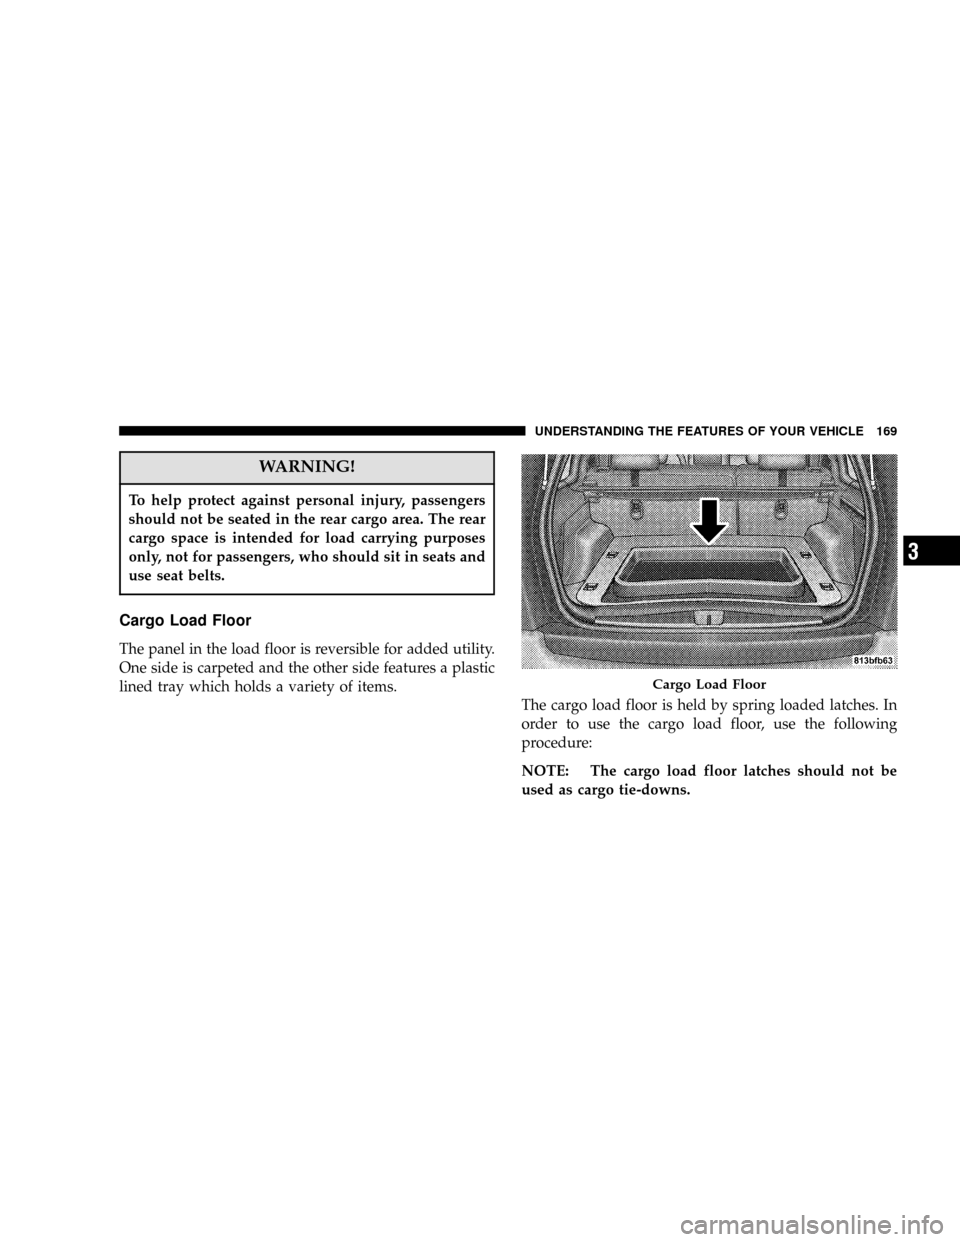
Cargo Load Floor
The panel in the load floor is reversible for added utility.
One side is carpeted and the other side features a plastic
lined tray which holds a variety of items.
The cargo load floor is held by spring loaded latches. In
order to use the cargo load floor, use the following
procedure:
NOTE: The cargo load floor latches should not be
used as cargo tie-downs.
Cargo Load Floor
UNDERSTANDING THE FEATURES OF YOUR VEHICLE 169
3
Page 170 of 448

1. Flip up pull loop(s) so they are perpendicular (straight
up) to the top surface of the tray.
2. Pull up on loop(s) and twist 90 degrees, so they are
parallel to the slotted hole in tray.
3. Lift tray over loop(s), and reposition tray.
4. Pull up on loop(s) and twist 90 degrees, so they are
perpendicular (straight up) to the slotted hole in tray.
5. Push loop(s) back down, so they are parallel to the top
of the tray.
REAR WINDOW FEATURES
Rear Window Wiper/Washer
A switch on the right side of the steering column controls
operation of the rear wiper/washer function. Rotating
the center of the switch up to the DEL (Delay) position or
the ON position will activate the wiper. Rotating the
center of the switch all the way up or down will turn onthe wash function. The wash pump will continue to
operate as long as the button is pressed. Upon release, the
wipers will cycle three times before returning to the set
position.
Rear Wiper/Washer Switch
170 UNDERSTANDING THE FEATURES OF YOUR VEHICLE