stop start JEEP GRAND CHEROKEE 2010 WK / 3.G User Guide
[x] Cancel search | Manufacturer: JEEP, Model Year: 2010, Model line: GRAND CHEROKEE, Model: JEEP GRAND CHEROKEE 2010 WK / 3.GPages: 84, PDF Size: 14.64 MB
Page 15 of 84
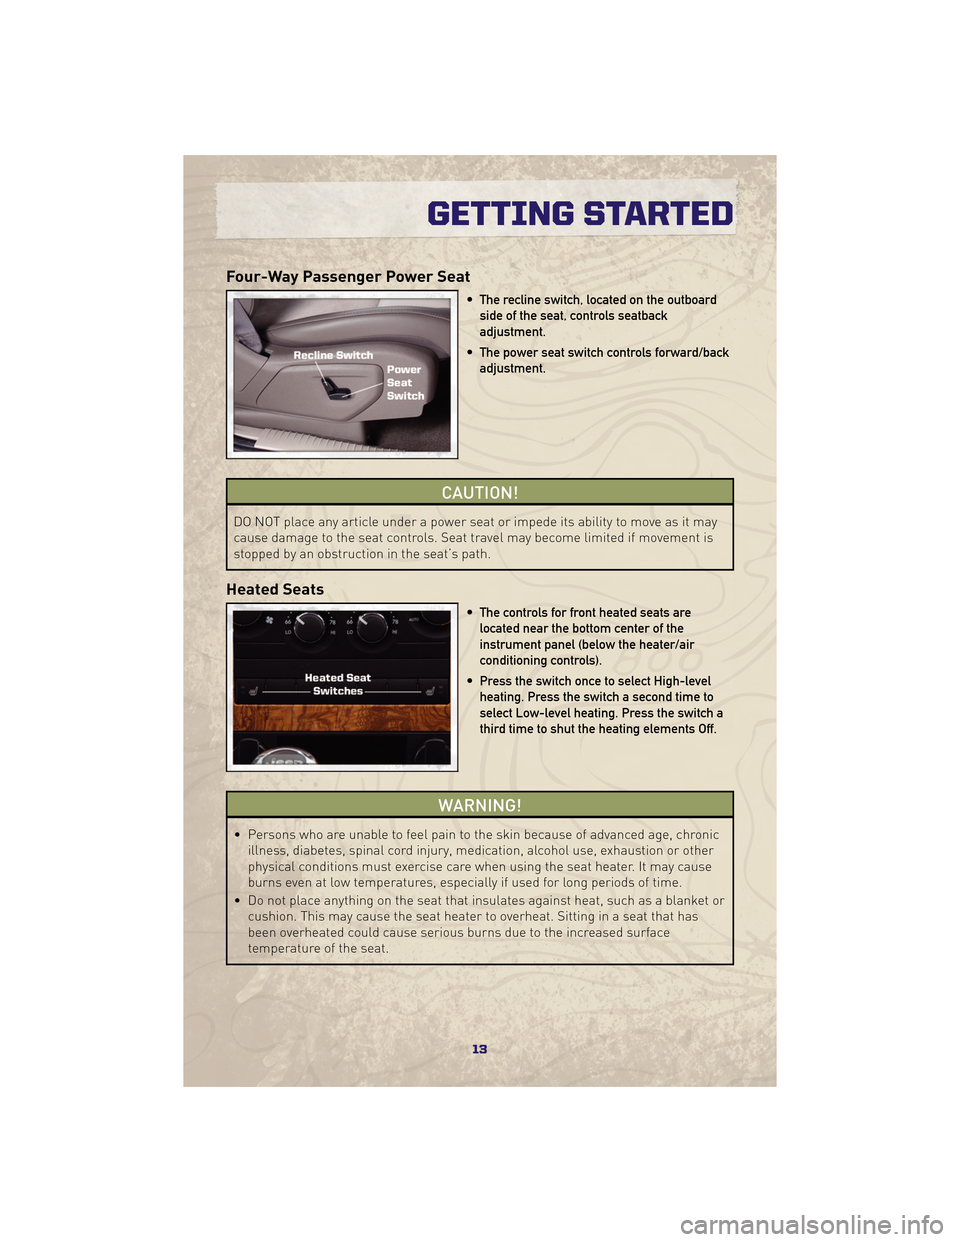
Four-Way Passenger Power Seat
• The recline switch, located on the outboardside of the seat, controls seatback
adjustment.
• The power seat switch controls forward/back adjustment.
CAUTION!
DO NOT place any article under a power seat or impede its ability to move as it may
cause damage to the seat controls. Seat travel may become limited if movement is
stopped by an obstruction in the seat’s path.
Heated Seats
• The controls for front heated seats arelocated near the bottom center of the
instrument panel (below the heater/air
conditioning controls).
• Press the switch once to select High-level heating. Press the switch a second time to
select Low-level heating. Press the switch a
third time to shut the heating elements Off.
WARNING!
• Persons who are unable to feel pain to the skin because of advanced age, chronic illness, diabetes, spinal cord injury, medication, alcohol use, exhaustion or other
physical conditions must exercise care when using the seat heater. It may cause
burns even at low temperatures, especially if used for long periods of time.
• Do not place anything on the seat that insulates against heat, such as a blanket or cushion. This may cause the seat heater to overheat. Sitting in a seat that has
been overheated could cause serious burns due to the increased surface
temperature of the seat.
13
GETTING STARTED
Page 18 of 84
• Pull upward on the lever to lock the column firmly in place.
WARNING!
Do not adjust the steering wheel while driving. The tilt/telescoping adjustment must
be locked while driving. Adjusting the steering wheel while driving or driving without
the tilt/telescoping adjustment locked could cause the driver to lose control of the
vehicle. Failure to follow this warning may result in serious injury or death.
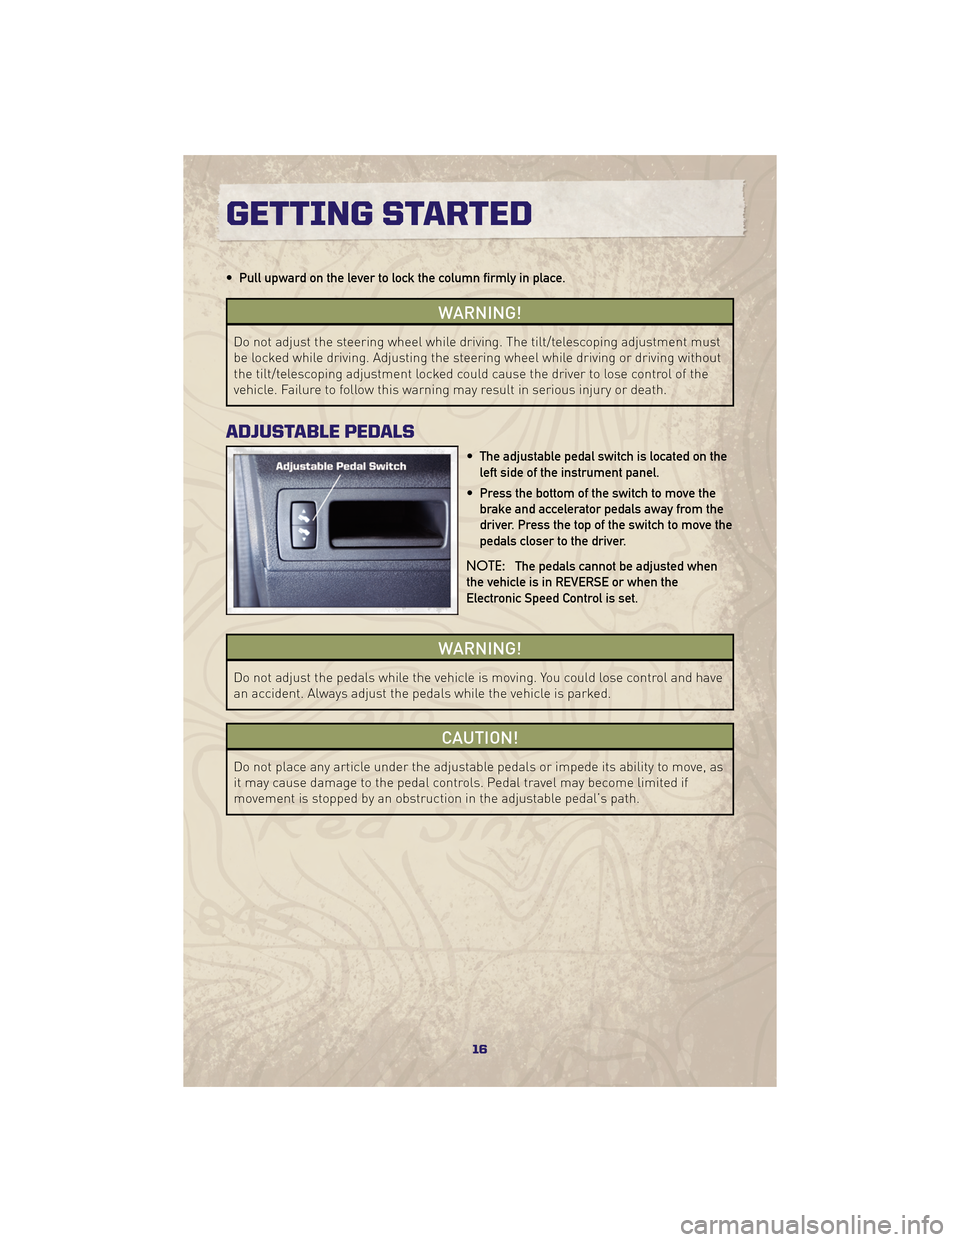
ADJUSTABLE PEDALS
• The adjustable pedal switch is located on theleft side of the instrument panel.
• Press the bottom of the switch to move the brake and accelerator pedals away from the
driver. Press the top of the switch to move the
pedals closer to the driver.
NOTE: The pedals cannot be adjusted when
the vehicle is in REVERSE or when the
Electronic Speed Control is set.
WARNING!
Do not adjust the pedals while the vehicle is moving. You could lose control and have
an accident. Always adjust the pedals while the vehicle is parked.
CAUTION!
Do not place any article under the adjustable pedals or impede its ability to move, as
it may cause damage to the pedal controls. Pedal travel may become limited if
movement is stopped by an obstruction in the adjustable pedal’s path.
GETTING STARTED
16
Page 42 of 84
Shifting Procedures
4WD HI To 4WD LOW
• With the vehicle at speeds of 0 to 3 mph(0 to 5 km/h), key ON or engine
running, shift the transmission into
NEUTRAL, and raise the transfer case
T-handle. The “4WD LOW” indicator
light in the instrument cluster will
begin to flash and remain on solid
when the shift is complete. Release the
T-handle.
• Shifting into or out of 4WD LOW is possible with the vehicle completely
stopped; however, difficulty may occur
due to the mating clutch teeth not being
properly aligned. Several attempts may
be required for clutch teeth alignment
and shift completion to occur. The
preferred method is with the vehicle
rolling 0 to 3 mph (0 to 5 km/h). If the
vehicle is moving faster than 3 mph
(5 km/h), the transfer case will not
allow the shift.
4WD LOW To 4WD HI
• With the vehicle at speeds of 0 to 3 mph(0 to 5 km/h), key ON or engine
running, shift the transmission into
NEUTRAL, and raise the transfer case
T-handle. The “4WD LOW” indicator
light in the instrument cluster will flash
and go out when the shift is complete.
Release the T-handle.
NEUTRAL Shift Procedure
• Key ON, engine off.
• Vehicle stopped, with foot on brake.
• Place the transmission into NEUTRAL.
• Hold down the NEUTRAL “pin” switch
(with a pen, etc.) for four seconds until
the LED light by the switch starts to
blink indicating shift in progress. The
light will stop blinking (stay on solid)
when the NEUTRAL shift is complete. A
“4WD SYSTEM IN NEUTRAL” message
will display on the Electronic Vehicle
Information Center (EVIC).
• Repeat these Steps to shift out of NEUTRAL.
OFF-ROAD CAPABILITIES
40
Page 45 of 84
RECREATIONAL TOWING
(BEHIND MOTORHOME,
ETC.)
Towing - Two-Wheel Drive
Models
• Recreational towing is allowed ONLY ifthe driveshaft is removed. Towing with
the rear wheels on the ground while
the driveshaft is connected can result
in severe transmission damage.
WARNING!
If the driveshaft is removed, the
vehicle can roll even if the
transmission is in PARK, which could
cause serious injury or death.
• The parking brake must be firmly engaged and the wheels chocked
during driveshaft removal and
installation. The parking brake must
remain engaged unless the vehicle is
securely and properly connected to the
tow vehicle, or the driveshaft is
completely reinstalled. See your
authorized dealer for proper driveshaft
removal and reinstallation procedures,
including flange orientation/alignment,
use of thread-locking compound,
proper bolt torque specifications, etc.
Towing - Quadra-Trac I®
(Single-Speed Transfer Case)
Four-Wheel Drive Models
• Recreational towing is not allowed. Thismodel does not have a NEUTRAL
position in the transfer case.
Towing - Quadra-Trac II®
/Quadra-Drive II®Four-Wheel
Drive Models
• Depress the brake pedal and turn the
ignition switch ON with the engine shut
off.
• Shift the transmission into NEUTRAL.
• Shift the transfer case into NEUTRAL by holding down the NEUTRAL Pin
switch for four seconds until the LED
starts to blink. The LED will stop
blinking and remain on when the shift
is complete.
• Start the engine and shift into DRIVE to ensure there is no vehicle movement.
• Shut the engine off and shift the transmission into PARK.
• Place the ignition switch in the OFF position and remove the key.
• Apply the parking brake, attach the vehicle to the tow vehicle with a tow
bar and release the parking brake.
• Refer to your Owner's Manual on the DVD for further details.
43
UTILITY
Page 48 of 84
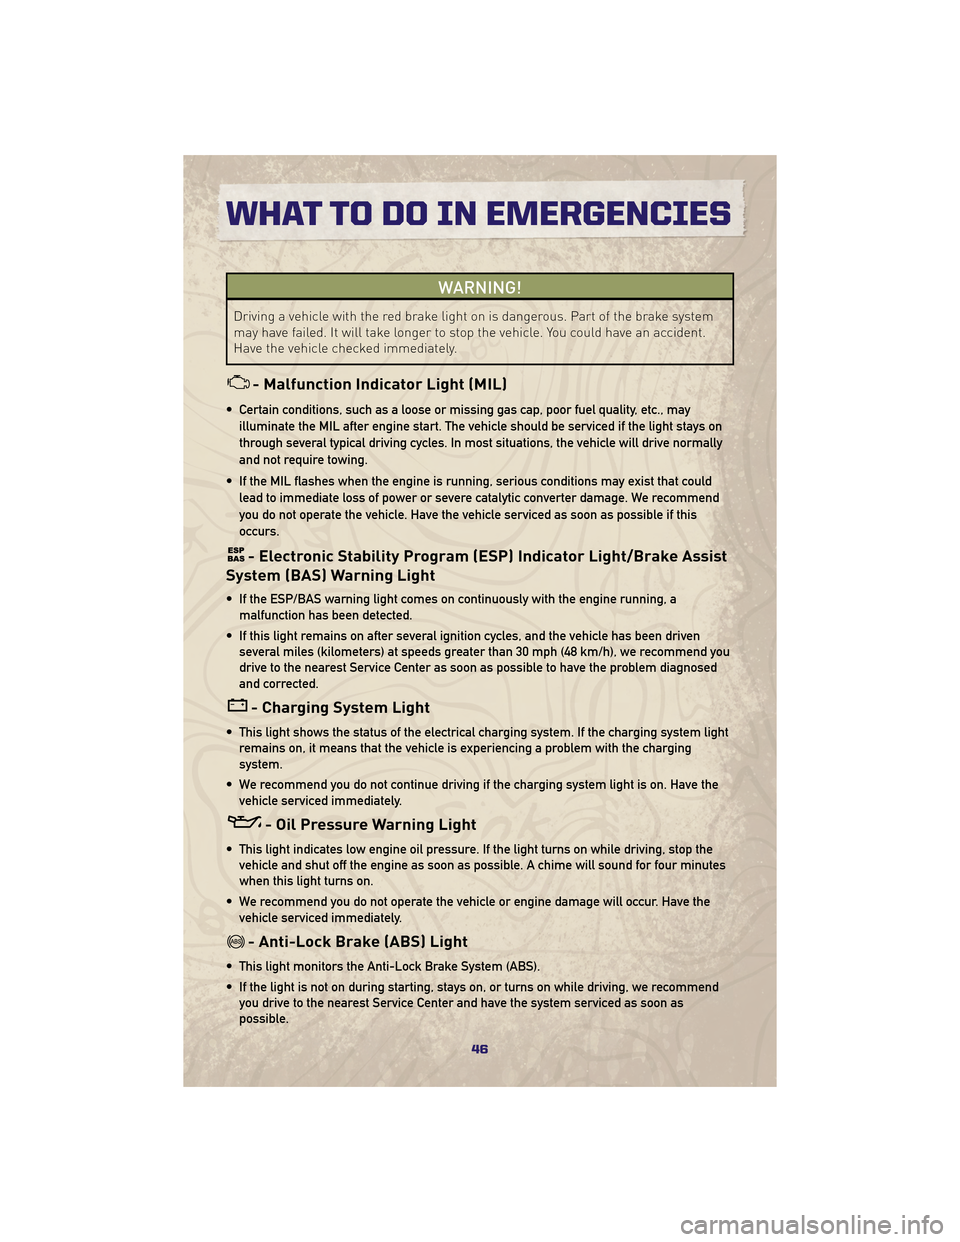
WARNING!
Driving a vehicle with the red brake light on is dangerous. Part of the brake system
may have failed. It will take longer to stop the vehicle. You could have an accident.
Have the vehicle checked immediately.
- Malfunction Indicator Light (MIL)
• Certain conditions, such as a loose or missing gas cap, poor fuel quality, etc., mayilluminate the MIL after engine start. The vehicle should be serviced if the light stays on
through several typical driving cycles. In most situations, the vehicle will drive normally
and not require towing.
• If the MIL flashes when the engine is running, serious conditions may exist that could lead to immediate loss of power or severe catalytic converter damage. We recommend
you do not operate the vehicle. Have the vehicle serviced as soon as possible if this
occurs.
- Electronic Stability Program (ESP) Indicator Light/Brake Assist
System (BAS) Warning Light
• If the ESP/BAS warning light comes on continuously with the engine running, a malfunction has been detected.
• If this light remains on after several ignition cycles, and the vehicle has been driven several miles (kilometers) at speeds greater than 30 mph (48 km/h), we recommend you
drive to the nearest Service Center as soon as possible to have the problem diagnosed
and corrected.
- Charging System Light
• This light shows the status of the electrical charging system. If the charging system lightremains on, it means that the vehicle is experiencing a problem with the charging
system.
• We recommend you do not continue driving if the charging system light is on. Have the vehicle serviced immediately.
- Oil Pressure Warning Light
• This light indicates low engine oil pressure. If the light turns on while driving, stop thevehicle and shut off the engine as soon as possible. A chime will sound for four minutes
when this light turns on.
• We recommend you do not operate the vehicle or engine damage will occur. Have the vehicle serviced immediately.
- Anti-Lock Brake (ABS) Light
• This light monitors the Anti-Lock Brake System (ABS).
• If the light is not on during starting, stays on, or turns on while driving, we recommendyou drive to the nearest Service Center and have the system serviced as soon as
possible.
WHAT TO DO IN EMERGENCIES
46
Page 49 of 84
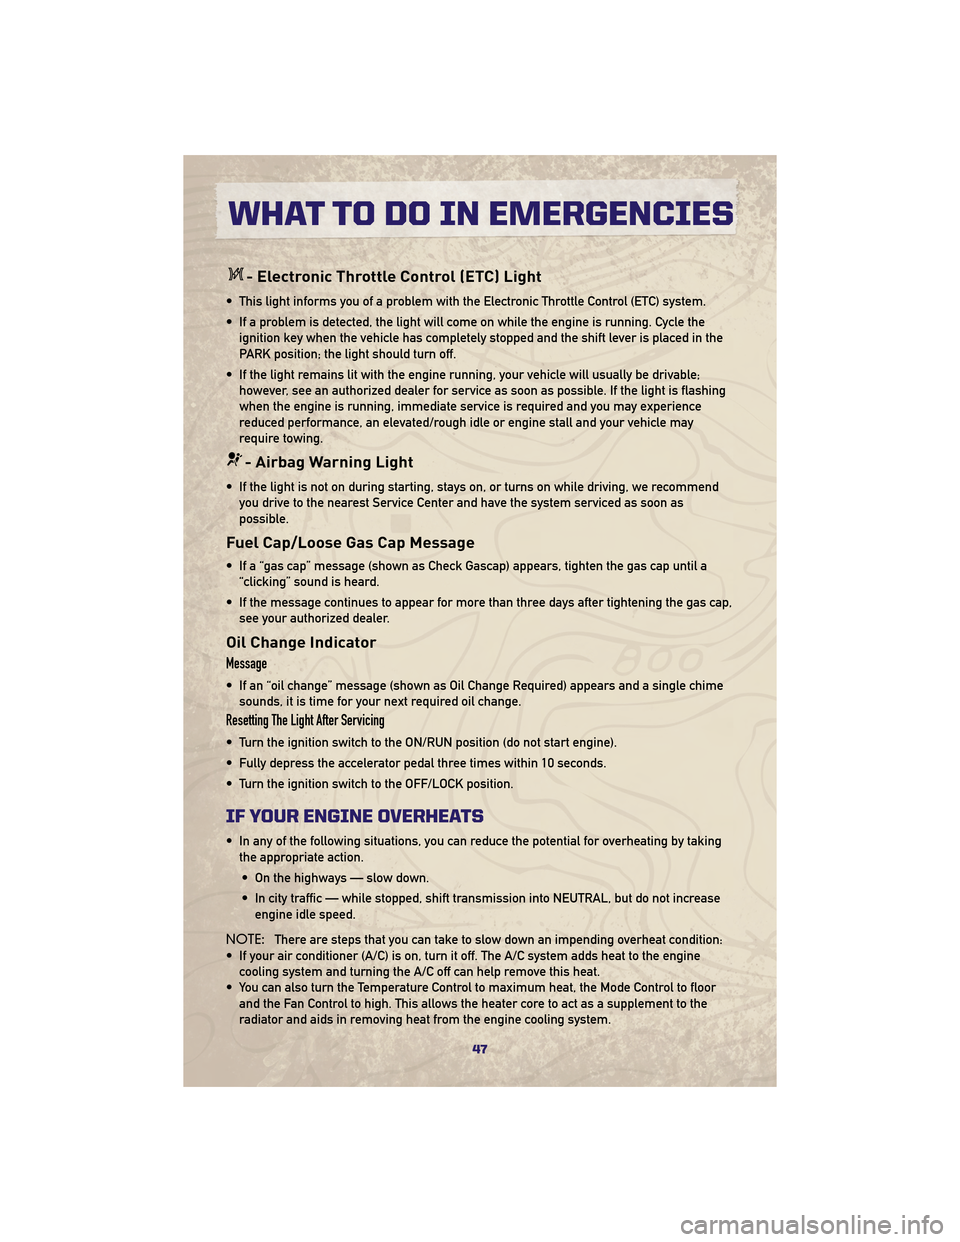
- Electronic Throttle Control (ETC) Light
• This light informs you of a problem with the Electronic Throttle Control (ETC) system.
• If a problem is detected, the light will come on while the engine is running. Cycle theignition key when the vehicle has completely stopped and the shift lever is placed in the
PARK position; the light should turn off.
• If the light remains lit with the engine running, your vehicle will usually be drivable; however, see an authorized dealer for service as soon as possible. If the light is flashing
when the engine is running, immediate service is required and you may experience
reduced performance, an elevated/rough idle or engine stall and your vehicle may
require towing.
- Airbag Warning Light
• If the light is not on during starting, stays on, or turns on while driving, we recommendyou drive to the nearest Service Center and have the system serviced as soon as
possible.
Fuel Cap/Loose Gas Cap Message
• If a “gas cap” message (shown as Check Gascap) appears, tighten the gas cap until a“clicking” sound is heard.
• If the message continues to appear for more than three days after tightening the gas cap, see your authorized dealer.
Oil Change Indicator
Message
• If an “oil change” message (shown as Oil Change Required) appears and a single chimesounds, it is time for your next required oil change.
Resetting The Light After Servicing
• Turn the ignition switch to the ON/RUN position (do not start engine).
• Fully depress the accelerator pedal three times within 10 seconds.
• Turn the ignition switch to the OFF/LOCK position.
IF YOUR ENGINE OVERHEATS
• In any of the following situations, you can reduce the potential for overheating by takingthe appropriate action.
• On the highways — slow down.
• In city traffic — while stopped, shift transmission into NEUTRAL, but do not increase engine idle speed.
NOTE: There are steps that you can take to slow down an impending overheat condition:
• If your air conditioner (A/C) is on, turn it off. The A/C system adds heat to the engine cooling system and turning the A/C off can help remove this heat.
• You can also turn the Temperature Control to maximum heat, the Mode Control to floor and the Fan Control to high. This allows the heater core to act as a supplement to the
radiator and aids in removing heat from the engine cooling system.
47
WHAT TO DO IN EMERGENCIES