warning light JEEP GRAND CHEROKEE 2012 WK2 / 4.G SRT User Guide
[x] Cancel search | Manufacturer: JEEP, Model Year: 2012, Model line: GRAND CHEROKEE, Model: JEEP GRAND CHEROKEE 2012 WK2 / 4.GPages: 572, PDF Size: 8.69 MB
Page 111 of 572
Outside Mirrors
To receive maximum benefit, adjust the outside mirrors
to center on the adjacent lane of traffic with a slight
overlap of the view obtained on the inside mirror.
WARNING!
Vehicles and other objects seen in the passenger side
convex mirror will look smaller and farther away
than they really are. Relying too much on your
passenger side convex mirror could cause you to
collide with another vehicle or other object. Use your
inside mirror when judging the size or distance of a
vehicle seen in the passenger side convex mirror.
Some vehicles will not have a convex passenger side
mirror.
Outside Mirrors Folding Feature
All outside mirrors are hinged and may be moved either
forward or rearward to resist damage. The hinges have
three detent positions: full forward, full rearward and
normal.
Outside Automatic Dimming Mirrors — If
Equipped
The drivers outside mirror will automatically adjust for
glare from vehicles behind you. This feature is controlled
by the inside automatic dimming mirror and can be
turned on or off by pressing the button at the base of the
inside mirror. The mirrors will automatically adjust for
headlight glare when the inside mirror adjusts.
Outside Power Mirrors
The power mirror switch is located on the driver’s side
door trim panel.
The power mirror controls consist of mirror select but-
tons and a four-way mirror control switch. To adjust a
3
UNDERSTANDING THE FEATURES OF YOUR VEHICLE 109
Page 126 of 572

If the phone is not reachable and the Uconnect™ Phone is
operational, you may reach the emergency number as
follows:
•Press thebutton to begin.
•After the “Ready” prompt and the following beep, say
“Emergency” and the Uconnect™ Phone will instruct
the paired mobile phone to call the emergency num-
ber. This feature is supported in the U.S., Canada, and
Mexico.
NOTE:
•The emergency number dialed is based on the country
where the vehicle is purchased (911 for the U.S. and
Canada and 060 for Mexico). The number dialed may
not be applicable with the available mobile service and
area.
•If supported, this number may be programmable on
some systems. To do this, press the
button and
say “Setup”, followed by “Emergency”.
•The Uconnect™ Phone does slightly lower your
chances of successfully making a phone call as to that
for the mobile phone directly.
WARNING!
To use your Uconnect™ Phone System in an emer-
gency, your mobile phone must be:
•turned on,
•paired to the Uconnect™ System,
•and have network coverage.
124 UNDERSTANDING THE FEATURES OF YOUR VEHICLE
Page 149 of 572

When the vehicle is started, the BSM warning light will
momentarily illuminate in both outside rear view mirrors
to let the driver know that the system is operational. The
BSM system sensors operate when the vehicle is in any
forward gear or REVERSE and enters stand by mode
when the vehicle is in PARK.
The BSM detection zone covers approximately one lane
on both sides of the vehicle (11 ft or 3.35 m). The zone
starts at the outside rear view mirror and extends ap-
proximately 20 ft (6 m) to the rear of the vehicle. The BSM
system monitors the detection zones on both sides of the
vehicle when the vehicle speed has reached approxi-
mately 6 mph (10 km/h) or higher and will alert the
driver of vehicles in these areas.NOTE:
•The BSM system does NOT alert the driver about
rapidly approaching vehicles that are outside the
detection zones.
•The BSM system detection zone DOES NOT change if
your vehicle is towing a trailer. Therefore, visually
verify the adjacent lane is clear for both your vehicle
and trailer before making a lane change. If the trailer
or other object (i.e., bicycle, sports equipment) extends
beyond the side of your vehicle, this may result in the
BSM warning light remaining illuminated the entire
time the vehicle is in a forward gear.3
UNDERSTANDING THE FEATURES OF YOUR VEHICLE 147
Page 150 of 572
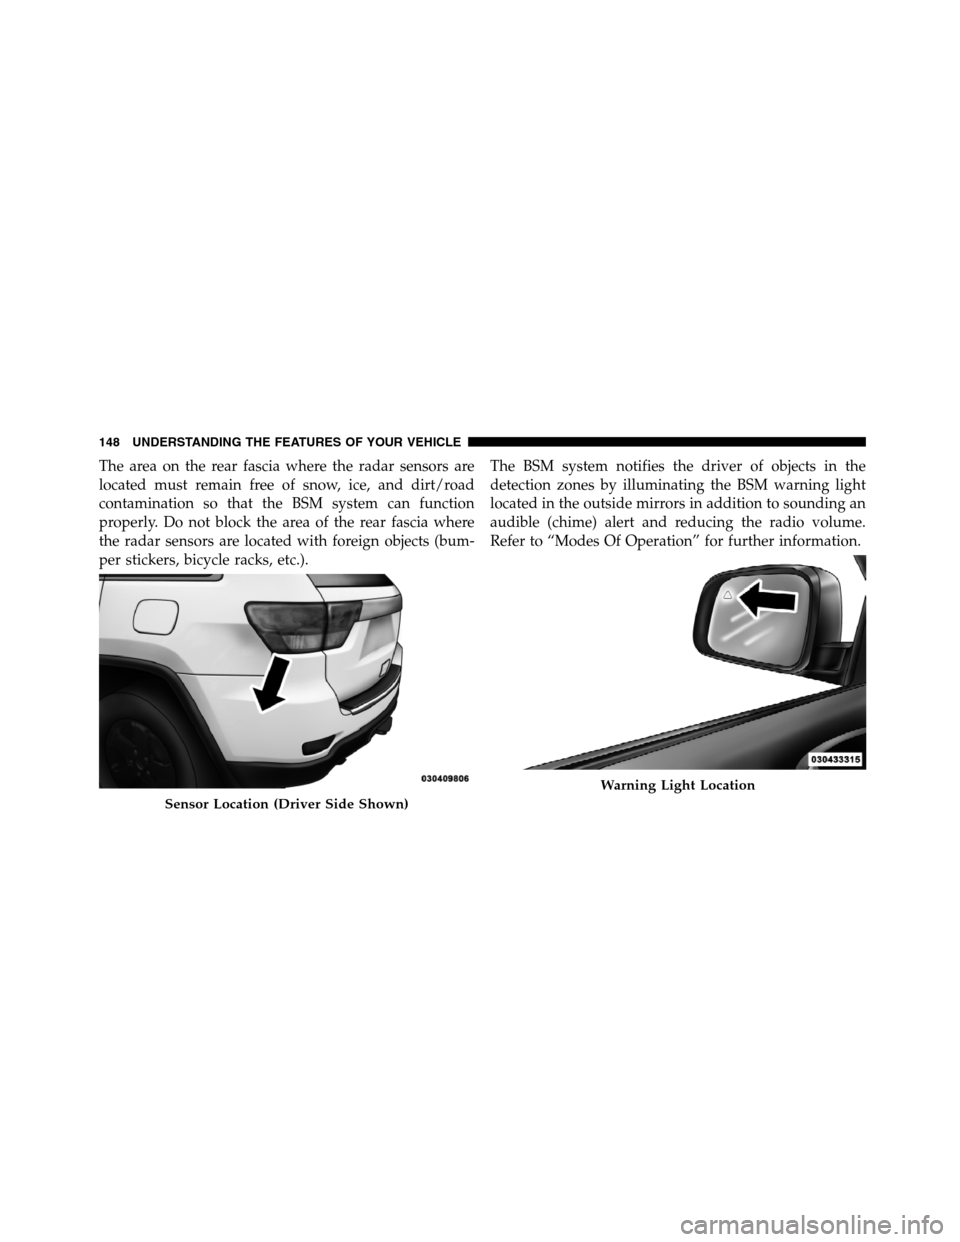
The area on the rear fascia where the radar sensors are
located must remain free of snow, ice, and dirt/road
contamination so that the BSM system can function
properly. Do not block the area of the rear fascia where
the radar sensors are located with foreign objects (bum-
per stickers, bicycle racks, etc.).The BSM system notifies the driver of objects in the
detection zones by illuminating the BSM warning light
located in the outside mirrors in addition to sounding an
audible (chime) alert and reducing the radio volume.
Refer to “Modes Of Operation” for further information.
Sensor Location (Driver Side Shown)
Warning Light Location
148 UNDERSTANDING THE FEATURES OF YOUR VEHICLE
Page 152 of 572
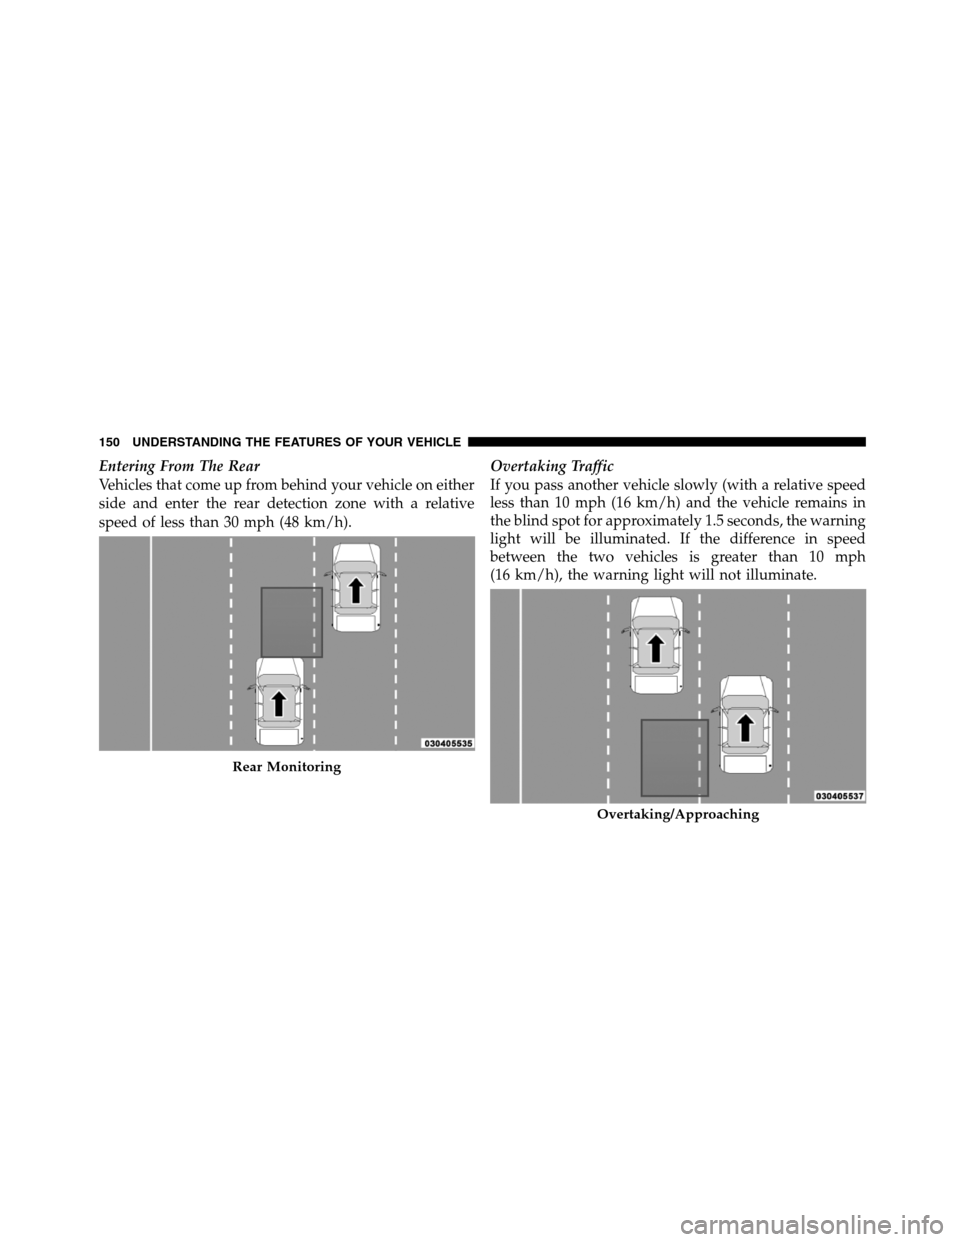
Entering From The Rear
Vehicles that come up from behind your vehicle on either
side and enter the rear detection zone with a relative
speed of less than 30 mph (48 km/h).Overtaking Traffic
If you pass another vehicle slowly (with a relative speed
less than 10 mph (16 km/h) and the vehicle remains in
the blind spot for approximately 1.5 seconds, the warning
light will be illuminated. If the difference in speed
between the two vehicles is greater than 10 mph
(16 km/h), the warning light will not illuminate.
Rear Monitoring
Overtaking/Approaching
150 UNDERSTANDING THE FEATURES OF YOUR VEHICLE
Page 165 of 572
WARNING!
•Persons who are unable to feel pain to the skin
because of advanced age, chronic illness, diabetes,
spinal cord injury, medication, alcohol use, ex-
haustion or other physical condition must exercise
care when using the seat heater. It may cause burns
even at low temperatures, especially if used for
long periods of time.
•Do not place anything on the seat that insulates
against heat, such as a blanket or cushion. This
may cause the seat heater to overheat. Sitting in a
seat that has been overheated could cause serious
burns due to the increased surface temperature of
the seat.
Vehicles Equipped with Remote Start
On models that are equipped with remote start, the
driver ’s heated seat and heated steering wheel can beprogrammed to come on during a remote start. Refer to
“Remote Starting System — If Equipped” in “Things To
Know Before Starting Your Vehicle” for further informa-
tion.
Front Heated Seats
There are two heated seat switches that allow the driver
and passenger to operate the seats independently. The
controls for each heater are located near the bottom
center of the instrument panel (below the climate con-
trols).
You can choose from HIGH, LOW or OFF heat settings.
Amber indicator lights in each switch indicate the level of
heat in use. Two indicator lights will illuminate for
HIGH, one for LOW and none for OFF.
Press the switch once to select HIGH-level
heating. Press the switch a second time to select
LOW-level heating. Press the switch a third
time to shut the heating elements OFF.3
UNDERSTANDING THE FEATURES OF YOUR VEHICLE 163
Page 198 of 572
NOTE:For vehicles equipped with Driver Memory
Seat, you can use your Remote Keyless Entry (RKE)
transmitter or the memory switch on the driver’s door
trim panel to return the tilt/telescopic steering column to
pre-programmed positions. Refer to “Driver Memory
Seat” in this section for further information.
WARNING!
Do not adjust the steering column while driving.
Adjusting the steering column while driving or driv-
ing with the steering column unlocked, could cause
the driver to lose control of the vehicle. Be sure the
steering column is locked before driving your ve-
hicle. Failure to follow this warning may result in
serious injury or death.
HEATED STEERING WHEEL — IF EQUIPPED
The steering wheel contains a heating element that helps
warm your hands in cold weather. The heated steeringwheel has only one temperature setting. Once the heated
steering wheel has been turned on it will operate for
approximately 58 to 70 minutes before automatically
shutting off. The heated steering wheel can shut off early
or may not turn on when the steering wheel is already
warm.
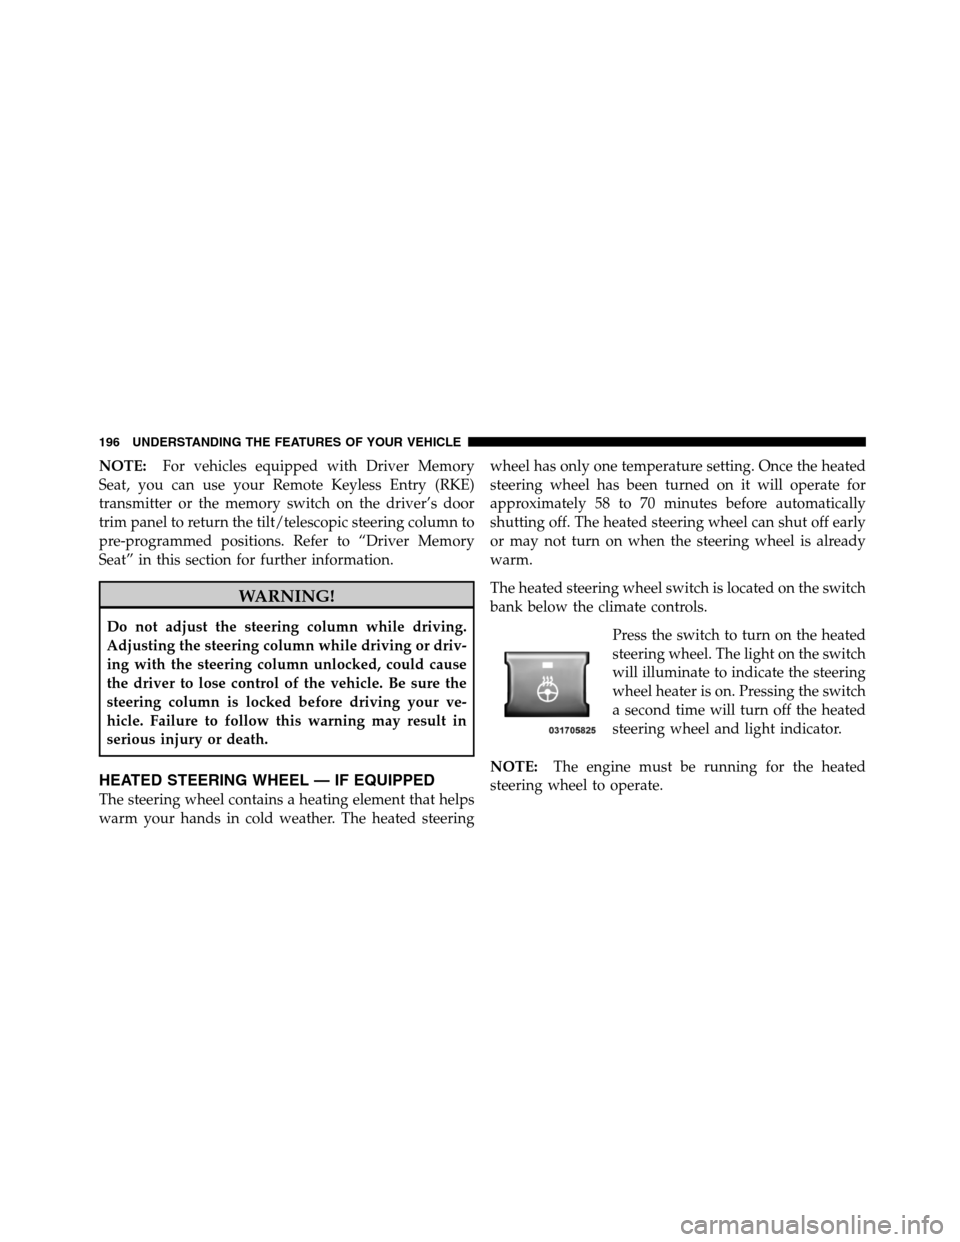
The heated steering wheel switch is located on the switch
bank below the climate controls.
Press the switch to turn on the heated
steering wheel. The light on the switch
will illuminate to indicate the steering
wheel heater is on. Pressing the switch
a second time will turn off the heated
steering wheel and light indicator.
NOTE:The engine must be running for the heated
steering wheel to operate.
196 UNDERSTANDING THE FEATURES OF YOUR VEHICLE
Page 201 of 572
System can be reactivated by pushing the Electronic
Speed Control ON/OFF button and resetting the desired
vehicle set speed.
To Activate
Push the ON/OFF button. The Cruise Indicator Light in
the instrument cluster will illuminate. To turn the system
off, push the ON/OFF button a second time. The Cruise
Indicator Light will turn off. The system should be
turned off when not in use.
WARNING!
Leaving the Electronic Speed Control system on
when not in use is dangerous. You could accidentally
set the system or cause it to go faster than you want.
You could lose control and have an accident. Always
leave the system OFF when you are not using it.
To Set A Desired Speed
Turn the Electronic Speed Control ON. When the vehicle
has reached the desired speed, press the SET (-) button
and release. Release the accelerator and the vehicle will
operate at the selected speed.
NOTE:The vehicle should be traveling at a steady
speed and on level ground before pressing the SET
button.
To Deactivate
A soft tap on the brake pedal, pushing the CANCEL
button, or normal brake pressure while slowing the
vehicle will deactivate Electronic Speed Control without
erasing the set speed memory. Pressing the ON/OFF
button or turning the ignition switch OFF erases the set
speed memory.
3
UNDERSTANDING THE FEATURES OF YOUR VEHICLE 199
Page 203 of 572
On steep hills, a greater speed loss or gain may occur so
it may be preferable to drive without Electronic Speed
Control.
WARNING!
Electronic Speed Control can be dangerous where the
system cannot maintain a constant speed. Your ve-
hicle could go too fast for the conditions, and you
could lose control and have an accident. Do not use
Electronic Speed Control in heavy traffic or on roads
that are winding, icy, snow-covered or slippery.
ADAPTIVE CRUISE CONTROL (ACC) — IF
EQUIPPED
Adaptive Cruise Control (ACC) increases the driving
convenience provided by cruise control while traveling
on highways and major roadways. However, it is not a
safety system and not designed to prevent collisions.
ACC will allow you to keep cruise control engaged in
light to moderate traffic conditions without the constant
need to reset your cruise control. ACC utilizes a radar
sensor designed to detect a vehicle directly ahead of you.
NOTE:
•If the sensor does not detect a vehicle ahead of you,
ACC will maintain a fixed set speed.
•If the ACC sensor detects a vehicle ahead, ACC will
apply limited braking or acceleration (not to exceed
the original set speed) automatically to maintain a
preset following distance, while matching the speed of
the vehicle ahead.
3
UNDERSTANDING THE FEATURES OF YOUR VEHICLE 201
Page 214 of 572
The maximum braking applied by ACC is limited; how-
ever, the driver can always apply the brakes manually, if
necessary.
NOTE:The brake lights will illuminate whenever the
ACC system applies the brakes.
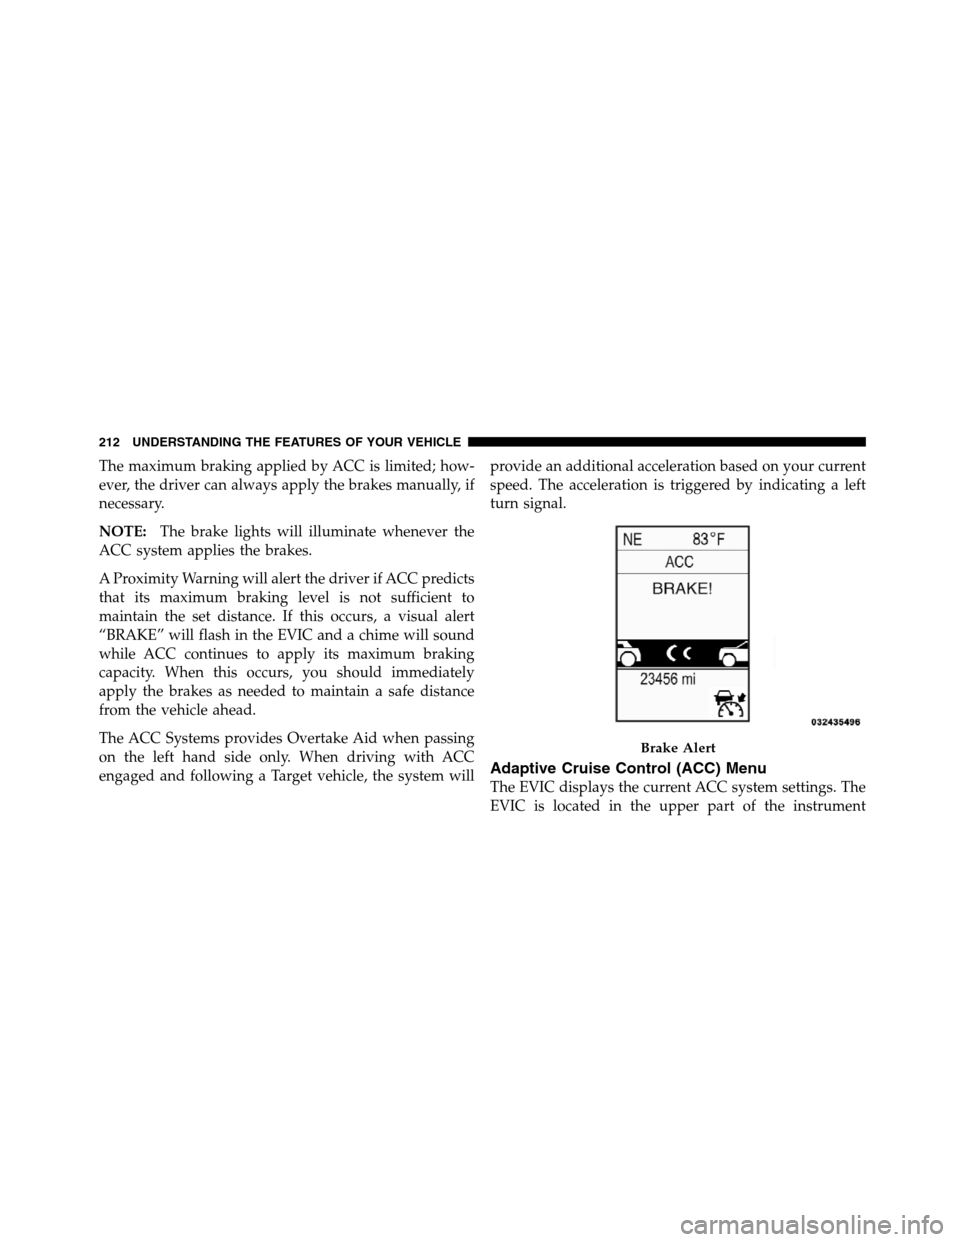
A Proximity Warning will alert the driver if ACC predicts
that its maximum braking level is not sufficient to
maintain the set distance. If this occurs, a visual alert
“BRAKE” will flash in the EVIC and a chime will sound
while ACC continues to apply its maximum braking
capacity. When this occurs, you should immediately
apply the brakes as needed to maintain a safe distance
from the vehicle ahead.
The ACC Systems provides Overtake Aid when passing
on the left hand side only. When driving with ACC
engaged and following a Target vehicle, the system willprovide an additional acceleration based on your current
speed. The acceleration is triggered by indicating a left
turn signal.
Adaptive Cruise Control (ACC) Menu
The EVIC displays the current ACC system settings. The
EVIC is located in the upper part of the instrument
Brake Alert
212 UNDERSTANDING THE FEATURES OF YOUR VEHICLE