stop start JEEP GRAND CHEROKEE 2012 WK2 / 4.G Owner's Manual
[x] Cancel search | Manufacturer: JEEP, Model Year: 2012, Model line: GRAND CHEROKEE, Model: JEEP GRAND CHEROKEE 2012 WK2 / 4.GPages: 148, PDF Size: 5.91 MB
Page 62 of 148
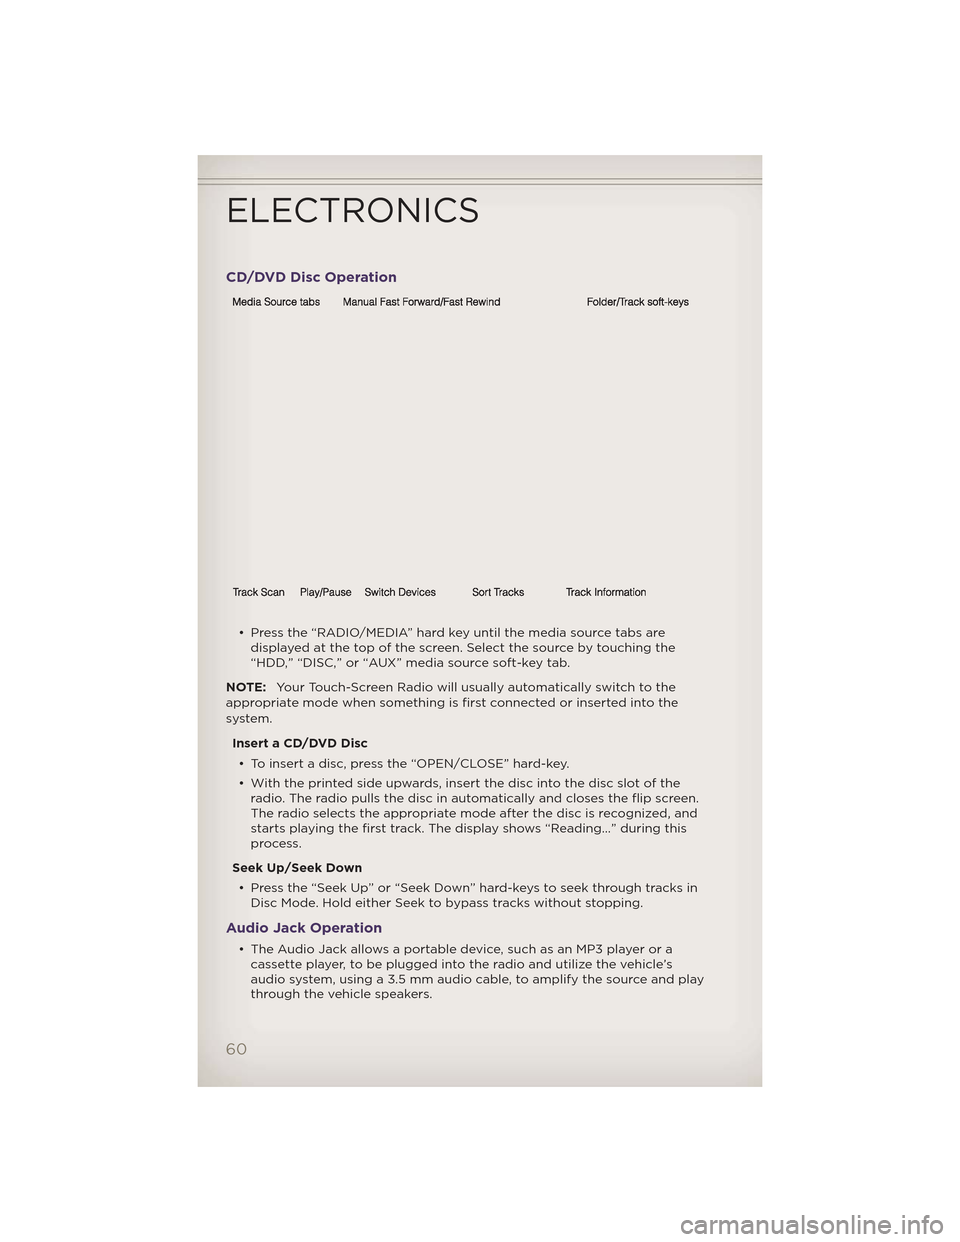
CD/DVD Disc Operation
• Press the “RADIO/MEDIA” hard key until the media source tabs aredisplayed at the top of the screen. Select the source by touching the
“HDD,” “DISC,” or “AUX” media source soft-key tab.
NOTE: Your Touch-Screen Radio will usually automatically switch to the
appropriate mode when something is first connected or inserted into the
system.
Insert a CD/DVD Disc• To insert a disc, press the “OPEN/CLOSE” hard-key.
• With the printed side upwards, insert the disc into the disc slot of the radio. The radio pulls the disc in automatically and closes the flip screen.
The radio selects the appropriate mode after the disc is recognized, and
starts playing the first track. The display shows “Reading...” during this
process.
Seek Up/Seek Down • Press the “Seek Up” or “Seek Down” hard-keys to seek through tracks in Disc Mode. Hold either Seek to bypass tracks without stopping.
Audio Jack Operation
• The Audio Jack allows a portable device, such as an MP3 player or acassette player, to be plugged into the radio and utilize the vehicle’s
audio system, using a 3.5 mm audio cable, to amplify the source and play
through the vehicle speakers.
ELECTRONICS
60
Page 77 of 148
Sirius XM™
Satellite Radio
Mode“Channel Number” (to change the channel by its spoken
number)
“Next Channel” (to select the next channel)
“Previous Channel” (to select the previous channel)
“List Channel” (to hear a list of available channels)
“Select Name” (to say the name of a channel)
“Radio Menu” (to switch to the radio menu)
“Main Menu” (to switch to the main menu)
Disc Mode “Track” (#) (to change the track) “Next Track” (to play the next track)
“Previous Track” (to play the previous track)
“Main Menu” (to switch to the main menu)
Memo Mode To switch to the voice recorder mode, say “Memo”. The following are common voice commands for this mode:
“New Memo” (to record a new memo) — During the
recording, you may press the Voice Command button
to stop recording. You proceed by saying one of
the following commands:
— “Save” (to save the memo)
— “Continue” (to continue recording)
— “Delete” (to delete the recording)
— “Play Memos” (to play previously recorded memos) —
During the playback you may press the Voice Command
button
to stop playing memos. You proceed by saying
one of the following commands:
— “Repeat” (to repeat a memo)
— “Next” (to play the next memo)
— “Previous” (to play the previous memo)
— “Delete” (to delete a memo)
— “Delete All” (to delete all memos)
SMS (Text Messaging)
• If equipped with Uconnect™ Voice Command, your Media Center 430N & 730N radios may be able to play incoming Short Message Service (SMS)
messages (text messages) through the vehicle's sound system.
• It also allows you to respond by selecting from various pre-defined phrases.
• Not all phones are compatible with this feature. Refer to the phone compatibility list at www.UconnectPhone.com. Connected mobile
phones must be bluetooth-compatible, and paired with your radio.
• Press the “Voice Command” button
and after the BEEP, say
“SMS” to get started.
NOTE: To access the tutorial, press the “Voice Command” button
.
After the BEEP, say “tutorial”. Press any hard-key/button or touch the display
(Touch-Screen radio) to cancel the tutorial.
ELECTRONICS
75
Page 90 of 148
• Park Mode (Lowers the vehicle approximately 1.5 in (38 mm) –This position lowers the vehicle for easier passenger entry and
exit. Press the “Down” button once from NRH while the vehicle
speed is below 25 mph (40 km/h). Once the vehicle speed
goes below 15 mph (24 km/h) the vehicle height will begin to
lower. The Indicator lamp on the “Down” button will be
illuminated when the vehicle is in Park Mode.
WARNING!
• You or others could be injured if you leave the vehicle unattendedwith the transfer case in the N (Neutral) position without first fully
engaging the parking brake. The transfer case N (Neutral) position
disengages both the front and rear driveshafts from the powertrain
and will allow the vehicle to move regardless of the transmission
position. The parking brake should always be applied when the
driver is not in the vehicle.
• The air suspension system uses a high pressure volume of air to operate the system. To avoid personal injury or damage to the
system, see your authorized dealer for service.
Hill Start Assist/Hill Descent Control
• The Hill Start Assist system assists the driver when starting a vehiclefrom a stop on a hill.
• The Hill Descent Control system maintains vehicle speed while descending hills during off-road driving situations and is available in
4WD HIGH range and 4WD LOW range.
• Refer to your Owner's Manual on the DVD for further details.
DOWN
PARK
OFF-ROAD CAPABILITIES
88
Page 92 of 148
TOW/HAUL MODE
• When driving in hilly areas, towing a trailer, carrying a heavy load, etc.,and frequent transmission shifting occurs, press the TOW/HAUL switch
to select TOW/HAUL mode. This will improve performance and reduce
the potential for transmission overheating or failure due to excessive
shifting. When operating in TOW/HAUL mode, transmission upshifts are
delayed, and the transmission will automatically downshift (for engine
braking) during steady braking maneuvers.
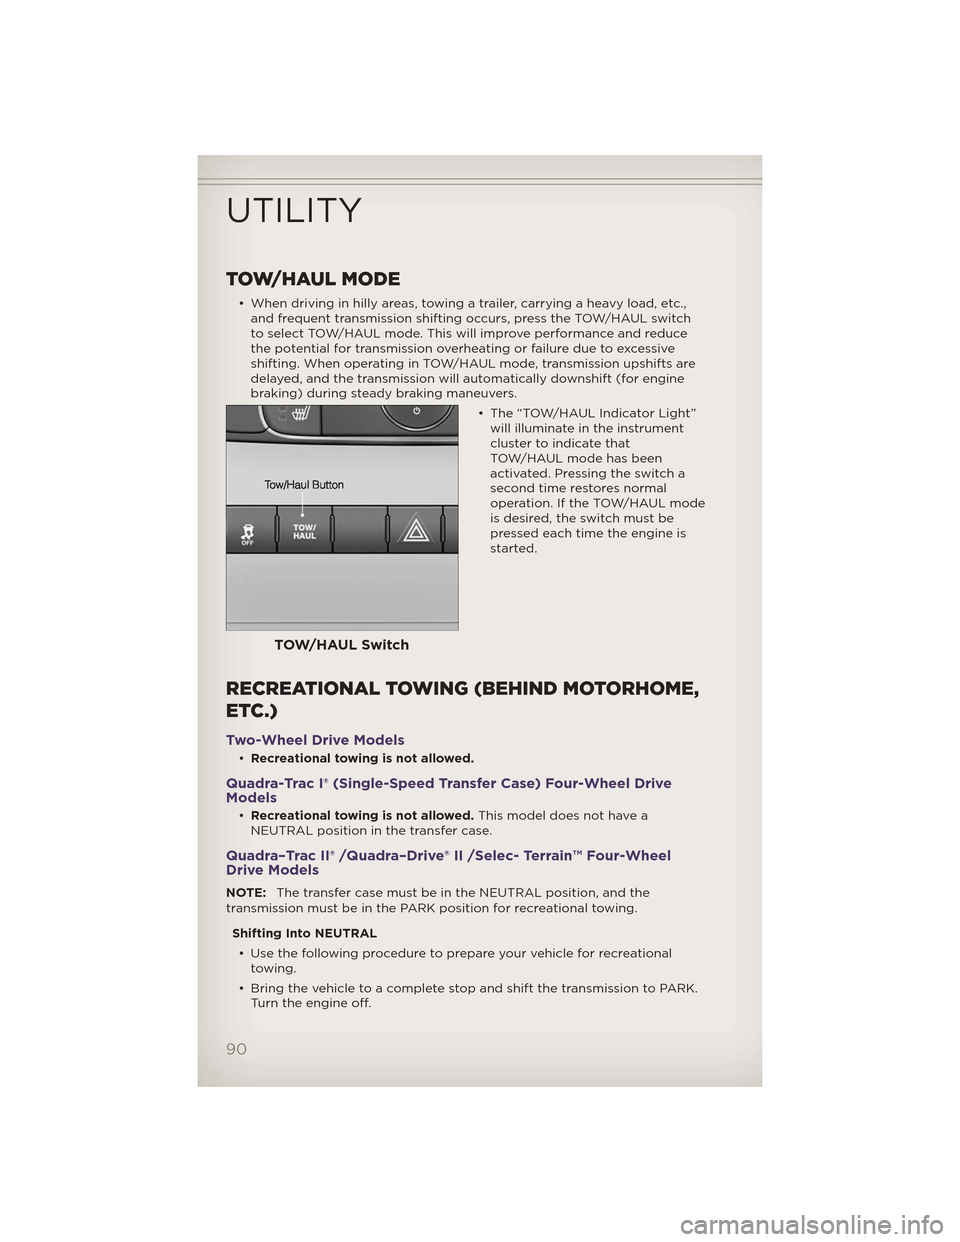
• The “TOW/HAUL Indicator Light”will illuminate in the instrument
cluster to indicate that
TOW/HAUL mode has been
activated. Pressing the switch a
second time restores normal
operation. If the TOW/HAUL mode
is desired, the switch must be
pressed each time the engine is
started.
RECREATIONAL TOWING (BEHIND MOTORHOME,
ETC.)
Two-Wheel Drive Models
•Recreational towing is not allowed.
Quadra-Trac I® (Single-Speed Transfer Case) Four-Wheel Drive
Models
•Recreational towing is not allowed. This model does not have a
NEUTRAL position in the transfer case.
Quadra–Trac II® /Quadra–Drive® II /Selec- Terrain™ Four-Wheel
Drive Models
NOTE: The transfer case must be in the NEUTRAL position, and the
transmission must be in the PARK position for recreational towing.
Shifting Into NEUTRAL• Use the following procedure to prepare your vehicle for recreational towing.
• Bring the vehicle to a complete stop and shift the transmission to PARK. Turn the engine off.
TOW/HAUL Switch
UTILITY
90
Page 93 of 148
• For vehicles with Keyless Enter-N-Go™, remove the Keyless Enter-N-Go™button and use the Key Fob to complete this procedure.
• Turn the ignition switch to the ON/RUN position, but do not start the engine.
• Press and hold the brake pedal and shift the transmission into NEUTRAL.
• Using a ballpoint pen or similar object, press and hold the recessed transfer case N (Neutral) button for four seconds, until the light next to
the N symbol starts to blink, indicating shift in progress. The light will
stop blinking (stay on solid) when the shift to N (Neutral) is complete. A
“FOUR WHEEL DRIVE SYSTEM IN NEUTRAL” message will display on
the EVIC (Electronic Vehicle Information Center).
• Start the engine and shift the transmission into REVERSE.
• Release the brake pedal for five seconds and ensure that there is no vehicle movement.
• Turn the engine off and firmly apply the parking brake.
• Shift the transmission into PARK and remove the Key Fob.
• Attach the vehicle to the tow vehicle using a suitable tow bar and release the parking brake.
NOTE: Vehicles equipped with Quadra-Lift™ must be lowered to the “Park”
(lowest) level, and have automatic leveling disabled, before tying them down
(from the body) on a trailer or a flatbed truck. Refer to “Quadra-Lift™” in
“Off-Road Capabilities” for more information. If the vehicle cannot be
lowered to the “Park” level (for example, engine will not run), tie-downs must
be fastened to the axles (not the body). Failure to follow these instructions
may cause fault codes to be set and/or loss of proper tie-down tension.
CAUTION!
• Towing with the rear wheels on the ground will cause severe transmission damage. Damage from improper towing is not covered
under the New Vehicle Limited Warranty.
• Front or rear wheel lifts should not be used. Internal damage to the transmission or transfer case will occur if a front or rear wheel lift is
used when recreational towing.
• It is necessary to follow these steps to be certain that the transfer case is fully in NEUTRAL before recreational towing to prevent
damage to internal parts.
UTILITY
91
Page 95 of 148
AUTOSTICK®
• AutoStick® is a driver-interactivetransmission feature that offers
manual gear shifting to provide
youwithmorecontrolofthe
vehicle. AutoStick® allows you to
maximize engine braking,
eliminate undesirable upshifts and
downshifts, and improve overall
vehicle performance.
• This system can also provide you with more control during passing,
city driving, cold slippery
conditions, mountain driving,
trailer towing, and many other
situations.
Operation
• When the shift lever is in the DRIVE position, the transmission willoperate automatically, shifting between the five available gears. To
engage AutoStick®, simply tap the shift lever to the right or left (+/-)
while in the DRIVE position, or tap one of the steering wheel-mounted
shift paddles (+/-). Tapping (-) to enter AutoStick® mode will downshift
the transmission to the next lower gear, while using (+) to enter
AutoStick® mode will retain the current gear. When AutoStick® is active,
the current transmission gear is displayed in the instrument cluster. In
AutoStick® mode, the transmission will shift up or down when (+/-) is
manually selected by the driver (using the shift lever, or the shift
paddles), unless an engine lugging or overspeed condition would result.
It will remain in the selected gear until another upshift or downshift is
chosen, except as described below:
• Normally, in AutoStick® mode, the transmission will automatically shift up when maximum engine speed is reached. If, h owever, AutoStick® is
engaged while in SPORT mode, the transmission will remain in the
selected gear even when maximum engine speed is reached. The
transmission will upshift only when commanded by the driver.
• The transmission will automatically downshift as the vehicle slows (to prevent engine lugging) and will display the current gear.
• The transmission will automatically downshift to first gear when coming to a stop. After a stop, the driver should manually upshift (+) the
transmission as the vehicle is accelerated.
• You can start out in first or second gear. Tapping (+) (at a stop) will allow starting in second gear. Starting out in second gear is helpful in
snowy or icy conditions.
• The system will ignore attempts to upshift at too low of a vehicle speed.
• Avoid using speed control when AutoStick® is engaged.
SRT8
93
Page 99 of 148
24-HOUR TOWING ASSISTANCE
• Dial toll-free 1-800-521-2779 or 1-800-363-4869 for Canadian residents.
• Provide your name, vehicle identification number and license platenumber.
• Provide your location, including telephone number, from which you are calling.
• Briefly describe the nature of the problem and answer a few simple questions.
• You will be given the name of the service provider and an estimated time of arrival. If you feel you are in an “unsafe situation”, please let us know.
With your consent, we will contact local police or safety authorities.
INSTRUMENT CLUSTER WARNING LIGHTS
- Tire Pressure Monitoring System (TPMS) Light
• Each tire, including the spare (if provided), should be checked monthly,when cold and inflated to the inflation pressure recommended by the
vehicle manufacturer on the vehicle placard or tire inflation pressure
label. (If your vehicle has tires of a different size than the size indicated
on the vehicle placard or tire inflation pressure label, you should
determine the proper tire inflation pressure for those tires.)
• As an added safety feature, your vehicle has been equipped with a Tire Pressure Monitoring System (TPMS) that illuminates a low tire pressure
telltale when one or more of your tires is significantly under-inflated.
Accordingly, when the low tire pressure telltale illuminates, you should
stop and check your tires as soon as possible, and inflate them to the
proper pressure. Driving on a significantly under-inflated tire causes the
tire to overheat and can lead to tire failure. Under-inflation also reduces
fuel efficiency and tire tread life, and may affect the vehicle’s handling
and stopping ability.
• IF THE LIGHT STARTS FLASHING INDICATING A LOW TIRE PRESSURE,
ADJUST THE AIR PRESSURE IN THE LOW TIRE TO THE AIR PRESSURE
SHOWN ON THE VEHICLE PLACARD OR TIRE INFLATION PRESSURE
LABEL LOCATED ON THE DRIVER'S DOOR. NOTE: AFTER INFLATION,
THE VEHICLE MAY NEED TO BE DRIVEN FOR 20 MINUTES BEFORE
THE FLASHING LIGHT WILL TURN OFF.
• Please note that the TPMS is not a substitute for proper tire maintenance, and it is the driver’s responsibility to maintain correct tire
pressure, even if under-inflation has not reached the level to trigger
illumination of the TPMS low tire pressure telltale.
WHAT TO DO IN EMERGENCIES
97
Page 100 of 148
• Your vehicle has also been equipped with a TPMS malfunction indicatorto indicate when the system is not operating properly. The TPMS
malfunction indicator is combined with the low tire pressure telltale.
When the system detects a malfunction, the telltale will flash for
approximately one minute and then remain continuously illuminated. This
sequence will continue each time the vehicle is restarted as long as the
malfunction exists.
• When the malfunction indicator is illuminated, the system may not be able to detect or signal low tire pressure as intended. TPMS malfunctions
may occur for a variety of reasons, including the installation of
replacement or alternate tires or wheels on the vehicle that prevent the
TPMS from functioning properly. Always check the TPMS malfunction
telltale after replacing one or more tires or wheels on your vehicle, to
ensure that the replacement or alternate tires and wheels allow the TPMS
to continue to function properly.
NOTE: Tire pressures change by approximately 1 psi (7 kPa) per 12° F (7° C)
of air temperature change. Keep this in mind when checking tire pressure
inside a garage, especially in the Winter. Example: If garage temperature is
68°F (20°C) and the outside temperature is 32°F (0°C), then the cold tire
inflation pressure should be increased by 3 psi (21 kPa), which equals 1 psi
(7 kPa) for every 12°F (7°C) for this outside temperature condition.
CAUTION!
The TPMS has been optimized for the original equipment tires and
wheels. TPMS pressures and warning have been established for the
tire size equipped on your vehicle. Undesirable system operation or
sensor damage may result when using replacement equipment that is
not of the same size, type, and/or style. Aftermarket wheels can cause
sensor damage. Do not use tire sealant from a can, or balance beads if
your vehicle is equipped with a TPMS, as damage to the sensors may
result.
BRAKE- Brake Warning Light
• The Brake Warning light illuminates when there is either a system malfunction or the parking brake is applied. If the light is on and the
parking brake is not applied, it indicates a possible brake hydraulic
malfunction, brake booster problem or an Anti-Lock Brake System
problem.
• Please have your vehicle serviced immediately.
WARNING!
Driving a vehicle with the red brake light on is dangerous. Part of the
brake system may have failed. It will take longer to stop the vehicle.
You could have a collision. Have the vehicle checked immediately.
WHAT TO DO IN EMERGENCIES
98
Page 101 of 148
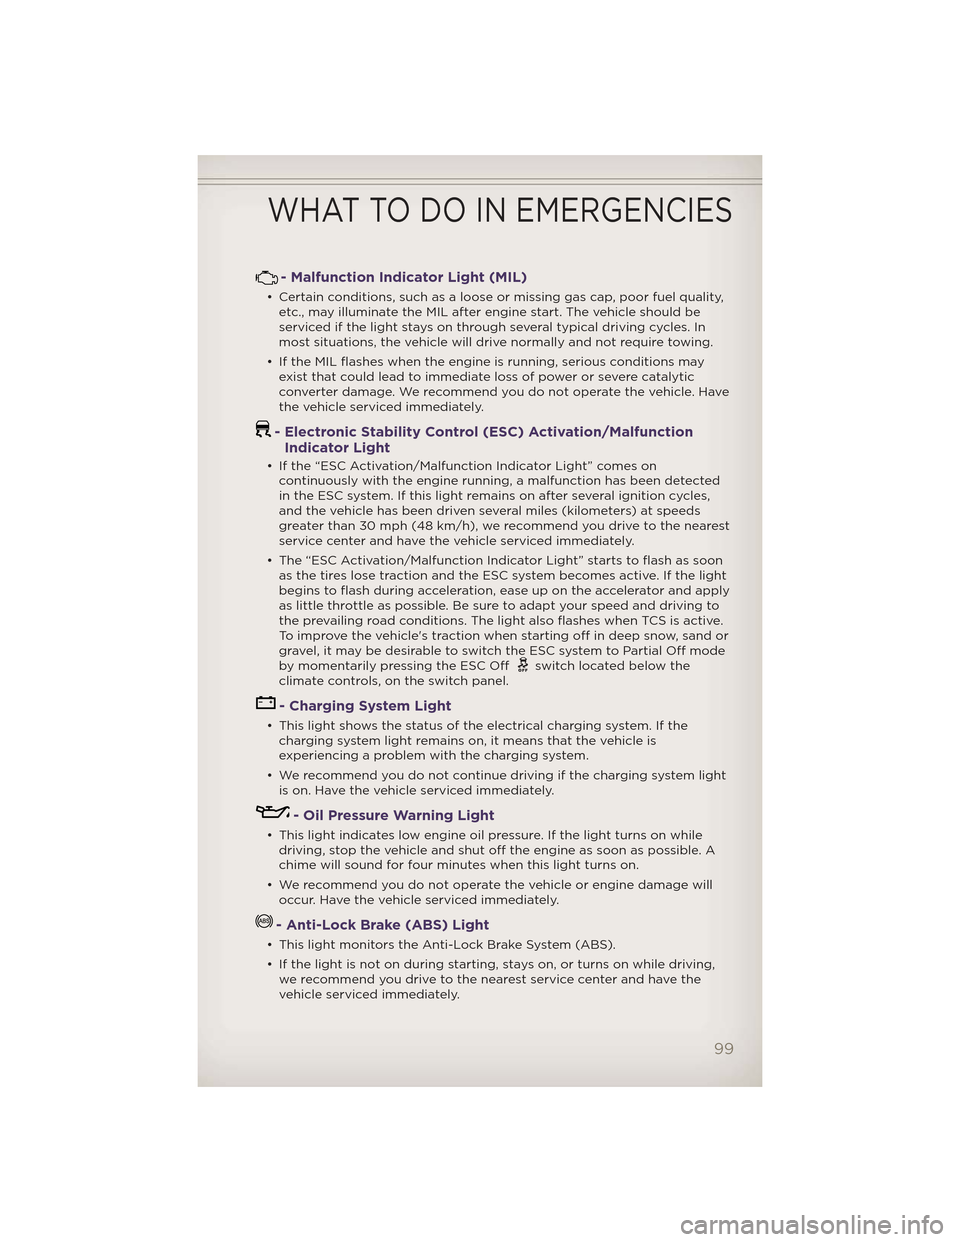
- Malfunction Indicator Light (MIL)
• Certain conditions, such as a loose or missing gas cap, poor fuel quality,etc., may illuminate the MIL after engine start. The vehicle should be
serviced if the light stays on through several typical driving cycles. In
most situations, the vehicle will drive normally and not require towing.
• If the MIL flashes when the engine is running, serious conditions may exist that could lead to immediate loss of power or severe catalytic
converter damage. We recommend you do not operate the vehicle. Have
the vehicle serviced immediately.
- Electronic Stability Control (ESC) Activation/MalfunctionIndicator Light
• If the “ESC Activation/Malfunction Indicator Light” comes on
continuously with the engine running, a malfunction has been detected
in the ESC system. If this light remains on after several ignition cycles,
and the vehicle has been driven several miles (kilometers) at speeds
greater than 30 mph (48 km/h), we recommend you drive to the nearest
service center and have the vehicle serviced immediately.
• The “ESC Activation/Malfunction Indicator Light” starts to flash as soon as the tires lose traction and the ESC system becomes active. If the light
begins to flash during acceleration, ease up on the accelerator and apply
as little throttle as possible. Be sure to adapt your speed and driving to
the prevailing road conditions. The light also flashes when TCS is active.
To improve the vehicle's traction when starting off in deep snow, sand or
gravel, it may be desirable to switch the ESC system to Partial Off mode
by momentarily pressing the ESC Off
switch located below the
climate controls, on the switch panel.
- Charging System Light
• This light shows the status of the electrical charging system. If the charging system light remains on, it means that the vehicle is
experiencing a problem with the charging system.
• We recommend you do not continue driving if the charging system light is on. Have the vehicle serviced immediately.
- Oil Pressure Warning Light
• This light indicates low engine oil pressure. If the light turns on whiledriving, stop the vehicle and shut off the engine as soon as possible. A
chime will sound for four minutes when this light turns on.
• We recommend you do not operate the vehicle or engine damage will occur. Have the vehicle serviced immediately.
- Anti-Lock Brake (ABS) Light
• This light monitors the Anti-Lock Brake System (ABS).
• If the light is not on during starting, stays on, or turns on while driving,we recommend you drive to the nearest service center and have the
vehicle serviced immediately.
WHAT TO DO IN EMERGENCIES
99
Page 102 of 148
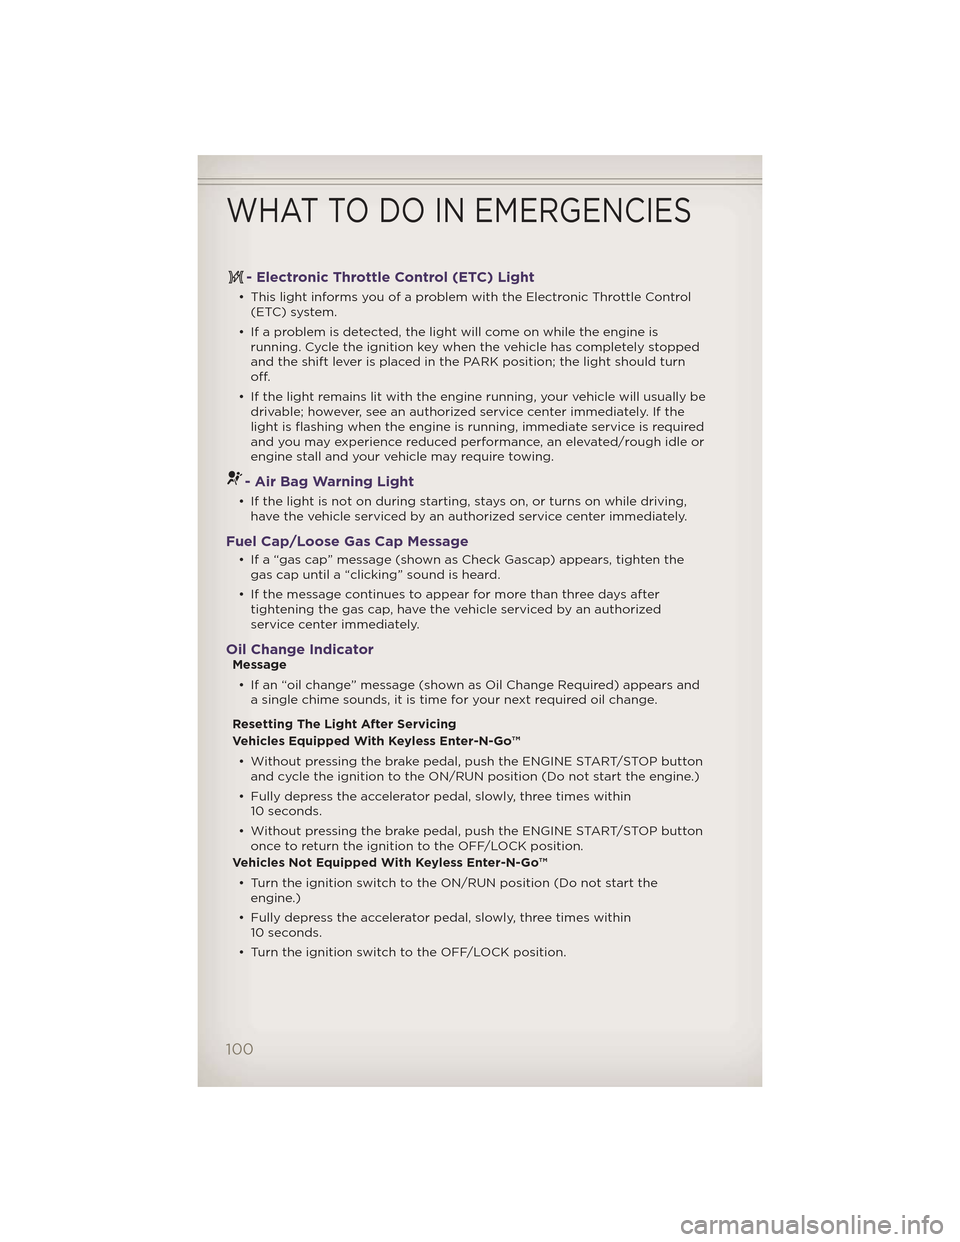
- Electronic Throttle Control (ETC) Light
• This light informs you of a problem with the Electronic Throttle Control(ETC) system.
• If a problem is detected, the light will come on while the engine is running. Cycle the ignition key when the vehicle has completely stopped
and the shift lever is placed in the PARK position; the light should turn
off.
• If the light remains lit with the engine running, your vehicle will usually be drivable; however, see an authorized service center i mmediately. If the
light is flashing when the engine is running, immediate service is required
and you may experience reduced performance, an elevated/rough idle or
engine stall and your vehicle may require towing.
- Air Bag Warning Light
• If the light is not on during starting, stays on, or turns on while driving, have the vehicle serviced by an authorized service center immediately.
Fuel Cap/Loose Gas Cap Message
• If a “gas cap” message (shown as Check Gascap) appears, tighten thegas cap until a “clicking” sound is heard.
• If the message continues to appear for more than three days after tightening the gas cap, have the vehicle serviced by an authorized
service center immediately.
Oil Change IndicatorMessage
• If an “oil change” message (shown as Oil Change Required) appears and a single chime sounds, it is time for your next required oil change.
Resetting The Light After Servicing
Vehicles Equipped With Keyless Enter-N-Go™ • Without pressing the brake pedal, push the ENGINE START/STOP button and cycle the ignition to the ON/RUN position (Do not start the engine.)
• Fully depress the accelerator pedal, slowly, three times within 10 seconds.
• Without pressing the brake pedal, push the ENGINE START/STOP button once to return the ignition to the OFF/LOCK position.
Vehicles Not Equipped With Keyless Enter-N-Go™
• Turn the ignition switch to the ON/RUN position (Do not start the engine.)
• Fully depress the accelerator pedal, slowly, three times within 10 seconds.
• Turn the ignition switch to the OFF/LOCK position.
WHAT TO DO IN EMERGENCIES
100