Mount JEEP GRAND CHEROKEE 2012 WK2 / 4.G User Guide
[x] Cancel search | Manufacturer: JEEP, Model Year: 2012, Model line: GRAND CHEROKEE, Model: JEEP GRAND CHEROKEE 2012 WK2 / 4.GPages: 148, PDF Size: 5.91 MB
Page 6 of 148
Rollover Warning
WARNING!
• Pedals that cannot move freely can cause loss of vehicle control andincrease the risk of serious personal injury.
• Always make sure that objects cannot fall into the driver foot well
while the vehicle is moving. Objects can become trapped under the
brake pedal and accelerator pedal causing a loss of vehicle control.
• Failure to properly follow floor mat installation or mounting can cause interference with the brake pedal and accelerator pedal
operation causing loss of control of the vehicle.
• Never use the ‘PARK’ position as a substitute for the parking brake. Always apply the parking brake fully when parked to guard against
vehicle movement and possible injury or damage.
• Refer to your Owner's Manual on the DVD for further details.
INTRODUCTION/WELCOME
4
Page 19 of 148
• A belt that is too loose will not protect you properly. In a sudden stopyou could move too far forward, increasing the possibility of injury. Wear
your seat belt snugly.
• A frayed or torn belt could rip apart in a collision and leave you with no protection. Inspect the belt system periodically, checking for cuts, frays,
or loose parts. Damaged parts must be replaced immediately. Do not
disassemble or modify the system. Seat belt assemblies must be
replaced after a collision if they have been damaged (bent retractor, torn
webbing, etc.).
• The seat belts for both front seating positions are equipped with pretensioning devices that are designed to remove slack from the seat
belt in the event of a collision.
• A deployed pretensioner or a deployed air bag must be replaced immediately.
WARNING!
In a collision, you and your passengers can suffer much greater
injuries if you are not buckled up properly. You can strike the interior
of your vehicle or other passengers, or you can be thrown out of the
vehicle. Always be sure you and others in your vehicle are buckled up
properly.
SUPPLEMENTAL RESTRAINT SYSTEM (SRS) — AIR
BAGS
• This vehicle has Advanced Front Air Bags for both the driver and right front passenger as a supplement to the seat belt restraint system. The
Advanced Front Air Bags will not deploy in every type of collision.
• Advanced Front Air Bags are designed to provide additional protection by supplementing the seat belts in certain frontal collisions depending
on the severity and type of collision. Advanced Front Air Bags are not
expected to reduce the risk of injury in rear, side, or rollover collisions.
• This vehicle is equipped with Supplemental Side Air Bag Inflatable Curtains to protect the driver, front and rear passengers sitting next to a
window.
• This vehicle is equipped with Supplemental Seat-Mounted Side Air Bags to provide enhanced protection to help protect an occupant during a
side impact.
• If the Air Bag Warning Light
is not on during starting, stays on, or
turns on while driving, have the vehicle serviced by an authorized service
center immediately.
• Refer to the Owner's Manual on the DVD for further details regarding the Supplemental Restraint System (SRS).
GETTING STARTED
17
Page 20 of 148
WARNING!
• Relying on the air bags alone could lead to more severe injuries in acollision. The air bags work with your seat belt to restrain you
properly. In some collisions, the air bags won't deploy at all. Always
wear your seat belts even though you have air bags.
• Being too close to the steering wheel or instrument panel during Advanced Front Air Bag deployment could cause serious injury,
including death. Air bags need room to inflate. Sit back, comfortably
extending your arms to reach the steering wheel or instrument
panel.
• Supplemental Side Air Bag Inflatable Curtains and Supplemental Seat-Mounted Side Air Bags need room to inflate. Do not lean
against the door or window. Sit upright in the center of the seat.
• Being too close to the Supplemental Side Air Bag Inflatable Curtain and/or Seat-Mounted Side Air Bag during deployment could cause
you to be severely injured or killed.
• Do not drive your vehicle after the air bags have deployed. If you are involved in another collision, the air bags will not be in place to
protect you.
• After any collision, the vehicle should be taken to an authorized dealer immediately.
CHILD RESTRAINTS
• Children 12 years and under should ride properly buckled up in a rearseat, if available. According to crash statistics, children are safer when
properly restrained in the rear seats rather than in the front.
• Every state in the United States and all Canadian provinces require that small children ride in proper restraint systems. This is the law, and you
can be prosecuted for ignoring it.
Installing The LATCH - Compatible Child Restraint System
• Your vehicle's second row passenger seats are equipped with the childrestraint anchorage system called LATCH, which stands for Lower
Anchors and Tether for CHildren.
• All three rear seating positions have lower anchorages that are capable of accommodating LATCH-compatible child seats having flexible,
webbing-mounted lower attachments.
• Child seats with fixed lower attachments must be installed in the outboard positions only.
• The vehicle's seat belt must be used for the center position.
• Never install LATCH-compatible child seats such that two seats share a common lower anchorage.
GETTING STARTED
18
Page 71 of 148
Replay
OptionOption Description
Replay Time Displays the amount of time in the upper center of the screen by which your content lags the Live channel.
Live Resumes playback of Live content at any time while replaying rewound content.
Sirius Travel Link (Media Center 730N (RHR) & Media Center 430N
(RHB) Only)
• Sirius Travel Link brings a wealth of useful information into your vehicle
and right to your fingertips.
• To access Travel Link, press the MENU hard-key, then the Travel Link soft-key.
NOTE:
• Sirius Travel Link requires a subscription, sold separately after the 1 year trial subscription included with your vehicle purchase.
• Sirius Travel Link is only available in the United States.
1–Favorites View and store your favorite location, theater and
sport teams for quick access.
2 – Forecast View detailed weather conditions, forecasts and
ski/snowboarding conditions at local resorts.
3 – Ski Info View ski and snowboarding conditions at local ski
resorts.
4 – Fuel Prices View detailed price information for fuel stations near
your current location.
5–Movies View information on movies that are playing at
theaters near your current location.
6 – Sports View sports scores and upcoming events for all major
sports.
ELECTRONICS
69
Page 95 of 148
AUTOSTICK®
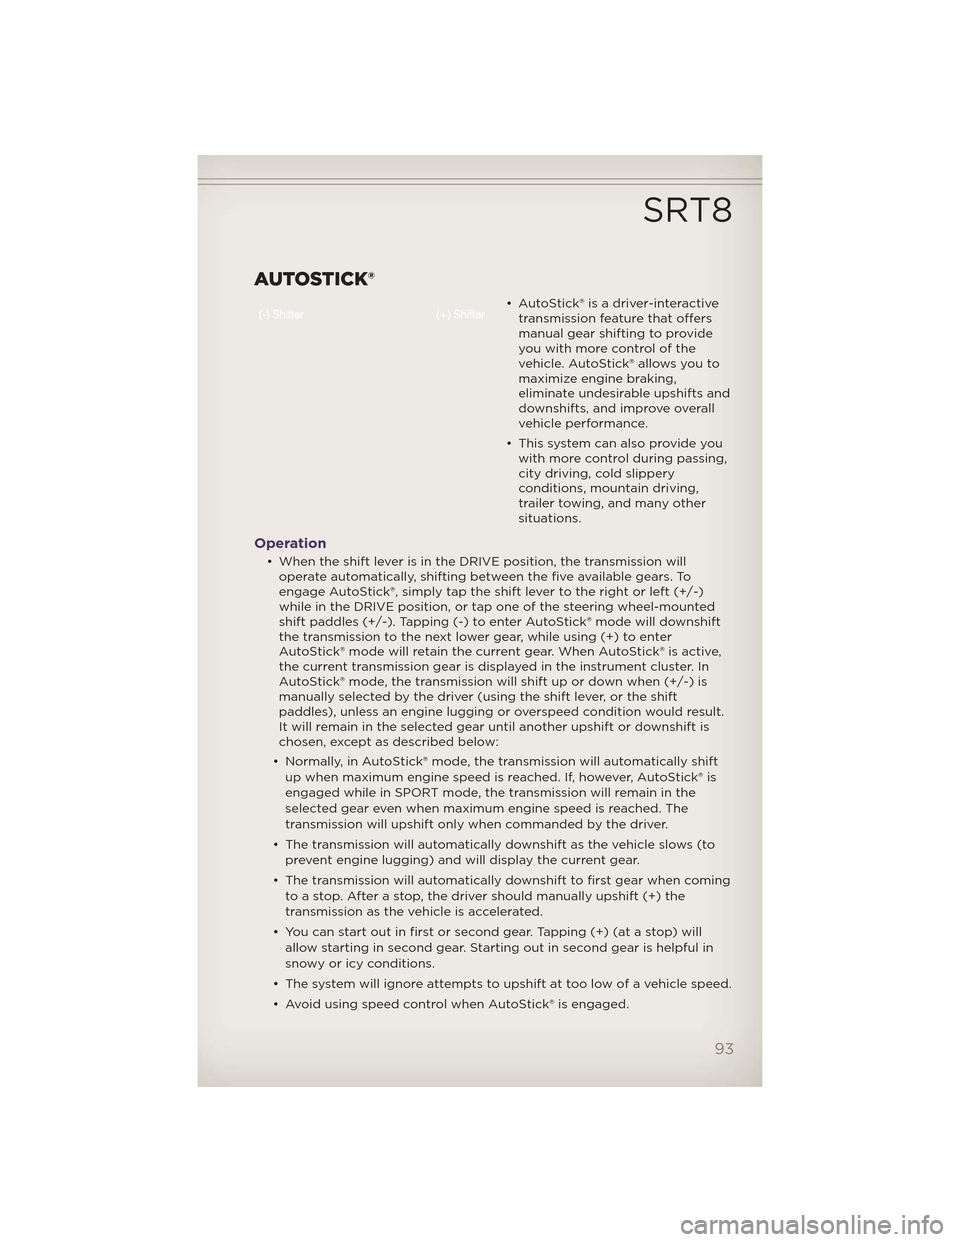
• AutoStick® is a driver-interactivetransmission feature that offers
manual gear shifting to provide
youwithmorecontrolofthe
vehicle. AutoStick® allows you to
maximize engine braking,
eliminate undesirable upshifts and
downshifts, and improve overall
vehicle performance.
• This system can also provide you with more control during passing,
city driving, cold slippery
conditions, mountain driving,
trailer towing, and many other
situations.
Operation
• When the shift lever is in the DRIVE position, the transmission willoperate automatically, shifting between the five available gears. To
engage AutoStick®, simply tap the shift lever to the right or left (+/-)
while in the DRIVE position, or tap one of the steering wheel-mounted
shift paddles (+/-). Tapping (-) to enter AutoStick® mode will downshift
the transmission to the next lower gear, while using (+) to enter
AutoStick® mode will retain the current gear. When AutoStick® is active,
the current transmission gear is displayed in the instrument cluster. In
AutoStick® mode, the transmission will shift up or down when (+/-) is
manually selected by the driver (using the shift lever, or the shift
paddles), unless an engine lugging or overspeed condition would result.
It will remain in the selected gear until another upshift or downshift is
chosen, except as described below:
• Normally, in AutoStick® mode, the transmission will automatically shift up when maximum engine speed is reached. If, h owever, AutoStick® is
engaged while in SPORT mode, the transmission will remain in the
selected gear even when maximum engine speed is reached. The
transmission will upshift only when commanded by the driver.
• The transmission will automatically downshift as the vehicle slows (to prevent engine lugging) and will display the current gear.
• The transmission will automatically downshift to first gear when coming to a stop. After a stop, the driver should manually upshift (+) the
transmission as the vehicle is accelerated.
• You can start out in first or second gear. Tapping (+) (at a stop) will allow starting in second gear. Starting out in second gear is helpful in
snowy or icy conditions.
• The system will ignore attempts to upshift at too low of a vehicle speed.
• Avoid using speed control when AutoStick® is engaged.
SRT8
93
Page 98 of 148
Digital Speedometer• When selected, this screen displays vehicle speed and records top speed.
WARNING!
Measurement of vehicle statistics with the Performance Features is
intended for off-highway or off-road use only and should not be done
on any public roadways. It is rec ommended that these features be
used in a controlled environment and within the limits of the law. The
capabilities of the vehicle as measured by the performance pages
must never be exploited in a reckless or dangerous manner, which can
jeopardize the user’s safety or the safety of others. Only a safe,
attentive, and skillful driver can prevent accidents.
SUMMER/THREE-SEASON TIRES
• This vehicle may be equipped with wheels and tires to enhance traction in both wet and dry conditions.
• Summer tires are not intended to be driven in snow or on ice.
• Use summer tires only in sets of four.
NOTE: Summer tires will not contain the all season designation or
mountain/snowflake symbol on the sidewall of the tire.
WARNING!
Do not use summer tires in snow/ice conditions. You could lose
control, resulting in severe injury or death.
SRT8
96
Page 109 of 148
Road Tire Installation
1. Mount the road tire on the axle.
2. Install the remaining lug nuts with the cone shaped end of the nuttoward the wheel. Lightly tighten the lug nuts.
3. Lower the vehicle to the ground by turning the jack handle counterclockwise.
4. Finish tightening the lug nuts. Push down on the wrench while at the end of the handle for increased leverage. Tighten the lug nuts in a star
pattern until each nut has been tightened twice. The correct tightness of
each lug nut is 110 ft/lbs (150 N·m). If in doubt about the correct
tightness, have them checked with a torque wrench by your authorized
dealer or service station.
5. After 25 miles (40 km) check the lug nut torque with a torque wrench to ensure that all lug nuts are properly seated against the wheel.
CAUTION!
• Do not attempt to raise the vehicle by jacking on locations otherthan those indicated in the Jacking Instructions for this vehicle.
• Be sure to mount the spare tire with the valve stem facing outward. The vehicle could be damaged if the spare tire is mounted
incorrectly.
WARNING!
• Do not attempt to change a tire on the side of the vehicle close tomoving traffic. Pull far enough off the road to avoid the danger of
being hit when operating the jack or changing the wheel.
• Being under a jacked-up vehicle is dangerous. The vehicle could slip off the jack and fall on you. You could be crushed. Never put any
part of your body under a vehicle that is on a jack. If you need to
get under a raised vehicle, take it to a service center where it can be
raised on a lift.
• Never start or run the engine while the vehicle is on a jack.
• The jack is designed to be used as a tool for changing tires only. The jack should not be used to lift the vehicle for service purposes. The
vehicle should be jacked on a firm level surface only. Avoid ice or
slippery areas.
• Always park on a firm, level surface as far from the edge of the
roadway as possible before raising the vehicle.
• Turn on the Hazard Warning flasher.
• Block the wheel diagonally opposite the wheel to be raised.
• Set the parking brake firmly and set an automatic transmission in PARK.
(Continued)
WHAT TO DO IN EMERGENCIES
107
Page 113 of 148
EMERGENCY TOW HOOKS
• If your vehicle is equipped with tow hooks, they are mounted in the frontand the rear.
NOTE: For off-road recovery, it is recommended to use both of the front
tow hooks to minimize the risk of damage to the vehicle.
CAUTION!
Tow hooks are for emergency use only, to rescue a vehicle stranded
off-road. Do not use tow hooks for tow truck hookup or highway
towing. You could damage your vehicle. Tow straps are recommended
when towing the vehicle; chains may cause vehicle damage.
WARNING!
• Chains are not recommended for freeing a stuck vehicle. Chains may break, causing serious injury or death.
• Stand clear of vehicles when pulling with tow hooks. Tow straps may become disengaged, causing serious injury.
SHIFT LEVER OVERRIDE
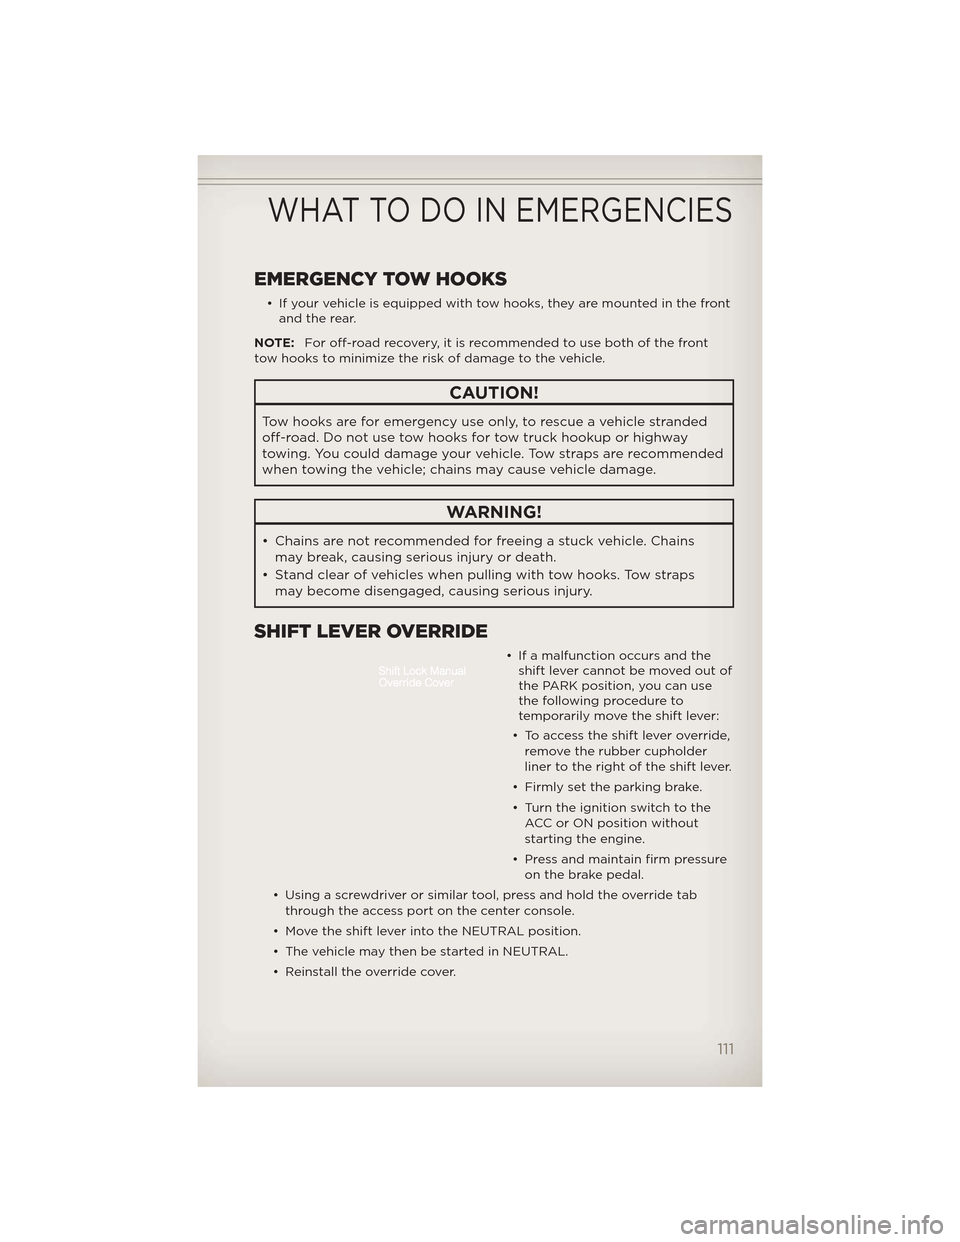
• If a malfunction occurs and theshift lever cannot be moved out of
the PARK position, you can use
the following procedure to
temporarily move the shift lever:
• To access the shift lever override, remove the rubber cupholder
liner to the right of the shift lever.
• Firmly set the parking brake.
• Turn the ignition switch to the ACC or ON position without
starting the engine.
• Press and maintain firm pressure on the brake pedal.
• Using a screwdriver or similar tool, press and hold the override tab through the access port on the center console.
• Move the shift lever into the NEUTRAL position.
• The vehicle may then be started in NEUTRAL.
• Reinstall the override cover.
WHAT TO DO IN EMERGENCIES
111
Page 133 of 148
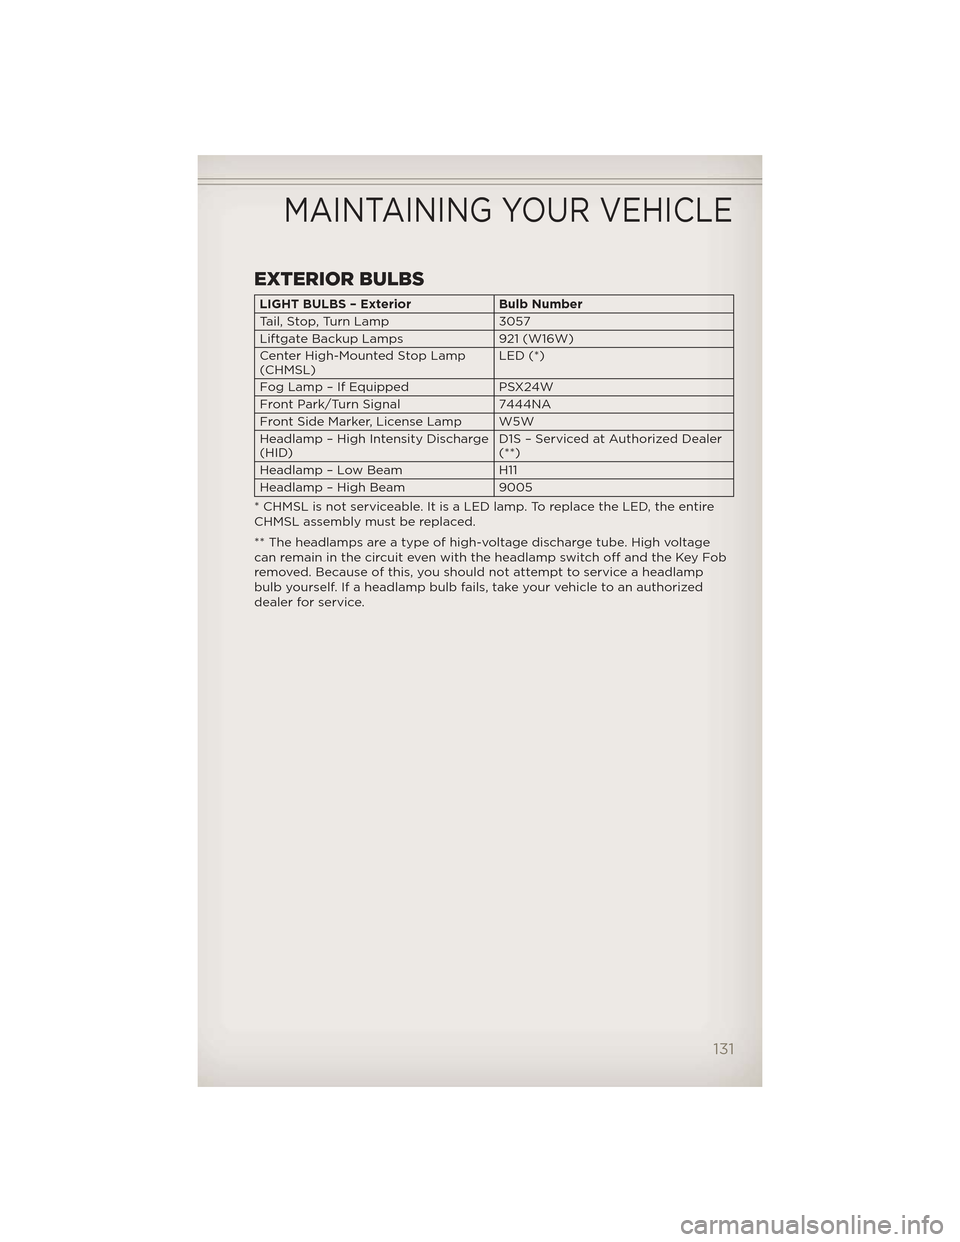
EXTERIOR BULBS
LIGHT BULBS – ExteriorBulb Number
Tail, Stop, Turn Lamp 3057
Liftgate Backup Lamps 921 (W16W)
Center High-Mounted Stop Lamp
(CHMSL) LED (*)
Fog Lamp – If Equipped PSX24W
Front Park/Turn Signal 7444NA
Front Side Marker, License Lamp W5W
Headlamp – High Intensity Discharge
(HID) D1S – Serviced at Authorized Dealer
(**)
Headlamp – Low Beam H11
Headlamp – High Beam 9005
* CHMSL is not serviceable. It is a LED lamp. To replace the LED, the entire
CHMSL assembly must be replaced.
** The headlamps are a type of high-voltage discharge tube. High voltage
can remain in the circuit even with the headlamp switch off and the Key Fob
removed. Because of this, you should not attempt to service a headlamp
bulb yourself. If a headlamp bulb fails, take your vehicle to an authorized
dealer for service.
MAINTAINING YOUR VEHICLE
131
Page 136 of 148
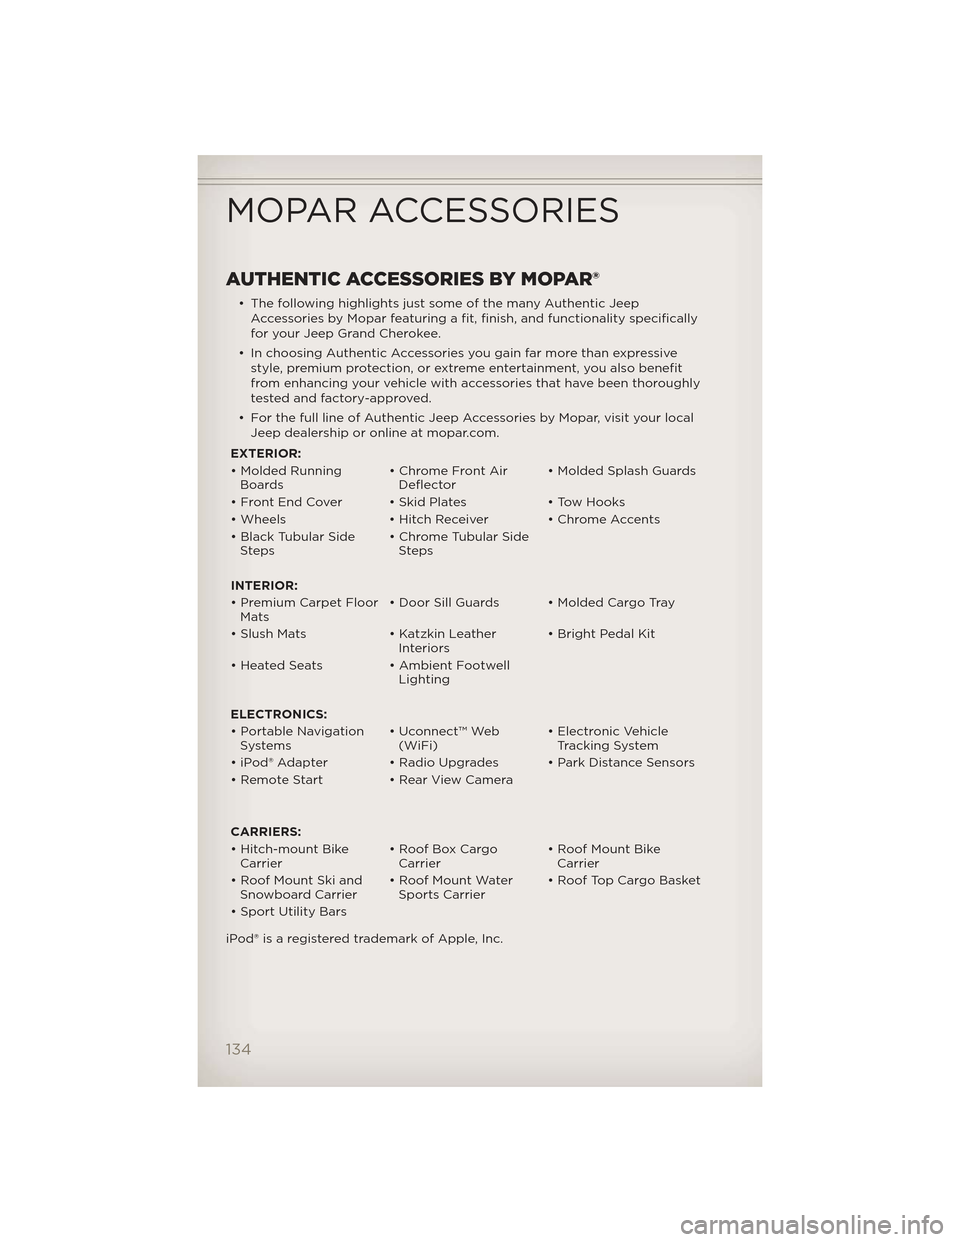
AUTHENTIC ACCESSORIES BY MOPAR®
• The following highlights just some of the many Authentic JeepAccessories by Mopar featuring a fit, finish, and functionality specifically
for your Jeep Grand Cherokee.
• In choosing Authentic Accessories you gain far more than expressive style, premium protection, or extreme entertainment, you also benefit
from enhancing your vehicle with accessories that have been thoroughly
tested and factory-approved.
• For the full line of Authentic Jeep Accessories by Mopar, visit your local Jeep dealership or online at mopar.com.
EXTERIOR:
• Molded Running Boards • Chrome Front Air
Deflector • Molded Splash Guards
• Front End Cover • Skid Plates • Tow Hooks
• Wheels • Hitch Receiver • Chrome Accents
• Black Tubular Side Steps • Chrome Tubular Side
Steps
INTERIOR:
• Premium Carpet Floor Mats • Door Sill Guards • Molded Cargo Tray
• Slush Mats • Katzkin Leather Interiors• Bright Pedal Kit
• Heated Seats • Ambient Footwell Lighting
ELECTRONICS:
• Portable Navigation Systems • Uconnect™ Web
(WiFi) • Electronic Vehicle
Tracking System
• iPod® Adapter • Radio Upgrades • Park Distance Sensors
• Remote Start • Rear View Camera
CARRIERS:
• Hitch-mount Bike Carrier • Roof Box Cargo
Carrier • Roof Mount Bike
Carrier
• Roof Mount Ski and Snowboard Carrier • Roof Mount Water
Sports Carrier • Roof Top Cargo Basket
• Sport Utility Bars
iPod® is a registered trademark of Apple, Inc.
MOPAR ACCESSORIES
134