instrument cluster JEEP GRAND CHEROKEE 2012 WK2 / 4.G User Guide
[x] Cancel search | Manufacturer: JEEP, Model Year: 2012, Model line: GRAND CHEROKEE, Model: JEEP GRAND CHEROKEE 2012 WK2 / 4.GPages: 148, PDF Size: 5.91 MB
Page 3 of 148
INTRODUCTION/WELCOMEWelcome From Chrysler Group
LLC.....................3
CONTROLS AT A GLANCEDriver Cockpit..............6
Instrument Cluster ............8
GETTING STARTEDKeyFob ................. 10
Remote Start...............12
Keyless Enter-N-Go™ ..........13
Theft Alarm ............... 16
Seat Belt ................. 16
Supplemental Restraint System
(SRS) — Air Bags ............17
Child Restraints .............18
FrontSeats ...............20
RearSeats................23
Heated/Ventilated Seats .......24
Heated Steering Wheel ........25
Tilt/Telescoping Steering Column..26
OPERATING YOUR VEHICLEEngine Break-In
Recommendations...........27
Headlight Switch ............28
Turn Signal/Wiper/Washer/High
Beam Lever ...............29
Auto Dimming Mirrors ........30
Speed Control .............30
Electronic Range Selection (ERS)..34
Manual Climate Controls .......35
Automatic Temperature Controls
(ATC) ..................35
Parksense® Rear Park Assist .....36
Parkview® Rear Back-Up Camera . . 36
Blind Spot Monitoring .........37
Liftgate Flipper Glass .........37
Power Sunroof .............38
Wind Buffeting ............. 41
ELECTRONICSYour Vehicle's Sound System ....42
Media Center 130 (Sales Code
RES) ...................44
Media Center 130 With Satellite
Radio (Sales Code RES + RSC) . . . 46
Media Center 430/430N (Sales
Code RBZ/RHB) ............48
Media Center 730N (Sales
Code RHR) ...............57
Sirius XM™ Satellite Radio/Travel
Link ....................67
Steering Wheel Audio Controls . . . 70
iPod®/USB/MP3 Control .......70Uconnect™ Phone
............71
Uconnect™ Voice Command .....74
Bluetooth® Streaming Audio .....76
Video Entertainment
System (VES)™ .............76
Electronic Vehicle Information
Center (EVIC) .............78
Programmable Features .......79
Universal Garage Door Opener
(HomeLink®) ..............79
PowerInverter .............82
Power Outlets .............82
OFF-ROAD CAPABILITIESQuadra-Trac I® Four-Wheel Drive . . 84
Quadra-Trac II®/Quadra-Drive II®
Four-Wheel Drive ...........84
Hill Start Assist/Hill Descent
Control ..................88
UTILITYTrailer Towing Weights (Maximum
Trailer Weight Ratings) ........89
Tow/Haul Mode ............90
Recreational Towing (Behind
Motorhome, Etc.) ...........90
SRT8AutoStick®................93
Selec-Track™ ..............94
Performance Features ........95
Summer/Three-Season Tires .....96
WHAT TO DO IN EMERGENCIES24-Hour Towing Assistance.....97
Instrument Cluster Warning
Lights ..................97
If Your Engine Overheats .......101
Jacking And Tire Changing .....102
Battery Location ............108
Jump-Starting .............108
Emergency Tow Hooks ........ 111
Shift Lever Override .......... 111
Towing A Disabled Vehicle ......112
Event Data Recorder (EDR) .....113
MAINTAINING YOUR VEHICLEOpening The Hood..........114
Fuel Door Release ...........114
Engine Compartment .........116
Fluids And Capacities .........119
Maintenance Chart ..........121
Fuses ...................126
TirePressures..............129
Wheel And Wheel Trim Care .....130
Exterior Bulbs .............131
TABLE OF CONTENTS
Page 9 of 148
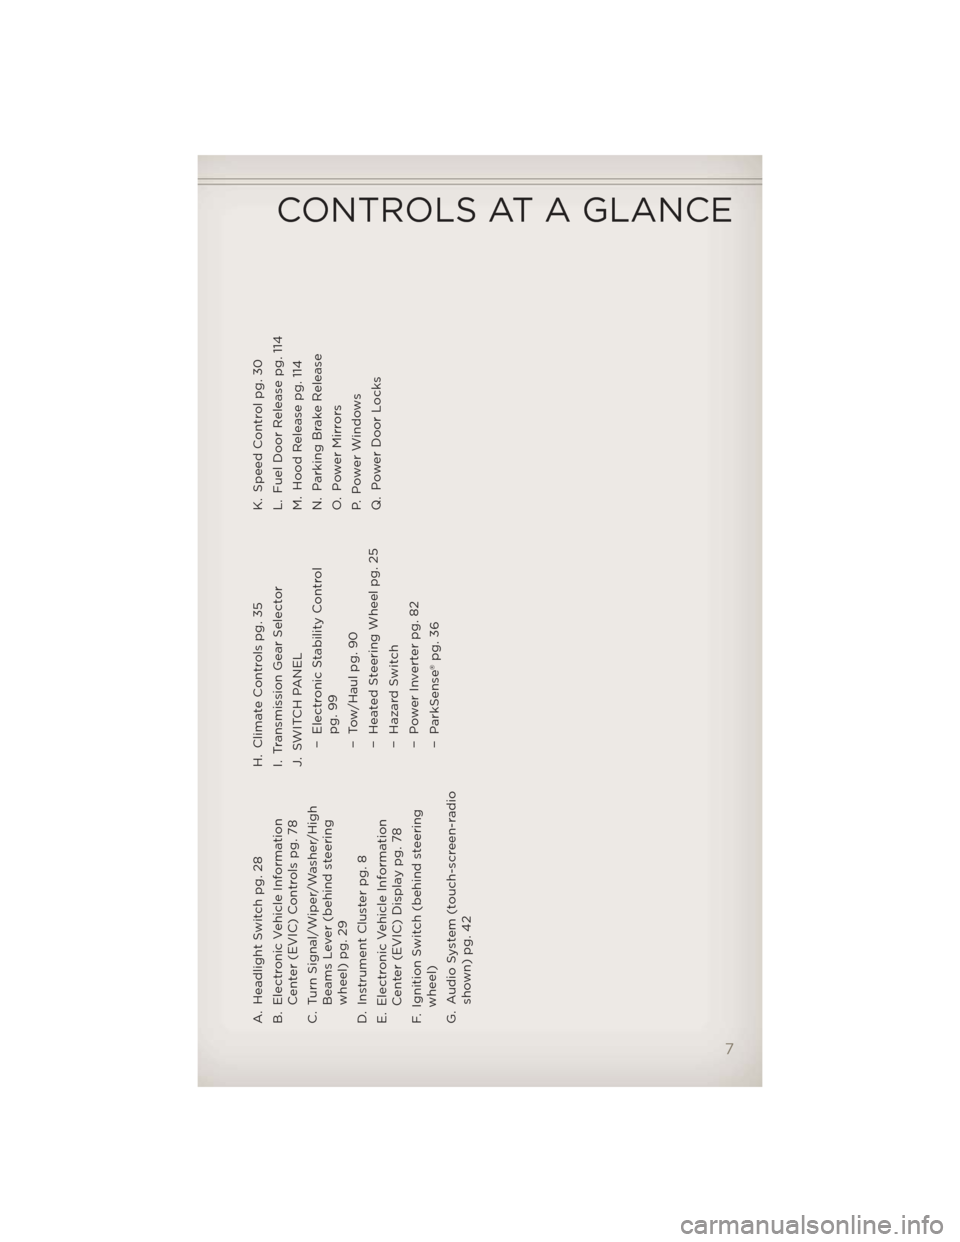
A. Headlight Switch pg. 28
B. Electronic Vehicle InformationCenter (EVIC) Controls pg. 78
C. Turn Signal/Wiper/Washer/High Beams Lever (behind steering
wheel) pg. 29
D. Instrument Cluster pg. 8
E. Electronic Vehicle Information Center (EVIC) Display pg. 78
F. Ignition Switch (behind steering wheel)
G. Audio System (touch-screen-radio shown) pg. 42 H. Climate Controls pg. 35
I. Transmission Gear Selector
J. SWITCH PANEL
− Electronic Stability Controlpg. 99
− Tow/Haul pg. 90
− Heated Steering Wheel pg. 25
− Hazard Switch
− Power Inverter pg. 82
− ParkSense® pg. 36 K. Speed Control pg. 30
L. Fuel Door Release pg. 114
M. Hood Release pg. 114
N. Parking Brake Release
O. Power Mirrors
P. Power Windows
Q. Power Door Locks
CONTROLS AT A GLANCE
7
Page 10 of 148
INSTRUMENT CLUSTER
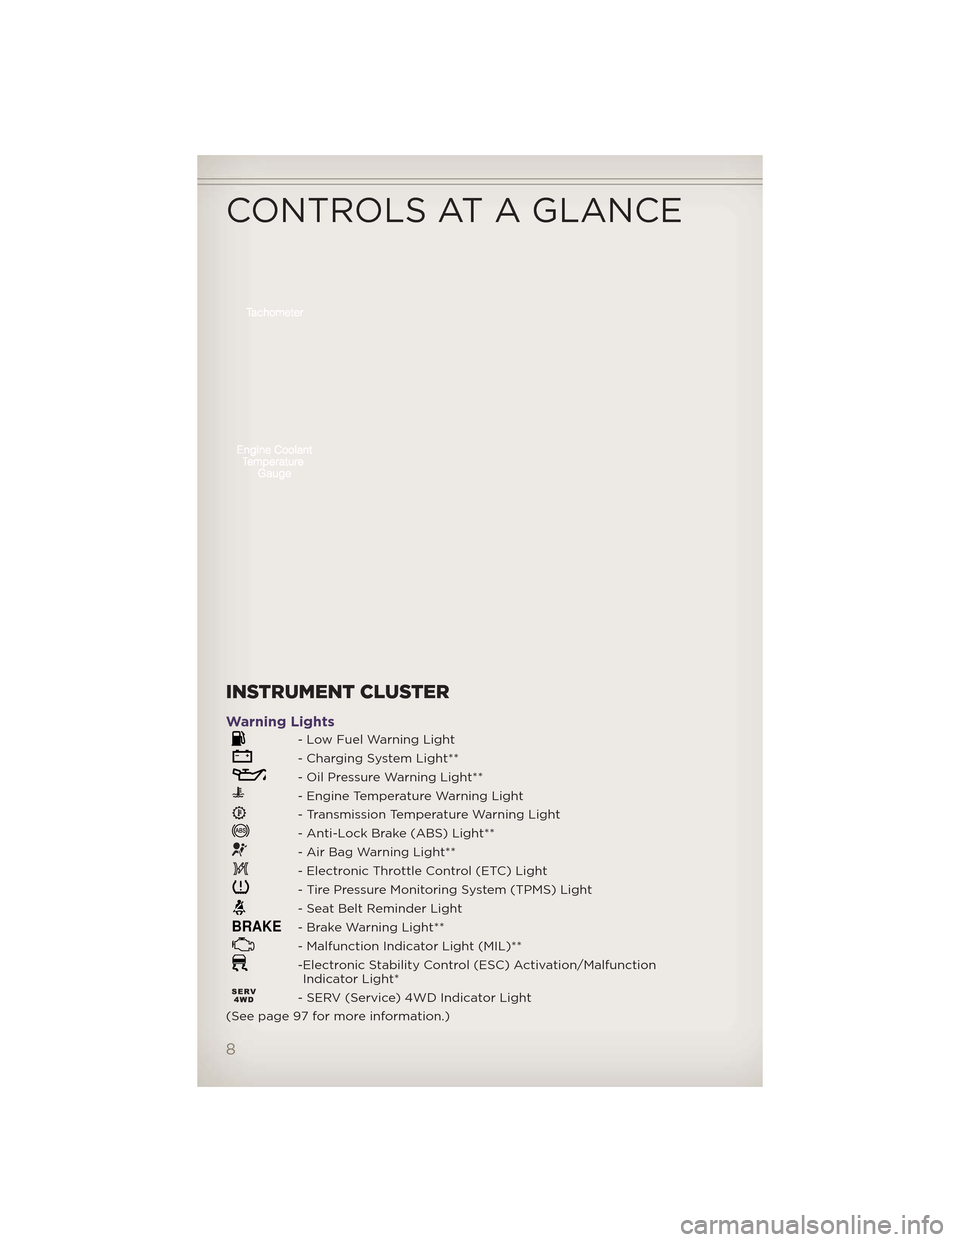
Warning Lights
- Low Fuel Warning Light
- Charging System Light**
- Oil Pressure Warning Light**
- Engine Temperature Warning Light
- Transmission Temperature Warning Light
- Anti-Lock Brake (ABS) Light**
- Air Bag Warning Light**
- Electronic Throttle Control (ETC) Light
- Tire Pressure Monitoring System (TPMS) Light
- Seat Belt Reminder Light
BRAKE- Brake Warning Light**
- Malfunction Indicator Light (MIL)**
-Electronic Stability Control (ESC) Activation/MalfunctionIndicator Light*
- SERV (Service) 4WD Indicator Light
(See page 97 for more information.)
CONTROLS AT A GLANCE
8
Page 32 of 148
Rear WiperWiper Operation• Rotate the center portion of the lever forward to the first detent for intermittent operation and to the second detent for rear wiper operation.
Washer Operation
• Rotate the center portion of the lever past the second detent to activate the rear washer.
High Beam Operation
• Push the lever forward to activate the high beams. Pull the lever towardyou for flash to pass.
NOTE: For safe driving, turn off high beams when oncoming traffic is
present to prevent headlight glare and as a courtesy to other motorists.
AUTO DIMMING MIRRORS
• The rearview and driver side exterior mirror automatically adjusts for headlight glare from vehicles behind you.
• You can turn the feature on or off by pressing the button at the base of the rearview mirror. A light next to the button will illuminate to indicate
when the dimming feature is activated.
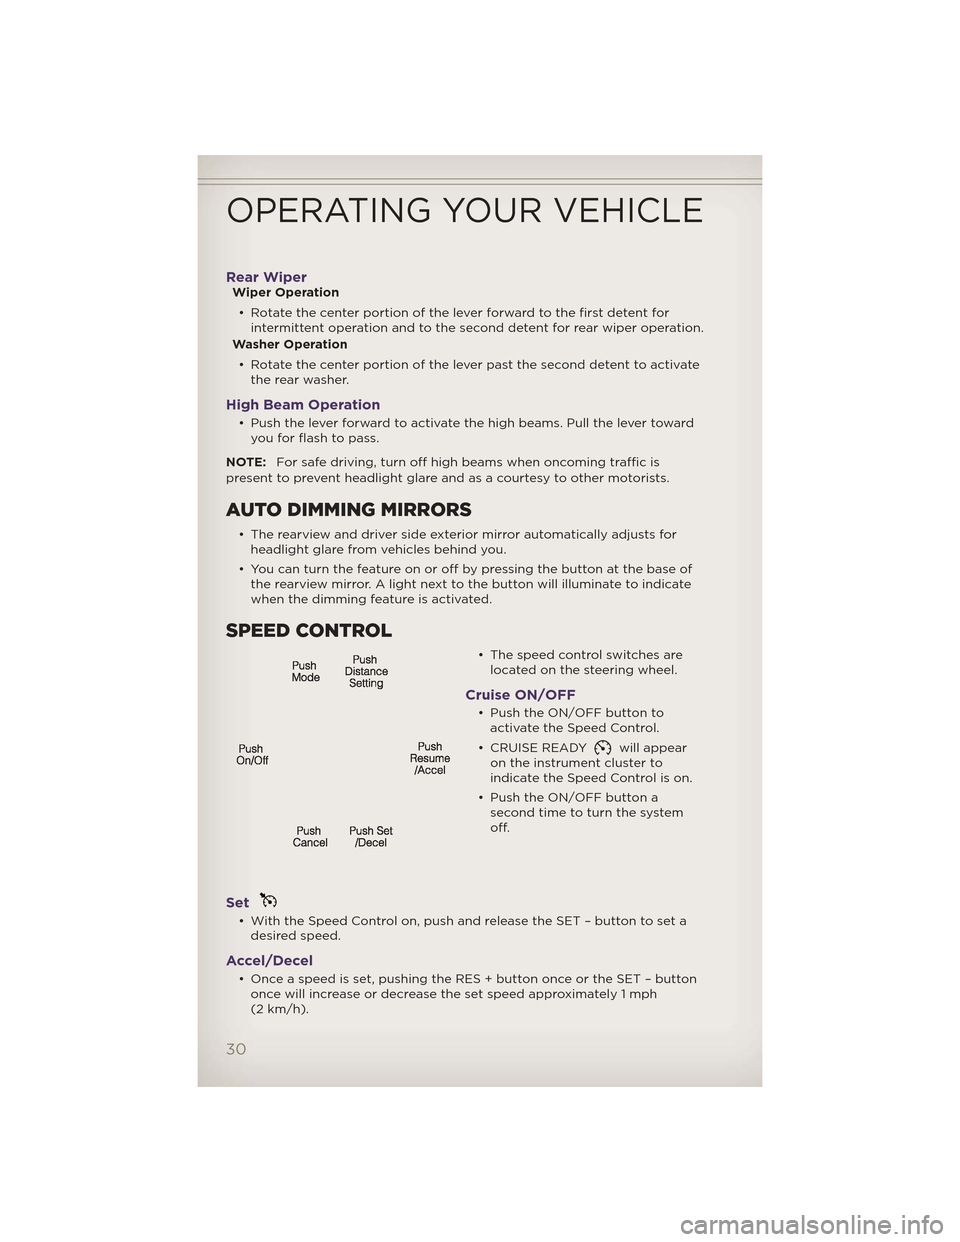
SPEED CONTROL
• The speed control switches arelocated on the steering wheel.
Cruise ON/OFF
• Push the ON/OFF button toactivate the Speed Control.
• CRUISE READY
will appear
on the instrument cluster to
indicate the Speed Control is on.
• Push the ON/OFF button a second time to turn the system
off.
Set
• With the Speed Control on, push and release the SET – button to set adesired speed.
Accel/Decel
• Once a speed is set, pushing the RES + button once or the SET – buttononce will increase or decrease the set speed approximately 1 mph
(2 km/h).
OPERATING YOUR VEHICLE
30
Page 36 of 148
WARNING!(Continued)
• Forward Collision Warning (FCW) is not intended to avoid acollision on its own. The driver has the responsibility to avoid a
collision by controlling the vehicle via braking and steering. Failure
to follow this warning could lead to serious injury or death.
ELECTRONIC RANGE SELECTION (ERS)
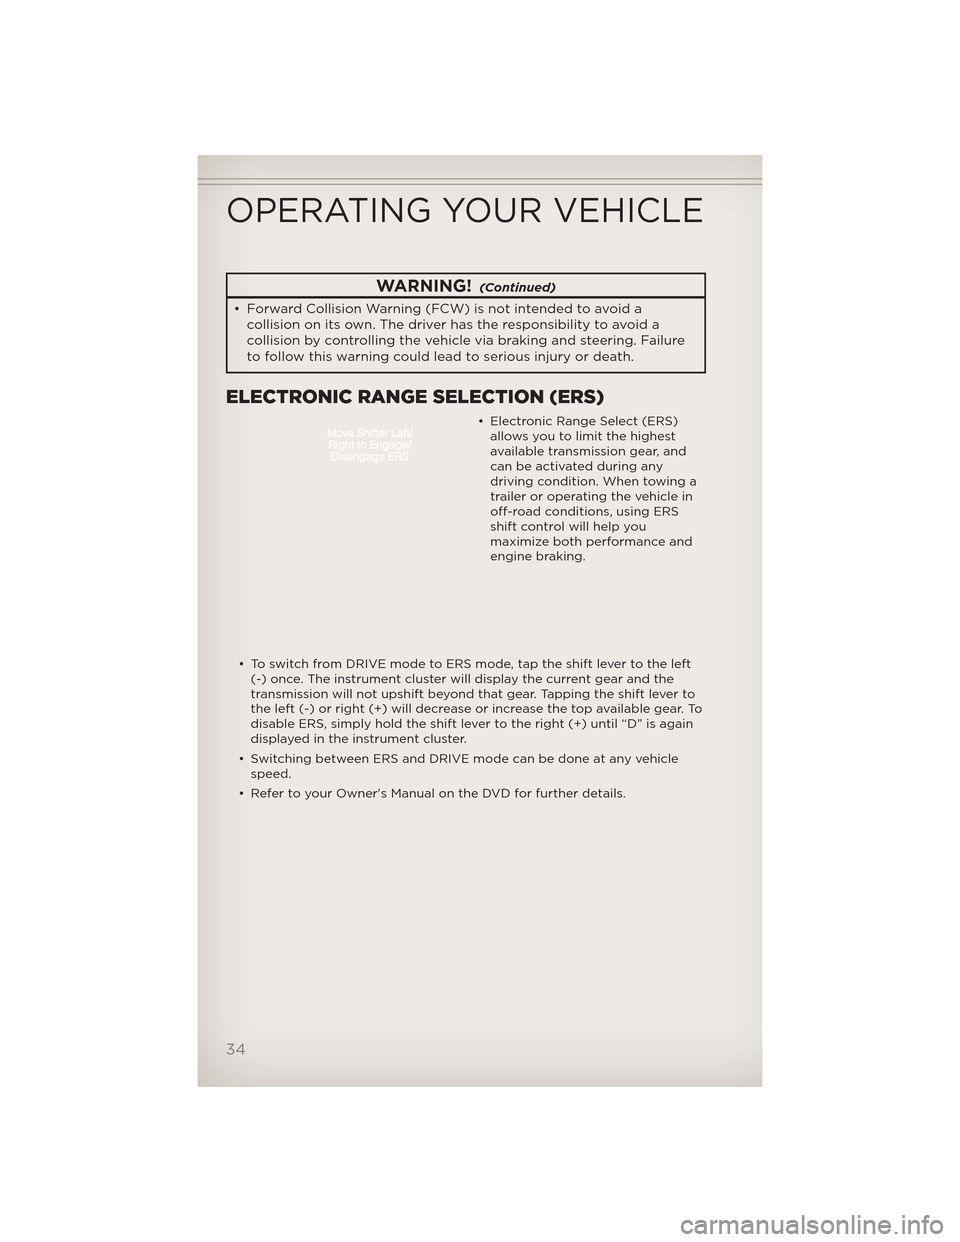
• Electronic Range Select (ERS)allows you to limit the highest
available transmission gear, and
can be activated during any
driving condition. When towing a
trailer or operating the vehicle in
off-road conditions, using ERS
shift control will help you
maximize both performance and
engine braking.
• To switch from DRIVE mode to ERS mode, tap the shift lever to the left (-) once. The instrument cluster will display the current gear and the
transmission will not upshift beyond that gear. Tapping the shift lever to
the left (-) or right (+) will decrease or increase the top available gear. To
disable ERS, simply hold the shift lever to the right (+) until “D” is again
displayed in the instrument cluster.
• Switching between ERS and DRIVE mode can be done at any vehicle speed.
• Refer to your Owner's Manual on the DVD for further details.
OPERATING YOUR VEHICLE
34
Page 38 of 148
Air Conditioning A/C
• If the air conditioning button is pressed while in the AUTO mode, theindicator light may flash three times to indicate the cabin air is being
controlled automatically.
SYNC Temperature Button
• Press the SYNC button once to control driver and passengertemperatures simultaneously. Press the SYNC button a second time to
control the temperatures individually.
Air Recirculation
• Use recirculation for maximum A/C operation.
• For window defogging, press air recirculation button off.
• If the recirculation button is pressed while in the AUTO mode, theindicator light may flash three times to indicate the cabin air is being
controlled automatically.
Heated Mirrors
• The mirrors are heated to melt frost or ice. This feature is activatedwhenever you turn on the rear window defroster.
PARKSENSE® REAR PARK ASSIST
• The four ParkSense® sensors, located in the rear fascia/bumper, monitorthe area behind the vehicle that is within the sensors’ field of view.
• When an object is detected within two meters behind the rear bumper while the vehicle is in REVERSE, a warning will display in the Electronic
Vehicle Information Center (EVIC) and a chime will sound (when Sound
and Display is selected from the Customer Programmable Features
section of the EVIC). As the vehicle moves closer to the object, the
chime rate will change from slow, to fast, to continuous.
Cleaning the ParkSense® Sensors
• If “CLEAN PARK ASSIST SENSORS” appears in the Electronic VehicleInformation Center (EVIC), clean the ParkSense® sensors with water, car
wash soap and a soft cloth. Do not use rough or hard cloths. Do not
scratch or poke the sensors. Otherwise, you could damage the sensors.
NOTE: When the Instrument Cluster reads either Clean Sensor or Blinded,
please clean off the bumper sensors to see if the condition is corrected.
PARKVIEW® REAR BACK-UP CAMERA
• You can see an on-screen image of the rear of your vehicle whenever the shift lever is put into REVERSE. The ParkView® Rear Back-Up Camera
image will be displayed on the radio display screen, located on the
center stack of the instrument panel.
• If the radio display screen appears foggy, clean the camera lens located on the liftgate.
OPERATING YOUR VEHICLE
36
Page 80 of 148
ELECTRONIC VEHICLE INFORMATION CENTER
(EVIC)
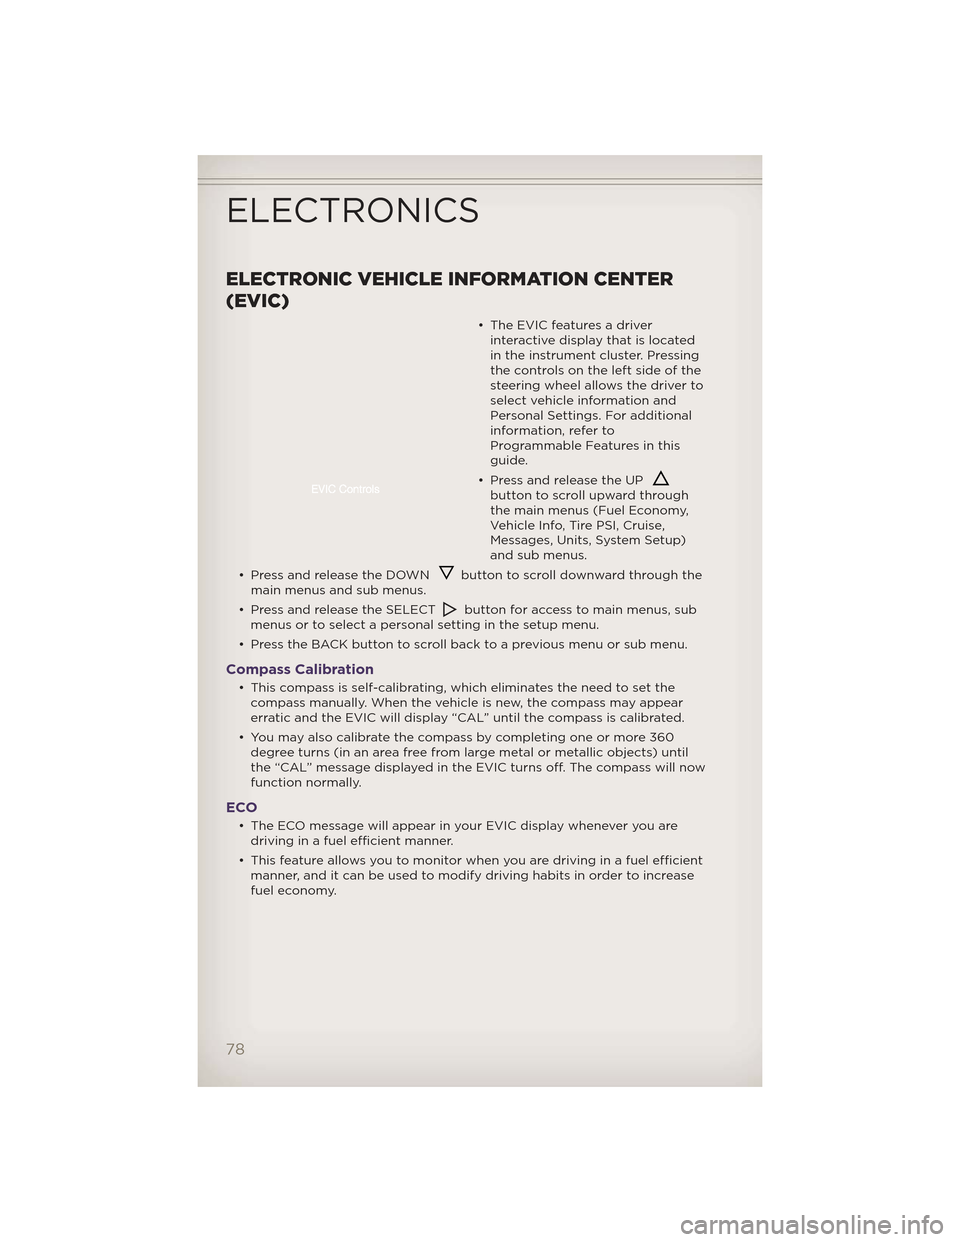
• The EVIC features a driverinteractive display that is located
in the instrument cluster. Pressing
thecontrolsontheleftsideofthe
steering wheel allows the driver to
select vehicle information and
Personal Settings. For additional
information, refer to
Programmable Features in this
guide.
• Press and release the UP
button to scroll upward through
the main menus (Fuel Economy,
Vehicle Info, Tire PSI, Cruise,
Messages, Units, System Setup)
and sub menus.
• Press and release the DOWN
button to scroll downward through the
main menus and sub menus.
• Press and release the SELECT
button for access to main menus, sub
menus or to select a personal setting in the setup menu.
• Press the BACK button to scroll back to a previous menu or sub menu.
Compass Calibration
• This compass is self-calibrating, which eliminates the need to set the compass manually. When the vehicle is new, the compass may appear
erratic and the EVIC will display “CAL” until the compass is calibrated.
• You may also calibrate the compass by completing one or more 360 degree turns (in an area free from large metal or metallic objects) until
the “CAL” message displayed in the EVIC turns off. The compass will now
function normally.
ECO
• The ECO message will appear in your EVIC display whenever you aredriving in a fuel efficient manner.
• This feature allows you to monitor when you are driving in a fuel efficient manner, and it can be used to modify driving habits in order to increase
fuel economy.
ELECTRONICS
78
Page 87 of 148
Shifting Procedures
4WD HI To 4WD LOW• With the vehicle at speeds of 0 to 3 mph (0 to 5 km/h), the ignition switch in the ON/RUN position or the engine running, shift the
transmission into NEUTRAL, and press the “4WD LOW” button once on
the transfer case switch. The “4WD LOW” indicator light in the
instrument cluster will begin to flash and remain on solid when the shift
is complete.
4WD LOW To 4WD HI • With the vehicle at speeds of 0 to 3 mph (0 to 5 km/h), the ignition switch in the ON/RUN position or the engine running, shift the
transmission into NEUTRAL, and press the “4WD LOW” button once on
the transfer case switch. The “4WD LOW” indicator light in the
instrument cluster will flash and turn off when the shift is complete.
NOTE:
• If the shift conditions/interlocks are not met, or a transfer case motor temperature protection exists, a “For 4x4 Low Slow Below 5 MPH or 8 KPH
Put Trans in N Press 4 Low” message will flash on the Electronic Vehicle
Information Center (EVIC).
• Shifting into or out of 4WD LOW is possible with the vehicle completely stopped; however, d ifficulty may occur due to the mating clutch teeth not
being properly aligned. Several attempts may be required for clutch teeth
alignment and shift completion to occur. The preferred method is with the
vehicle rolling 0 to 3 mph (0 to 5 km/h). If the vehicle is moving faster than
3 mph (5 km/h), the transfer case will not allow the shift.
NEUTRAL Shift Procedure
• Turn the ignition switch to the ON/RUN position, engine off.
• Vehicle stopped, with foot on brake.
• Place the transmission into NEUTRAL.
• Press and hold the NEUTRAL button located near the 4WD mode control knob with a pen or similar object for four seconds. The indicator light will
begin to flash indicating the shift is in progress. The light will stop
blinking (stay on solid) when the NEUTRAL shift is complete. A “4WD
SYSTEM IN NEUTRAL” message will display on the Electronic Vehicle
Information Center (EVIC).
• Repeat these Steps to shift out of NEUTRAL.
OFF-ROAD CAPABILITIES
85
Page 92 of 148
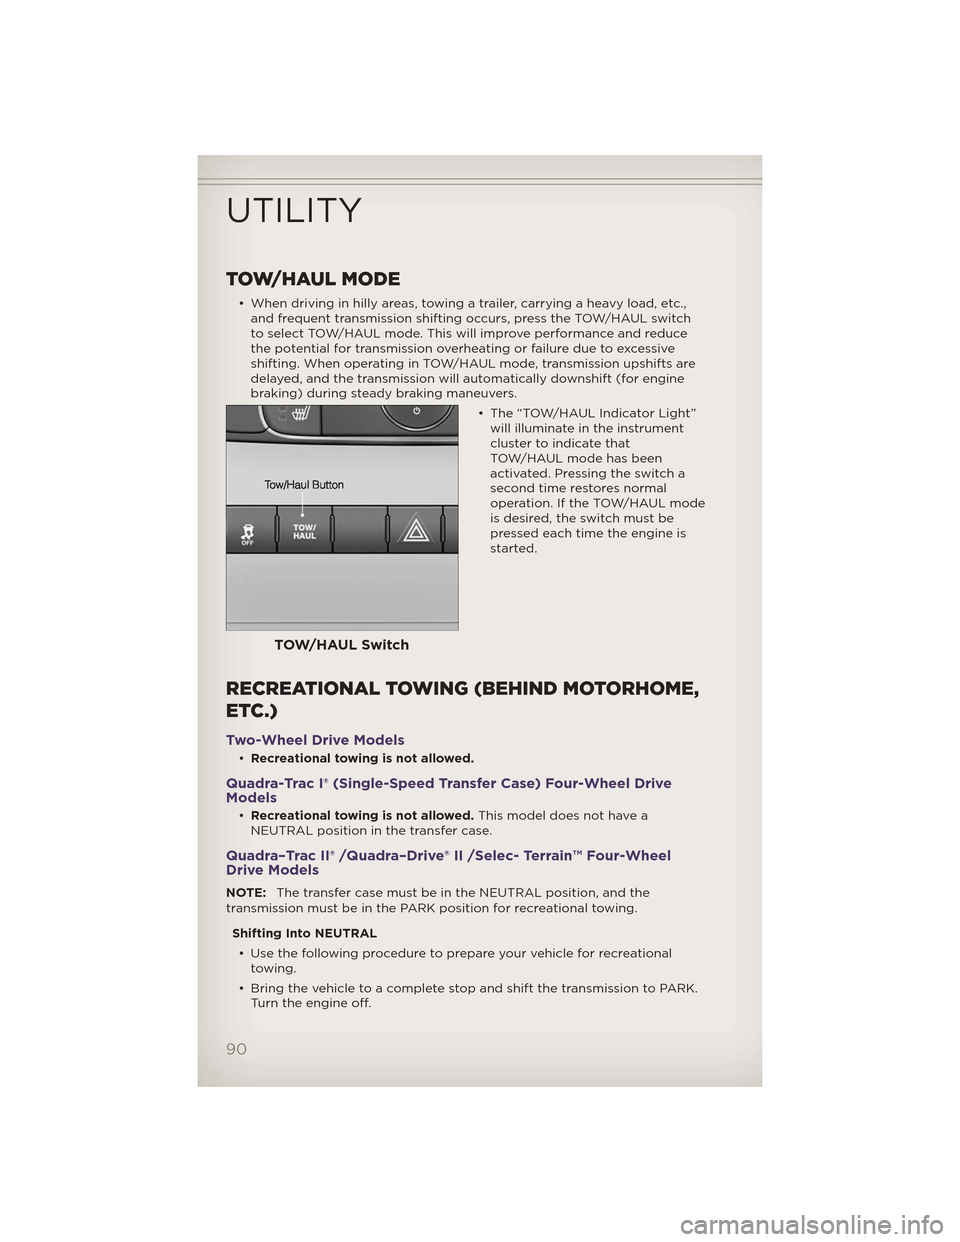
TOW/HAUL MODE
• When driving in hilly areas, towing a trailer, carrying a heavy load, etc.,and frequent transmission shifting occurs, press the TOW/HAUL switch
to select TOW/HAUL mode. This will improve performance and reduce
the potential for transmission overheating or failure due to excessive
shifting. When operating in TOW/HAUL mode, transmission upshifts are
delayed, and the transmission will automatically downshift (for engine
braking) during steady braking maneuvers.
• The “TOW/HAUL Indicator Light”will illuminate in the instrument
cluster to indicate that
TOW/HAUL mode has been
activated. Pressing the switch a
second time restores normal
operation. If the TOW/HAUL mode
is desired, the switch must be
pressed each time the engine is
started.
RECREATIONAL TOWING (BEHIND MOTORHOME,
ETC.)
Two-Wheel Drive Models
•Recreational towing is not allowed.
Quadra-Trac I® (Single-Speed Transfer Case) Four-Wheel Drive
Models
•Recreational towing is not allowed. This model does not have a
NEUTRAL position in the transfer case.
Quadra–Trac II® /Quadra–Drive® II /Selec- Terrain™ Four-Wheel
Drive Models
NOTE: The transfer case must be in the NEUTRAL position, and the
transmission must be in the PARK position for recreational towing.
Shifting Into NEUTRAL• Use the following procedure to prepare your vehicle for recreational towing.
• Bring the vehicle to a complete stop and shift the transmission to PARK. Turn the engine off.
TOW/HAUL Switch
UTILITY
90
Page 95 of 148
AUTOSTICK®
• AutoStick® is a driver-interactivetransmission feature that offers
manual gear shifting to provide
youwithmorecontrolofthe
vehicle. AutoStick® allows you to
maximize engine braking,
eliminate undesirable upshifts and
downshifts, and improve overall
vehicle performance.
• This system can also provide you with more control during passing,
city driving, cold slippery
conditions, mountain driving,
trailer towing, and many other
situations.
Operation
• When the shift lever is in the DRIVE position, the transmission willoperate automatically, shifting between the five available gears. To
engage AutoStick®, simply tap the shift lever to the right or left (+/-)
while in the DRIVE position, or tap one of the steering wheel-mounted
shift paddles (+/-). Tapping (-) to enter AutoStick® mode will downshift
the transmission to the next lower gear, while using (+) to enter
AutoStick® mode will retain the current gear. When AutoStick® is active,
the current transmission gear is displayed in the instrument cluster. In
AutoStick® mode, the transmission will shift up or down when (+/-) is
manually selected by the driver (using the shift lever, or the shift
paddles), unless an engine lugging or overspeed condition would result.
It will remain in the selected gear until another upshift or downshift is
chosen, except as described below:
• Normally, in AutoStick® mode, the transmission will automatically shift up when maximum engine speed is reached. If, h owever, AutoStick® is
engaged while in SPORT mode, the transmission will remain in the
selected gear even when maximum engine speed is reached. The
transmission will upshift only when commanded by the driver.
• The transmission will automatically downshift as the vehicle slows (to prevent engine lugging) and will display the current gear.
• The transmission will automatically downshift to first gear when coming to a stop. After a stop, the driver should manually upshift (+) the
transmission as the vehicle is accelerated.
• You can start out in first or second gear. Tapping (+) (at a stop) will allow starting in second gear. Starting out in second gear is helpful in
snowy or icy conditions.
• The system will ignore attempts to upshift at too low of a vehicle speed.
• Avoid using speed control when AutoStick® is engaged.
SRT8
93