check oil JEEP GRAND CHEROKEE 2014 WK2 / 4.G User Guide
[x] Cancel search | Manufacturer: JEEP, Model Year: 2014, Model line: GRAND CHEROKEE, Model: JEEP GRAND CHEROKEE 2014 WK2 / 4.GPages: 220, PDF Size: 6.12 MB
Page 31 of 220
100 to 300 miles (161 to 483 km):
• Depress the accelerator pedal slowly and not more than halfway to avoid rapid
acceleration in lower gears (1st to 3rd gears).
• Avoid aggressive braking.
• Drive with the engine speed less than 5,000 RPM.
• Maintain vehicle speed below 70 mph (112 km/h) and observe local speed limits.
300 to 500 miles (483 to 805 km):
• Exercise the full engine rpm range, shifting manually (paddles or gear shift) at
higher rpms when possible.
• Do not perform sustained operation with the accelerator pedal at wide open
throttle.
• Maintain vehicle speed below 85 mph (136 km/h) and observe local speed limits.
For the first 1500 mi (2414 km):
• Do not participate in track events, sport driving schools, or similar activities during
the first 1500 mi (2414 km).
NOTE:
Check engine oil with every refueling and add if necessary. Oil and fuel consumption
may be higher through the first oil change interval.
HEADLIGHT SWITCH
Automatic Headlights/Parking
Lights/Headlights
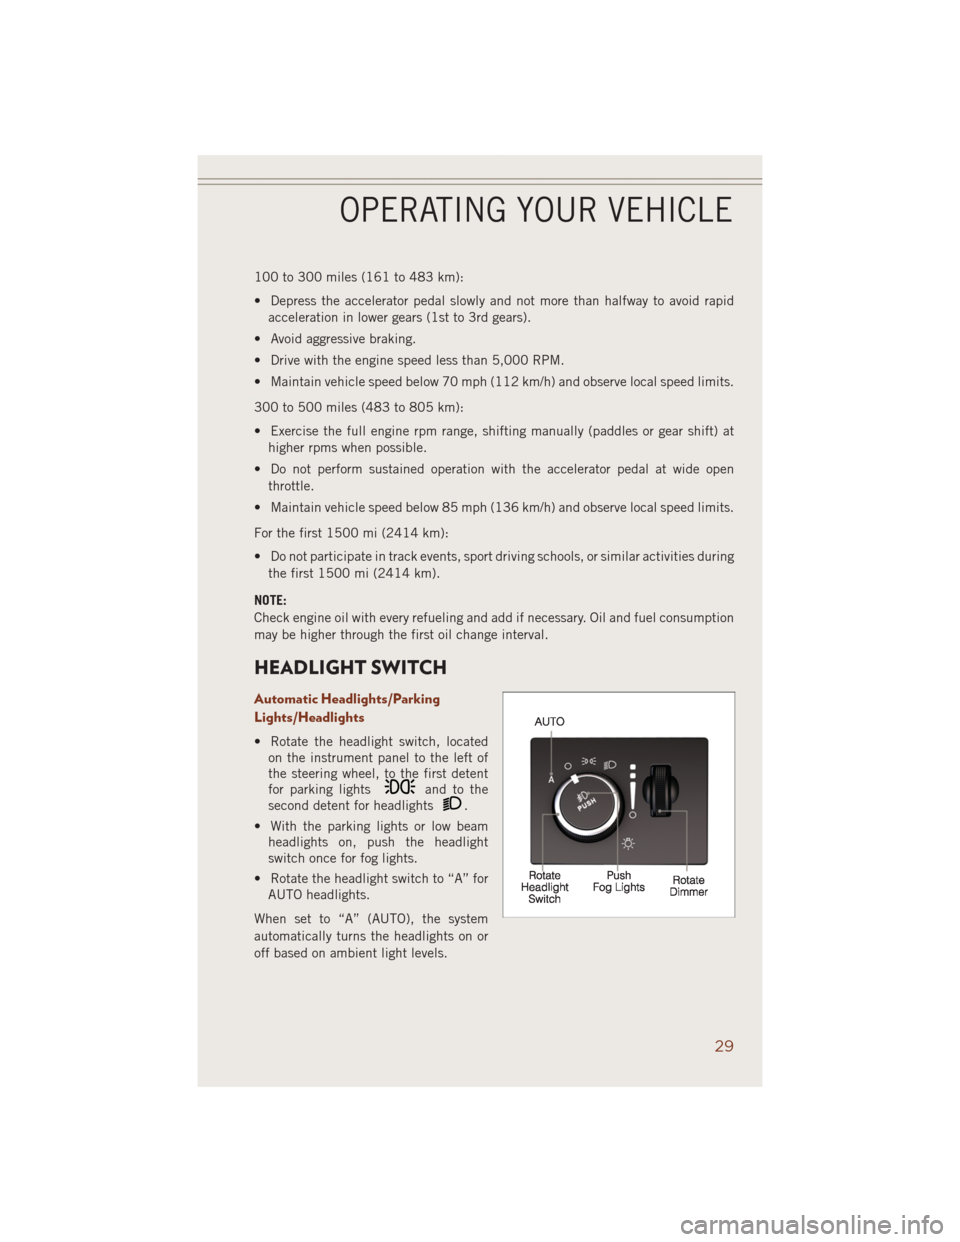
• Rotate the headlight switch, located
on the instrument panel to the left of
the steering wheel, to the first detent
for parking lights
and to the
second detent for headlights
.
• With the parking lights or low beam
headlights on, push the headlight
switch once for fog lights.
• Rotate the headlight switch to “A” for
AUTO headlights.
When set to “A” (AUTO), the system
automatically turns the headlights on or
off based on ambient light levels.
OPERATING YOUR VEHICLE
29
Page 144 of 220
DIESEL ENGINE BREAK-IN RECOMMENDATIONS
The diesel engine does not require a break-in period due to its construction. Normal
operation is allowed, providing the following recommendations are followed:
• Warm up the engine before placing it under load.
• Do not operate the engine at idle for prolonged periods.
• Use the appropriate transmission gear to prevent engine lugging.
• Observe vehicle oil pressure and temperature indicators.
• Check the coolant and oil levels frequently.
• Vary throttle position at highway speeds when carrying or towing significant
weight.
NOTE:
Light duty operation such as light trailer towing or no load operation will extend the
time before the engine is at full efficiency. Reduced fuel economy and power may be
seen at this time.
The engine oil installed in the engine at the factory is a high-quality energy conserving
type lubricant. Oil changes should be consistent with anticipated climate conditions
under which vehicle operations will occur. NON-DETERGENT OR STRAIGHT MINERAL
OILS MUST NEVER BE USED.
DIESEL ENGINE STARTING PROCEDURES
Normal Starting Procedure
1. Apply the parking brake.
2. Ensure the shift lever is in the PARK position.
3. Press and hold the brake pedal while pressing the ENGINE START/STOP button
once.
4. The system will take over and attempt to start the vehicle. If the vehicle fails to
start, the starter will disengage automatically after 30 seconds.
5. If you wish to stop the cranking of the engine prior to the engine starting, press the
button again.
6. Check that the oil pressure warning light has turned off.
7. Release the parking brake.
NOTE:
A delay of the start-up can be as long as five seconds under very cold conditions. The
"Wait to Start" telltale will be illuminated during the pre-heat process and the start
will commence upon the telltale going out.
DIESEL
142
Page 157 of 220
- Electronic Throttle Control (ETC) Light
This light informs you of a problem with the Electronic Throttle Control (ETC) system.
If a problem is detected, the light will come on while the engine is running. Cycle the
ignition key when the vehicle has completely stopped and the shift lever/gear selector
is placed in the PARK position; the light should turn off.
If the light remains lit with the engine running, your vehicle will usually be drivable;
however, see an authorized service center immediately. If the light is flashing when the
engine is running, immediate service is required and you may experience reduced
performance, an elevated/rough idle or engine stall and your vehicle may require towing.
- Air Bag Warning Light
This light will turn on for four to eight seconds as a bulb check when the ignition
switch is first turned to the ON/RUN position. If the light is either not on during
starting, stays on, or turns on while driving, have the system inspected at an
authorized dealer as soon as possible. Refer to “Occupant Restraints” in “Things To
Know Before Starting Your Vehicle” of your Owner’s Manual for further information.
NOTE:
The Air Bag System is designed to be maintenance free.
Oil Change Indicator
Message
If an “oil change” message (shown as Oil Change Due) appears and a single chime
sounds, it is time for your next required oil change:
1. Without pressing the brake pedal, push the ENGINE START/STOP button and
cycle the ignition to the ON/RUN position (do not start the engine.)
2. Fully depress the accelerator pedal, slowly, three times within 10 seconds.
3. Without pressing the brake pedal, push the ENGINE START/STOP button once to
return the ignition to the OFF/LOCK position.
- Engine Temperature Warning Light
This light warns of an overheated engine condition.
If the light turns on and a warning chime sounds while driving, safely pull over and
stop the vehicle. If the A/C system is on, turn it off. Also, shift the transmission into
NEUTRAL and idle the vehicle. If the temperature reading does not return to normal,
turn the engine off immediately.
We recommend that you do not operate the vehicle or engine damage will occur. Have
the vehicle serviced immediately.
WHAT TO DO IN EMERGENCIES
155
Page 158 of 220
WARNING!
A hot engine cooling system is dangerous. You or others could be badly burned by
steam or boiling coolant.
- Transmission Temperature Warning Light
This light indicates that there is excessive transmission fluid temperature that might
occur with severe usage such as trailer towing. If this light turns on, stop the vehicle
and run the engine at idle, with the transmission in NEUTRAL, until the light turns
off. Once the light turns off, you may continue to drive normally.
CAUTION!
Continuous driving with the Transmission Temperature Warning Light illuminated
will eventually cause severe transmission damage or transmission failure.
WARNING!
If you continue operating the vehicle when the Transmission Temperature Warning
Light is illuminated you could cause the fluid to boil over, come in contact with hot
engine or exhaust components and cause a fire.
- High Beam Indicator
Indicates that headlights are on high beam.
- Front Fog Light Indicator
This indicator will illuminate when the front fog lights are on.
- Turn Signal Indicator
The arrows will flash with the exterior turn signals when the turn signal lever is
operated. A tone will chime, and an EVIC message will appear if either turn signal is
left on for more than 1 mile (1.6 km).
NOTE:
If either indicator flashes at a rapid rate, check for a defective outside light bulb.
- Vehicle Security Light
This light will flash rapidly for approximately 15 seconds when the vehicle theft
alarm is arming. The light will flash at a slower speed continuously after the alarm is
set. The security light will also come on for about three seconds when the ignition is
first turned on.
WHAT TO DO IN EMERGENCIES
156
Page 187 of 220
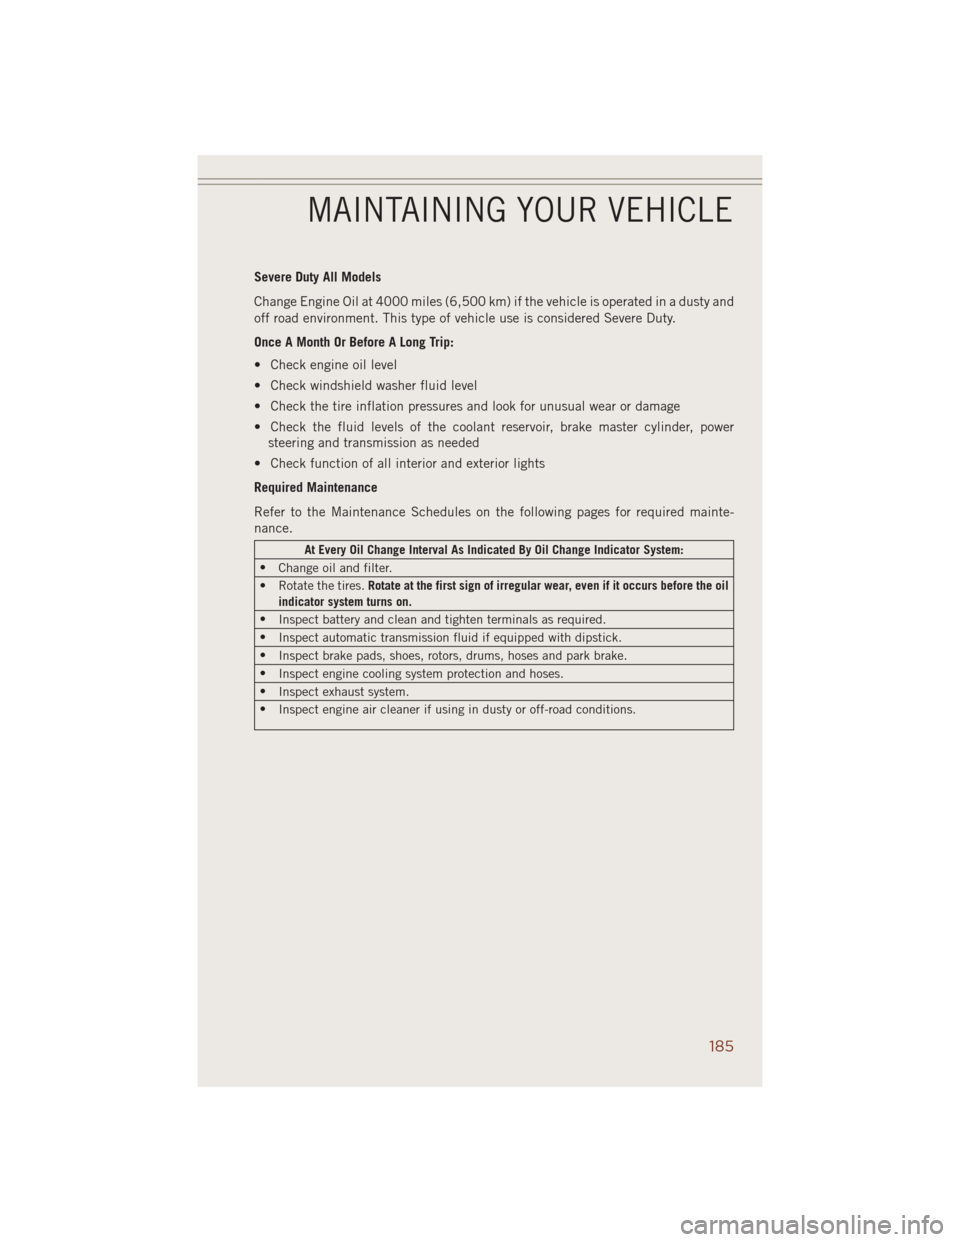
Severe Duty All Models
Change Engine Oil at 4000 miles (6,500 km) if the vehicle is operated in a dusty and
off road environment. This type of vehicle use is considered Severe Duty.
Once A Month Or Before A Long Trip:
• Check engine oil level
• Check windshield washer fluid level
• Check the tire inflation pressures and look for unusual wear or damage
• Check the fluid levels of the coolant reservoir, brake master cylinder, power
steering and transmission as needed
• Check function of all interior and exterior lights
Required Maintenance
Refer to the Maintenance Schedules on the following pages for required mainte-
nance.
At Every Oil Change Interval As Indicated By Oil Change Indicator System:
•
Change oil and filter.
• Rotate the tires.Rotate at the first sign of irregular wear, even if it occurs before the oil
indicator system turns on.
•
Inspect battery and clean and tighten terminals as required.
•
Inspect automatic transmission fluid if equipped with dipstick.
•
Inspect brake pads, shoes, rotors, drums, hoses and park brake.
•
Inspect engine cooling system protection and hoses.
•
Inspect exhaust system.
•
Inspect engine air cleaner if using in dusty or off-road conditions.
MAINTAINING YOUR VEHICLE
185
Page 192 of 220
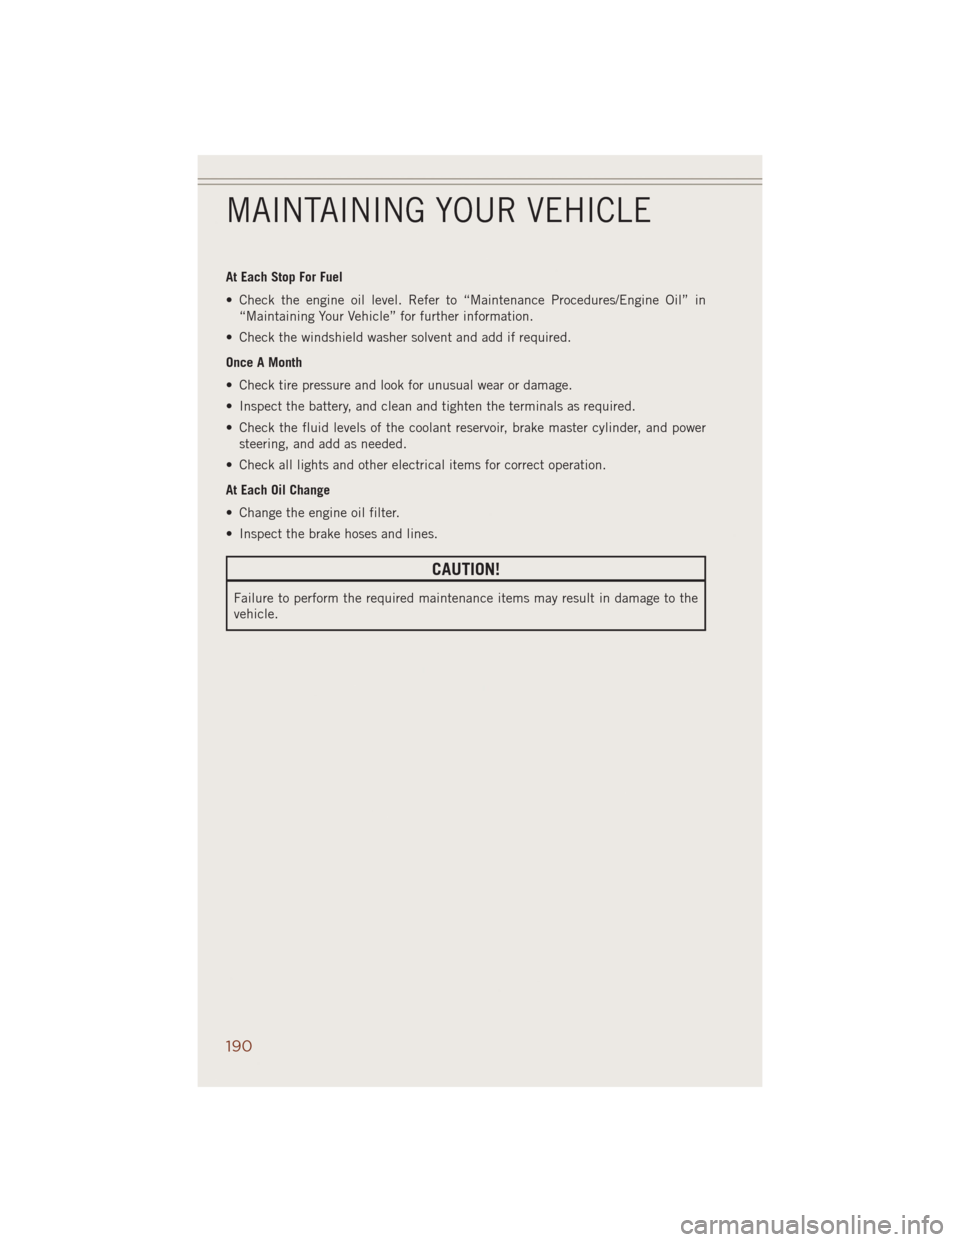
At Each Stop For Fuel
• Check the engine oil level. Refer to “Maintenance Procedures/Engine Oil” in
“Maintaining Your Vehicle” for further information.
• Check the windshield washer solvent and add if required.
Once A Month
• Check tire pressure and look for unusual wear or damage.
• Inspect the battery, and clean and tighten the terminals as required.
• Check the fluid levels of the coolant reservoir, brake master cylinder, and power
steering, and add as needed.
• Check all lights and other electrical items for correct operation.
At Each Oil Change
• Change the engine oil filter.
• Inspect the brake hoses and lines.
CAUTION!
Failure to perform the required maintenance items may result in damage to the
vehicle.
MAINTAINING YOUR VEHICLE
190
Page 197 of 220
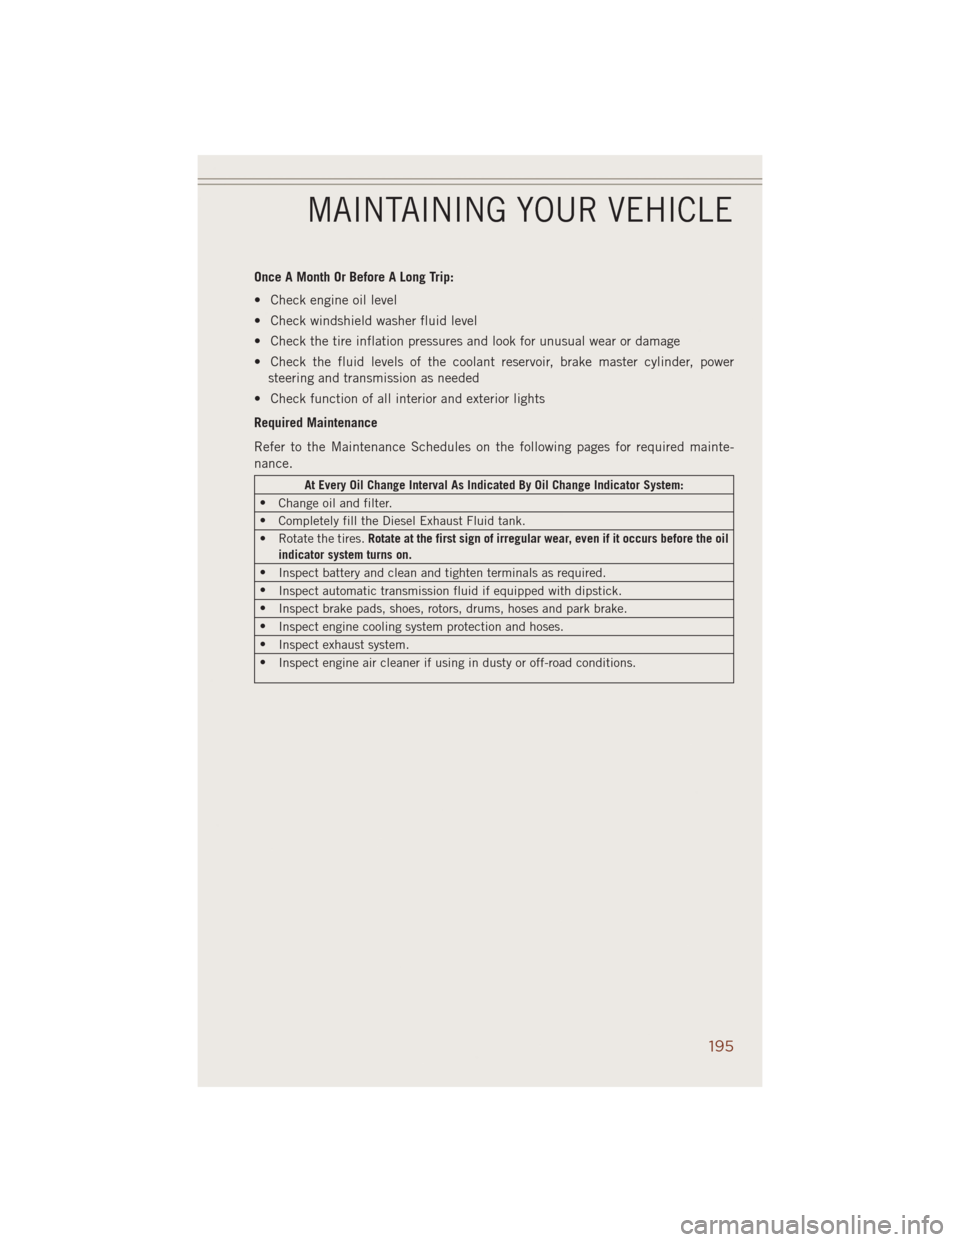
Once A Month Or Before A Long Trip:
• Check engine oil level
• Check windshield washer fluid level
• Check the tire inflation pressures and look for unusual wear or damage
• Check the fluid levels of the coolant reservoir, brake master cylinder, power
steering and transmission as needed
• Check function of all interior and exterior lights
Required Maintenance
Refer to the Maintenance Schedules on the following pages for required mainte-
nance.
At Every Oil Change Interval As Indicated By Oil Change Indicator System:
•
Change oil and filter.
•
Completely fill the Diesel Exhaust Fluid tank.
• Rotate the tires.Rotate at the first sign of irregular wear, even if it occurs before the oil
indicator system turns on.
•
Inspect battery and clean and tighten terminals as required.
•
Inspect automatic transmission fluid if equipped with dipstick.
•
Inspect brake pads, shoes, rotors, drums, hoses and park brake.
•
Inspect engine cooling system protection and hoses.
•
Inspect exhaust system.
•
Inspect engine air cleaner if using in dusty or off-road conditions.
MAINTAINING YOUR VEHICLE
195
Page 200 of 220
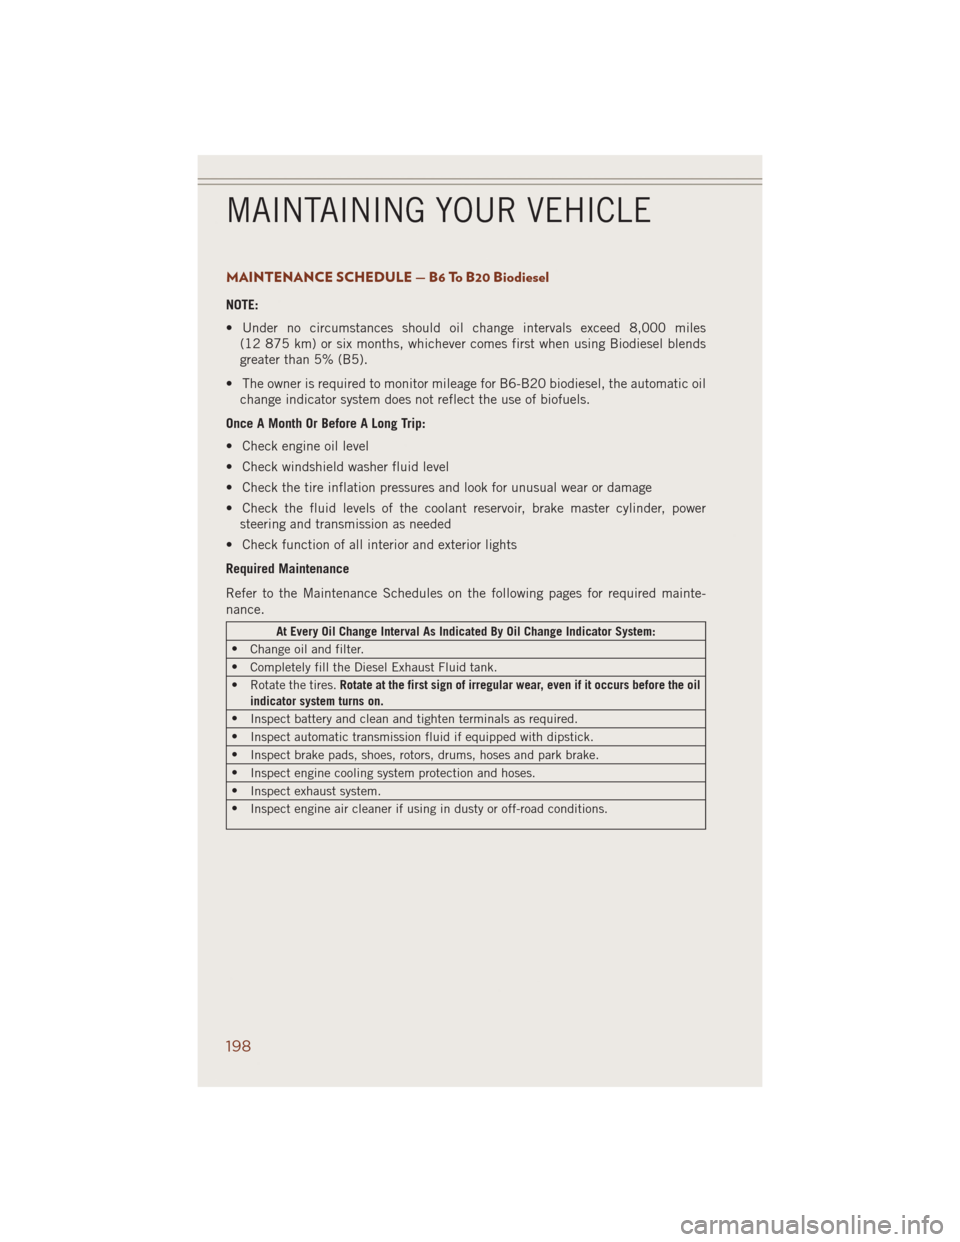
MAINTENANCE SCHEDULE — B6 To B20 Biodiesel
NOTE:
• Under no circumstances should oil change intervals exceed 8,000 miles
(12 875 km) or six months, whichever comes first when using Biodiesel blends
greater than 5% (B5).
• The owner is required to monitor mileage for B6-B20 biodiesel, the automatic oil
change indicator system does not reflect the use of biofuels.
Once A Month Or Before A Long Trip:
• Check engine oil level
• Check windshield washer fluid level
• Check the tire inflation pressures and look for unusual wear or damage
• Check the fluid levels of the coolant reservoir, brake master cylinder, power
steering and transmission as needed
• Check function of all interior and exterior lights
Required Maintenance
Refer to the Maintenance Schedules on the following pages for required mainte-
nance.
At Every Oil Change Interval As Indicated By Oil Change Indicator System:
•
Change oil and filter.
•
Completely fill the Diesel Exhaust Fluid tank.
• Rotate the tires.Rotate at the first sign of irregular wear, even if it occurs before the oil
indicator system turns on.
•
Inspect battery and clean and tighten terminals as required.
•
Inspect automatic transmission fluid if equipped with dipstick.
•
Inspect brake pads, shoes, rotors, drums, hoses and park brake.
•
Inspect engine cooling system protection and hoses.
•
Inspect exhaust system.
•
Inspect engine air cleaner if using in dusty or off-road conditions.
MAINTAINING YOUR VEHICLE
198
Page 206 of 220
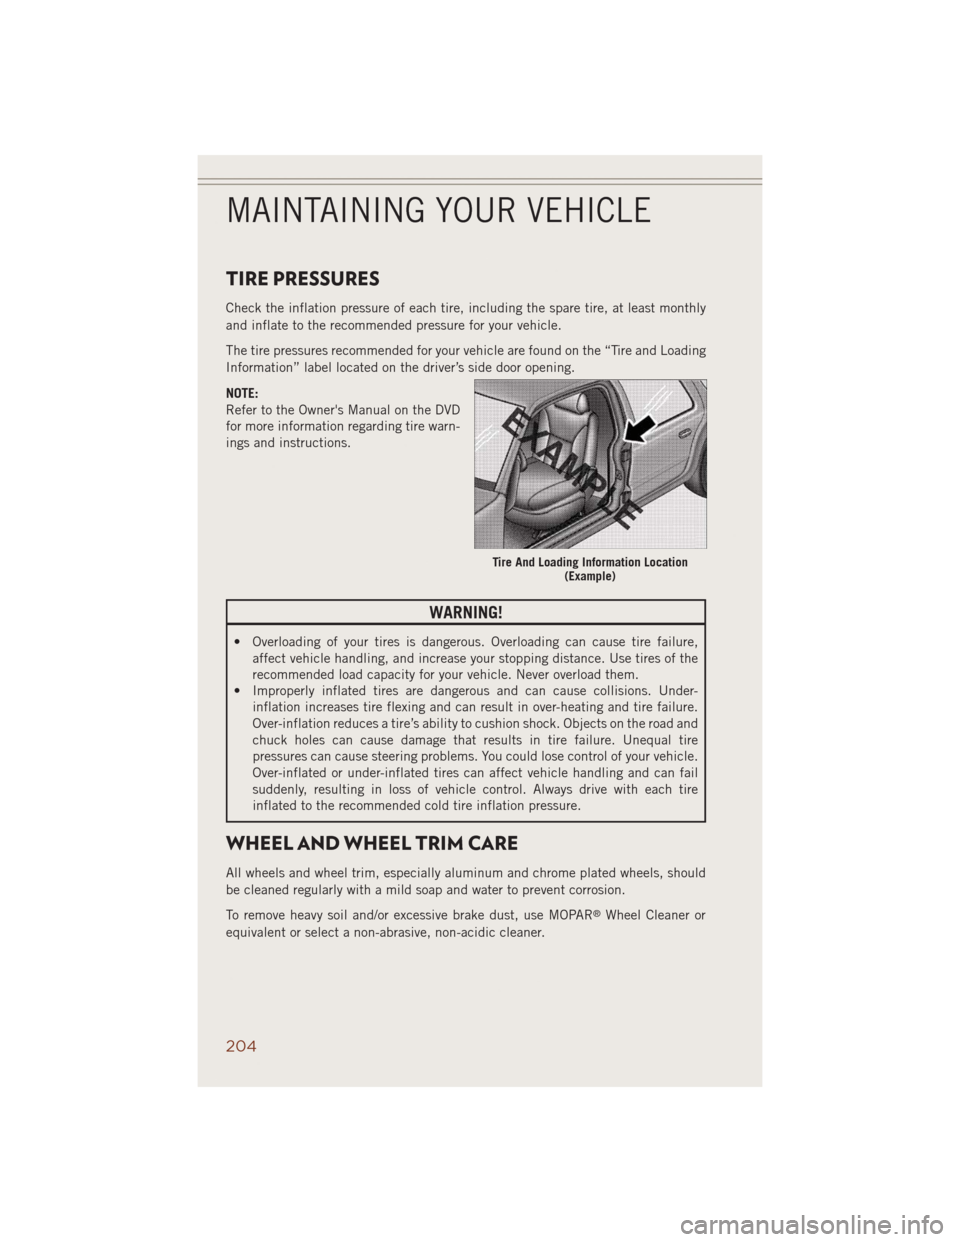
TIRE PRESSURES
Check the inflation pressure of each tire, including the spare tire, at least monthly
and inflate to the recommended pressure for your vehicle.
The tire pressures recommended for your vehicle are found on the “Tire and Loading
Information” label located on the driver’s side door opening.
NOTE:
Refer to the Owner's Manual on the DVD
for more information regarding tire warn-
ings and instructions.
WARNING!
• Overloading of your tires is dangerous. Overloading can cause tire failure,
affect vehicle handling, and increase your stopping distance. Use tires of the
recommended load capacity for your vehicle. Never overload them.
• Improperly inflated tires are dangerous and can cause collisions. Under-
inflation increases tire flexing and can result in over-heating and tire failure.
Over-inflation reduces a tire’s ability to cushion shock. Objects on the road and
chuck holes can cause damage that results in tire failure. Unequal tire
pressures can cause steering problems. You could lose control of your vehicle.
Over-inflated or under-inflated tires can affect vehicle handling and can fail
suddenly, resulting in loss of vehicle control. Always drive with each tire
inflated to the recommended cold tire inflation pressure.
WHEEL AND WHEEL TRIM CARE
All wheels and wheel trim, especially aluminum and chrome plated wheels, should
be cleaned regularly with a mild soap and water to prevent corrosion.
To remove heavy soil and/or excessive brake dust, use MOPAR
®Wheel Cleaner or
equivalent or select a non-abrasive, non-acidic cleaner.
Tire And Loading Information Location
(Example)
MAINTAINING YOUR VEHICLE
204
Page 214 of 220
Disabled Vehicle Towing.......150
Disarming, Security System......15
Discharged Battery..........165
Driver Information Display
Programmable Features.....115
Economy(Fuel)Mode.........39
Electronics
Your Vehicle's Sound
System.............48,49
Electronic Speed Control (Cruise
Control)................32
Electronic Stability Control (ESC) . .153
Electronic Stability Control (ESC) OFF
Indicator..............154
Electronic Throttle Control Warning
Light.............155, 157
Electronic Vehicle Information Center
Programmable Features.....115
Electronic Vehicle Information Center
(EVIC)................115
Average Fuel Consumption . . .114
Distance Traveled.........114
Electronic Vehicle Information Cen-
ter(EVIC) .............114
ExitMenu .............114
Language (Selecting The
Language).............115
Travel Time............114
Trip Functions...........114
Units (Set Units).........115
Emergency, In Case of
Jacking..............158
Overheating............158
Towing ...............150
Engine.................142
Break-In Recommendations . . .28
Compartment. .173, 174, 175, 176
Coolant (Antifreeze)....177, 181
Malfunction Indicator (Check En-
gine) ................153
Oil ..............177, 181
Oil Filter..........177, 181
OilSelection ........177, 181
Overheating............158
Event Data Recorder.........170
Exhaust Regeneration........145Exterior Lights.............205
Filters.................181
EngineFuel ............144
Flashers
TurnSignal ............156
Flat...................158
FlatTire ................158
Fluid Capacities........177, 181
Fluids..............177, 181
FogLights ............29,156
FoldingFrontPassengerSeat.....23
FoldingRearSeat ...........24
Forward Collision Warning.......36
Four Wheel Drive...........122
Shifting..............123
Four Wheel Drive Operation.....122
Shifting into Transfer Case
Neutral (N)............123
Shifting out of Transfer Case
Neutral (N)............123
Front And Rear ParkSense System . .42
Front ParkSense System........42
Fuel
EconomyMode ..........39
Filler Door Emergency Release. .172
Specifica-
tions......177, 178, 181, 183
Fuse ..................201
Fuses..................201
Headlights................29
Automatic.............29
Dimmer Switch..........30
HighBeam .............31
High Beam/Low Beam
Select Switch...........31
Heated Seats..............24
Heated Steering Wheel........26
High Beam Indicator.........156
High Beam/Low Beam Select (Dimmer)
Switch................31
Hill Descent Control.........127
Hill Start Assist............127
HomeLink®(Garage Door Opener)...117
Hood Release.............171
Identifying Your Radio.........50
INDEX
212