tire pressure JEEP GRAND CHEROKEE 2015 WK2 / 4.G Owners Manual
[x] Cancel search | Manufacturer: JEEP, Model Year: 2015, Model line: GRAND CHEROKEE, Model: JEEP GRAND CHEROKEE 2015 WK2 / 4.GPages: 717, PDF Size: 18.54 MB
Page 114 of 717
WARNING!(Continued)
•Check mounting of mats on a regular basis. Always
properly reinstall and secure floor mats that have
been removed for cleaning.
•Always make sure that objects cannot fall into the
driver footwell while the vehicle is moving. Ob-
jects can become trapped under the brake pedal
and accelerator pedal causing a loss of vehicle
control.
•If required, mounting posts must be properly in-
stalled, if not equipped from the factory.
Failure to properly follow floor mat installation or
mounting can cause interference with the brake
pedal and accelerator pedal operation causing loss of
control of the vehicle.
Periodic Safety Checks You Should Make Outside
The Vehicle
Tires
Examine tires for excessive tread wear and uneven wear
patterns. Check for stones, nails, glass, or other objects
lodged in the tread or sidewall. Inspect the tread for cuts
and cracks. Inspect sidewalls for cuts, cracks and bulges.
Check the wheel nuts for tightness. Check the tires
(including spare) for proper cold inflation pressure.
Lights
Have someone observe the operation of brake lights and
exterior lights while you work the controls. Check turn
signal and high beam indicator lights on the instrument
panel.
11 2 T H I N G S TO K N O W B E F O R E S TA R T I N G Y O U R V E H I C L E
Page 299 of 717
The light also will turn on when the parking brake is
applied with the ignition switch in the ON/RUN posi-
tion.
NOTE:This light shows only that the parking brake is
applied. It does not show the degree of brake application.
13. Fuel Gauge/Fuel Door Reminder
The fuel pump symbol points to the side of the vehicle
where the fuel door is located. The pointer shows the
level of fuel in the fuel tank when the ignition switch is in
the ON/RUN position.
14. Tire Pressure Monitoring Telltale Light
Each tire, including the spare (if provided),
should be checked monthly when cold and
inflated to the inflation pressure recommended
by the vehicle manufacturer on the vehicle
placard or tire inflation pressure label. (If your vehicle
has tires of a different size than the size indicated on the
vehicle placard or tire inflation pressure label, you should
determine the proper tire inflation pressure for those
tires.)
As an added safety feature, your vehicle has been
equipped with a Tire Pressure Monitoring System
(TPMS) that illuminates a low tire pressure telltale when
one or more of your tires is significantly under-inflated.
Accordingly, when the low tire pressure telltale illumi-
nates, you should stop and check your tires as soon as
possible, and inflate them to the proper pressure. Driving
on a significantly under-inflated tire causes the tire to
overheat and can lead to tire failure. Under-inflation also
reduces fuel efficiency and tire tread life, and may affect
the vehicle’s handling and stopping ability.
Please note that the TPMS is not a substitute for proper
tire maintenance, and it is the driver ’s responsibility to
maintain correct tire pressure, even if under-inflation has
not reached the level to trigger illumination of the TPMS
low tire pressure telltale.
4
UNDERSTANDING YOUR INSTRUMENT PANEL 297
Page 300 of 717
Your vehicle has also been equipped with a TPMS
malfunction indicator to indicate when the system is not
operating properly. The TPMS malfunction indicator is
combined with the low tire pressure telltale. When the
system detects a malfunction, the telltale will flash for
approximately one minute and then remain continuously
illuminated. This sequence will continue upon subse-
quent vehicle start-ups as long as the malfunction exists.
When the malfunction indicator is illuminated, the sys-
tem may not be able to detect or signal low tire pressure
as intended. TPMS malfunctions may occur for a variety
of reasons, including the installation of replacement or
alternate tires or wheels on the vehicle that prevent the
TPMS from functioning properly. Always check the
TPMS malfunction telltale after replacing one or more
tires or wheels on your vehicle, to ensure that the
replacement or alternate tires and wheels allow the TPMS
to continue to function properly.
CAUTION!
The TPMS has been optimized for the original
equipment tires and wheels. TPMS pressures and
warning have been established for the tire size
equipped on your vehicle. Undesirable system opera-
tion or sensor damage may result when using re-
placement equipment that is not of the same size,
type, and/or style. Aftermarket wheels can cause
sensor damage. Do not use tire sealant from a can or
balance beads if your vehicle is equipped with a
TPMS, as damage to the sensors may result.
15. Driver Information Display (DID)
The odometer display shows the total distance the ve-
hicle has been driven.
U.S. Federal regulations require that upon transfer of
vehicle ownership, the seller certify to the purchaser the
correct mileage that the vehicle has been driven. If your
298 UNDERSTANDING YOUR INSTRUMENT PANEL
Page 306 of 717
3. Reconfigurable Telltales/Information
4. Telltales/Indicators
5. Shift Lever Status (PRNDL)
6. Selectable Information (Compass, Temp, Range to
Empty, Trip A, Trip B, Average Fuel Economy, Current
Fuel Economy)
7. Air Suspension Status — If Equipped
8. 4WD Status — Status
9. Selectable Gauge 1
The main display area will normally display the main
menu or the screens of a selected feature of the main
menu. The main display area also displays “pop up”
messages that consist of approximately 60 possible warn-
ing or information messages. These pop up messages fall
into several categories:
•Five Second Stored Messages
When the appropriate conditions occur, this type of
message takes control of the main display area for five
seconds and then returns to the previous screen. Most of
the messages of this type are then stored (as long as the
condition that activated it remains active) and can be
reviewed from the “Messages” main menu item. Ex-
amples of this message type are “Right Front Turn Signal
Lamp Out” and “Low Tire Pressure”.
•Unstored Messages
This message type is displayed indefinitely or until the
condition that activated the message is cleared. Examples
of this message type are “Turn Signal On” (if a turn signal
is left on) and “Lights On” (if driver leaves the vehicle).
•Unstored Messages Until RUN
These messages deal primarily with the Remote Start
feature. This message type is displayed until the ignition
304 UNDERSTANDING YOUR INSTRUMENT PANEL
Page 308 of 717
3. Without pushing the brake pedal, push and release the
ENGINE START/STOP button once to return the
ignition to the OFF/LOCK position.
NOTE:If the indicator message illuminates when you
start the vehicle, the oil change indicator system did not
reset. If necessary, repeat this procedure.
DID Messages
•Front Seatbelts Unbuckled
•Driver Seatbelt Unbuckled
•Passenger Seatbelt Unbuckled
•Service Airbag System
•Traction Control Off
•Washer Fluid Low
•Oil Pressure Low
•Oil Change Due
•Fuel Low
•Service Antilock Brake System
•Service Electronic Throttle Control
•Service Power Steering
•Cruise Off
•Cruise Ready
•ACC Override
•Cruise Set To XXX MPH
•Tire Pressure Screen With Low Tire(s) “Inflate Tire to
XX”
•Service Tire Pressure System
•Speed Warning Set
306 UNDERSTANDING YOUR INSTRUMENT PANEL
Page 317 of 717
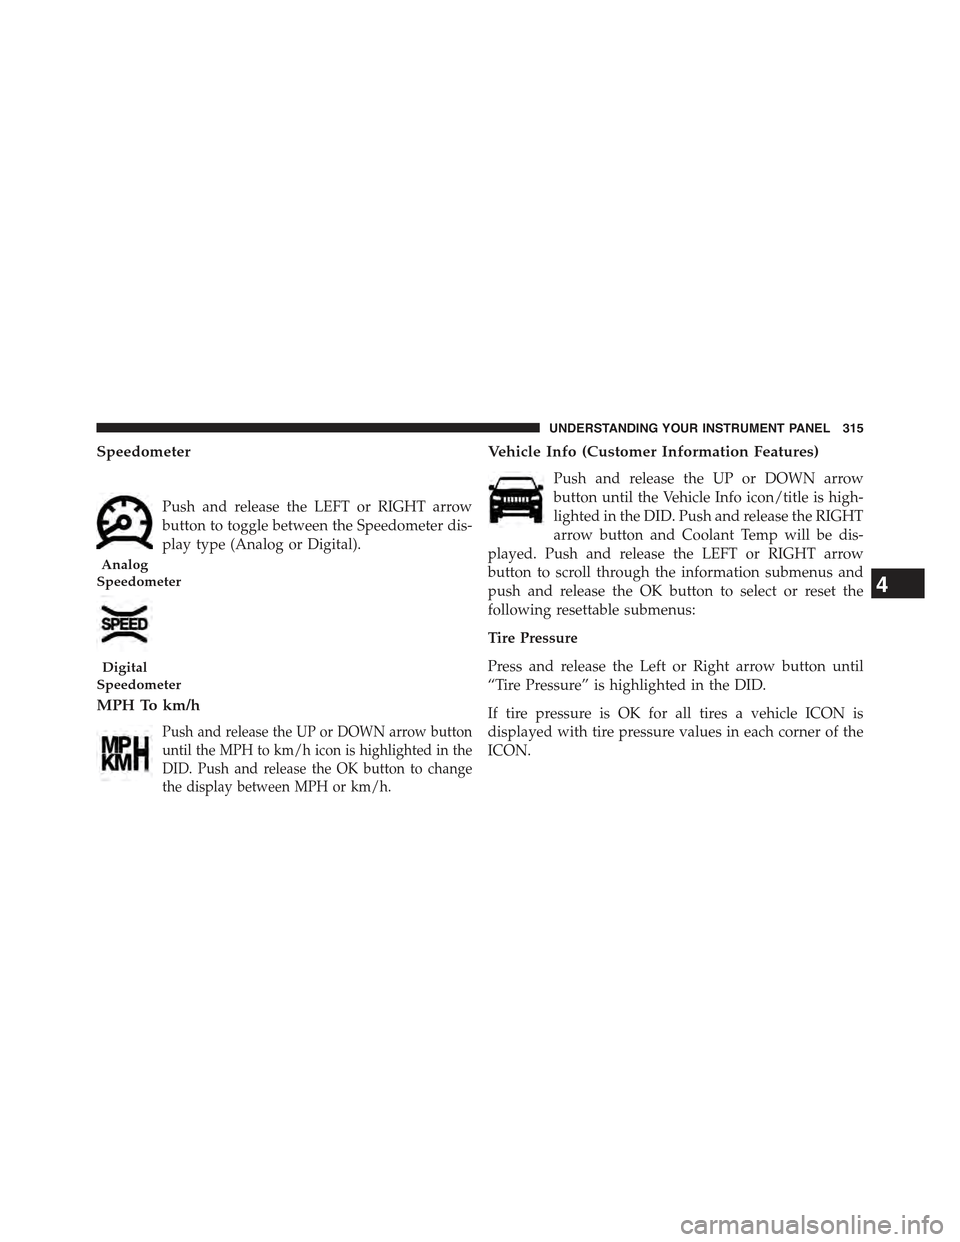
Speedometer
Push and release the LEFT or RIGHT arrow
button to toggle between the Speedometer dis-
play type (Analog or Digital).
MPH To km/h
Push and release the UP or DOWN arrow button
until the MPH to km/h icon is highlighted in the
DID. Push and release the OK button to change
the display between MPH or km/h.
Vehicle Info (Customer Information Features)
Push and release the UP or DOWN arrow
button until the Vehicle Info icon/title is high-
lighted in the DID. Push and release the RIGHT
arrow button and Coolant Temp will be dis-
played. Push and release the LEFT or RIGHT arrow
button to scroll through the information submenus and
push and release the OK button to select or reset the
following resettable submenus:
Tire Pressure
Press and release the Left or Right arrow button until
“Tire Pressure” is highlighted in the DID.
If tire pressure is OK for all tires a vehicle ICON is
displayed with tire pressure values in each corner of the
ICON.
Analog
Speedometer
Digital
Speedometer
4
UNDERSTANDING YOUR INSTRUMENT PANEL 315
Page 318 of 717
If one or more tires have low pressure, “Inflate Tire To
XX” is displayed with the vehicle ICON and the tire
pressure values in each corner of the ICON with the
pressure value of the low tire displayed in a different
color than the other tire pressure values.
If the Tire Pressure system requires service, “Service Tire
Pressure System” is displayed.
Tire Pressure is an information only function and cannot
be reset.
Refer to “Tire Pressure Monitoring System (TPMS)”
under “Starting and Operating” for further information.
Transmission Temperature
•Displays the actual transmission temperature.
Oil Temperature
•Displays the actual oil temperature
Oil Pressure
•Displays the actual oil pressure.
Oil Life
Battery Voltage
Engine Hours
•Displays the number of hours of engine operation.
Terrain — If Equipped
Push and release the UP or DOWN
arrow button until the Terrain display
icon/title is highlighted in the DID.
Push and release the RIGHT arrow
button to display the Selec-Terrain, Air
Suspension, Drivetrain, and Wheel
Articulation.
316 UNDERSTANDING YOUR INSTRUMENT PANEL
Page 419 of 717
!BRAKE SYSTEM.......................472
!ELECTRONIC BRAKE CONTROL SYSTEM . . . .473
▫Anti-Lock Brake System (ABS)............473
▫Traction Control System (TCS)............475
▫Brake Assist System (BAS)...............475
▫Electronic Roll Mitigation (ERM)..........476
▫Electronic Stability Control (ESC)..........477
▫Trailer Sway Control (TSC)..............480
▫Hill Start Assist (HSA).................481
▫Ready Alert Braking — If Equipped........483
▫Rain Brake Support — If Equipped.........483
▫Hill Descent Control (HDC) — If Equipped
(Four-Wheel Drive Models With MP3023
Two-Speed Transfer Case Only)...........484
▫Selec Speed Control (SSC) — If Equipped
(Four-Wheel Drive Models With MP3023
Two-Speed Transfer Case Only)...........488
▫ESC Activation/Malfunction Indicator Light And
ESC OFF Indicator Light................491
!TIRE SAFETY INFORMATION.............493
▫Tire Markings........................493
▫Tire Identification Number (TIN)...........497
▫Tire Terminology And Definitions..........498
▫Tire Loading And Tire Pressure...........500
!TIRES — GENERAL INFORMATION........505
▫Tire Pressure........................505
▫Tire Inflation Pressures.................506
▫Tire Pressures For High Speed Operation . . . .508
5
STARTING AND OPERATING 417
Page 420 of 717
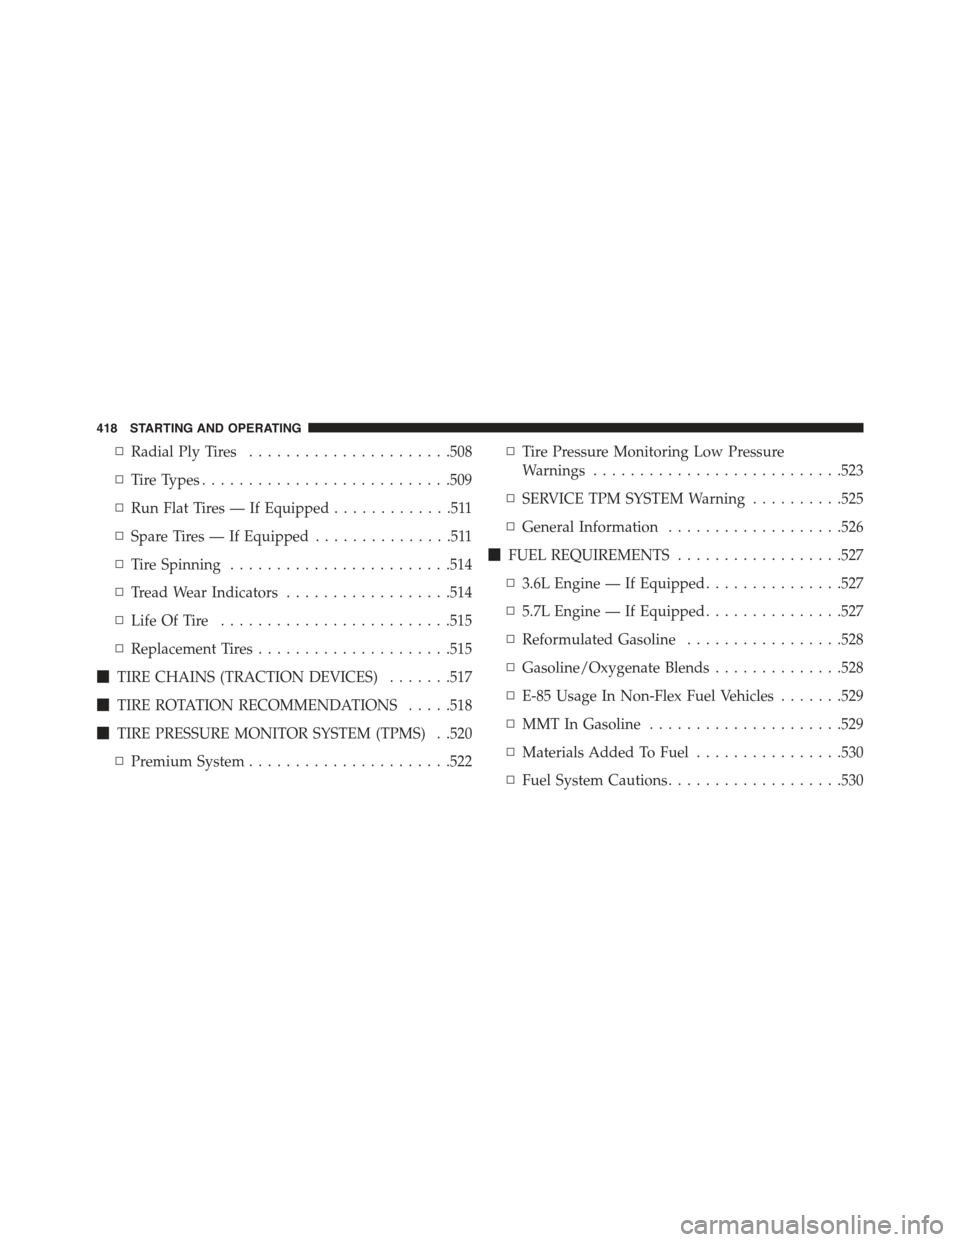
▫Radial Ply Tires......................508
▫Tire Types...........................509
▫Run Flat Tires — If Equipped.............511
▫Spare Tires — If Equipped...............511
▫Tire Spinning........................514
▫Tread Wear Indicators..................514
▫Life Of Tire.........................515
▫Replacement Tires.....................515
!TIRE CHAINS (TRACTION DEVICES).......517
!TIRE ROTATION RECOMMENDATIONS.....518
!TIRE PRESSURE MONITOR SYSTEM (TPMS) . .520
▫Premium System......................522
▫Tire Pressure Monitoring Low Pressure
Warnings...........................523
▫SERVICE TPM SYSTEM Warning..........525
▫General Information...................526
!FUEL REQUIREMENTS..................527
▫3.6L Engine — If Equipped...............527
▫5.7L Engine — If Equipped...............527
▫Reformulated Gasoline.................528
▫Gasoline/Oxygenate Blends..............528
▫E-85 Usage In Non-Flex Fuel Vehicles.......529
▫MMT In Gasoline.....................529
▫Materials Added To Fuel................530
▫Fuel System Cautions...................530
418 STARTING AND OPERATING
Page 455 of 717
The system requires that the engine be running for all
changes. When lowering the vehicle all of the doors,
including the liftgate, must be closed. If a door is opened
at any time while the vehicle is lowering the change will
not be completed until the open door(s) is closed.
The Quadra-Lift™ air suspension system uses a lifting
and lowering pattern which keeps the headlights from
incorrectly shining into oncoming traffic. When raising
the vehicle, the rear of the vehicle will move up first and
then the front. When lowering the vehicle, the front will
move down first and then the rear.
After the engine is turned off, it may be noticed that the
air suspension system operates briefly, this is normal. The
system is correcting the position of the vehicle to ensure
a proper appearance.
To assist with changing a spare tire, the Quadra-Lift™ air
suspension system has a feature which allows the auto-
matic leveling to be disabled. Refer to “Uconnect® Set-
tings” in “Understanding Your Instrument Panel” for
further information.
NOTE:If equipped with a touch screen radio all
enabling/disabling of air suspension features must be
done through the radio. Refer to “Uconnect® Access
Settings” in “Understanding Your Instrument Panel” for
further information.
WARNING!
The air suspension system uses a high pressure
volume of air to operate the system. To avoid per-
sonal injury or damage to the system, see your
authorized dealer for service.
5
STARTING AND OPERATING 453