clock JEEP GRAND CHEROKEE 2015 WK2 / 4.G SRT User Guide
[x] Cancel search | Manufacturer: JEEP, Model Year: 2015, Model line: GRAND CHEROKEE, Model: JEEP GRAND CHEROKEE 2015 WK2 / 4.GPages: 636, PDF Size: 5.35 MB
Page 516 of 636
WARNING!
To avoid the risk of forcing the vehicle off the jack,
do not tighten the lug nuts fully until the vehicle has
been lowered. Failure to follow this warning may
result in personal injury.
3. Lower the vehicle to the ground by turning the jack
handle counterclockwise.
4. Refer to Torque Specifications for proper lug nut
torque.
5. After 25 miles (40 km) check the lug nut torque with a
torque wrench to ensure that all lug nuts are properly
seated against the wheel.
JUMP-STARTING
If your vehicle has a discharged battery it can be jump-
started using a set of jumper cables and a battery in
another vehicle or by using a portable battery booster
pack. Jump-starting can be dangerous if done improperly
so please follow the procedures in this section carefully.
WARNING!
Do not attempt jump-starting if the battery is frozen.
It could rupture or explode and cause personal injury.
CAUTION!
Do not use a portable battery booster pack or any
other booster source with a system voltage greater
than 12 Volts or damage to the battery, starter motor,
alternator or electrical system may occur.
514 WHAT TO DO IN EMERGENCIES
Page 588 of 636
yourself. If a headlamp bulb fails, take your vehicle to
an authorized dealer for service.
WARNING!
A transient high voltage occurs at the bulb sockets of
High Intensity Discharge (HID) headlamps when the
headlamp switch is turned ON. It may cause serious
electrical shock or electrocution if not serviced prop-
erly. See your authorized dealer for service.
NOTE:On vehicles equipped with High Intensity Dis-
charge (HID) headlamps, when the headlamps are
turned on, there is a blue hue to the lamps. This dimin-
ishes and becomes more white after approximately 10
seconds, as the system charges.
Halogen Headlamps — If Equipped
1. Open the hood.
2. Turn the low or high beam bulb one–quarter turn
counterclockwise to remove from housing.
3. Disconnect the electrical connector and replace the
bulb.
CAUTION!
Do not touch the new bulb with your fingers. Oil
contamination will severely shorten bulb life. If the
bulb comes in contact with any oily surface, clean the
bulb with rubbing alcohol.
586 MAINTAINING YOUR VEHICLE
Page 589 of 636
Front Turn Signal
1. Open the hood.
2. Turn the turn signal bulb one–quarter turn counter-
clockwise to remove from housing.
3. Disconnect the electrical connector and replace the
bulb.
CAUTION!
Do not touch the new bulb with your fingers. Oil
contamination will severely shorten bulb life. If the
bulb comes in contact with any oily surface, clean the
bulb with rubbing alcohol.
Front Fog Lamps
1. Reach through the cutout in the splash shield and
disconnect the wiring harness from the fog lamp
connector.2. Firmly grasp the bulb by the two latches and squeeze
them together to unlock the bulb from the back of the
front fog lamp housing.
3. Pull the bulb straight out from the keyed opening in
the housing.
CAUTION!
•Do not touch the new bulb with your fingers. Oil
contamination will severely shorten bulb life. If
the bulb comes in contact with any oily surface,
clean the bulb with rubbing alcohol.
•Always use the correct bulb size and type for
replacement. An incorrect bulb size or type may
overheat and cause damage to the lamp, the socket
or the lamp wiring.
7
MAINTAINING YOUR VEHICLE 587
Page 590 of 636
4. Align the index tabs of the front fog lamp bulb with
the slots in the collar of the bulb opening on the back
of the front fog lamp housing.
5. Insert the bulb into the housing until the index tabs are
engaged in the slots of the collar.
6. Firmly and evenly push the bulb straight into the lamp
housing until both tabs snap firmly into place and are
fully engaged.
7. Connect the wiring harness to the front fog lamp
connector.
Rear Tail, Stop, Turn Signal, And Backup Lamps
1. Raise the liftgate.
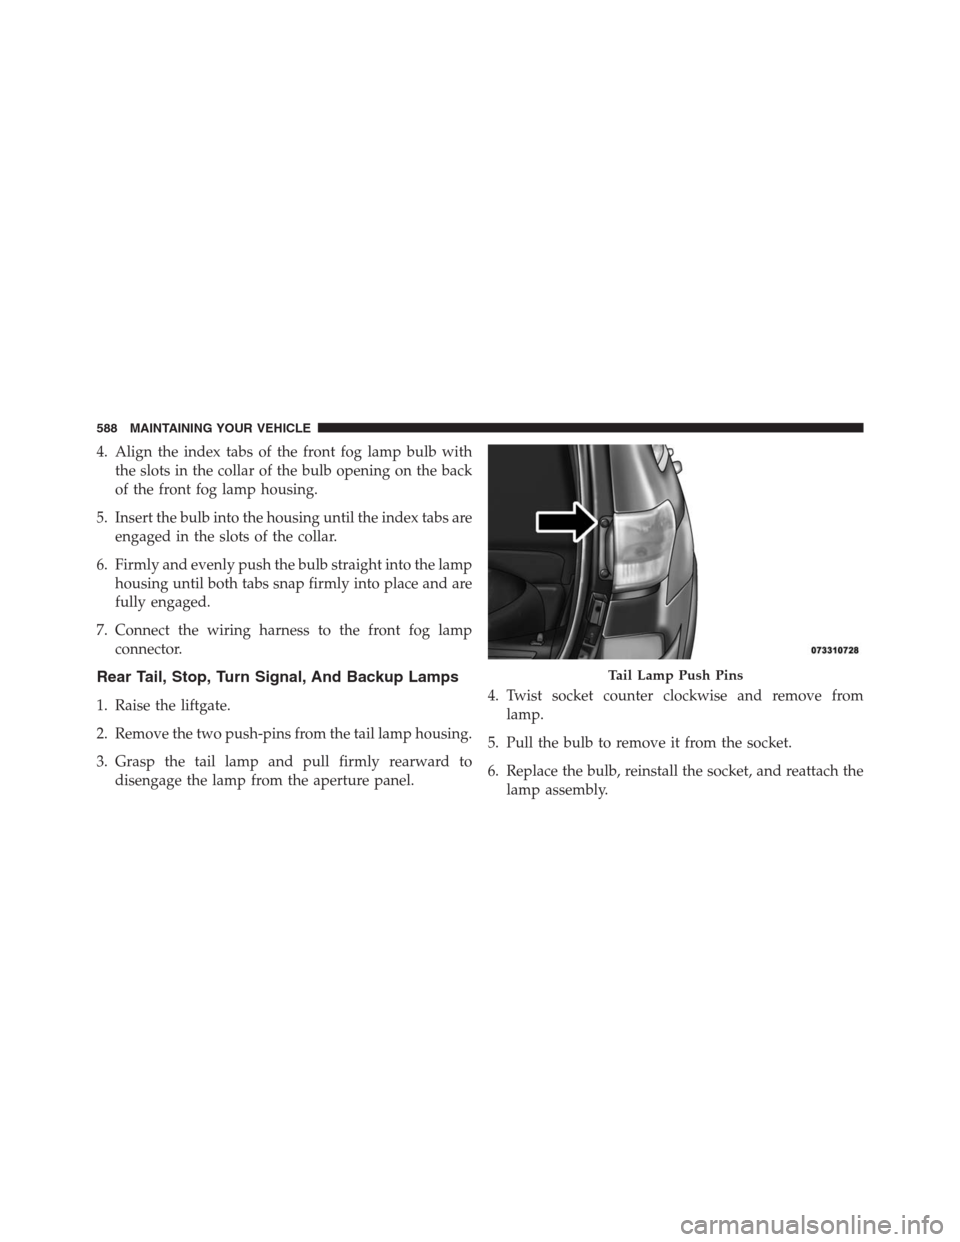
2. Remove the two push-pins from the tail lamp housing.
3. Grasp the tail lamp and pull firmly rearward to
disengage the lamp from the aperture panel.4. Twist socket counter clockwise and remove from
lamp.
5. Pull the bulb to remove it from the socket.
6. Replace the bulb, reinstall the socket, and reattach the
lamp assembly.
Tail Lamp Push Pins
588 MAINTAINING YOUR VEHICLE
Page 591 of 636
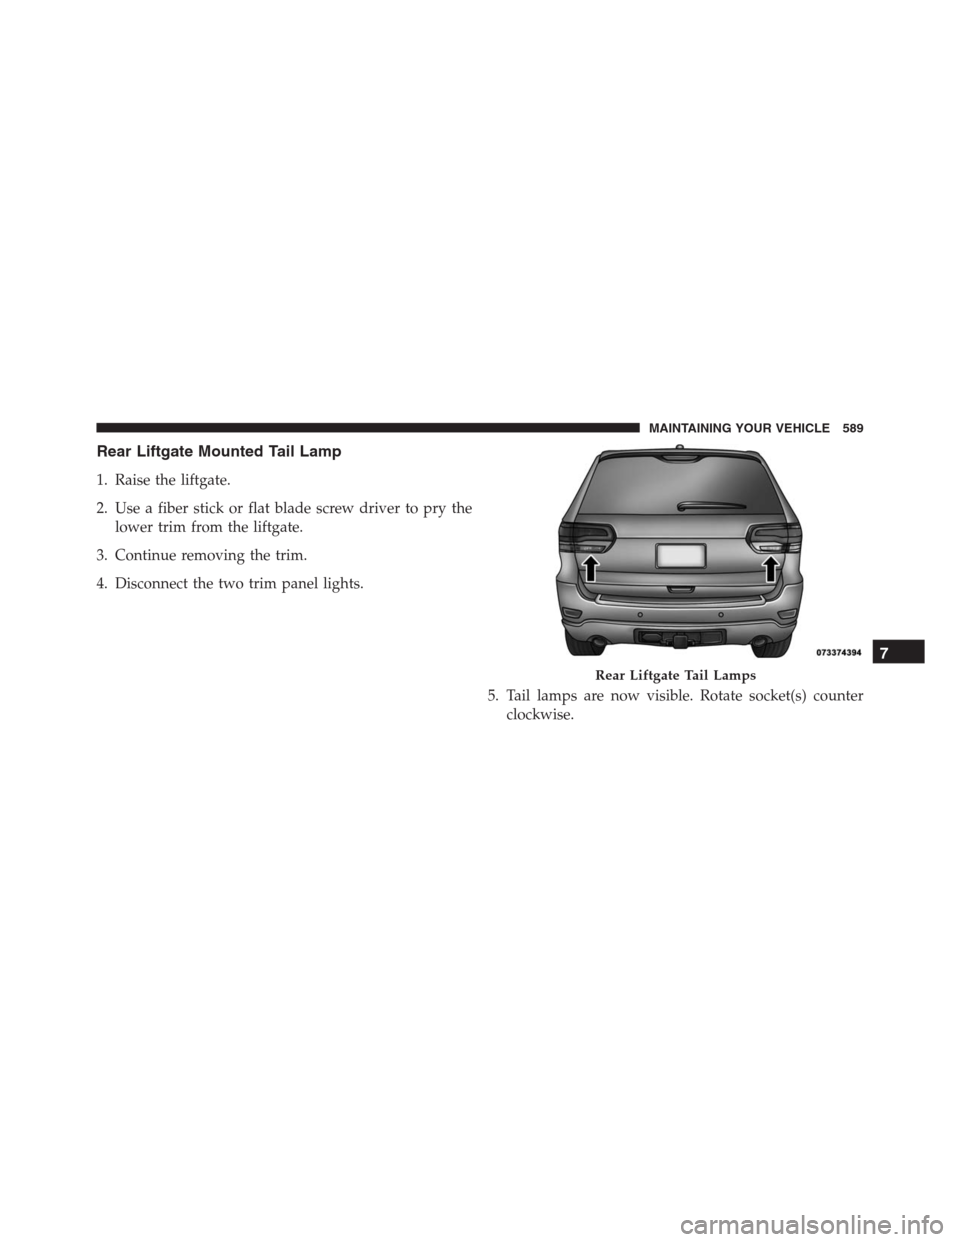
Rear Liftgate Mounted Tail Lamp
1. Raise the liftgate.
2. Use a fiber stick or flat blade screw driver to pry the
lower trim from the liftgate.
3. Continue removing the trim.
4. Disconnect the two trim panel lights.
5. Tail lamps are now visible. Rotate socket(s) counter
clockwise.
Rear Liftgate Tail Lamps
7
MAINTAINING YOUR VEHICLE 589