headlights JEEP GRAND CHEROKEE 2016 WK2 / 4.G User Guide
[x] Cancel search | Manufacturer: JEEP, Model Year: 2016, Model line: GRAND CHEROKEE, Model: JEEP GRAND CHEROKEE 2016 WK2 / 4.GPages: 276, PDF Size: 10.84 MB
Page 46 of 276
For the first 1500 miles (2414 km):
• Do not participate in track events, sport driving schools, or similar activities duringthe first 1500 miles (2414 km).
NOTE:
Check engine oil with every refueling and add if necessary. Oil and fuel consumption
may be higher through the first oil change interval.
HEADLIGHT SWITCH
The headlight switch is located on the left side of the instrument panel, next to the
steering wheel. The headlight switch controls the operation of the headlights, parking
lights, instrument panel lights, cargo lights and fog lights (if equipped).
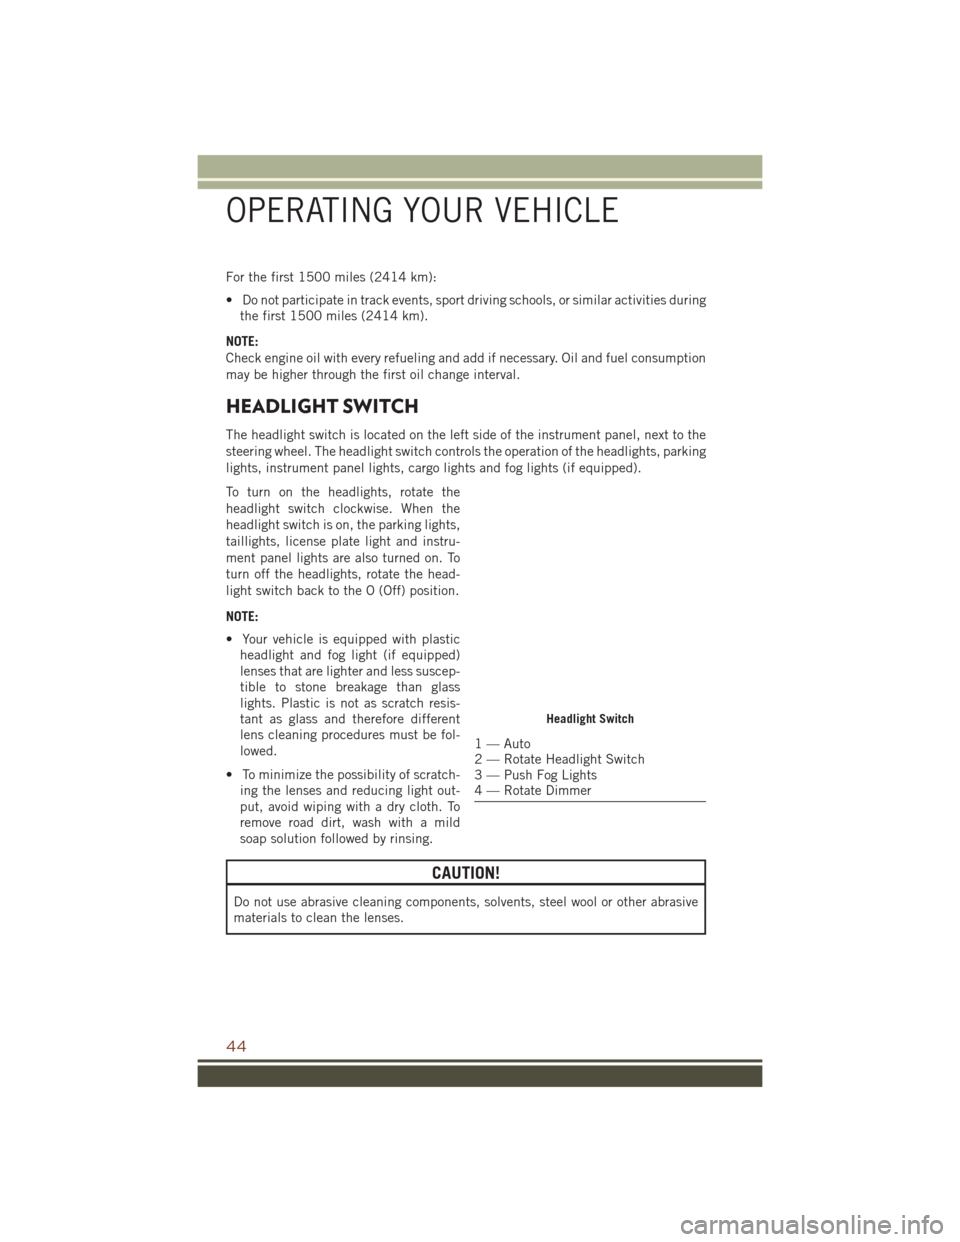
To turn on the headlights, rotate the
headlight switch clockwise. When the
headlight switch is on, the parking lights,
taillights, license plate light and instru-
ment panel lights are also turned on. To
turn off the headlights, rotate the head-
light switch back to the O (Off) position.
NOTE:
• Your vehicle is equipped with plastic headlight and fog light (if equipped)
lenses that are lighter and less suscep-
tible to stone breakage than glass
lights. Plastic is not as scratch resis-
tant as glass and therefore different
lens cleaning procedures must be fol-
lowed.
• To minimize the possibility of scratch- ing the lenses and reducing light out-
put, avoid wiping with a dry cloth. To
remove road dirt, wash with a mild
soap solution followed by rinsing.
CAUTION!
Do not use abrasive cleaning components, solvents, steel wool or other abrasive
materials to clean the lenses.
Headlight Switch
1 — Auto
2 — Rotate Headlight Switch
3 — Push Fog Lights
4 — Rotate Dimmer
OPERATING YOUR VEHICLE
44
Page 47 of 276
Automatic Headlights — If Equipped
This system automatically turns the headlights on or off according to ambient light
levels. To turn the system on, rotate the headlight switch to the A (AUTO) position.
When the system is on, the Headlight Delay feature is also on. This means the
headlights will stay on for up to 90 seconds after you turn the ignition switch to the
OFF position. To turn the automatic headlights off, turn the headlight switch out of
the AUTO position.
NOTE:
The engine must be running before the headlights will turn on in the Automatic
Mode.
Automatic High Beam — If Equipped
The Automatic High Beam Headlamp Control system provides increased forward
lighting at night by automating high beam control through the use of a digital camera
mounted on the inside rearview mirror. This camera detects vehicle specific light and
automatically switches from high beams to low beams until the approaching vehicle
is out of view.
NOTE:
• The Automatic High Beam Headlamp Control can be turned on or off using theUconnect System. Refer to “Uconnect Settings” in “Understanding Your Instru-
ment Panel” in the Owner’s Manual on the DVD for further information.
• Broken, muddy, or obstructed headlights and taillights of vehicles in the field of view will cause headlights to remain on longer (closer to the vehicle). Also, dirt,
film, and other obstructions on the windshield or camera lens will cause the
system to function improperly.
• To opt out of the Advanced Auto High-Beam Sensitivity Control (default) and enter Reduced High-Beam Sensitivity Control (not recommended), toggle highbeam
lever 6 full on/off cycles within 10 seconds of ignition ON. System will return to
default setting upon ignition off.
If the windshield or Automatic High Beam Headlamp Control mirror is replaced, the
mirror must be re-aimed to ensure proper performance. See your local authorized
dealer.
Interior Lights
Courtesy and dome lights are turned on when the front doors are opened or when the
dimmer control (rotating wheel on the right side of the headlight switch) is rotated to
its farthest upward position. If your vehicle is equipped with Remote Keyless Entry
(RKE) and the UNLOCK button is pressed on the RKE transmitter the courtesy and
dome lights will turn on. When a door is open and the interior lights are on, rotating
the dimmer control all the way down, to the OFF detent, will cause all the interior
lights to go out. This is also known as the “Party” mode because it allows the doors
to stay open for extended periods of time without discharging the vehicle’s battery.
OPERATING YOUR VEHICLE
45
Page 48 of 276
The brightness of the instrument panel lighting can be regulated by rotating the
dimmer control up (brighter) or down (dimmer). When the headlights are on you can
supplement the brightness of the odometer, trip odometer, radio and overhead
console by rotating the control to its farthest position up until you hear a click. This
feature is termed the “Parade” mode and is useful when headlights are required
during the day.
TURN SIGNAL/WIPER/WASHER/HIGH BEAM LEVER
The multifunction lever is located on the left side of the steering column.
Turn Signals
Move the multifunction lever up or down and the arrows on each side of the
instrument cluster flash to show proper operation of the front and rear turn signal
lights.
NOTE:
If either light remains on and does not flash, or there is a very fast flash rate, check
for a defective outside light bulb. If an indicator fails to light when the lever is moved,
it would suggest that the indicator bulb is defective.
Lane Change Assist
Tap the lever up or down once, without moving beyond the detent, and the turn signal
(right or left) will flash three times then automatically turn off.
High/Low Beam Switch
Push the multifunction lever toward the instrument panel to switch the headlights to
high beams. Pulling the multifunction back toward the steering wheel will turn the
low beams back on, or shut the high beams off.
Multifunction Lever
OPERATING YOUR VEHICLE
46
Page 160 of 276
Mud– Off road calibration for use on low traction surfaces such as mud. Driveline is
maximized for traction. Some binding may be felt on less forgiving surfaces. The
electronic brake controls are set to limit traction control management of throttle and
wheel spin. If equipped with air suspension, the level will change to Off-Road 1.
Rock – Off-road calibration only available in 4WD Low range. The vehicle is raised (if
equipped with Air Suspension) for improved ground clearance. Traction based tuning
with improved steer-ability for use on high traction off-road surfaces. Activate the Hill
Descent Control for steep downhill control. Use for low speed obstacles such as large
rocks, deep ruts, etc. If equipped with air suspension, the vehicle level will change
to Off-Road 2. If the Selec-Terrain switch is in ROCK mode, and the transfer case is
switched from 4WD Low to 4WD High, the Selec-Terrain system will return to AUTO.
QUADRA-LIFT
The Quadra-Lift air suspension system provides full time load leveling capability
along with the benefit of being able to adjust vehicle height by the push of a button.
Quadra-Lift is available with both Quadra-Trac II and Quadra-Drive II.
• The system requires that the engine be running for all changes. When lowering
the vehicle all of the doors, including
the liftgate, must be closed.
• The Quadra-Lift air suspension system uses a lifting and lowering pattern
which keeps the headlights from shin-
ing into oncoming traffic. When raising
the vehicle, the rear of the vehicle will
move up first and then the front. When
lowering the vehicle, the front will
move down first and then the rear.
• After the engine is turned off, you may notice that the air suspension system
operates briefly. This is normal. The
system is correcting the position of the
vehicle.
• To assist with changing a spare tire, the Quadra-Lift air suspension system
has a feature which allows the automatic leveling to be disabled. The feature
controls are located in the radio screen. Driving the vehicle over 5 mph (8 km/h)
will return the air suspension to normal operation.
• An audible chime will be heard whenever a system error has been detected.
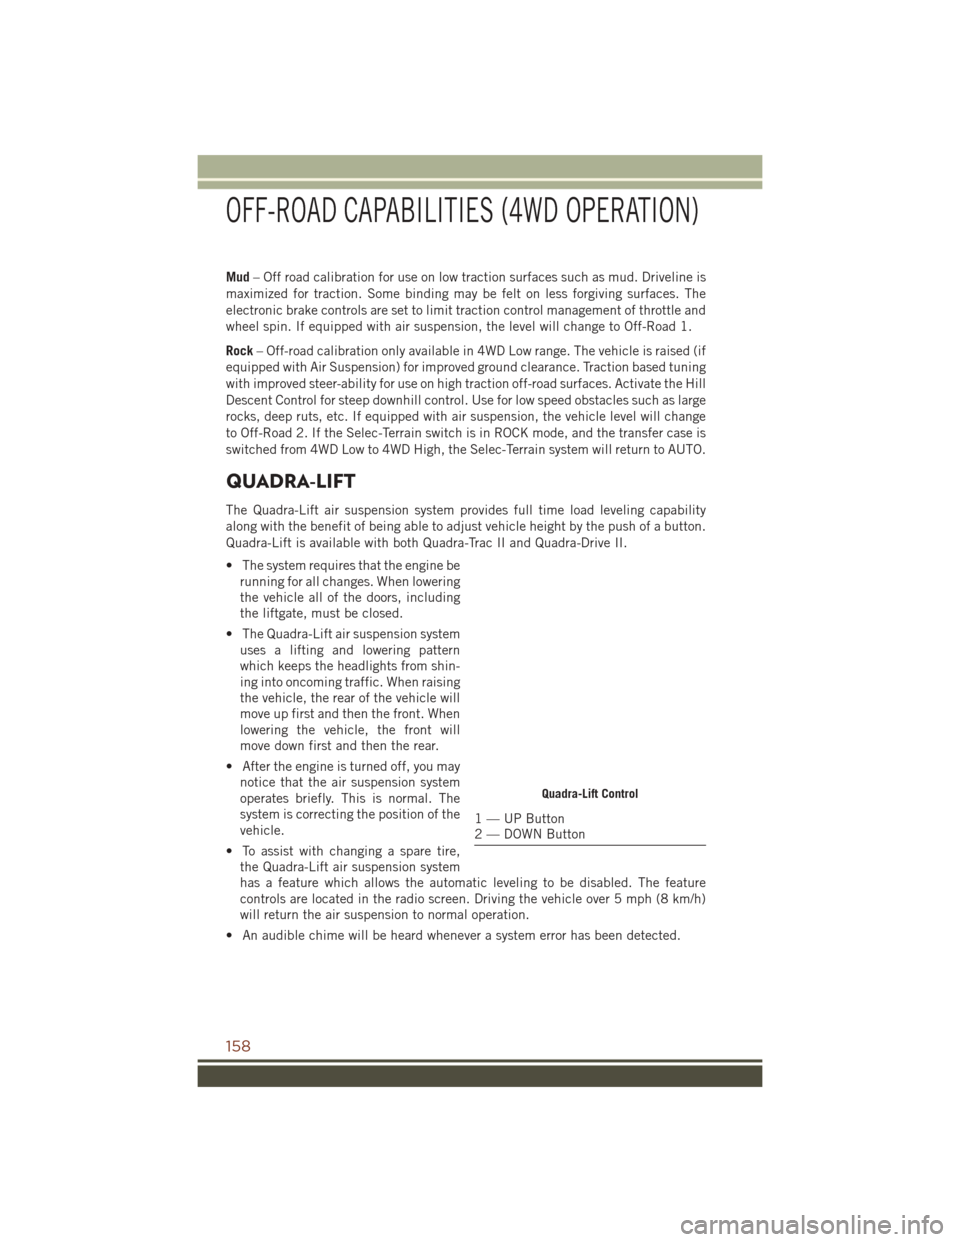
Quadra-Lift Control
1 — UP Button
2 — DOWN Button
OFF-ROAD CAPABILITIES (4WD OPERATION)
158
Page 197 of 276
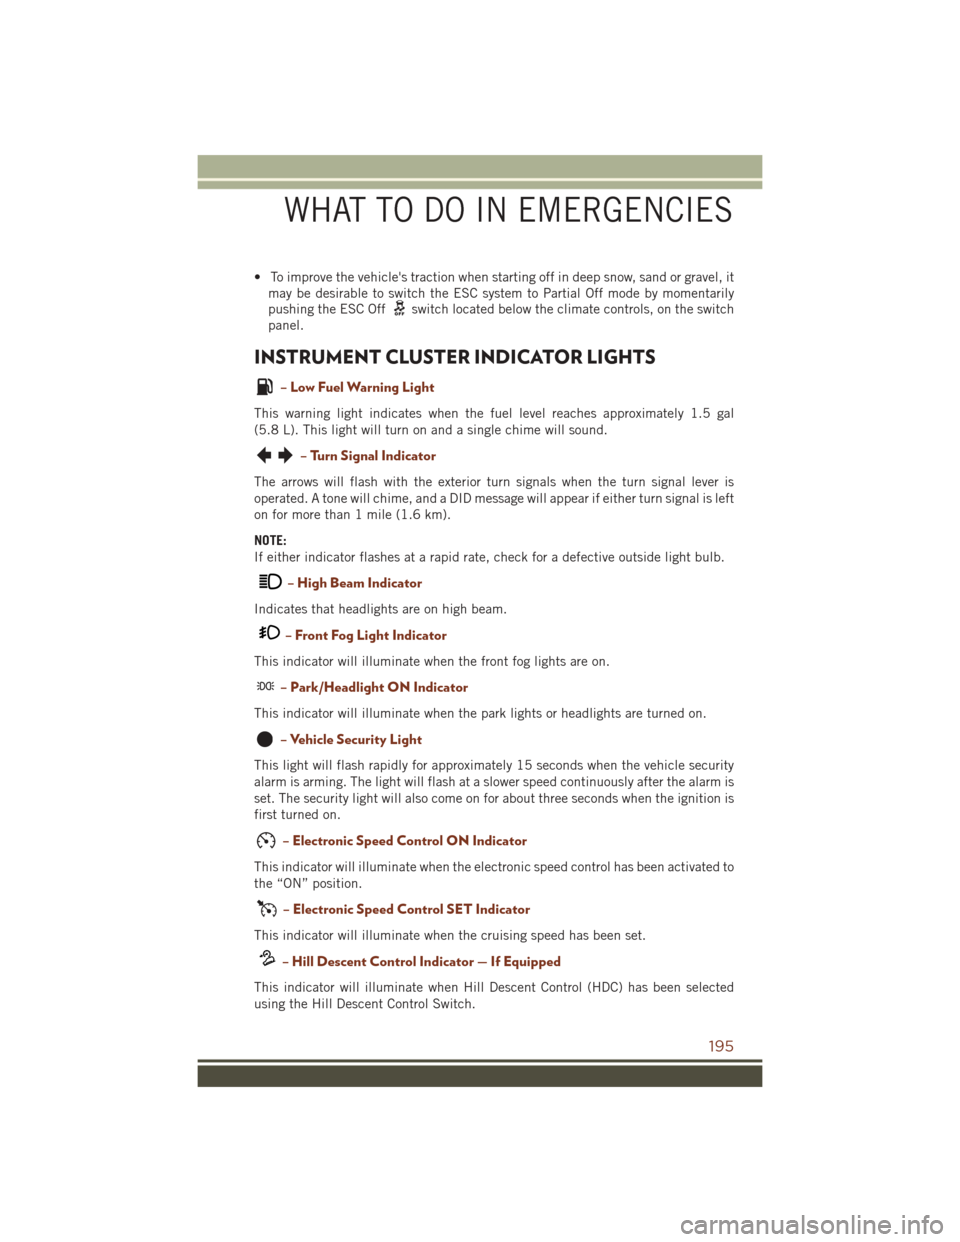
• To improve the vehicle's traction when starting off in deep snow, sand or gravel, itmay be desirable to switch the ESC system to Partial Off mode by momentarily
pushing the ESC Off
switch located below the climate controls, on the switch
panel.
INSTRUMENT CLUSTER INDICATOR LIGHTS
– Low Fuel Warning Light
This warning light indicates when the fuel level reaches approximately 1.5 gal
(5.8 L). This light will turn on and a single chime will sound.
– Turn Signal Indicator
The arrows will flash with the exterior turn signals when the turn signal lever is
operated. A tone will chime, and a DID message will appear if either turn signal is left
on for more than 1 mile (1.6 km).
NOTE:
If either indicator flashes at a rapid rate, check for a defective outside light bulb.
– High Beam Indicator
Indicates that headlights are on high beam.
– Front Fog Light Indicator
This indicator will illuminate when the front fog lights are on.
– Park/Headlight ON Indicator
This indicator will illuminate when the park lights or headlights are turned on.
– Vehicle Security Light
This light will flash rapidly for approximately 15 seconds when the vehicle security
alarm is arming. The light will flash at a slower speed continuously after the alarm is
set. The security light will also come on for about three seconds when the ignition is
first turned on.
– Electronic Speed Control ON Indicator
This indicator will illuminate when the electronic speed control has been activated to
the “ON” position.
– Electronic Speed Control SET Indicator
This indicator will illuminate when the cruising speed has been set.
– Hill Descent Control Indicator — If Equipped
This indicator will illuminate when Hill Descent Control (HDC) has been selected
using the Hill Descent Control Switch.
WHAT TO DO IN EMERGENCIES
195
Page 265 of 276
AccessUconnect .........78,80,84
Accessories ..............260 Mopar ...............260
Adaptive Cruise Control (ACC) Off ..................53
On ..................53
Adaptive Cruise Control (ACC) (Cruise Control) ...........53
Adding Engine Coolant (Antifreeze) .............232
Adding Fuel ..............253
Adding Washer Fluid .........232
Air Bag AdvancedFrontAirBag ......19
AdvanceFrontAirBag ......19
AirBags ...............19
Air Bag Warning Light .19, 22, 190
Driver Knee Air Bag ........20
Enhanced Accident
Response ...........21,216
Event Data Recorder
(EDR) .............22,216
FrontAirBag ............19
PassengerKneeAirBag ......20
Rollover ...............19
SideAirBags ............20
SideImpacts ............19
AirBagLight..............22
Air Cleaner, Engine (Engine Air Cleaner Filter) ...........232
Air Conditioner Maintenance ....232
Air Conditioning ..........66,68
Air Conditioning Refrigerant .....232
Air Conditioning System .......232
Air Suspension ............158
Alarm Arm The System ..........17
Disarm The System ........17
Vehicle Security Alarm ......17
Alarm (Security Alarm) .....17,195
Antifreeze (Engine Coolant) ........ 226, 228, 232
Capacities ............230
Disposal ..............232
Anti-Lock Brake System (ABS) . . .190
APP UconnectAccess..........81 Appearance Care
...........232
Arming System (Security Alarm) . . .17
Assistance Towing ..........189
Audio Jack ...............107
Automatic Headlights .........45
Automatic High Beams ........45
Automatic Temperature Control (ATC).................66
Automatic Transmission Adding Fluid ...........229
FluidType ...... 228, 229, 231
Shifting ...............59
AxleFluid......... 228, 229, 231
Axle Lubrication ............229
Background Themes Uconnect8.4A ..........100
Uconnect8.4N....... 100, 117
Back-Up Camera ............70
Battery .................232
Charging System Light .....189
Blind Spot Monitoring .........71
Body Mechanism Lubrication ....232
Brake Fluid ........ 228, 229, 231
Brakes .................232
Brake System .............232
FluidCheck ............229
Master Cylinder .........
2
32
WarningLight ..........193
Break-In Recommendations, Diesel................180
Break-In Recommendations, New Vehicle .............42
Bulb Replacement ..........257
Calibration, Compass .........147
Canada...............4,259
Capacities, Antifreeze (Engine Coolant) ..............230
Capacities, Fluid .....226, 228, 230
Caps, Filler Fuel ................216
Oil(Engine) ............232
CarWashes ..............232
CD (Compact Disc) Player ......107
Charging System Light ........189
Check Engine Light (Malfunction Indicator Light) ..........194
INDEX
263
Page 267 of 276
Engine Break-In3.6L .................42
5.7L .................42
6.4L .................43
Enhanced Accident Response Feature ...............216
Ethanol.................227
Exhaust Regeneration ........183
Exhaust System ............232
FAQ...................261
Filters AirCleaner ............232
EngineFuel ............182
Engine Oil . . .226, 229, 230, 232
EngineOilDisposal .......232
Flashers TurnSignal ............195
Flexible Fuel Vehicles ........227
Fluid, Brake .......228, 229, 231
Fluid Capacities .....226, 228, 230
Fluids, Lubricants And Genuine Parts.......... 226, 229, 230
FogLights...............195
FoldingRearSeat ...........36
Forward Collision Warning .......57
Four Wheel Drive ...........155
Shifting ..............156
Four Wheel Drive Operation .....155
Shifting Into Transfer Case
Neutral (N) ............156
Shifting Out Of Transfer Case
Neutral (N) ............156
Freeing A Stuck Vehicle .......214
Frequently Asked Questions .....261
Front And Rear ParkSense System . .69
Front ParkSense System ........69
Fuel Diesel ...............230
EconomyMode .......61,172
Ethanol ..............227
Filler Door Emergency
Release ..............254
Octane Rating .......226, 229
Requirements ....... 226, 228
Specifications ..........229
TankCapacity .... 226, 228, 230
Fuel, Flexible .............227 Fuse ..................249
Fuses..................249
Garage Door Opener (HomeLink) . .150
General Maintenance
.........232
Glass Cleaning ............232
Hands-Free Phone (Uconnect) . . .133
Headlights Cleaning .............232
Head Restraints ............28
High Beam Indicator .........195
Hill Descent Control .........160
Hill Start Assist ............160
Home..................176
HomeLink (Garage Door Opener) . .150
Hood Release .............217
Identifying Your Radio .........77
Installing A Child Restraint With ALR..................26
Installing Child Restraints Using The Vehicle Seat Belt ..........26
Instrument Cluster ...........10
Instrument Cluster Indicator Lights................195
Instrument Cluster Warning Lights................189
Instrument Panel Cover .......232
Instrument Panel Lens Cleaning . .232
Interior And Instrument Lights .....9
Interior Appearance Care .......232
Intermittent Wipers (Delay Wipers) . .47
Introduction ...............3
Canada ................4
In V
ehicle Features
UconnectAccess..........84
Inverter Outlet (115V) ........152
Inverter, Power ............152
iPod/USB/MP3 Control Bluetooth Streaming Audio . . .133
Jacking Instructions .........201
Jack Location .......... 198, 199
Jack Operation ............201
Jump Starting .............206
KeyFob.................12
INDEX
265
Page 268 of 276
Arm The Alarm...........17
Disarm The Alarm .........17
Keyless Entry ............12
Lock The Doors ...........12
Panic Alarm ............12
Remote Keyless Entry (RKE) . . .12
Remote Start ............13
Unlock The Doors .........12
Unlock The Liftgate ........12
Keyless Enter-N-Go ........12,14
Accessory Postition ........16
AutomaticTrans ..........16
EngineStopping ..........16
KeyFob ...............14
Lock The Vehicle’s Doors .....14
Lock/Unlock ..........14,15
Passive Entry ..........12,14
Remote Control ........14,15
Unlock From The Driver's Side . .14
Unlock From The Passenger
Side .................14
Unlock Liftgate ........12,15
Lane Change Assist ..........46
Lap/Shoulder Belts ...........18
LATCH (Lower Anchors And Tether ForCHildren) ............23
Liftgate .................12
Passive Entry ............12
UnlockWithKeyFob .......12
Liftgate, Power .............12
Liftgate Window Wiper/Washer ....49
Lights AirBag ...............22
Automatic Headlights .......45
Dimmer Switch, Headlight ....44
Engine Temperature Warning . .189
Fog ................195
High Beam Indicator ......195
Hill Descent Control Indicator .195
LowFuel .............195
SeatBeltReminder .......192
Security Alarm ..........195
TurnSignal .............44
Locks Liftgate, Tailgate ..........12
Lubrication, Body ...........232 Maintenance Free Battery
......232
Maintenance, General ........232
Maintenance Procedures .......232
Maintenance Record . .236, 242, 248
Maintenance Schedule.... 232, 237, 239, 243
Malfunction Indicator Light (Check Engine)...............194
Manual Transmission Lubricant Selection .......231
Master Cylinder (Brakes) .......232
MediaCenterRadio ..........98
MediaHub...............122
Memory Feature (Memory Seat) ....31
MemorySeat ..............31
Memory Seats And Radio .......31
Message Center Water In Fuel ...........181
Mopar .................260
MOPAR Accessories .........260
Multi-Function Control Lever .....44
Navigation ........ 109, 113, 126
New Vehicle Break-In Period .............42,180
Octane Rating, Gasoline (Fuel) . . .229
Oil, Engine. .196, 226, 229, 230, 232
Capacity ....... 226, 228, 230
Change Interval .........232
Checking .............232
Disposal ..............232
Filter ...... 226, 229, 230, 232
Filter Disposal ..........232
Materials Added To .......232
Recommendation . .226, 228, 232
Viscosity ....... 226, 228, 232
Oil Filter, Selection ..........232
Outlet Power ...............153
Overheating, Engine .........197
Paddle Shifters .............60
PaintCare...............232
ParkSense System, Front And Rear..69
ParkSense System, Rear .....69,70
Personalized Menu Bar ........102
Phone, Hands-Free (Uconnect) . . .133
INDEX
266