radio controls JEEP GRAND CHEROKEE 2016 WK2 / 4.G User Guide
[x] Cancel search | Manufacturer: JEEP, Model Year: 2016, Model line: GRAND CHEROKEE, Model: JEEP GRAND CHEROKEE 2016 WK2 / 4.GPages: 276, PDF Size: 10.84 MB
Page 3 of 276
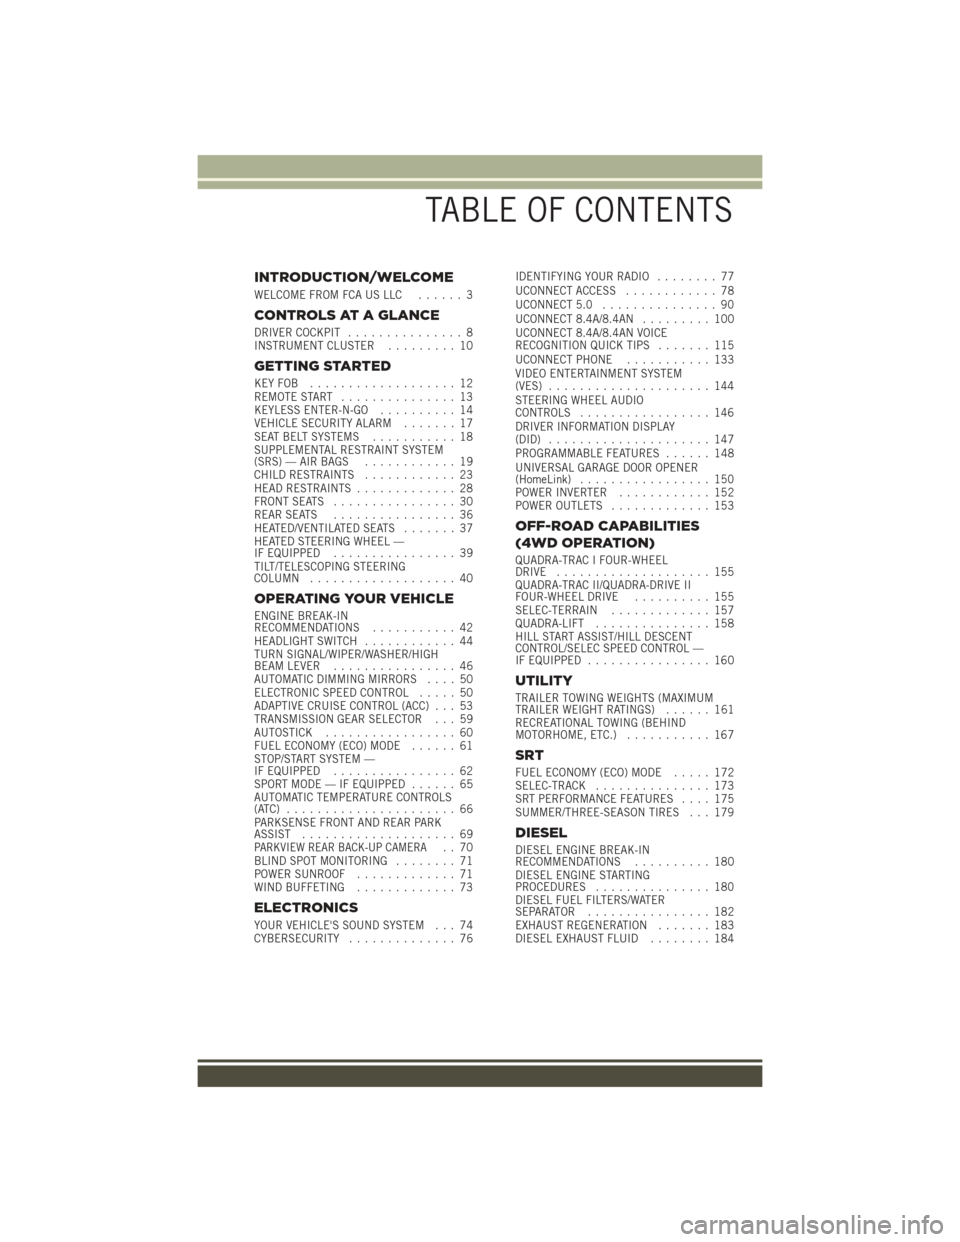
INTRODUCTION/WELCOME
WELCOME FROM FCA US LLC...... 3
CONTROLS AT A GLANCE
DRIVER COCKPIT............... 8
INSTRUMENT CLUSTER ......... 10
GETTING STARTED
KEYFOB ................... 12
REMOTE START............... 13
KEYLESS ENTER-N-GO .......... 14
VEHICLE SECURITY ALARM ....... 17
SEAT BELT SYSTEMS ........... 18
SUPPLEMENTAL RESTRAINT SYSTEM
(SRS) — AIR BAGS ............ 19
CHILD RESTRAINTS ............ 23
HEAD RESTRAINTS ............. 28
FRONT SEATS ................ 30
REAR SEATS ................ 36
HEATED/VENTILATED SEATS ....... 37
HEATED STEERING WHEEL —
IF EQUIPPED ................ 39
TILT/TELESCOPING STEERING
COLUMN ................... 40
OPERATING YOUR VEHICLE
ENGINE BREAK-IN
RECOMMENDATIONS ........... 42
HEADLIGHT SWITCH ............ 44
TURN SIGNAL/WIPER/WASHER/HIGH
BEAM LEVER ................ 46
AUTOMATIC DIMMING MIRRORS .... 50
ELECTRONIC SPEED CONTROL ..... 50
ADAPTIVE CRUISE CONTROL (ACC) . . . 53
TRANSMISSION GEAR SELECTOR . . . 59
AUTOSTICK ................. 60
FUEL ECONOMY (ECO) MODE ...... 61
STOP/START SYSTEM —
IF EQUIPPED ................ 62
SPORT MODE — IF EQUIPPED ...... 65
AUTOMATIC TEMPERATURE CONTROLS
(ATC) ...................... 66
PARKSENSE FRONT AND REAR PARK
ASSIST .................... 69
PARKVIEW REAR BACK-UP CAMERA.. 70
BLIND SPOT MONITORING ........ 71
POWER SUNROOF ............. 71
WIND BUFFETING ............. 73
ELECTRONICS
YOUR VEHICLE'S SOUND SYSTEM . . . 74
CYBERSECURITY.............. 76 IDENTIFYING YOUR RADIO
........ 77
UCONNECT ACCESS ............ 78
UCONNECT 5.0 ............... 90
UCONNECT 8.4A/8.4AN ......... 100
UCONNECT 8.4A/8.4AN VOICE
RECOGNITION QUICK TIPS ....... 115
UCONNECT PHONE ........... 133
VIDEO ENTERTAINMENT SYSTEM
(VES) ..................... 144
STEERING WHEEL AUDIO
CONTROLS ................. 146
DRIVER INFORMATION DISPLAY
(DID) ..................... 147
PROGRAMMABLE FEATURES ...... 148
UNIVERSAL GARAGE DOOR OPENER
(HomeLink) ................. 150
POWER INVERTER ............ 152
POWER OUTLETS ............. 153
OFF-ROAD CAPABILITIES
(4WD OPERATION)
QUADRA-TRAC I FOUR-WHEEL
DRIVE .................... 155
QUADRA-TRAC II/QUADRA-DRIVE II
FOUR-WHEEL DRIVE .......... 155
SELEC-TERRAIN ............. 157
QUADRA-LIFT ............... 158
HILL START ASSIST/HILL DESCENT
CONTROL/SELEC SPEED CONTROL —
IF EQUIPPED ................ 160
UTILITY
TRAILER TOWING WEIGHTS (MAXIMUM
TRAILER WEIGHT RATINGS) ...... 161
RECREATIONAL TOWING (BEHIND
MOTORHOME, ETC.) ........... 167
SRT
FUEL ECONOMY (ECO) MODE ..... 172
SELEC-TRACK ............... 173
SRT PERFORMANCE FEATURES .... 175
SUMMER/THREE-SEASON TIRES . . . 179
DIESEL
DIESEL ENGINE BREAK-IN
RECOMMENDATIONS .......... 180
DIESEL ENGINE STARTING
PROCEDURES ............... 180
DIESEL FUEL FILTERS/WATER
SEPARATOR ................ 182
EXHAUST REGENERATION ....... 183
DIESEL EXHAUST FLUID ........ 184
TABLE OF CONTENTS
Page 10 of 276
DRIVER COCKPIT
1. Headlight Switch pg. 44
2. Turn Signal/Wiper/Washer/High Beams Lever (Behind Steering Wheel) pg. 46
3. AutoStick pg. 60
4. Driver Information Display (DID) Controls pg. 147
5. Instrument Cluster pg. 10
6. Speed Control pg. 50
7. Engine Start/Stop Button (Behind Steering Wheel) pg. 16
8. Audio System (Touchscreen Radio Shown) pg. 74
CONTROLS AT A GLANCE
8
Page 70 of 276
• Push the AUTO button on the Integrated Center Stack (ICS) Climate Controls,OR
press the “AUTO” button on the radio touchscreen, when viewing the Climate
Controls Main Screen.
• Select the desired temperature by pushing the up or down temperature buttons for the driver or passenger.
The system will maintain the set temperature automatically.
Air Conditioning (A/C)
• If the air conditioning button is pushed while in AUTO mode, the system will exit AUTO mode and stay in A/C. The mode and blower will be set at the closest mode
and blower position that the system was operating in AUTO.
MAX A/C
• MAX A/C sets the control for maximum cooling performance.
Automatic Climate Controls
1 — Driver Temperature Up
2 — OFF Button
3 — Blower Control Knob
4 — Passenger Temperature Up
5 — REAR Defroster Button
6 — FRONT Defroster Button7 — Passenger Temperature Down
8 — AUTO Button
9 — Driver Temperature Down
10 — Air Recirculation Button
11 — A/C Button
OPERATING YOUR VEHICLE
68
Page 92 of 276
UCONNECT 5.0
Clock Setting
To start the clock setting procedure:
1. Push the MORE button on the faceplate. Next press the “Settings” button on thetouchscreen and then press the “Clock and Date” button on the touchscreen.
2. Press the “Set Time” button on the touchscreen.
3. Press the “Up” or “Down” arrows to adjust the hours or minutes, next select the “AM” or “PM” button on the touchscreen. You can also select 12hr or 24hr format
by pressing the desired button on the touchscreen.
Uconnect 5.0 Radio
1 — Radio Mode Button
2 — Reverse Seek Button
3 — Forward Seek Button
4 — Compass Information Button
5 — Climate Controls Button
6 — MORE Functions Button
7 — Audio Button
8 — Information Button
9 — Tune Button10 — AM/FM/SXM Button
11 — Browse/Enter Button Tune/
Scroll Knob
12 — Back Function Button
13 — Screen Off Button
14 — Mute Button/Rotate Volume
Knob
15 — Uconnect Phone Button
16 — Media Mode Button
ELECTRONICS
90
Page 95 of 276
Browse
• Press the “Browse” button on the touchscreen to scroll through and select adesired track on the Disc. Press the “Exit” button on the touchscreen if you wish
to cancel the browse function.
USB/Audio Jack (AUX)/Bluetooth Operation
To select a specific audio source, push the MEDIA button on the radio faceplate. To
allow music to play from your portable device through the vehicle’s speakers, press
the “Source” button on the touchscreen then select one of the following modes:
USB/iPod
• USB/iPod Mode is entered by either inserting a USB Jump Drive or iPod cable intothe USB port or by pushing the MEDIA button on the radio faceplate.
Audio Jack (AUX)
• The AUX allows a portable device, such as an MP3 player or an iPod, to be plugged into the radio and utilize the vehicle’s audio system, using a 3.5 mm audio cable,
to amplify the source and play through the vehicle speakers.
• The functions of the portable device are controlled using the device buttons, not the buttons on the radio. The volume may be controlled using the radio or portable
device.
SD Card
• Play songs stored on an SD card inserted into the SD card slot.
• Song playback can be controlled using the radio or Steering Wheel Audio Controls to play, skip to the next or previous track, browse, and list the contents.
Bluetooth
• If using a Bluetooth - equipped device, you may also be able to stream music to your vehicle's sound system.
ELECTRONICS
93
Page 107 of 276
The following describes features that are available when in SiriusXM Satellite Radio
mode:
Seek Up/Seek Down
• Press the Seek arrow buttons on the touchscreen for less than two seconds to seekthrough channels in SXM mode.
• Press and hold either arrow button on the touchscreen for more than two seconds to bypass channels without stopping. The radio will stop at the next listenable
channel once the arrow button on the touchscreen is released.
Direct Tune
• Tune directly to a SXM channel by pressing the “Tune” button on the touchscreen on the screen, and entering the desired station number.
Tune Start
• The Tune Start feature begins playing a song from the beginning when you tune to your favorite preset SXM channel. Tune Start can be enabled or disabled through
the SiriusXM setup page.
Jump
• Automatically tells you when Traffic & Weather for a favorite city is available, and gives you the option to switch to that channel. Press “Jump” to activate the
feature. After listening to Traffic and Weather, press “Jump” again to return to the
previous channel.
Fav
• Activates the favorites menu. You can add up to 50 favorite artists or songs. Just press “Add Fav Artist” or “Add Fav Song” while the song is playing. You will then
be alerted any time one of these songs, or works by these artists, is playing on other
SiriusXM channels.
Album Art
• When arriving at a station, the Channel Art will be displayed to the left of the station information. After 5 seconds the Channel Art will be replaced with the
Album Art (if available).
SiriusXM Parental Controls
• You can skip or hide certain channels from view if you do not want access to them. Press the “Apps” button on the touchscreen, then the “Settings” button on the
touchscreen, next press the “Sirius Setup” button on the touchscreen, then select
Channel Skip. Press the box check-mark next to the channel you want skipped.
They will not show up in normal usage.
• SiriusXM also offers the option to permanently block selected channels. Call (1-888-601-6297 for U.S. customers, 1-877-438-9677 for Canadian custom-
ers) and request the Family-Friendly Package.
ELECTRONICS
105
Page 110 of 276
USB Port
• Connect your compatible device using a USB cable into the USB Port. USBMemory sticks with audio files can also be used. Audio from the device can be
played on the vehicles sound system while providing metadata (artist, track title,
album, etc.) information on the radio display.
• When connected, the compatible USB device can be controlled using the radio or Steering Wheel Audio Controls to play, skip to the next or previous track, browse,
and list the contents.
• The battery charges when plugged into the USB port (if supported by the specific device).
• To route the USB cable out of the center console, use the access cut out.
NOTE:
When connecting your device for the first time, the system may take several minutes
to read your music, depending on the number of files. For example, the system will
take approximately five minutes for every 1,000 songs loaded on the device. Also
during the reading process, the Shuffle and Browse functions will be disabled. This
process is needed to ensure the full use of your features and only happens the first
time it is connected. After the first time, the reading process of your device will take
considerably less time unless changes are made or new songs are added to the
playlist.
SD Card
• Play songs stored on an SD card inserted into the SD card slot.
• Song playback can be controlled using the radio or Steering Wheel Audio Controls to play, skip to the next or previous track, browse, and list the contents.
Bluetooth Streaming Audio
• If using a Bluetooth equipped device you may also be able to stream music to your vehicle's sound system. Your connected device must be Bluetooth compatible and
paired with your system (see Uconnect Phone for pairing instructions). You can
access the music from your connected Bluetooth device by pressing the Bluetooth
button on the touchscreen while in Media mode.
ELECTRONICS
108
Page 111 of 276
MEDIA CONTROLS
The controls are accessed by pressing the desired button on the touchscreen and
choosing between Disc, AUX, USB, Bluetooth or SD Card.
NOTE:
Uconnect will automatically switch to the appropriate mode when something is first
connected or inserted into the system.
Navigation
• The information in the section below is only applicable if you have the 8.4ANsystem or the Navigation has been activated on your 8.4A system.
• If you have a Uconnect 8.4A system your radio is “Navigation-Ready,” and can be equipped with Navigation at an extra cost. Please see your dealer for details.
Press the “Nav” button on the touchscreen in the menu bar to access the Navigation
system.
Media Controls
1 — Repeat Music Track
2 — Music Track And Time
3 — Shuffle Music Tracks
4 — Music Track Information5 — Show Songs Currently In Cue To
Be Played
6 — Browse Music By
7 — Music Source
ELECTRONICS
109
Page 148 of 276
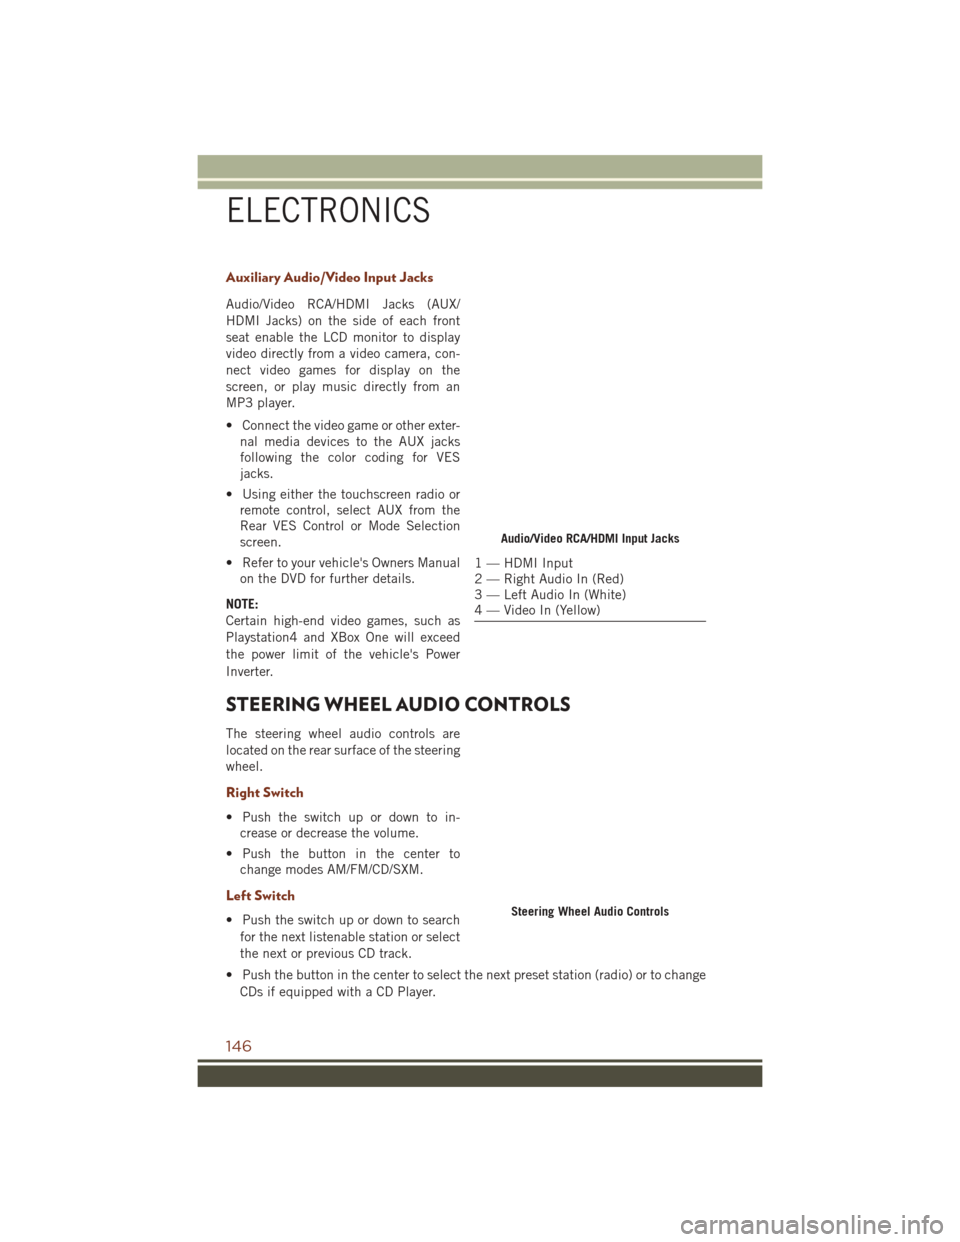
Auxiliary Audio/Video Input Jacks
Audio/Video RCA/HDMI Jacks (AUX/
HDMI Jacks) on the side of each front
seat enable the LCD monitor to display
video directly from a video camera, con-
nect video games for display on the
screen, or play music directly from an
MP3 player.
• Connect the video game or other exter-nal media devices to the AUX jacks
following the color coding for VES
jacks.
• Using either the touchscreen radio or remote control, select AUX from the
Rear VES Control or Mode Selection
screen.
• Refer to your vehicle's Owners Manual on the DVD for further details.
NOTE:
Certain high-end video games, such as
Playstation4 and XBox One will exceed
the power limit of the vehicle's Power
Inverter.
STEERING WHEEL AUDIO CONTROLS
The steering wheel audio controls are
located on the rear surface of the steering
wheel.
Right Switch
• Push the switch up or down to in- crease or decrease the volume.
• Push the button in the center to change modes AM/FM/CD/SXM.
Left Switch
• Push the switch up or down to search
for the next listenable station or select
the next or previous CD track.
• Push the button in the center to select the next preset station (radio) or to change CDs if equipped with a CD Player.
Audio/Video RCA/HDMI Input Jacks
1 — HDMI Input
2 — Right Audio In (Red)
3 — Left Audio In (White)
4 — Video In (Yellow)
Steering Wheel Audio Controls
ELECTRONICS
146
Page 160 of 276
Mud– Off road calibration for use on low traction surfaces such as mud. Driveline is
maximized for traction. Some binding may be felt on less forgiving surfaces. The
electronic brake controls are set to limit traction control management of throttle and
wheel spin. If equipped with air suspension, the level will change to Off-Road 1.
Rock – Off-road calibration only available in 4WD Low range. The vehicle is raised (if
equipped with Air Suspension) for improved ground clearance. Traction based tuning
with improved steer-ability for use on high traction off-road surfaces. Activate the Hill
Descent Control for steep downhill control. Use for low speed obstacles such as large
rocks, deep ruts, etc. If equipped with air suspension, the vehicle level will change
to Off-Road 2. If the Selec-Terrain switch is in ROCK mode, and the transfer case is
switched from 4WD Low to 4WD High, the Selec-Terrain system will return to AUTO.
QUADRA-LIFT
The Quadra-Lift air suspension system provides full time load leveling capability
along with the benefit of being able to adjust vehicle height by the push of a button.
Quadra-Lift is available with both Quadra-Trac II and Quadra-Drive II.
• The system requires that the engine be running for all changes. When lowering
the vehicle all of the doors, including
the liftgate, must be closed.
• The Quadra-Lift air suspension system uses a lifting and lowering pattern
which keeps the headlights from shin-
ing into oncoming traffic. When raising
the vehicle, the rear of the vehicle will
move up first and then the front. When
lowering the vehicle, the front will
move down first and then the rear.
• After the engine is turned off, you may notice that the air suspension system
operates briefly. This is normal. The
system is correcting the position of the
vehicle.
• To assist with changing a spare tire, the Quadra-Lift air suspension system
has a feature which allows the automatic leveling to be disabled. The feature
controls are located in the radio screen. Driving the vehicle over 5 mph (8 km/h)
will return the air suspension to normal operation.
• An audible chime will be heard whenever a system error has been detected.
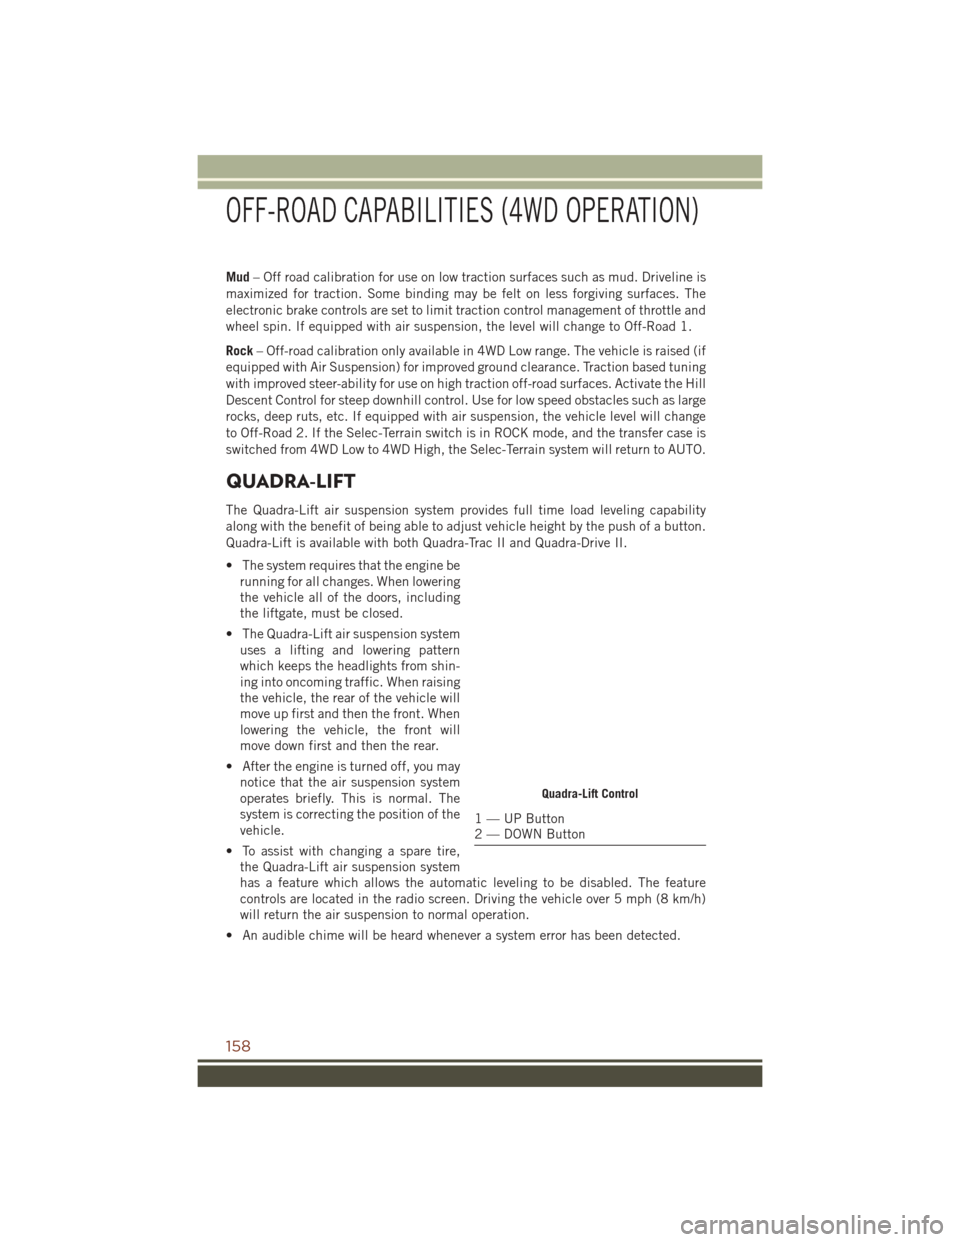
Quadra-Lift Control
1 — UP Button
2 — DOWN Button
OFF-ROAD CAPABILITIES (4WD OPERATION)
158