ignition JEEP GRAND CHEROKEE 2017 WK2 / 4.G Workshop Manual
[x] Cancel search | Manufacturer: JEEP, Model Year: 2017, Model line: GRAND CHEROKEE, Model: JEEP GRAND CHEROKEE 2017 WK2 / 4.GPages: 372
Page 155 of 372
WARNING!
• Do not leave the key fob in or near thevehicle, or in a location accessible to
children, and do not leave the ignition of
a vehicle equipped with Keyless Enter-
N-Go in the ACC or ON/RUN mode. A
child could operate power windows,
other controls, or move the vehicle.
STOP/START SYSTEM — IF
EQUIPPED
The Stop/Start function is developed to re-
duce fuel consumption. The system will stop
the engine automatically during a vehicle
stop if the required conditions are met. Re-
leasing the brake pedal or pressing the accel-
erator pedal will automatically re-start the
engine.
Automatic Mode
The Stop/Start feature is
enabled after every nor-
mal customer engine
start. At that time, the
system will go into STOP/
START READY and if all
other conditions are met,
can go into a STOP/START AUTOSTOP AC-
TIVE “Autostop” mode.
To Activate The Autostop Mode, The Following
Must Occur:
• The system must be in STOP/START READY state. A STOP/START READY mes-
sage will be displayed in the instrument
cluster display within the Stop/Start sec-
tion. Refer to “Instrument Cluster Dis-
play” in “Getting To Know Your Instrument
Panel” in your Owners Manual at
www.jeep.com/en/owners/manuals/ .
• The vehicle must be completely stopped.
• The shifter must be in a forward gear and the brake pedal depressed. The engine will shut down, the tachometer
will move to the zero position and the Stop/
Start telltale will illuminate indicating you
are in Autostop. Customer settings will be
maintained upon return to an engine running
condition.
Refer to the “Stop/Start System” in the
“Starting And Operating” section located in
your Owners Manual at
www.jeep.com/en/owners/manuals/ .
Possible Reasons The Engine Does Not
Autostop
Prior to engine shut down, the system will
check many safety and comfort conditions to
see if they are fulfilled. Detailed information
about the operation of the Stop/Start system
may be viewed in the instrument cluster dis-
play Stop/Start Screen. In the following situ-
ations, the engine will not stop:
• Driver’s seat belt is not buckled.
• Driver’s door is not closed.
• Battery temperature is too warm or cold.
• Battery charge is low.
• The vehicle is on a steep grade.
153
Page 157 of 372
Refer to or “Instrument Cluster Display”
in “Getting To Know Your Instrument
Panel” in your Owners Manual at
www.jeep.com/en/owners/manuals/ .
3. At the next vehicle stop (after turning off the STOP/START system), the engine will
not be stopped.
4. The STOP/START system will reset itself back to an ON condition every time the
ignition is turned off and back on.
To Manually Turn On The Stop/Start
System
Push the STOP/START Off switch (located on
the switch bank). The light on the switch will
turn off.
For complete details on the Stop/Start Sys-
tem refer to the “Stop/Start System” in the
“Starting And Operating” section located in
your Owners Manual at
www.jeep.com/en/owners/manuals/
ENGINE BREAK-IN
RECOMMENDATIONS
3.6L & 5.7L Engines
For vehicles equipped with the 3.6L or 5.7L use
the following engine break-in recommenda-
tions:A long break-in period is not required for
the drivetrain (engine, transmission, clutch,
and rear axle) in your new vehicle.
Drive moderately during the first 300 miles
(500 km). After the initial 60 miles
(100 km), speeds up to 50 or 55 mph (80 or
90 km/h) are desirable.
While cruising, brief full-throttle acceleration
within the limits of local traffic laws contrib-
utes to a good break-in. However, wide-open
throttle acceleration in low gear can be det-
rimental and should be avoided.
The engine oil, transmission fluid, and axle
lubricant installed at the factory is high-
quality and energy-conserving. Oil, fluid, and
lubricant changes should be consistent with
anticipated climate and conditions under which vehicle operations will occur. For the
recommended viscosity and quality grades,
refer to “Fluids And Lubricants” in "Techni-
cal Specifications”.CAUTION!
Never use Non-Detergent Oil or Straight
Mineral Oil in the engine or damage may
result.
NOTE:
A new engine may consume some oil during
its first few thousand miles (kilometers) of
operation. This should be considered a nor-
mal part of the break-in and not interpreted
as an indication of difficulty. Please check
your oil level with the engine oil indicator
often during the break in period. Add oil as
required.
155
Page 159 of 372
300 to 500 miles (483 to 805 km):
• Exercise the full engine rpm range, shift-ing manually (paddles or gear shift) at
higher rpms when possible.
• Do not perform sustained operation with the accelerator pedal at wide open
throttle.
• Maintain vehicle speed below 85 mph (136 km/h) and observe local speed
limits.
For the first 1500 miles (2414 km):
• Do not participate in track events, sport driving schools, or similar activities during
the first 1500 mi (2414 km).
NOTE:
Check engine oil with every refueling and add
if necessary. Oil and fuel consumption may
be higher through the first oil change interval.
Running the engine with an oil level below
the add mark can cause severe engine dam-
age.AUTOMATIC
TRANSMISSION
WARNING!
• It is dangerous to shift out of PARK or NEUTRAL if the engine speed is higher
than idle speed. If your foot is not firmly
pressing the brake pedal, the vehicle
could accelerate quickly forward or in
reverse. You could lose control of the
vehicle and hit someone or something.
Only shift into gear when the engine is
idling normally and your foot is firmly
pressing the brake pedal.
• Unintended movement of a vehicle
could injure those in or near the vehicle.
As with all vehicles, you should never
exit a vehicle while the engine is run-
ning. Before exiting a vehicle, always
apply the parking brake, shift the trans-
mission into PARK, and turn the ignition
OFF. When the ignition is in the OFF
mode, the transmission is locked in
PARK, securing the vehicle against un-
wanted movement.
WARNING!
• When leaving the vehicle, always makesure the ignition is in the OFF mode,
remove the key fob from the vehicle, and
lock the vehicle.
• Never leave children alone in a vehicle,
or with access to an unlocked vehicle.
Allowing children to be in a vehicle un-
attended is dangerous for a number of
reasons. A child or others could be seri-
ously or fatally injured. Children should
be warned not to touch the parking
brake, brake pedal or the transmission
gear selector.
• Do not leave the key fob in or near the
vehicle (or in a location accessible to
children), and do not leave the ignition
in the ACC or ON/RUN mode. A child
could operate power windows, other con-
trols, or move the vehicle.
157
Page 160 of 372
CAUTION!
Damage to the transmission may occur if
the following precautions are not ob-
served:
• Shift into or out of PARK or REVERSEonly after the vehicle has come to a
complete stop.
• Do not shift between PARK, REVERSE,
NEUTRAL, or DRIVE when the engine is
above idle speed.
• Before shifting into any gear, make sure
your foot is firmly pressing the brake
pedal.
NOTE:
You must press and hold the brake pedal
while shifting out of PARK.
Ignition Park Interlock
This vehicle is equipped with a Ignition Park
Interlock which requires the transmission to
be in PARK before the ignition can be turned
to the OFF mode. This helps the driver avoid
inadvertently leaving the vehicle without placing the transmission in PARK. This sys-
tem also locks the transmission in PARK
whenever the ignition is in the OFF mode.
Brake/Transmission Shift Interlock
System
This vehicle is equipped with a Brake Trans-
mission Shift Interlock system (BTSI) that
holds the transmission gear selector in PARK
unless the brakes are applied. To shift the
transmission out of PARK, the engine must
be running and the brake pedal must be
pressed. The brake pedal must also be
pressed to shift from NEUTRAL into DRIVE or
REVERSE when the vehicle is stopped or
moving at low speeds.
Fuel Economy (ECO) Mode
The Fuel Economy (ECO) mode can improve
the vehicle's overall fuel economy during nor-
mal driving conditions. Push the “ECO”
switch in the center stack of the instrument
panel to activate or disable ECO mode. An
amber light on the switch indicates when
ECO mode is disabled (for regular models) or
a blue light when enabled (for SRT models).
When the Fuel Economy (ECO) Mode is en-
gaged, the vehicle control systems will
change the following:
• The transmission will upshift sooner and
downshift later.
• The overall driving performance will be more conservative.
• Vehicles with Quadra-Lift air suspension will operate in "Aero" mode over a broader
speed range. Refer to the section on
Quadra-Lift for further information.
ECO SwitchSTARTING AND OPERATING
158
Page 165 of 372
WARNING!
You or others could be injured or killed if
you leave the vehicle unattended with the
power transfer unit in the NEUTRAL (N)
position without first fully engaging the
parking brake. The NEUTRAL (N) position
disengages both the front and rear drive-
shafts from the powertrain and will allow
the vehicle to roll, even if the transmission
is in PARK. The parking brake should al-
ways be applied when the driver is not in
the vehicle.
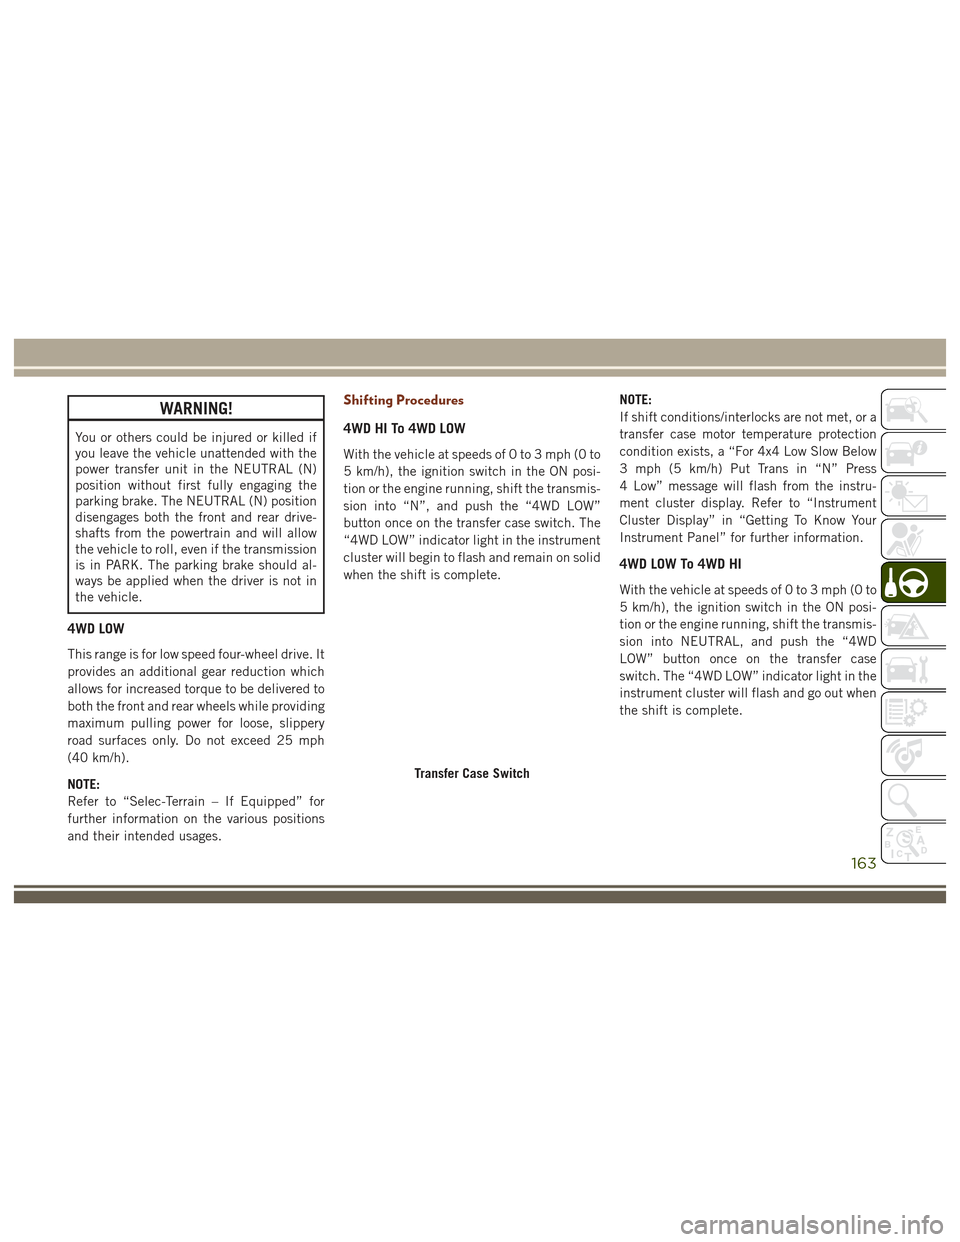
4WD LOW
This range is for low speed four-wheel drive. It
provides an additional gear reduction which
allows for increased torque to be delivered to
both the front and rear wheels while providing
maximum pulling power for loose, slippery
road surfaces only. Do not exceed 25 mph
(40 km/h).
NOTE:
Refer to “Selec-Terrain – If Equipped” for
further information on the various positions
and their intended usages.
Shifting Procedures
4WD HI To 4WD LOW
With the vehicle at speeds of 0 to 3 mph (0 to
5 km/h), the ignition switch in the ON posi-
tion or the engine running, shift the transmis-
sion into “N”, and push the “4WD LOW”
button once on the transfer case switch. The
“4WD LOW” indicator light in the instrument
cluster will begin to flash and remain on solid
when the shift is complete.NOTE:
If shift conditions/interlocks are not met, or a
transfer case motor temperature protection
condition exists, a “For 4x4 Low Slow Below
3 mph (5 km/h) Put Trans in “N” Press
4 Low” message will flash from the instru-
ment cluster display. Refer to “Instrument
Cluster Display” in “Getting To Know Your
Instrument Panel” for further information.
4WD LOW To 4WD HI
With the vehicle at speeds of 0 to 3 mph (0 to
5 km/h), the ignition switch in the ON posi-
tion or the engine running, shift the transmis-
sion into NEUTRAL, and push the “4WD
LOW” button once on the transfer case
switch. The “4WD LOW” indicator light in the
instrument cluster will flash and go out when
the shift is complete.
Transfer Case Switch
163
Page 169 of 372
(40 km/h) the vehicle height will be auto-
matically lowered to OR1. Refer to “Driv-
ing Tips” in “Starting And Operating” for
further information.
• Aero Mode (Lowers the vehicle approxi-
mately 0.6 inches (15 mm) – This position
provides improved aerodynamics by lower-
ing the vehicle. The vehicle will automati-
cally enter Aero Mode when the vehicle
speed remains between 52 mph (83 km/h)
and 56 mph (90 km/h) for greater than
20 seconds or if the vehicle speed exceeds
56 mph (90 km/h). The vehicle will return
to NRH from Aero Mode if the vehicle
speed remains between 20 mph (32 km/h)
and 25 mph (40 km/h) for greater than
20 seconds or if the vehicle speed falls
below 20 mph (32 km/h). The vehicle will
enter Aero Mode, regardless of vehicle
speed if the vehicle is in “SPORT” mode.
• Entry/Exit Mode (Lowers the vehicle approxi-
mately 1.6 inces (40 mm) – This position
lowers the vehicle for easier passenger
entry and exit as well as lowering the rear
of the vehicle for easier loading and un-
loading of cargo. To enter Entry/Exit Mode,
push the “DOWN” button once from (NRH) while the vehicle speed is below
25 mph (40 km/h). Once the vehicle
speed goes below 15 mph (24 km/h) the
vehicle height will begin to lower. If the
vehicle speed remains between 15 mph
(24 km/h) and 25 mph (40 km/h) for
greater than 60 seconds, or the vehicle
speed exceeds 25 mph (40 km/h) the
Entry/Exit Mode change will be cancelled.
To exit Entry/Exit Mode, press the “Up”
button once while in Entry/Exit Mode or
drive the vehicle over 15 mph (24 km/h).
NOTE:
Automatic lowering of the vehicle into Entry/
Exit Mode can be enabled through the
Uconnect Touch-Screen Radio. If this feature
is enabled, the vehicle will only lower if the
gear selector is in "PARK", the terrain switch
is in "AUTO", the transfer-case is in "AUTO”
and the vehicle level should be either in
Normal or Aero Mode. The Vehicle will not
automatically lower if the air suspension level
is in Off Rd 2 or Off Rd 1. If the vehicle is
equipped with Intrusion Theft Module (ITM),
the lowering will be suppressed when the
ignition is switched OFF and the door is open
to prevent setting the alarm off. The Selec-Terrain switch will automatically
change the vehicle to the proper height based
on the position of the Selec-Terrain switch.
The height can be changed from the default
Selec-Terrain setting by normal use of the air
suspension buttons. Refer to “Selec-Terrain”
in “Starting And Operating” for further infor-
mation.
The system requires that the engine be run-
ning for all changes. When lowering the ve-
hicle all of the doors, including the liftgate,
must be closed. If a door is opened at any
time while the vehicle is lowering the change
will not be completed until the open door(s) is
closed.
The Quadra-Lift air suspension system uses a
lifting and lowering pattern which keeps the
headlights from incorrectly shining into on-
coming traffic. When raising the vehicle, the
rear of the vehicle will move up first and then
the front. When lowering the vehicle, the
front will move down first and then the rear.
167
Page 173 of 372
NOTE:
Activate the Hill Descent Control or Selec
Speed Control for steep downhill control. See
“Electronic Brake Control System” in this
section for further information.
Instrument Cluster Display Messages
When the appropriate conditions exist, a
message will appear in the instrument clus-
ter. Refer to “Instrument Cluster Display” in
“Getting To Know Your Instrument Panel” for
further information.
SELEC-TRACK — IF
EQUIPPED (SRT)
Description
Selec-Track combines the capabilities of the
vehicle control systems, along with driver
input, to provide the best performance for all
terrains.
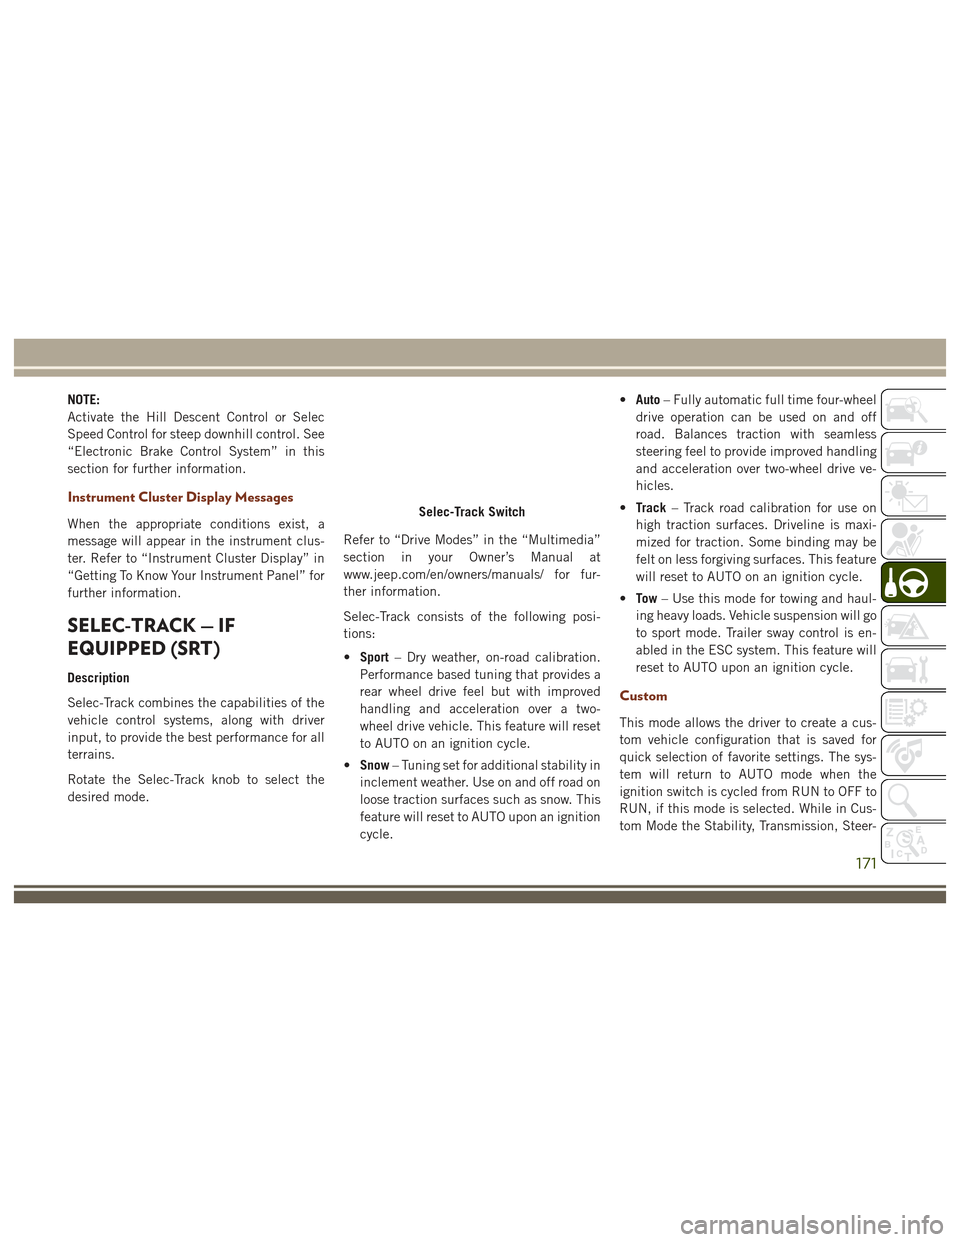
Rotate the Selec-Track knob to select the
desired mode.Refer to “Drive Modes” in the “Multimedia”
section in your Owner’s Manual at
www.jeep.com/en/owners/manuals/ for fur-
ther information.
Selec-Track consists of the following posi-
tions:
•
Sport – Dry weather, on-road calibration.
Performance based tuning that provides a
rear wheel drive feel but with improved
handling and acceleration over a two-
wheel drive vehicle. This feature will reset
to AUTO on an ignition cycle.
• Snow – Tuning set for additional stability in
inclement weather. Use on and off road on
loose traction surfaces such as snow. This
feature will reset to AUTO upon an ignition
cycle. •
Auto – Fully automatic full time four-wheel
drive operation can be used on and off
road. Balances traction with seamless
steering feel to provide improved handling
and acceleration over two-wheel drive ve-
hicles.
• Track – Track road calibration for use on
high traction surfaces. Driveline is maxi-
mized for traction. Some binding may be
felt on less forgiving surfaces. This feature
will reset to AUTO on an ignition cycle.
• To w – Use this mode for towing and haul-
ing heavy loads. Vehicle suspension will go
to sport mode. Trailer sway control is en-
abled in the ESC system. This feature will
reset to AUTO upon an ignition cycle.
Custom
This mode allows the driver to create a cus-
tom vehicle configuration that is saved for
quick selection of favorite settings. The sys-
tem will return to AUTO mode when the
ignition switch is cycled from RUN to OFF to
RUN, if this mode is selected. While in Cus-
tom Mode the Stability, Transmission, Steer-
Selec-Track Switch
171
Page 176 of 372
Metric Speed (km/h)
• Pushing the SET+button once will result
in a 1 km/h increase in set speed. Each
subsequent tap of the button results in an
increase of 1 km/h.
• If the button is continually pushed, the set speed will continue to increase until the
button is released, then the new set speed
will be established.
To Decrease Speed
When the Electronic Speed Control is set, you
can decrease speed by pushing the SET -
button.
The drivers preferred units can be selected
through the instrument panel settings if
equipped. Refer to “Getting To Know Your
Instrument Panel” in the Owner’s Manual at
www.jeep.com/en/owners/manuals/ for more
information. The speed increment shown is
dependant on the chosen speed unit of U.S.
(mph) or Metric (km/h): U.S. Speed (mph)
• Pushing the SET
-button once will result
in a 1 mph decrease in set speed. Each
subsequent tap of the button results in a
decrease of 1 mph.
• If the button is continually pushed, the set speed will continue to decrease until the
button is released, then the new set speed
will be established.
Metric Speed (km/h)
• Pushing the SET -button once will result
in a 1 km/h decrease in set speed. Each
subsequent tap of the button results in a
decrease of 1 km/h.
• If the button is continually pushed, the set speed will continue to decrease until the
button is released, then the new set speed
will be established.
Resume Speed
To resume a previously set speed, push the
RES (+) button and release. Resume can be
used at any speed above 20 mph (32 km/h).
Accelerating For Passing
Press the accelerator as you would normally.
When the pedal is released, the vehicle will
return to the set speed.
Deactivation
A soft tap on the brake pedal, pushing the
CANCEL button, or normal brake pressure
while slowing the vehicle will deactivate the
Electronic Speed Control without erasing the
set speed from memory.
Pushing the ON/OFF button or turning the
ignition switch OFF erases the set speed from
memory.
ADAPTIVE CRUISE
CONTROL (ACC)
If your vehicle is equipped with Adaptive
Cruise Control the controls operate exactly
the same as the electronic speed control with
only a couple of differences. With this option
you can set a specified distance you would
like to maintain between you and the vehicle
in front of you.
STARTING AND OPERATING
174
Page 181 of 372
WARNING!
modes function differently. Always con-
firm which mode is selected.
PARKSENSE REAR PARK
ASSIST
ParkSense Sensors
The four ParkSense sensors, located in the
rear fascia/bumper, monitor the area behind
the vehicle that is within the sensors’ field of
view. The sensors can detect obstacles from
approximately 12 in (30 cm) up to 79 in
(200 cm) from the rear fascia/bumper in the
horizontal direction, depending on the loca-
tion, type and orientation of the obstacle.
Activation/Deactivation ParkSense
ParkSense can be enabled and disabled with
the ParkSense switch.
When the ParkSense switch is pushed to
disable the system, the instrument cluster
display will show the “PARKSENSE OFF”
message for approximately five seconds. Re-
fer to “Instrument Cluster Display” in “Get-ting To Know Your Instrument Panel” for
further information. When the gear selector is
moved to REVERSE and the system is dis-
abled, the instrument cluster display will
show the “PARKSENSE OFF” message for as
long as the vehicle is in REVERSE.
The ParkSense switch LED will be ON when
ParkSense is disabled or requires service.
The ParkSense switch LED will be OFF when
the system is enabled. If the ParkSense
switch is pushed, and the system requires
service, the ParkSense switch LED will blink
momentarily, and then the LED will be ON.
Instrument Cluster Display
The ParkSense Warning screen will only be
displayed if Sound and Display is selected
from the Customer - Programmable Features
section of the Uconnect System. Refer to
"Uconnect Settings” in “Multimedia” for fur-
ther information.
The ParkSense Warning screen is located
within the instrument cluster display. It pro-
vides visual warnings to indicate the distance
between the rear fascia/bumper and the de-
tected obstacle. Refer to “Instrument Cluster
Display” in “Getting To Know Your Instru-
ment Panel for further information.
ParkSense System Usage Precautions
NOTE:
• Ensure that the rear bumper is free of
snow, ice, mud, dirt and debris to keep the
ParkSense system operating properly.
• Jackhammers, large trucks, and other vi- brations could affect the performance of
ParkSense.
• When you turn ParkSense OFF, the instru- ment cluster display will read
“PARKSENSE OFF”. Furthermore, once
you turn ParkSense off, it remains off until
you turn it on again, even if you cycle the
ignition.
• When you move the gear selector to the REVERSE position and ParkSense is
turned OFF, the instrument cluster display
will show a “PARKSENSE OFF” message
for as long as the vehicle is in REVERSE.
• ParkSense, when on, will reduce the vol- ume of the radio when it is sounding a
tone.
179
Page 183 of 372
79 inches (200 cm) from the rear fascia/
bumper in the horizontal direction, depend-
ing on the location, type and orientation of
the obstacle.
The six ParkSense sensors, located in the
front fascia/bumper, monitor the area in front
of the vehicle that is within the sensors’ field
of view. The sensors can detect obstacles
from approximately 12 inches (30 cm) up to
47 inches (120 cm) from the front fascia/
bumper in the horizontal direction, depend-
ing on the location, type and orientation of
the obstacle.
When an object is detected within 79 inches
(200 cm) behind the rear bumper while the
vehicle is in REVERSE, a warning will appear
in the instrument cluster display. In addition
a chime will sound (when Sound and Display
is selected from the Customer Programmable
Features section of the Uconnect System
screen). As the vehicle moves closer to the
object, the chime rate will change from single
1/2 second tone (for rear only), to slow (for
rear only), to fast, to continuous.Activation/Deactivation
The ParkSense Park Assist system provides
visual and audible indications of the distance
between the rear and/or front fascia and a
detected obstacle when backing up or moving
forward, e.g. during a parking maneuver. If
your vehicle is equipped with an Automatic
Transmission, the vehicle brakes may be au-
tomatically applied and released when per-
forming a reverse parking maneuver if the
system detects a possible collision with an
obstacle.
ParkSense can be active only when the gear
selector is in REVERSE or DRIVE. If
ParkSense is enabled at one of these gear
selector positions, the system will remain
active until the vehicle speed is increased to
approximately 7 mph (11 km/h) or above. A
display warning will appear in the instrument
cluster display indicating the vehicle is above
ParkSense operating speed. The system will
become active again if the vehicle speed is
decreased to speeds less than approximately
6 mph (9 km/h).
Engagement/Disengagement
To disengage the system, push the ParkSense
switch, located on the switch panel below the
Uconnect display.
When the system passes from engaged to
disengaged and vice versa, it is always ac-
companied by a dedicated message in the
instrument cluster display.
System engaged:ParkSense switch LED off.
System disengaged: ParkSense switch LED on
constantly.
The ParkSense switch LED lights up also in
the case of a ParkSense system failure. If the
button is pushed with a system failure, the
ParkSense switch LED flashes for about
5 seconds, then it stays on constantly.
After the ParkSense has been disengaged, it
will stay in this condition until the following
engagement, even if the ignition device
passes from ON/RUN to OFF and then again
to ON/RUN.
181