headlights JEEP GRAND CHEROKEE 2017 WK2 / 4.G User Guide
[x] Cancel search | Manufacturer: JEEP, Model Year: 2017, Model line: GRAND CHEROKEE, Model: JEEP GRAND CHEROKEE 2017 WK2 / 4.GPages: 372
Page 13 of 372
GETTING TO KNOW YOUR VEHICLE
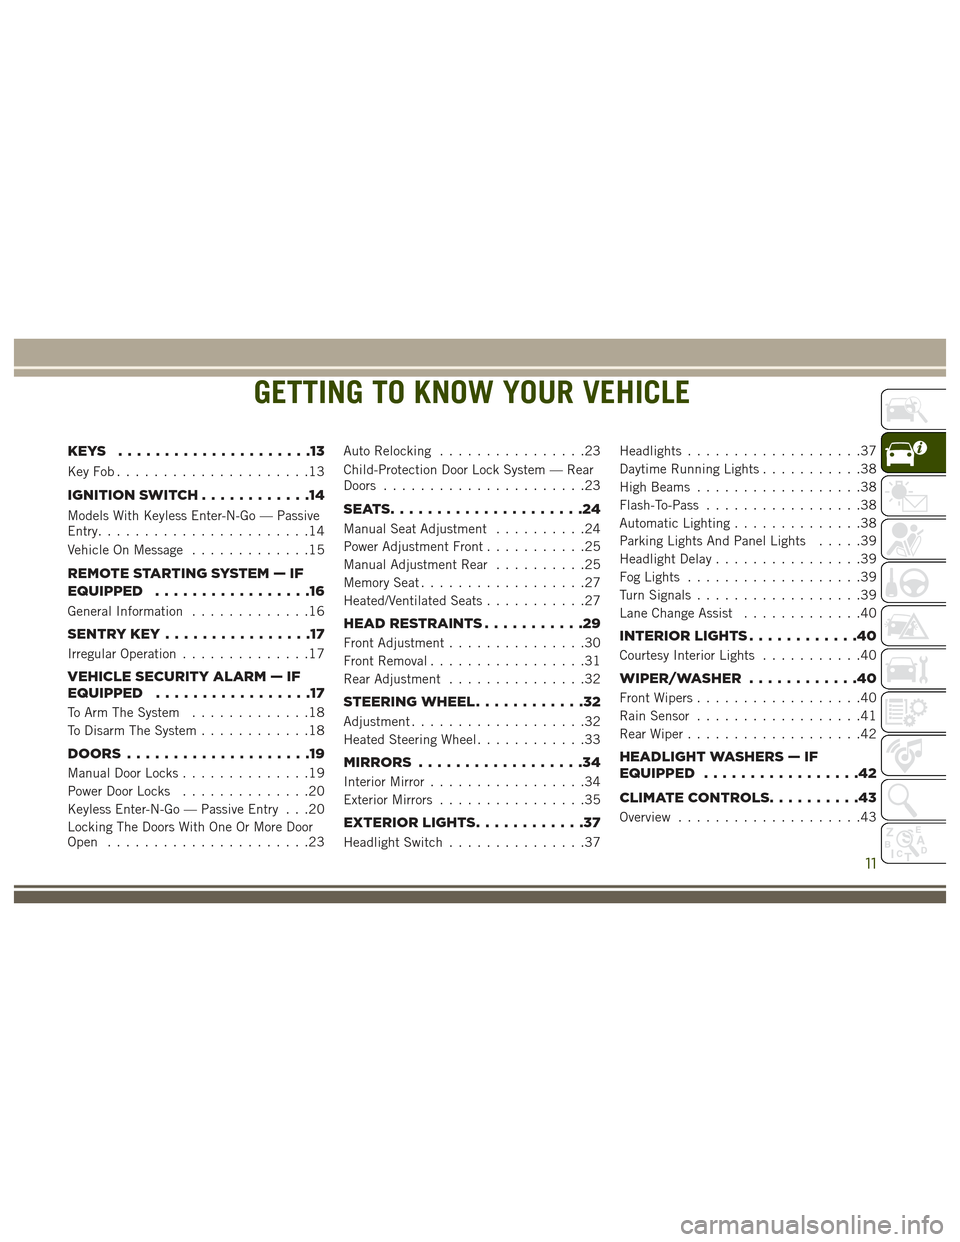
KEYS .....................13
KeyFob.....................13
IGNITIONSWITCH............14
Models With Keyless Enter-N-Go — Passive
Entry.......................14
Vehicle On Message.............15
REMOTE STARTING SYSTEM — IF
EQUIPPED .................16
General Information.............16
SENTRYKEY................17
Irregular Operation..............17
VEHICLE SECURITY ALARM — IF
EQUIPPED .................17
To Arm The System .............18
To Disarm The System ............18
DOORS....................19
Manual Door Locks ..............19
Power Door Locks ..............20
Keyless Enter-N-Go — Passive Entry . . .20
Locking The Doors With One Or More Door
Open ......................23 Auto Relocking
................23
Child-Protection Door Lock System — Rear
Doors ......................23
SEATS.....................24
Manual Seat Adjustment ..........24
Power Adjustment Front ...........25
Manual Adjustment Rear ..........25
Memory Seat ..................27
Heated/Ventilated Seats ...........27
HEADRESTRAINTS...........29
Front Adjustment...............30
Front Removal .................31
Rear Adjustment ...............32
STEERING WHEEL ............32
Adjustment...................32
Heated Steering Wheel ............33
MIRRORS..................34
Interior Mirror .................34
Exterior Mirrors ................35
EXTERIORLIGHTS............37
Headlight Switch ...............37 Headlights
...................37
Daytime Running Lights ...........38
High Beams ..................38
Flash-To-Pass .................38
Automatic Lighting ..............38
Parking Lights And Panel Lights .....39
Headlight Delay ................39
Fog Lights ...................39
Turn Signals ..................39
Lane Change Assist .............40
INTERIORLIGHTS............40
Courtesy Interior Lights ...........40
WIPER/WASHER............40
Front Wipers..................40
Rain Sensor ..................41
Rear Wiper ...................42
HEADLIGHT WASHERS — IF
EQUIPPED .................42
CLIMATECONTROLS..........43
Overview....................43
GETTING TO KNOW YOUR VEHICLE
11
Page 39 of 372
EXTERIOR LIGHTS
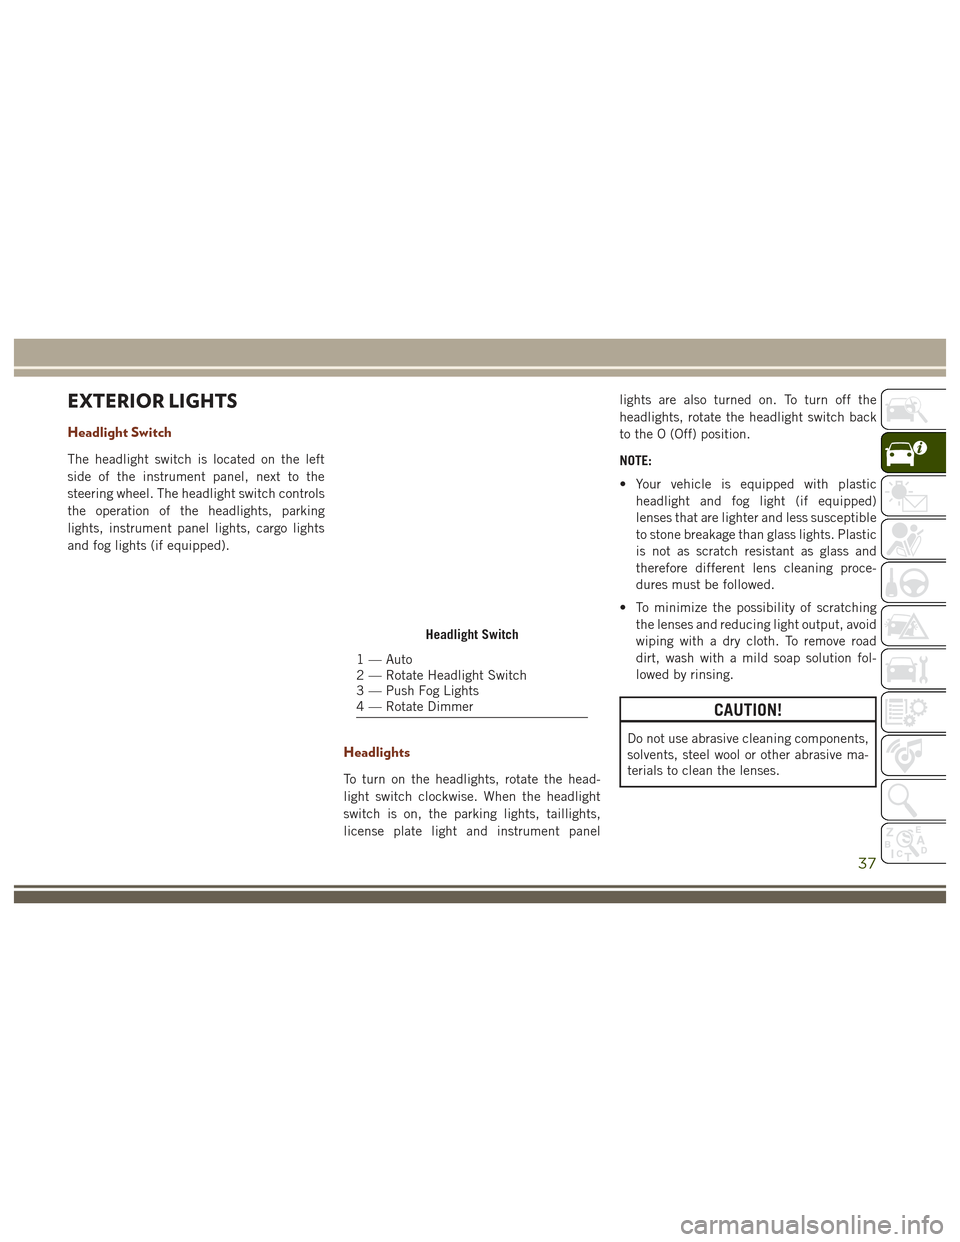
Headlight Switch
The headlight switch is located on the left
side of the instrument panel, next to the
steering wheel. The headlight switch controls
the operation of the headlights, parking
lights, instrument panel lights, cargo lights
and fog lights (if equipped).
Headlights
To turn on the headlights, rotate the head-
light switch clockwise. When the headlight
switch is on, the parking lights, taillights,
license plate light and instrument panellights are also turned on. To turn off the
headlights, rotate the headlight switch back
to the O (Off) position.
NOTE:
• Your vehicle is equipped with plastic
headlight and fog light (if equipped)
lenses that are lighter and less susceptible
to stone breakage than glass lights. Plastic
is not as scratch resistant as glass and
therefore different lens cleaning proce-
dures must be followed.
• To minimize the possibility of scratching the lenses and reducing light output, avoid
wiping with a dry cloth. To remove road
dirt, wash with a mild soap solution fol-
lowed by rinsing.
CAUTION!
Do not use abrasive cleaning components,
solvents, steel wool or other abrasive ma-
terials to clean the lenses.
Headlight Switch
1 — Auto
2 — Rotate Headlight Switch
3 — Push Fog Lights
4 — Rotate Dimmer
37
Page 40 of 372
Daytime Running Lights
The Daytime Running Lights (low intensity)
come on whenever the engine is running, and
the transmission is not in the PARK position.
The lights will remain on until the ignition is
switched to the OFF or ACC position or the
parking brake is engaged.
The Daytime Running Lights (bright inten-
sity) come on whenever the engine is run-
ning, and the transmission is not in the PARK
position. The lights will remain on until the
ignition is switched to the OFF or ACC posi-
tion or the parking brake is engaged.
NOTE:
• If a turn signal is activated, the DRL lampon the same side of the vehicle will turn off
for the duration of the turn signal activa-
tion. Once the turn signal is no longer
active, the DRL lamp will illuminate.
• The DRL function may be disabled through the Uconnect system. Refer to
“Uconnect Settings” in “Multimedia” for
further information.
The headlight switch must be used for normal
nighttime driving.
High Beams
Push the multifunction lever toward the in-
strument panel to switch the headlights to
high beams. Pulling the multifunction back
toward the steering wheel will turn the low
beams back on, or shut the high beams off.
Flash-To-Pass
You can signal another vehicle with your
headlights by partially pulling the multifunc-
tion lever toward the steering wheel. This will
cause the high beam headlights to turn on
until the lever is released.
Automatic Lighting
The Automatic High Beam Headlamp Control
system provides increased forward lighting at
night by automating high beam control
through the use of a digital camera mounted
on the inside rearview mirror. This camera
detects vehicle specific light and automati-
cally switches from high beams to low beams
until the approaching vehicle is out of view. NOTE:
• The Automatic High Beam Headlamp Con-
trol can be turned on or off using the
Uconnect System. Refer to “Uconnect
Settings” in “Multimedia” in the Owner’s
Manual at
www.jeep.com/en/owners/manuals/ for
further information.
• Broken, muddy, or obstructed headlights and taillights of vehicles in the field of
view will cause headlights to remain on
longer (closer to the vehicle). Also, dirt,
film, and other obstructions on the wind-
shield or camera lens will cause the sys-
tem to function improperly.
• To opt out of the Advanced Auto High- Beam Sensitivity Control (default) and en-
ter Reduced High-Beam Sensitivity Con-
trol (not recommended), toggle highbeam
lever 6 full on/off cycles within 10 sec-
onds of ignition ON. System will return to
default setting upon ignition off.GETTING TO KNOW YOUR VEHICLE
38
Page 41 of 372
If the windshield or Automatic High Beam
Headlamp Control mirror is replaced, the
mirror must be re-aimed to ensure proper
performance. See your local authorized
dealer.
Parking Lights And Panel Lights
To turn on the parking lights and instrument
panel lights, rotate the headlight switch
clockwise. To turn off the parking lights,
rotate the headlight switch back to the O (Off)
position.
Headlight Delay
To aid in your exit, your vehicle is equipped
with a headlight delay that will leave the
headlights on for approximately up to 90 sec-
onds. This delay is initiated when the ignition
is turned OFF while the headlight switch is
on, and then the headlight switch is cycled
off. Headlight delay can be cancelled by
either turning the headlight switch on then
off, or by turning the ignition ON.NOTE:
This feature can be programmed through the
Uconnect system. Refer to “Uconnect Set-
tings” in “Multimedia” for further informa-
tion.
Fog Lights
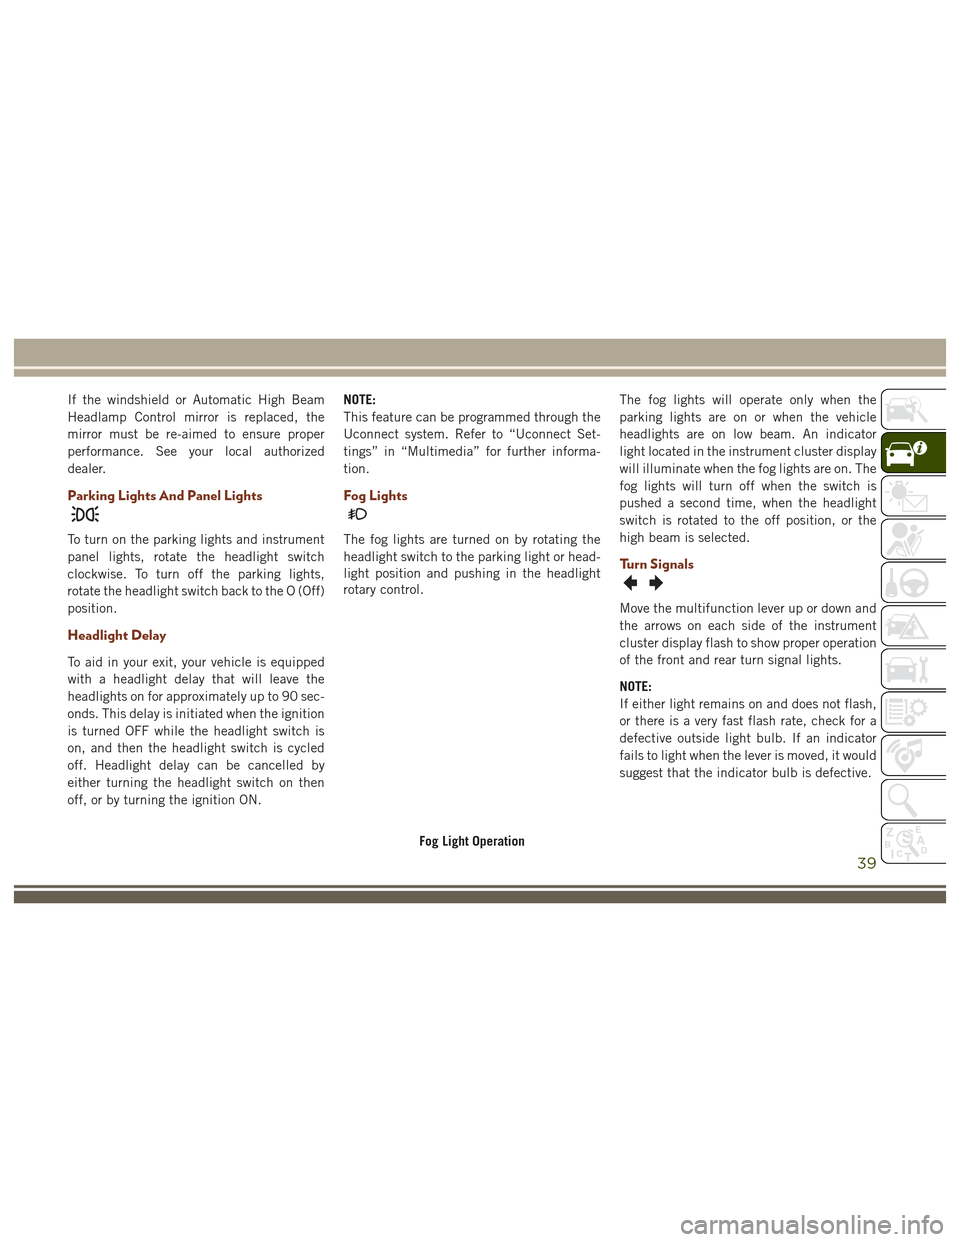
The fog lights are turned on by rotating the
headlight switch to the parking light or head-
light position and pushing in the headlight
rotary control.
The fog lights will operate only when the
parking lights are on or when the vehicle
headlights are on low beam. An indicator
light located in the instrument cluster display
will illuminate when the fog lights are on. The
fog lights will turn off when the switch is
pushed a second time, when the headlight
switch is rotated to the off position, or the
high beam is selected.
Turn Signals
Move the multifunction lever up or down and
the arrows on each side of the instrument
cluster display flash to show proper operation
of the front and rear turn signal lights.
NOTE:
If either light remains on and does not flash,
or there is a very fast flash rate, check for a
defective outside light bulb. If an indicator
fails to light when the lever is moved, it would
suggest that the indicator bulb is defective.
Fog Light Operation
39
Page 42 of 372
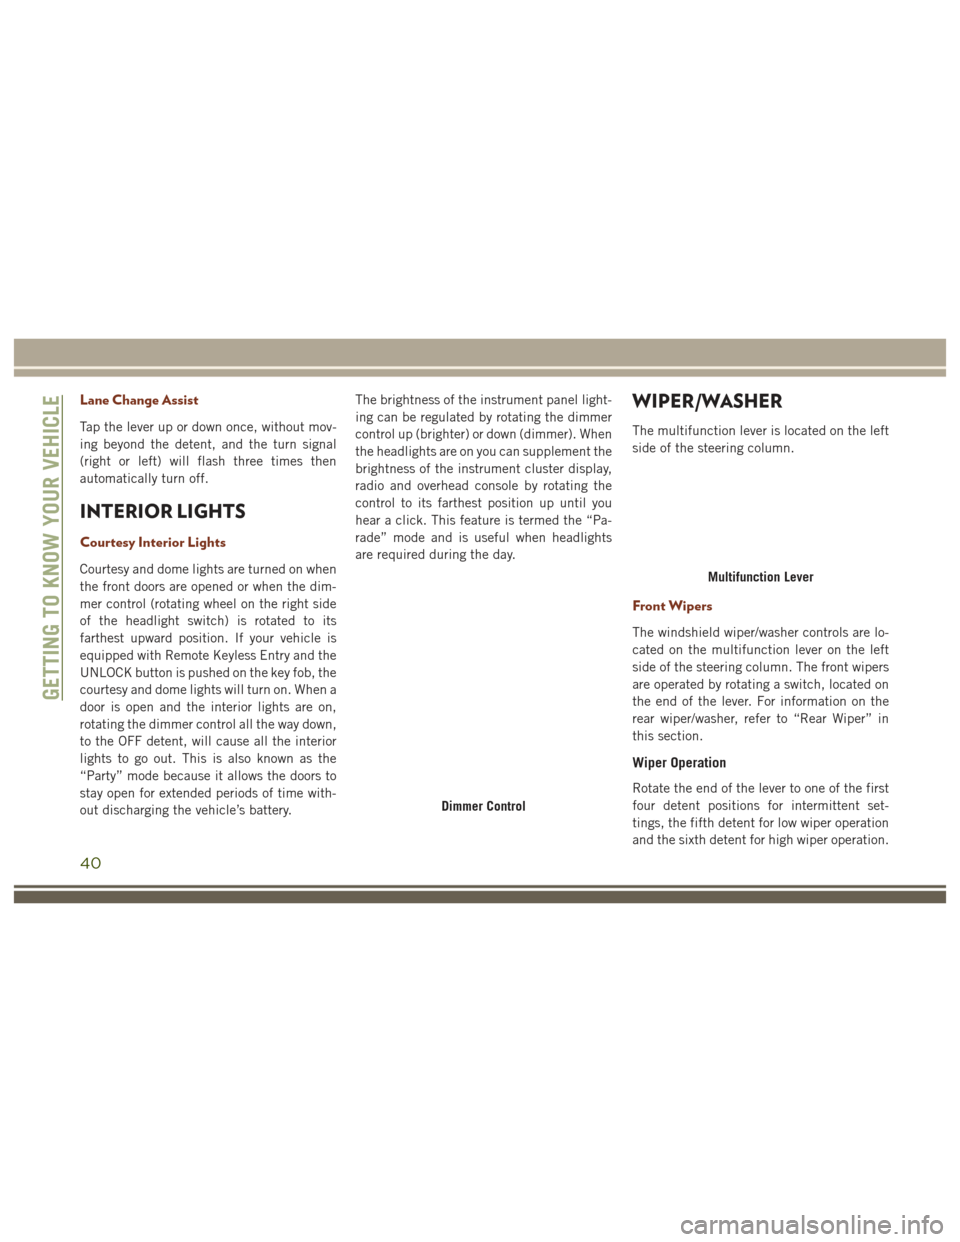
Lane Change Assist
Tap the lever up or down once, without mov-
ing beyond the detent, and the turn signal
(right or left) will flash three times then
automatically turn off.
INTERIOR LIGHTS
Courtesy Interior Lights
Courtesy and dome lights are turned on when
the front doors are opened or when the dim-
mer control (rotating wheel on the right side
of the headlight switch) is rotated to its
farthest upward position. If your vehicle is
equipped with Remote Keyless Entry and the
UNLOCK button is pushed on the key fob, the
courtesy and dome lights will turn on. When a
door is open and the interior lights are on,
rotating the dimmer control all the way down,
to the OFF detent, will cause all the interior
lights to go out. This is also known as the
“Party” mode because it allows the doors to
stay open for extended periods of time with-
out discharging the vehicle’s battery.The brightness of the instrument panel light-
ing can be regulated by rotating the dimmer
control up (brighter) or down (dimmer). When
the headlights are on you can supplement the
brightness of the instrument cluster display,
radio and overhead console by rotating the
control to its farthest position up until you
hear a click. This feature is termed the “Pa-
rade” mode and is useful when headlights
are required during the day.
WIPER/WASHER
The multifunction lever is located on the left
side of the steering column.
Front Wipers
The windshield wiper/washer controls are lo-
cated on the multifunction lever on the left
side of the steering column. The front wipers
are operated by rotating a switch, located on
the end of the lever. For information on the
rear wiper/washer, refer to “Rear Wiper” in
this section.
Wiper Operation
Rotate the end of the lever to one of the first
four detent positions for intermittent set-
tings, the fifth detent for low wiper operation
and the sixth detent for high wiper operation.
Dimmer Control
Multifunction Lever
GETTING TO KNOW YOUR VEHICLE
40
Page 44 of 372
Rear Wiper
The rear wiper/washer controls are located on
the multifunction lever on the left side of the
steering column. The rear wiper/washer is
operated by rotating a switch, located at the
middle of the lever.
Wiper Operation
Rotate the center portion of the lever upward
to the first detent for intermittent operation
and to the second detent for continuous rear
wiper operation.
Rotating the center portion upward once
more will activate the washer pump which
will continue to operate as long as the switch
is held. Upon release of the switch, the wip-
ers will resume the continuous rear wiper
operation. When this rotary control is in the
OFF position, rotating it downward will acti-
vate the rear washer pump which will con-
tinue to operate as long as the switch is held.
Once the switch is released it will return to
the OFF position and the wipers will cycle
several times before returning to the parked
position.NOTE:
As a protective measure, the pump will stop if
the switch is held for more than 20 seconds.
Once the switch is released the pump will
resume normal operation.
If the rear wiper is operating when the igni-
tion is turned OFF, the wiper will automati-
cally return to the “park” position.HEADLIGHT WASHERS — IF
EQUIPPED
The multifunction lever operates the head-
light washers when the ignition switch is in
the ON position and the headlights are
turned on. The multifunction lever is located
on the left side of the steering column.
To use the headlight washers, push the mul-
tifunction lever inward (toward the steering
column) and release it. The headlight wash-
ers will spray a timed high-pressure spray of
washer fluid onto each headlight lens. In
addition, the windshield washers will spray
the windshield and the windshield wipers will
cycle.
NOTE:
After turning the ignition switch and head-
lights ON, the headlight washers will operate
on the first spray of the windshield washer
and then every eleventh spray after that.
GETTING TO KNOW YOUR VEHICLE
42
Page 89 of 372
The LaneSense is flashing yellow when the
system senses the lane has been approached
and is in a lane departure situation.
Refer to “LaneSense — If Equipped" in
“Starting And Operating” for further informa-
tion.
– LaneSense Failure Indicator Light —
If Equipped
This light will turn on when the LaneSense
system is not operating and needs service.
Please see your authorized dealer.
— Water in Fuel Indicator Light — If
Equipped
The “Water In Fuel Indicator Light” will illu-
minate when there is water detected in the
fuel filters. If this light remains on, DO NOT
start the vehicle before you drain the water
from the fuel filters to prevent engine dam-
age.
— Wait To Start Light — If Equipped
The “Wait To Start” telltale will illuminate for
approximately two seconds when the ignition
is turned to the RUN position. It’s duration
may be longer based on colder operating conditions. Vehicle will not initiate start until
telltale is no longer displayed. Refer to
“Starting Procedures” in “Starting and Oper-
ating” for further information.
NOTE:
The “Wait To Start” telltale may not illumi-
nate if the intake manifold temperature is
warm enough.
— Low Diesel Exhaust Fluid (DEF) Indi-
cator Light — If Equipped
The Low Diesel Exhaust Fluid (DEF) Indicator
will illuminate if the vehicle is low on Diesel
Exhaust Fluid (DEF). Refer to “Starting And
Operating” for further information.
Blue Telltale Lights
— High Beam Indicator Light
This indicator shows that the high beam
headlights are on. Push the multifunction
control lever away from you to switch the
headlights to high beam. Pull the lever to-
ward you to switch the headlights back to low
beam. Pull the lever toward you for a tempo-
rary high beam on, "flash to pass" scenario.
Green Telltale Lights
– Park/Headlight ON Indicator Light
This indicator will illuminate when the park
lights or headlights are turned on.
– Front Fog Indicator Light — If
Equipped
This indicator will illuminate when the front
fog lights are on.
– Turn Signal Warning Lights
The instrument cluster arrow will flash inde-
pendently for the left or right turn signal as
selected, as well as the exterior turn signal
lamp(s) (front and rear) as selected when the
multifunction lever is moved down (left) or up
(right).
• A continuous chime will sound if the ve- hicle is driven more than 1 mile (1.6 km)
with either turn signal on.
• Check for an inoperative outside light bulb if either indicator flashes at a rapid rate.
87
Page 169 of 372
(40 km/h) the vehicle height will be auto-
matically lowered to OR1. Refer to “Driv-
ing Tips” in “Starting And Operating” for
further information.
• Aero Mode (Lowers the vehicle approxi-
mately 0.6 inches (15 mm) – This position
provides improved aerodynamics by lower-
ing the vehicle. The vehicle will automati-
cally enter Aero Mode when the vehicle
speed remains between 52 mph (83 km/h)
and 56 mph (90 km/h) for greater than
20 seconds or if the vehicle speed exceeds
56 mph (90 km/h). The vehicle will return
to NRH from Aero Mode if the vehicle
speed remains between 20 mph (32 km/h)
and 25 mph (40 km/h) for greater than
20 seconds or if the vehicle speed falls
below 20 mph (32 km/h). The vehicle will
enter Aero Mode, regardless of vehicle
speed if the vehicle is in “SPORT” mode.
• Entry/Exit Mode (Lowers the vehicle approxi-
mately 1.6 inces (40 mm) – This position
lowers the vehicle for easier passenger
entry and exit as well as lowering the rear
of the vehicle for easier loading and un-
loading of cargo. To enter Entry/Exit Mode,
push the “DOWN” button once from (NRH) while the vehicle speed is below
25 mph (40 km/h). Once the vehicle
speed goes below 15 mph (24 km/h) the
vehicle height will begin to lower. If the
vehicle speed remains between 15 mph
(24 km/h) and 25 mph (40 km/h) for
greater than 60 seconds, or the vehicle
speed exceeds 25 mph (40 km/h) the
Entry/Exit Mode change will be cancelled.
To exit Entry/Exit Mode, press the “Up”
button once while in Entry/Exit Mode or
drive the vehicle over 15 mph (24 km/h).
NOTE:
Automatic lowering of the vehicle into Entry/
Exit Mode can be enabled through the
Uconnect Touch-Screen Radio. If this feature
is enabled, the vehicle will only lower if the
gear selector is in "PARK", the terrain switch
is in "AUTO", the transfer-case is in "AUTO”
and the vehicle level should be either in
Normal or Aero Mode. The Vehicle will not
automatically lower if the air suspension level
is in Off Rd 2 or Off Rd 1. If the vehicle is
equipped with Intrusion Theft Module (ITM),
the lowering will be suppressed when the
ignition is switched OFF and the door is open
to prevent setting the alarm off. The Selec-Terrain switch will automatically
change the vehicle to the proper height based
on the position of the Selec-Terrain switch.
The height can be changed from the default
Selec-Terrain setting by normal use of the air
suspension buttons. Refer to “Selec-Terrain”
in “Starting And Operating” for further infor-
mation.
The system requires that the engine be run-
ning for all changes. When lowering the ve-
hicle all of the doors, including the liftgate,
must be closed. If a door is opened at any
time while the vehicle is lowering the change
will not be completed until the open door(s) is
closed.
The Quadra-Lift air suspension system uses a
lifting and lowering pattern which keeps the
headlights from incorrectly shining into on-
coming traffic. When raising the vehicle, the
rear of the vehicle will move up first and then
the front. When lowering the vehicle, the
front will move down first and then the rear.
167
Page 270 of 372
lubrication of the system, thus minimizing
the possibility of damage to the compres-
sor when the vehicle is put back into
operation.
NOTE:
When the vehicle has not been started or
driven for at least 30 days, an Extended Park
Start Procedure is required to start the ve-
hicle. Refer to “Starting Procedures” in
“Starting And Operating” for further
information.
CAUTION!
Before removal of the positive and nega-
tive terminals to the battery, wait at least a
minute with ignition switch in the OFF
position and close the drivers door. When
reconnecting the positive and negative ter-
minals to the battery be sure the ignition
switch is in the OFF position and the
drivers door is closed.
BODYWORK
Body And Underbody Maintenance
Cleaning Headlights
Your vehicle is equipped with plastic head-
lights and fog lights that are lighter and less
susceptible to stone breakage than glass
headlights.
Plastic is not as scratch resistant as glass and
therefore different lens cleaning procedures
must be followed.
To minimize the possibility of scratching the
lenses and reducing light output, avoid wip-
ing with a dry cloth. To remove road dirt, wash
with a mild soap solution followed by rinsing.
Do not use abrasive cleaning components,
solvents, steel wool or other aggressive mate-
rial to clean the lenses.
Preserving The Bodywork
Washing
• Wash your vehicle regularly. Always wash your vehicle in the shade using MOPAR Car
Wash, or a mild car wash soap, and rinse
the panels completely with clear water.
• If insects, tar, or other similar deposits have accumulated on your vehicle, use
MOPAR Super Kleen Bug and Tar Remover
to remove.
• Use a high quality cleaner wax, such as MOPAR Cleaner Wax to remove road film,
stains and to protect your paint finish. Take
care never to scratch the paint.
• Avoid using abrasive compounds and power buffing that may diminish the gloss
or thin out the paint finish.
SERVICING AND MAINTENANCE
268
Page 363 of 372
Electronic Throttle Control WarningLight .....................82
Emergency, In Case Of Freeing Vehicle When Stuck .....226
Hazard Warning Flasher ........204
Jacking ..................258
Jump Starting ..............221
Engine ..............244, 246, 247
Block Heater ...............152
Break-In Recommendations .....155
Checking Oil Level ...........248
Compartment . . . .244, 245, 246, 247
Compartment Identification . .244, 245
Coolant (Antifreeze) . . . .277, 280, 281
Cooling ..................257
Exhaust Gas Caution ..........143
Fails To Start ...............150
Flooded, Starting ............150
Identification ..............247
Jump Starting ..............221
Oil ..........276, 277, 280, 281
Oil Filler Cap ..............244
Oil Selection ..............276
Overheating ...............224
Starting .................149
Enhanced Accident Response Feature ...............128, 229 Exhaust Gas Caution
............143
Exhaust System ...............143
Exterior Lights ................145
Filters Air Conditioning ..........51, 252
Engine Oil .........277, 280, 281
Flashers ....................204
Hazard Warning .............204
Turn Signal .........87, 145, 206
Flooded Engine Starting ..........150
Fluid, Brake ..........279, 281, 283
Fluid Capacities ...........276, 277
Fluid
Leaks ..................145
Fluid Level Checks Brake ...................249
Folding Rear Seat ...............25
Forward Collision Warning .........105
Four-Way Hazard Flasher ..........204
Four Wheel Drive ...........161, 170
Operation ................161
Systems .................161
Four Wheel Drive Operation ........161
Freeing A Stuck Vehicle ..........226
Front And Rear ParkSense System . . . .180
Front ParkSense System ..........180
Fuel ...................273, 275 Adding
...............186, 188
Additives .................274
Diesel ...............275, 281
Economy Mode .............158
Gasoline .................273
Light ....................86
Materials Added ............274
Octane Rating .......273, 277, 280
Requirements ..............275
Specifications .......275, 277, 280
Tank Capacity ..........276, 277
Fueling .................186, 188
Garage Door Opener (HomeLink) ......62
Gasoline (Fuel) ................273
Hands-Free Phone (Uconnect) ......332
Hazard Warning Flasher ..........204
Headlights Cleaning .................268
Passing ..................38
Washers ..................42
Headlight Washers ..............42
Head Restraints ................29
Heated Mirrors .................36
Hill Descent Control ............100
Hill
Descent Control Indicator ......100
361