set clock JEEP GRAND CHEROKEE 2017 WK2 / 4.G User Guide
[x] Cancel search | Manufacturer: JEEP, Model Year: 2017, Model line: GRAND CHEROKEE, Model: JEEP GRAND CHEROKEE 2017 WK2 / 4.GPages: 372
Page 41 of 372
If the windshield or Automatic High Beam
Headlamp Control mirror is replaced, the
mirror must be re-aimed to ensure proper
performance. See your local authorized
dealer.
Parking Lights And Panel Lights
To turn on the parking lights and instrument
panel lights, rotate the headlight switch
clockwise. To turn off the parking lights,
rotate the headlight switch back to the O (Off)
position.
Headlight Delay
To aid in your exit, your vehicle is equipped
with a headlight delay that will leave the
headlights on for approximately up to 90 sec-
onds. This delay is initiated when the ignition
is turned OFF while the headlight switch is
on, and then the headlight switch is cycled
off. Headlight delay can be cancelled by
either turning the headlight switch on then
off, or by turning the ignition ON.NOTE:
This feature can be programmed through the
Uconnect system. Refer to “Uconnect Set-
tings” in “Multimedia” for further informa-
tion.
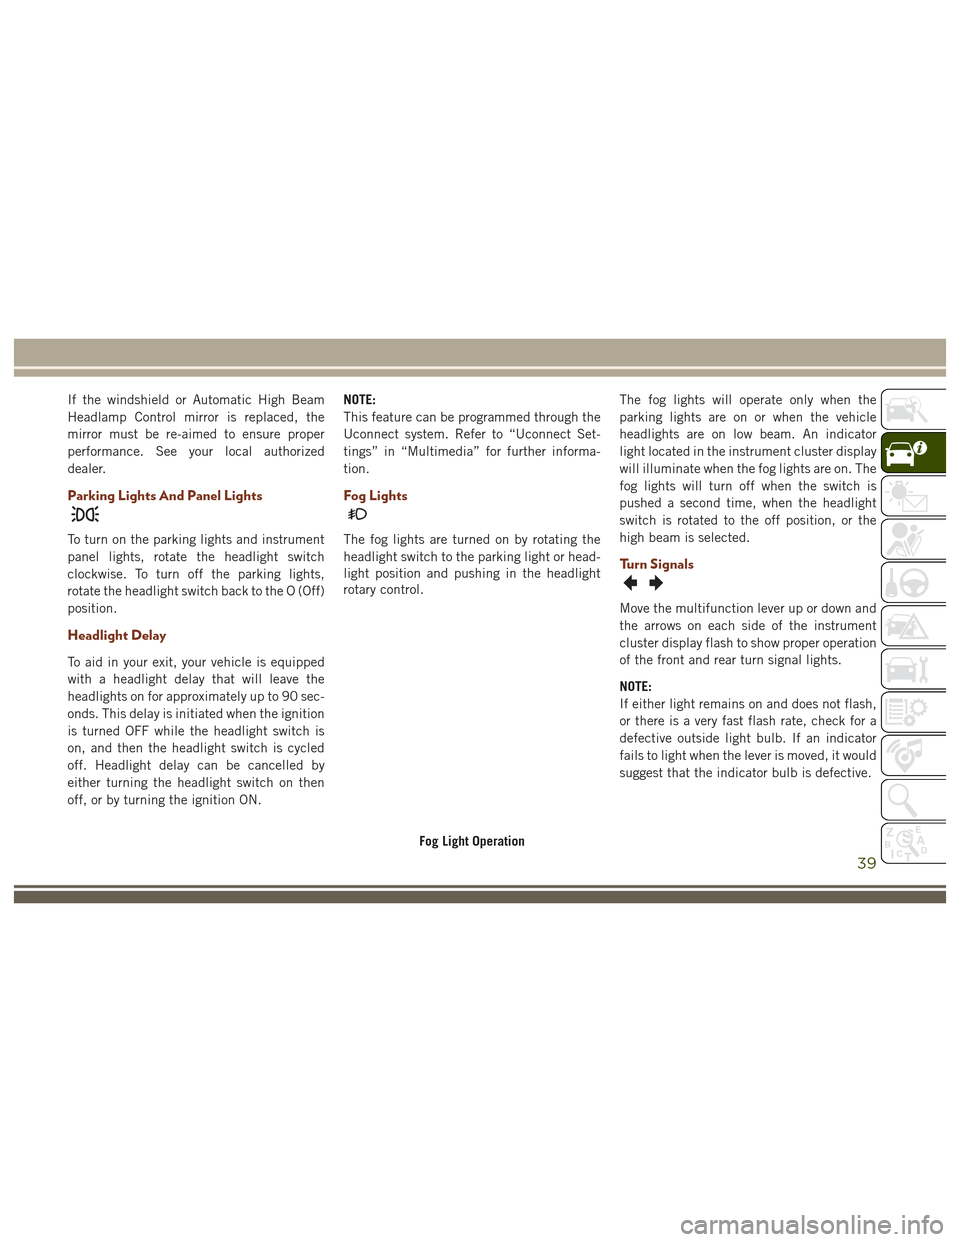
Fog Lights
The fog lights are turned on by rotating the
headlight switch to the parking light or head-
light position and pushing in the headlight
rotary control.
The fog lights will operate only when the
parking lights are on or when the vehicle
headlights are on low beam. An indicator
light located in the instrument cluster display
will illuminate when the fog lights are on. The
fog lights will turn off when the switch is
pushed a second time, when the headlight
switch is rotated to the off position, or the
high beam is selected.
Turn Signals
Move the multifunction lever up or down and
the arrows on each side of the instrument
cluster display flash to show proper operation
of the front and rear turn signal lights.
NOTE:
If either light remains on and does not flash,
or there is a very fast flash rate, check for a
defective outside light bulb. If an indicator
fails to light when the lever is moved, it would
suggest that the indicator bulb is defective.
Fog Light Operation
39
Page 50 of 372
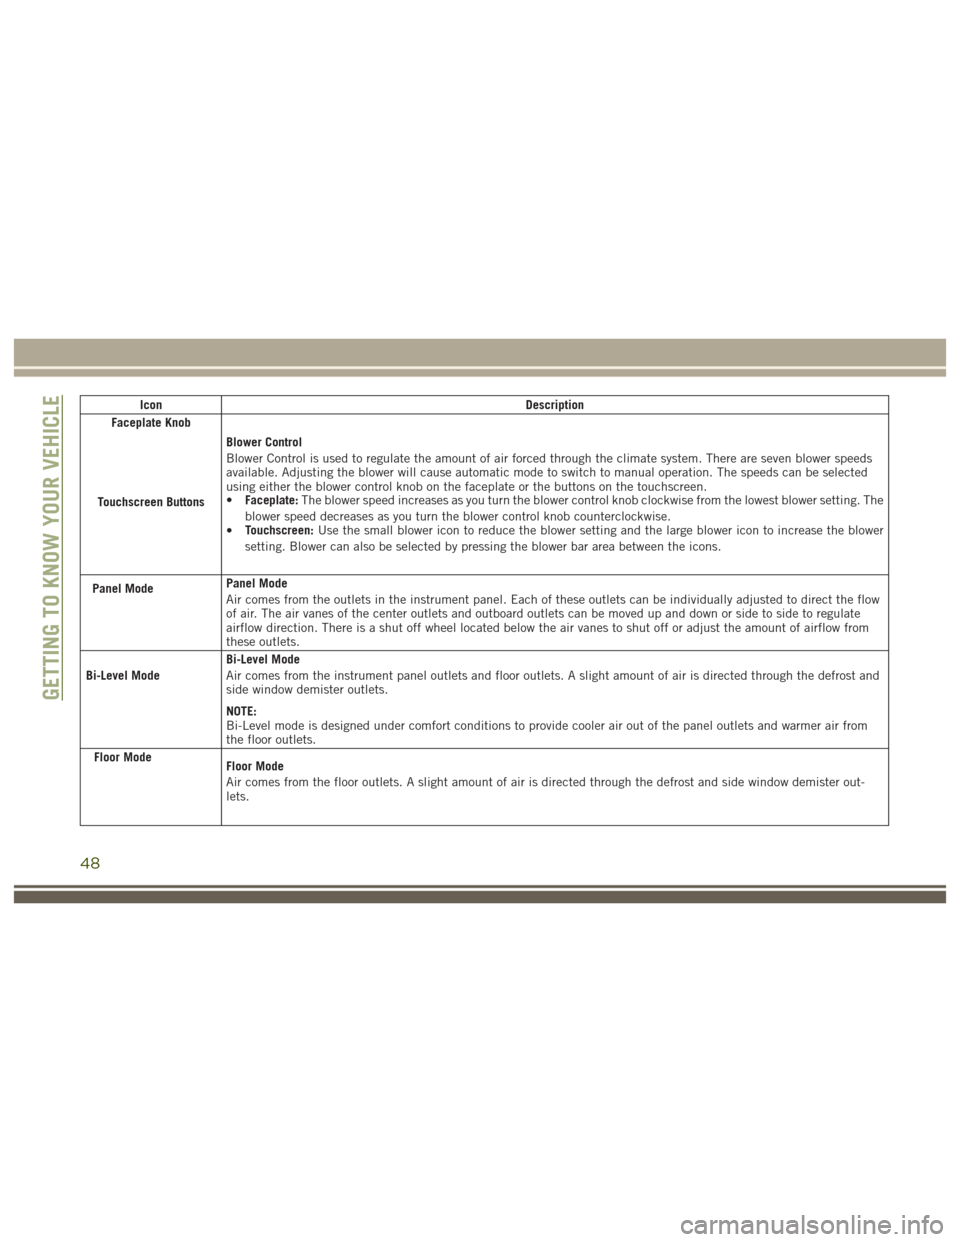
IconDescription
Faceplate Knob
Touchscreen Buttons
Blower Control
Blower Control is used to regulate the amount of air forced through the climate system. There are seven blower speeds
available. Adjusting the blower will cause automatic mode to switch to manual operation. The speeds can be selected
using either the blower control knob on the faceplate or the buttons on the touchscreen.
• Faceplate: The blower speed increases as you turn the blower control knob clockwise from the lowest blower setting. The
blower speed decreases as you turn the blower control knob counterclockwise.
• Touchscreen:
Use the small blower icon to reduce the blower setting and the large blower icon to increase the blower
setting. Blower can also be selected by pressing the blower bar area between the icons.
Panel Mode
Panel Mode
Air comes from the outlets in the instrument panel. Each of these outlets can be individually adjusted to direct the flow
of air. The air vanes of the center outlets and outboard outlets can be moved up and down or side to side to regulate
airflow direction. There is a shut off wheel located below the air vanes to shut off or adjust the amount of airflow from
these outlets.
Bi-Level Mode
Bi-Level Mode
Air comes from the instrument panel outlets and floor outlets. A slight amount of air is directed through the defrost and
side window demister outlets.
NOTE:
Bi-Level mode is designed under comfort conditions to provide cooler air out of the panel outlets and warmer air from
the floor outlets.
Floor Mode
Floor Mode
Air comes from the floor outlets. A slight amount of air is directed through the defrost and side window demister out-
lets.
GETTING TO KNOW YOUR VEHICLE
48
Page 223 of 372
WARNING!
A loose tire or jack thrown forward in a
collision or hard stop could endanger the
occupants of the vehicle. Always stow the
jack parts and the spare tire in the places
provided. Have the deflated (flat) tire re-
paired or replaced immediately.
Changing Procedure
1. Mount the road tire on the axle.
2. Install the remaining lug nuts with thecone shaped end of the nut toward the
wheel. Lightly tighten the lug nuts.
WARNING!
To avoid the risk of forcing the vehicle off
the jack, do not tighten the lug nuts fully
until the vehicle has been lowered. Failure
to follow this warning may result in per-
sonal injury.
3. Lower the vehicle to the ground by turning the jack handle counterclockwise.
4. Finish tightening the lug nuts. Push down on the wrench while at the end of the handle for increased leverage. Tighten the
lug nuts in a star pattern until each nut
has been tightened twice. The correct
tightness of each lug nut is 130 ft-lbs
(176 N·m). If in doubt about the correct
tightness, have them checked with a
torque wrench by your authorized dealer
or service station.
NOTE:
For the SRT model the correct wheel nut
tightness is 110 ft lbs (149 N·m).
5. After 25 miles (40 km) check the lug nut torque with a torque wrench to ensure that
all lug nuts are properly seated against the
wheel.JUMP-STARTING
If your vehicle has a discharged battery it can
be jump-started using a set of jumper cables
and a battery in another vehicle or by using a
portable battery booster pack. Jump-starting
can be dangerous if done improperly so
please follow the procedures in this section
carefully.
WARNING!
Do not attempt jump-starting if the battery
is frozen. It could rupture or explode and
cause personal injury.
CAUTION!
Do not use a portable battery booster pack
or any other booster source with a system
voltage greater than 12 Volts or damage to
the battery, starter motor, alternator or
electrical system may occur.
NOTE:
When using a portable battery booster pack
follow the manufacturer's operating instruc-
tions and precautions.
Preparations For Jump-Starting
The battery in your vehicle is located under
the passenger's front seat. There are remote
locations located under the hood to assist in
jump-starting.
221
Page 287 of 372
MULTIMEDIA
CYBERSECURITY............287
OFFROADPAGES—IF
EQUIPPED................ .288
Off Road Pages Status Bar........288
Drivetrain ...................288
Suspension ..................289
Accessory Gauges ..............289
Selec-Terrain .................289
TIPS CONTROLS AND GENERAL
INFORMATION ............ .290
Steering Wheel Audio Controls ......290
Reception Conditions ............290
Care And Maintenance ...........290
Anti-theft Protection ............291
UCONNECT ACCESS .........291
Uconnect Access — If Equipped (Available
On Uconnect 8.4/8.4 NAV — U.S.
Residents Only)...............291
Uconnect Access Registration (Uconnect
8.4/8.4 NAV, U.S. 48 Contiguous States,
Alaska And Hawaii) ............293
Download The Uconnect Access App . .293 Via Mobile Apps — If Equipped
.....294
Vehicle Finder ................295
Send&Go ..................296
Renewing Subscriptions And
Purchasing 3G Wi-Fi Hotspot (Uconnect
8.4/8.4 NAV, U.S. 48 Contiguous States,
Alaska And Hawaii) .............296
Getting Started With Apps ........297
Maintaining Your Uconnect Access
Account ....................298
Built-In Features ..............298
Vehicle Health Report/Alert ........301
Uconnect Access Remote Features . . .301
UCONNECT 5.0 .............305
Controls On The Front Panel .......305
Clock Setting .................306
Equalizer, Balance And Fade .......306
Radio Mode ..................307
Media Mode .................307
Bluetooth Source ..............310
iPod/USB/SD Card/AUX/Media Player
Control Support ...............311 USB/Audio Jack (AUX)/Bluetooth
Operation
...................311
Phone Mode .................312
SiriusXM Premier Over 160 Channels . .315
UCONNECT 8.4/8.4 NAV ......316
Uconnect 8.4/8.4 NAV At A Glance . . .316
Personalized Menu Bar...........318
Radio Mode ..................318
SiriusXM Premier Over 160 Channels .319
UCONNECT TOUCH SETTINGS . .322
IPOD/USB/SD CARD/MEDIA
PLAYERCONTROL ..........322
Audio Jack (AUX) ..............323
USB Port ...................323
SD Card ....................323
Bluetooth Streaming Audio ........323
Media Controls ................324
UCONNECT REAR SEAT ENTER-
TAINMENT (RSE) SYSTEM — IF
EQUIPPED................ .324
Getting Started...............324
MULTIMEDIA
285
Page 308 of 372
Clock Setting
To start the clock setting procedure:
1. Push the MORE button on the faceplate.Next press the “Settings” button on the
touchscreen and then press the “Clock
and Date” button on the touchscreen.
2. Press the “Set Time” button on the touchscreen.
3. Press the “Up” or “Down” arrows to ad- just the hours or minutes, next select the
“AM” or “PM” button on the touchscreen.
You can also select 12hr or 24hr format
by pressing the desired button on the
touchscreen.
4. Once the time is set press the “Done” button on the touchscreen to exit the time
screen.
NOTE:
In the Clock Setting Menu you can also select
the “Show Time Status” button on the touch-
screen, then select from “On” or “Off” to
display the time in the status bar.
Equalizer, Balance And Fade
1. Push the MORE button on the faceplate. Next press the “Settings” button on the
touchscreen.
2. Then scroll down and press the “Audio” button on the touchscreen to get to the
Audio menu.
3. The Audio Menu shows the following op- tions for you to customize your audio
settings.
Equalizer
Press the “Equalizer” button on the touch-
screen to adjust the Bass, Mid and Treble.
Use the “+” or “–” button on the touchscreen
to adjust the equalizer to your desired set-
tings. Press the “Back Arrow” button on the
touchscreen when done.
Balance/Fade
Press the “Balance/Fade” button on the
touchscreen to adjust the sound from the
speakers. Use the arrow button on the touch-
screen to adjust the sound level from the
front and rear or right and left side speakers.
Press the Center “C” button on the touch- screen to reset the balance and fade to the
factory setting. Press the “Back Arrow” but-
ton on the touchscreen when done.
Speed Adjusted Volume
Press the “Speed Adjusted Volume” button
on the touchscreen to select between OFF, 1,
2 or 3. This will decrease the radio volume
relative to a decrease in vehicle speed. Press
the “Back Arrow” button on the touchscreen
when done.
Loudness
Press the “Loudness” button on the touch-
screen to select the Loudness feature. When
this feature is activated it improves sound
quality at lower volumes.
Surround Sound
Press the “Surround Sound” button on the
touchscreen, select “On” or “Off” followed
by pressing the “Back Arrow” button on the
touchscreen. When this feature is activated,
it provides simulated surround sound mode.
MULTIMEDIA
306
Page 319 of 372
WARNING!
ALWAYS drive safely with your hands on
the wheel. You have full responsibility and
assume all risks related to the use of the
Uconnect features and applications in this
vehicle. Only use Uconnect when it is safe
to do so. Failure to do so may result in an
accident involving serious injury or death.
CAUTION!
Do NOT attach any object to the touch-
screen, doing so can result in damage to
the screen.
Setting The Time
• Model 8.4 NAV synchronizes time auto-matically via GPS, so it should not require
any time adjustment. If you do need to set
the time manually, follow the instructions
below for Model 8.4.
• For Model 8.4, turn the unit on, then press the time display at the top of the screen.
Press “Yes.”
• If the time is not displayed at the top of the screen, press the “Settings” button on the touchscreen. In the Settings screen, press
the “Clock” button on the touchscreen,
then check or uncheck this option.
• Press “+” or “–” next to Set Time Hours and Set Time Minutes to adjust the time.
• If these features are not available, un- check the Sync Time box.
• Press “X” to save your settings and exit out of the Clock Setting screen.
Background Themes
• Screen background themes are selectablefrom a pre-loaded list of themes. If you’d
like to set a theme, follow the instructions
below.
• Press the “Settings” button on the touch- screen.
• Press the “Display” button on the touch- screen.
• Then press “Set Theme” button on the touchscreen and select a theme.
Audio Settings
• Press of the “Audio” button on the touch-screen to activate the Audio settings
screen to adjust Balance\Fade, Equalizer,
and Speed Adjusted Volume.
• You can return to the Radio screen by pressing the “X” located at the top right.
Balance/Fade
• Press the “Balance/Fade” button on thetouchscreen to Balance audio between the
front speakers or fade the audio between
the rear and front speakers.
• Pressing the “Front,” “Rear,” “Left,” or “Right” buttons on the touchscreen or
press and drag the Speaker Icon to adjust
the Balance/Fade.
Equalizer
• Press the “Equalizer” button on the touch-screen to activate the Equalizer screen.
• Press the “+” or “–” buttons on the touch- screen, or press and drag over the level bar
for each of the equalizer bands. The level
value, which spans between plus or minus
9, is displayed at the bottom of each of the
Bands.
317
Page 324 of 372
our satellite service area and in AK and HI.
©2016 Sirius XM Radio Inc. Sirius, XM
and all related marks and logos are trade-
marks of Sirius XM Radio Inc.
UCONNECT TOUCH
SETTINGS
The Uconnect system allows you to access
Customer Programmable feature settings
such as Display, Voice, Clock, Safety & Driv-
ing Assistance, Lights, Doors & Locks,
Auto-On Comfort & Remote Start, Engine Off
Options, Compass Settings, Audio, Phone/
Bluetooth, Suspension, SiriusXM Setup, Re-
store Settings, Clear Personal Data, and Sys-
tem Information through buttons on the
touchscreen.
Push the SETTINGS button (Uconnect 5.0),
or press the “Apps” button (Uconnect 8.4)
located near the bottom of the touchscreen,
then press the “Settings” button on the
touchscreen to access the Settings screen.
When making a selection, scroll up or down
until the preferred setting is highlighted,
then press the preferred setting until a check-mark appears next to the setting, showing
that setting has been selected. The following
feature settings are available:
• Display
• Engine Off Op-
tions
• Voice • Suspension
• Clock • Audio
• Safety & Driving Assistance • Phone/Bluetooth
• Lights • SiriusXM Setup
• Doors & Locks • Restore Settings
• Auto-On Comfort & Remote Start • Clear Personal
Data
• Compass (Uconnect 5.0) • System Informa-
tion
NOTE:
Depending on the vehicles options, feature
settings may vary.
Refer to “Uconnect Settings/Customer Pro-
grammable Features” in the “Multimedia”
Chapter on
www.jeep.com/en/owners/manuals/ for fur-
ther information.
IPOD/USB/SD CARD/MEDIA
PLAYER CONTROL
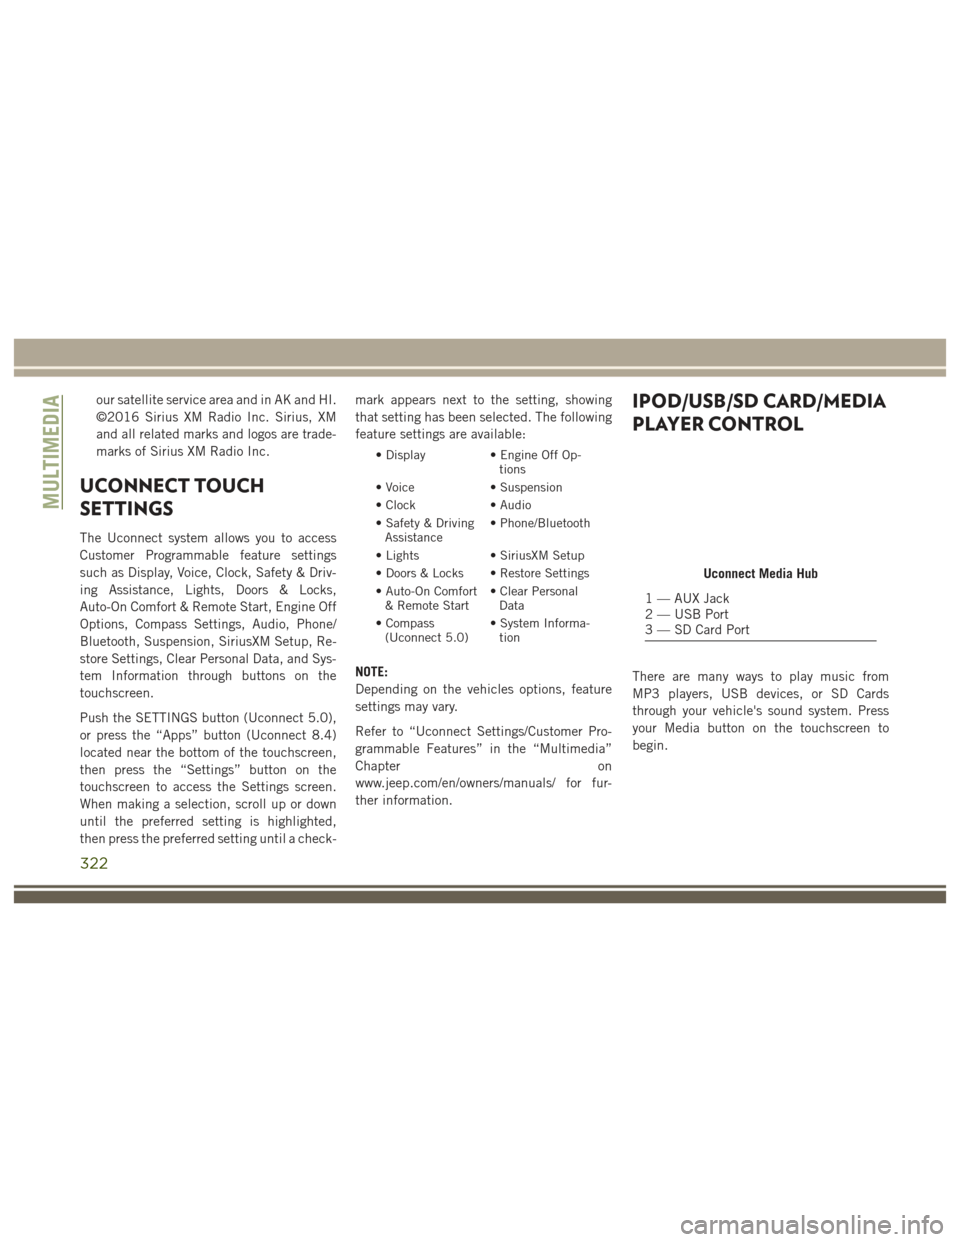
There are many ways to play music from
MP3 players, USB devices, or SD Cards
through your vehicle's sound system. Press
your Media button on the touchscreen to
begin.
Uconnect Media Hub
1 — AUX Jack
2 — USB Port
3 — SD Card Port
MULTIMEDIA
322
Page 362 of 372
Bulb Replacement.............204
Bulbs, Light .................145
Capacities, Antifreeze (Engine Coolant) .277
Capacities, Fluid ...........276, 277
Caps, Filler Fuel ....................224
Oil (Engine) ...............244
Carbon Monoxide Warning .........143
Cargo Area Cover ...............61
Cargo Area Features .............61
Cargo Compartment .............61
Light ....................61
Cargo Light ...................61
Cargo Tie-Downs ................61
Car Washes ..................268
Chains, Tire ..................265
Changing A Flat Tire ............258
Checking Your Vehicle For Safety . . . .143
Checks, Safety ................143
Child Restraint ................130
Child Restraints Booster Seats ..............132
Child Restraints .............130
Child Seat Installation .........140
How To Stow An Unused ALR Seat
Belt ....................138 Infants And Child Restraints
.....131
LATCH Positions ............134
Lower Anchors And Tethers For
Children .................134
Older Children And Child Restraints .132
Seating Positions ............133
Child Safety Locks ..............23
Cleaning Wheels ..................264
Climate Control .............43, 344
Manual ...................43
Clock .....................306
Clock Setting .................306
Cold Weather Operation ..........150
Contract, Service ..............355
Cooling System ...............257
Coolant Capacity ........276,
277
Inspection ................257
Selection Of Coolant
(Antifreeze) .....276, 277, 280, 281
Cruise Light ..................88
Customer Assistance ............354
Customer Programmable Features . . . .322
Daytime Running Lights ...........38
Dealer Service ................251
Defroster, Windshield ............144 Diagnostic System, Onboard
........89
Diesel Fuel ..................275
Diesel Fuel Requirements .........275
Bulk Storage Of .............190
Dipsticks Oil (Engine) ...............248
Disabled Vehicle Towing ..........227
Disturb ....................336
Do Not Disturb ................350
Door Ajar ....................83
Door Ajar Light ................83
Door Locks, Automatic ............23
Driver Information Display Programmable Features .........75
DVD Player (Video Entertainment System) ..................324
Economy (Fuel) Mode ...........158
Electric Remote Mirrors ...........35
Electronic Brake Control System ......93
Anti-Lock Brake System ........92
Electronic Roll Mitigation .......98
Traction Control System ........95
Electronic Speed Control (Cruise Control) ...............172, 173
Electronic Stability Control (ESC) .....95
INDEX
360