JEEP GRAND CHEROKEE TRAILHAWK 2017 Repair Manual
GRAND CHEROKEE TRAILHAWK 2017
JEEP
JEEP
https://www.carmanualsonline.info/img/16/56020/w960_56020-0.png
JEEP GRAND CHEROKEE TRAILHAWK 2017 Repair Manual
Trending: heater, power steering, engine overheat, flat tire, air filter, warning light, climate control
Page 61 of 638
WARNING!
•ALL the head restraints MUST be reinstalled in the
vehicle to properly protect the occupants.
• All occupants, including the driver, should not oper-
ate a vehicle or sit in a vehicle’s seat until the head
restraints are placed in their proper positions in
order to minimize the risk of neck injury in the event
of a collision.
• Do not place items over the top of the Active Head
Restraint, such as coats, seat covers or portable DVD
players. These items may interfere with the opera-
tion of the Active Head Restraint in the event of a
collision and could result in serious injury or death.
• Active Head Restraints may be deployed if they are
struck by an object such as a hand, foot or loose
cargo. To avoid accidental deployment of the Active
Head Restraint ensure that all cargo is secured, as
loose cargo could contact the Active Head Restraint
during sudden stops. Failure to follow this warning
could cause personal injury if the Active Head Re-
straint is deployed.
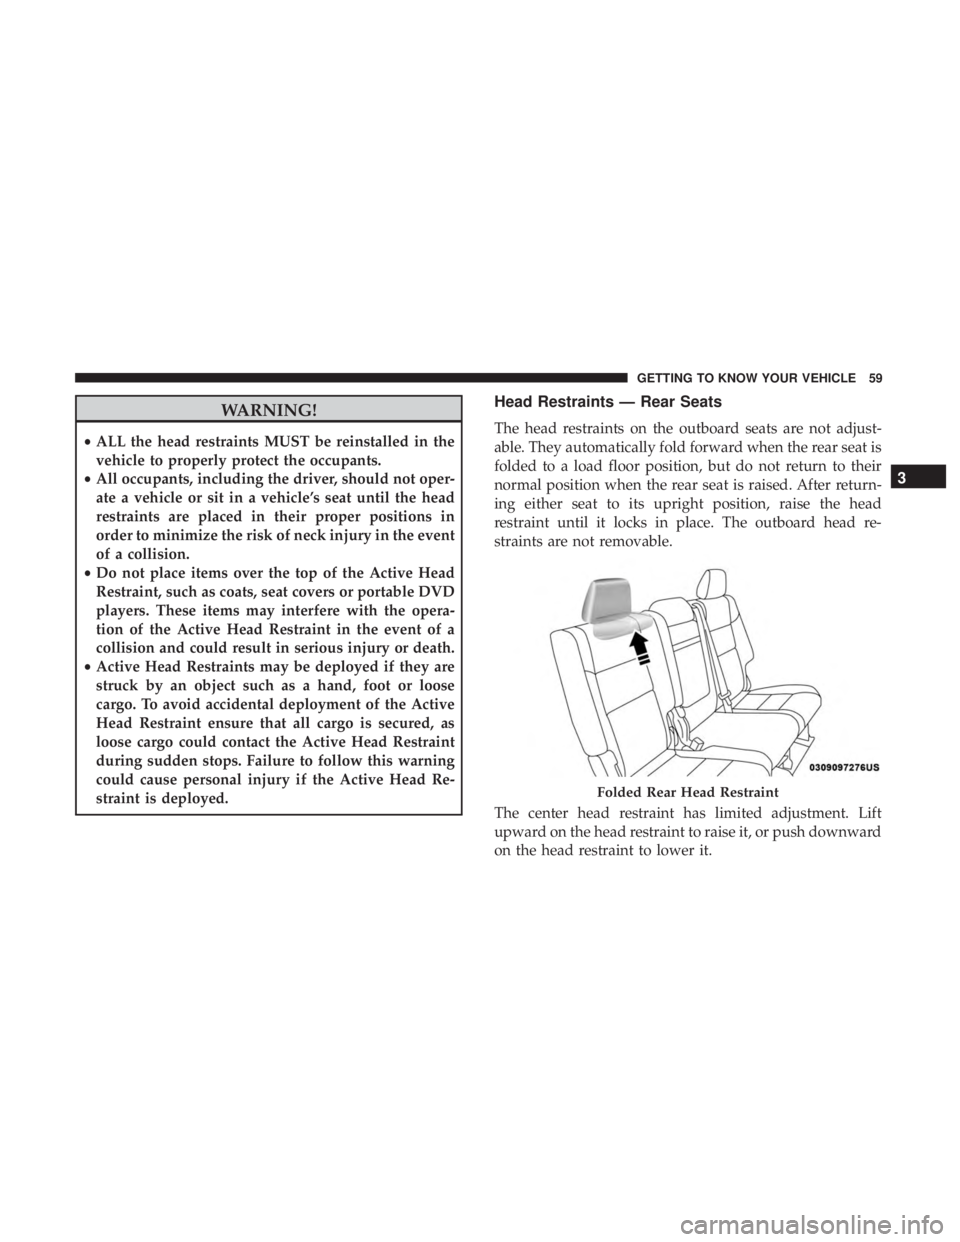
Head Restraints — Rear Seats
The head restraints on the outboard seats are not adjust-
able. They automatically fold forward when the rear seat is
folded to a load floor position, but do not return to their
normal position when the rear seat is raised. After return-
ing either seat to its upright position, raise the head
restraint until it locks in place. The outboard head re-
straints are not removable.
The center head restraint has limited adjustment. Lift
upward on the head restraint to raise it, or push downward
on the head restraint to lower it.
Page 62 of 638
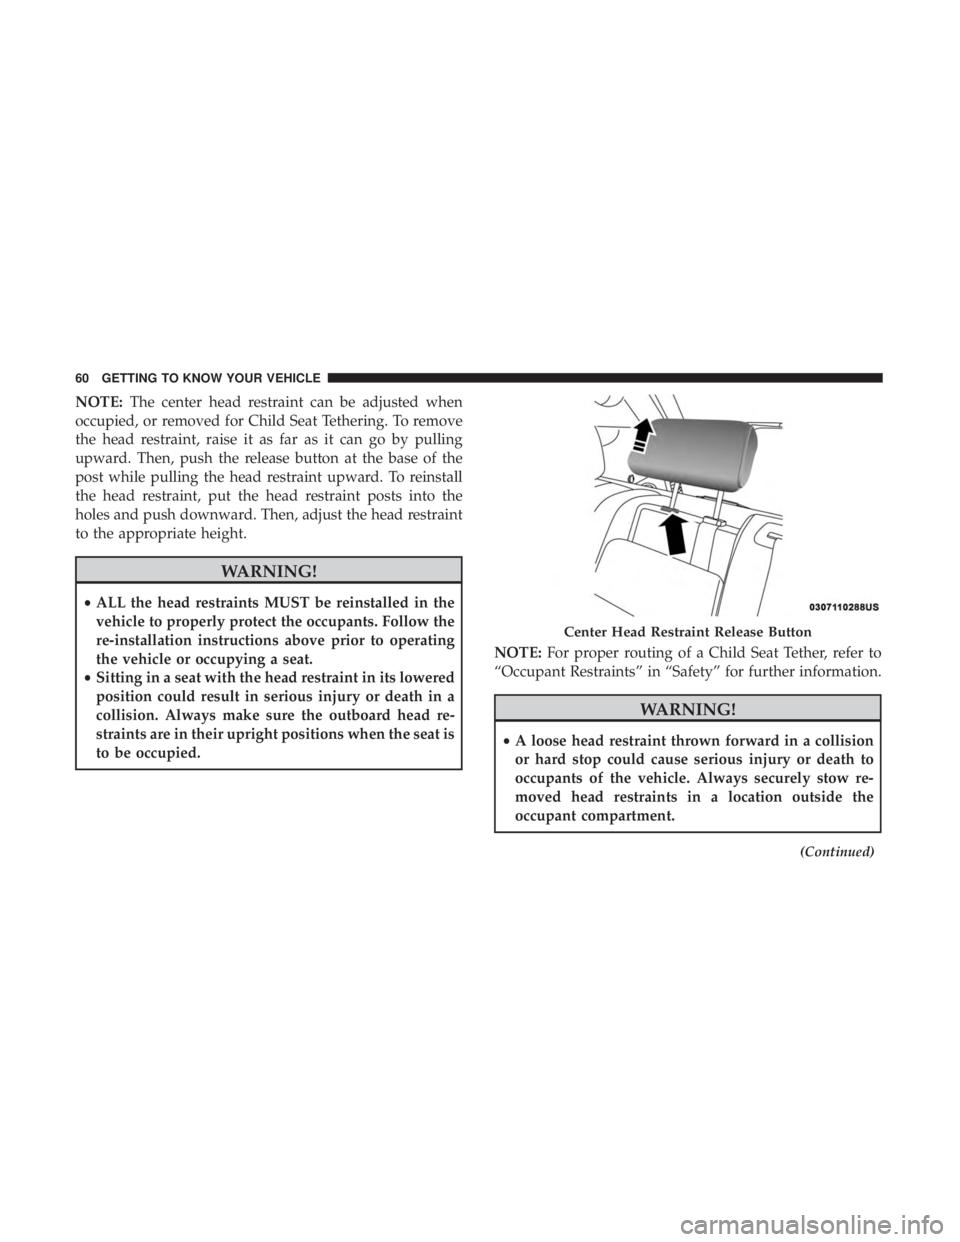
NOTE:The center head restraint can be adjusted when
occupied, or removed for Child Seat Tethering. To remove
the head restraint, raise it as far as it can go by pulling
upward. Then, push the release button at the base of the
post while pulling the head restraint upward. To reinstall
the head restraint, put the head restraint posts into the
holes and push downward. Then, adjust the head restraint
to the appropriate height.
Page 63 of 638
WARNING!(Continued)
•ALL the head restraints MUST be reinstalled in the
vehicle to properly protect the occupants. Follow the
re-installation instructions above prior to operating
the vehicle or occupying a seat.
STEERING WHEEL
Tilt/Telescoping Steering Column
This feature allows you to tilt the steering column upward
or downward. It also allows you to lengthen or shorten the
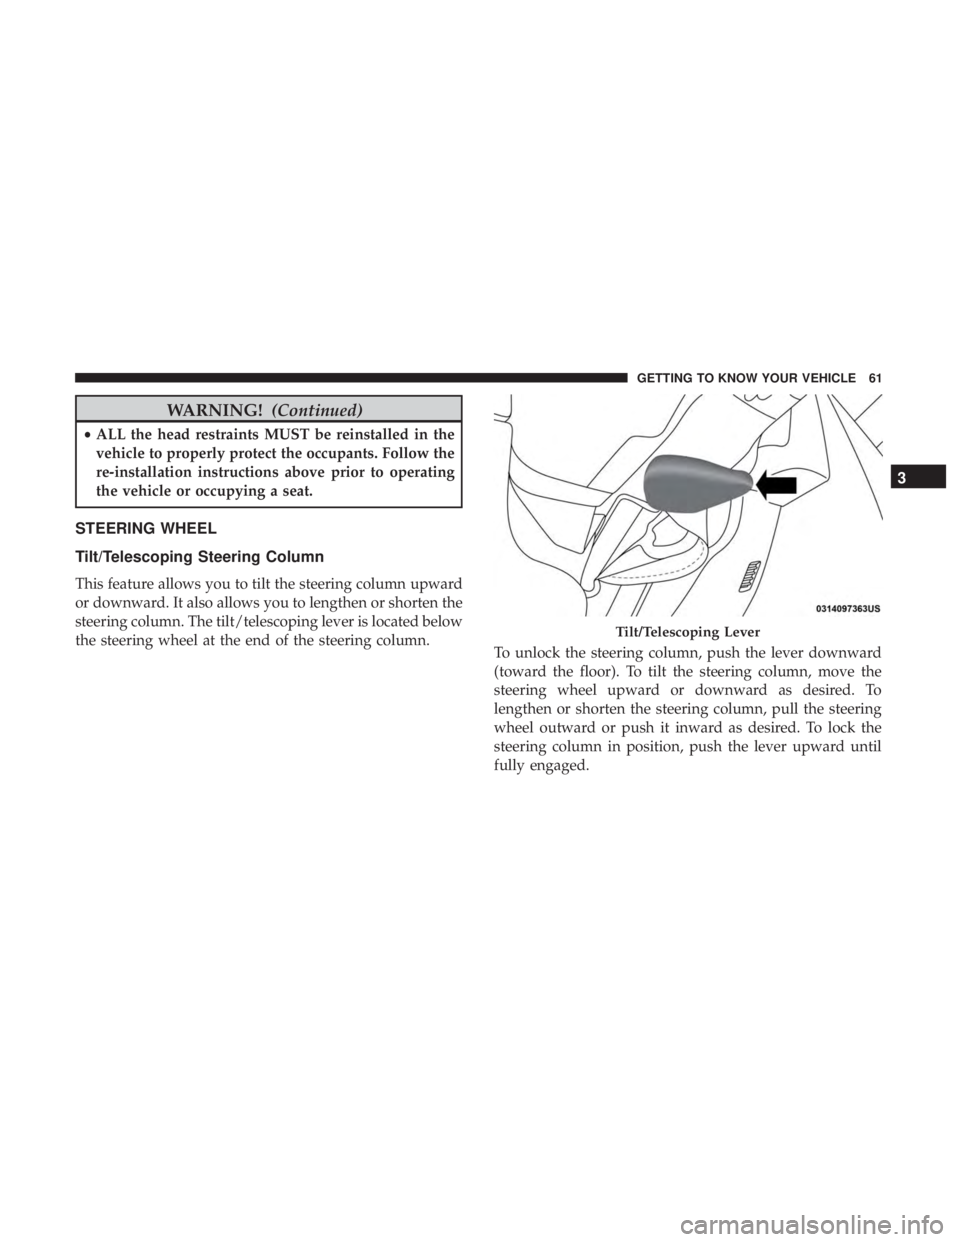
steering column. The tilt/telescoping lever is located below
the steering wheel at the end of the steering column. To unlock the steering column, push the lever downward
(toward the floor). To tilt the steering column, move the
steering wheel upward or downward as desired. To
lengthen or shorten the steering column, pull the steering
wheel outward or push it inward as desired. To lock the
steering column in position, push the lever upward until
fully engaged.
Page 64 of 638
WARNING!
Do not adjust the steering column while driving.
Adjusting the steering column while driving or driv-
ing with the steering column unlocked, could cause the
driver to lose control of the vehicle. Failure to follow
this warning may result in serious injury or death.
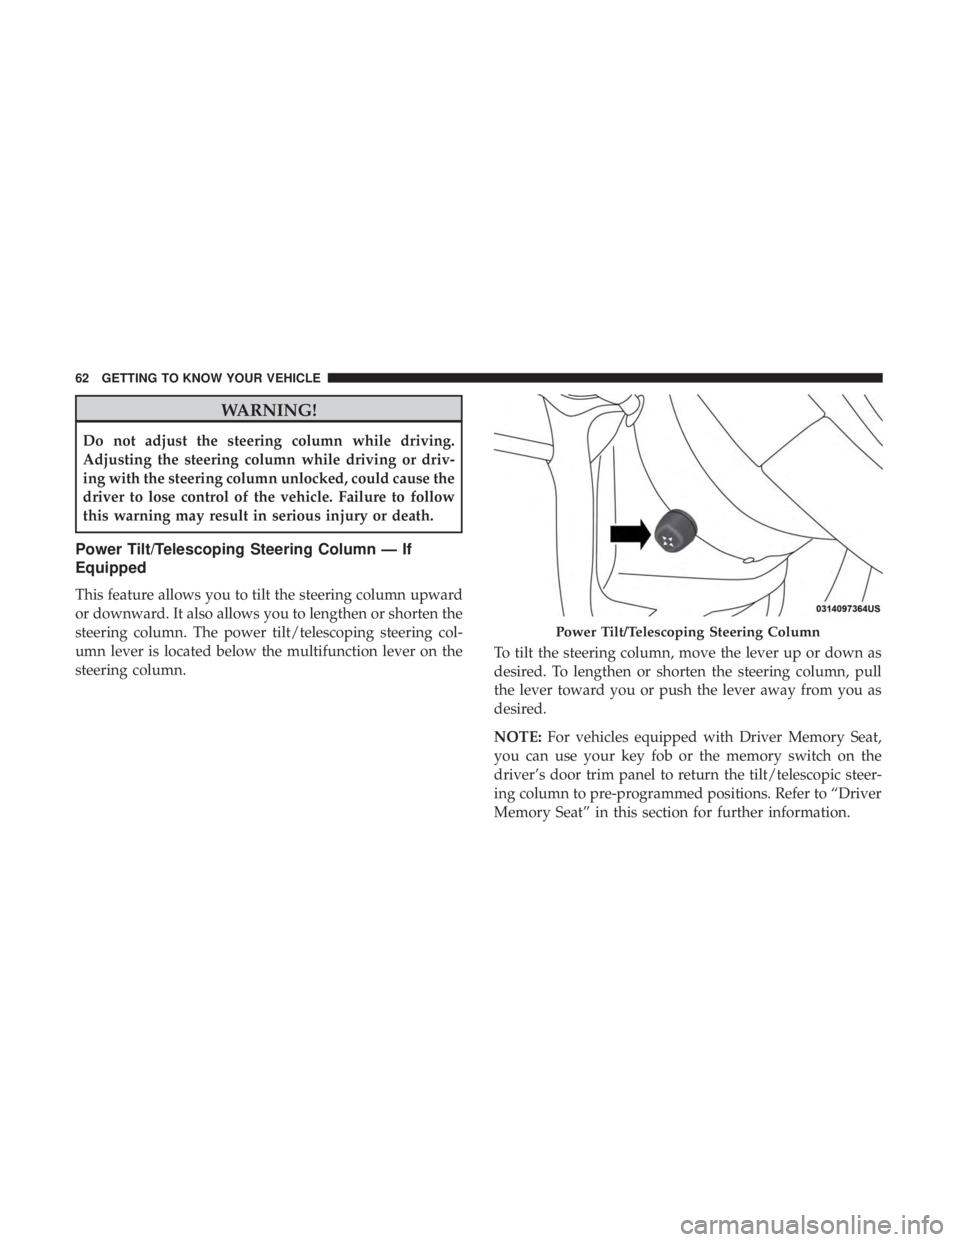
Power Tilt/Telescoping Steering Column — If
Equipped
This feature allows you to tilt the steering column upward
or downward. It also allows you to lengthen or shorten the
steering column. The power tilt/telescoping steering col-
umn lever is located below the multifunction lever on the
steering column.To tilt the steering column, move the lever up or down as
desired. To lengthen or shorten the steering column, pull
the lever toward you or push the lever away from you as
desired.
NOTE:
For vehicles equipped with Driver Memory Seat,
you can use your key fob or the memory switch on the
driver’s door trim panel to return the tilt/telescopic steer-
ing column to pre-programmed positions. Refer to “Driver
Memory Seat” in this section for further information.
Page 65 of 638
WARNING!
Do not adjust the steering column while driving.
Adjusting the steering column while driving or driv-
ing with the steering column unlocked, could cause the
driver to lose control of the vehicle. Failure to follow
this warning may result in serious injury or death.
Heated Steering Wheel — If Equipped
The steering wheel contains a heating element that helps
warm your hands in cold weather. The heated steering
wheel has only one temperature setting. Once the heated
steering wheel has been turned on, it will operate for an
average of 80 minutes or more before automatically shut-
ting off. This time may vary depending on the temperature
of the environment. The heated steering wheel can shut off
early or may not turn on when the steering wheel is
already warm.
The heated steering wheel control button is located within
the Uconnect system. You can gain access to the control
button through the climate screen or the controls screen.
•Press the heated steering wheel button
Page 66 of 638
Page 67 of 638
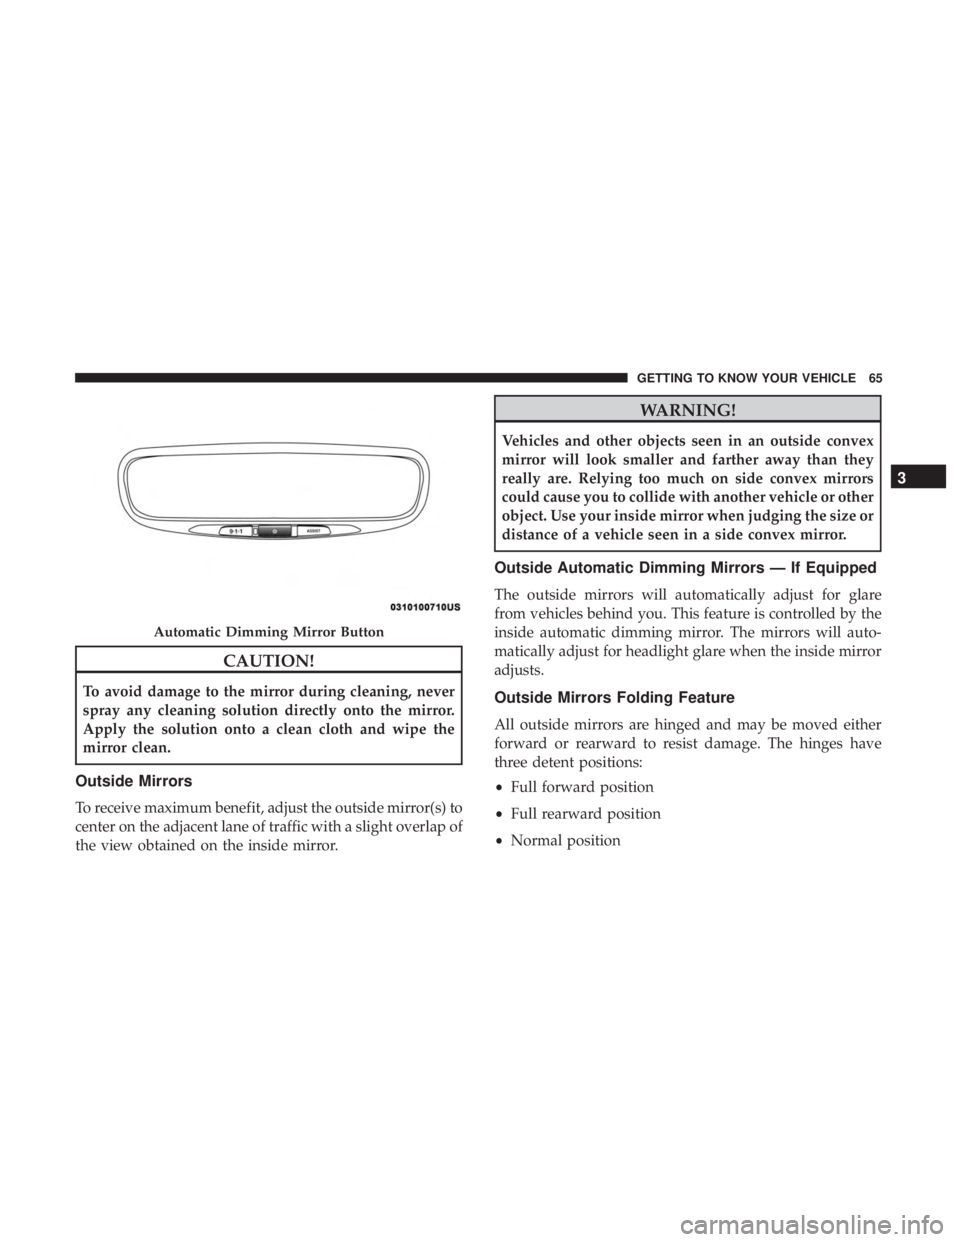
CAUTION!
To avoid damage to the mirror during cleaning, never
spray any cleaning solution directly onto the mirror.
Apply the solution onto a clean cloth and wipe the
mirror clean.
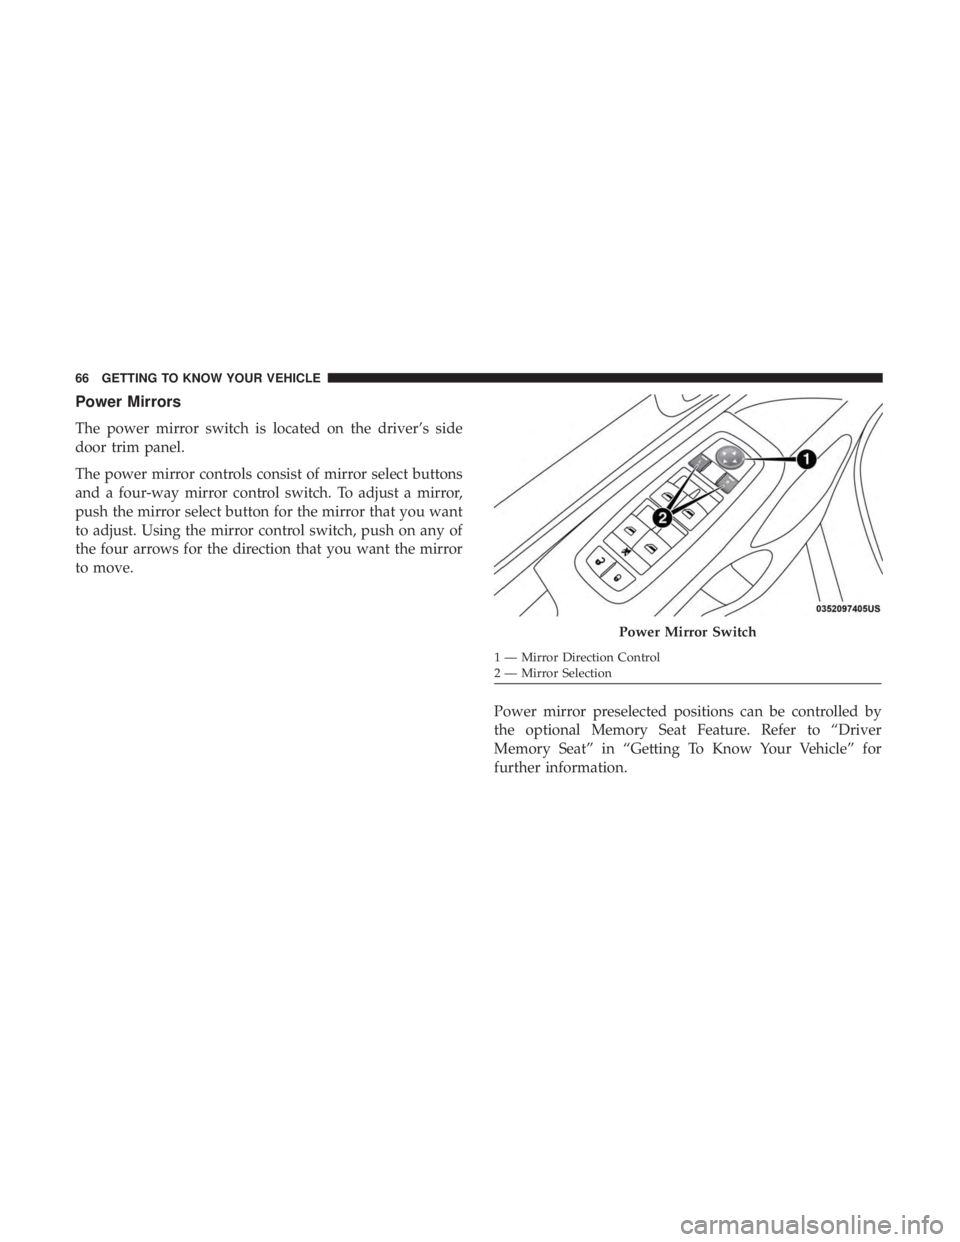
Outside Mirrors
To receive maximum benefit, adjust the outside mirror(s) to
center on the adjacent lane of traffic with a slight overlap of
the view obtained on the inside mirror.
Page 68 of 638
Page 69 of 638
3
GETTING TO KNOW YOUR VEHICLE 67
Page 70 of 638
Trending: park assist, seat adjustment, oil change, alarm, fuses, four wheel drive, wheel bolt torque

