JEEP LIBERTY 2004 KJ / 1.G Owners Manual
LIBERTY 2004 KJ / 1.G
JEEP
JEEP
https://www.carmanualsonline.info/img/16/7118/w960_7118-0.png
JEEP LIBERTY 2004 KJ / 1.G Owners Manual
Trending: remote start, emergency towing, turn signal, instrument cluster, oil pressure, coolant capacity, tire pressure
Page 91 of 374
WARNING!
²Adjusting a seat while the vehicle is moving is
dangerous. The sudden movement of the seat
could cause you to lose control. The seat belt
might not be properly adjusted and you could be
injured. Adjust any seat only while the vehicle is
parked.
²Do not ride with the seatback reclined so that the
seat belt is no longer resting against your chest. In
a collision you could slide under the seat belt and
be seriously or even fatally injured. Use the re-
cliner only when the vehicle is parked.
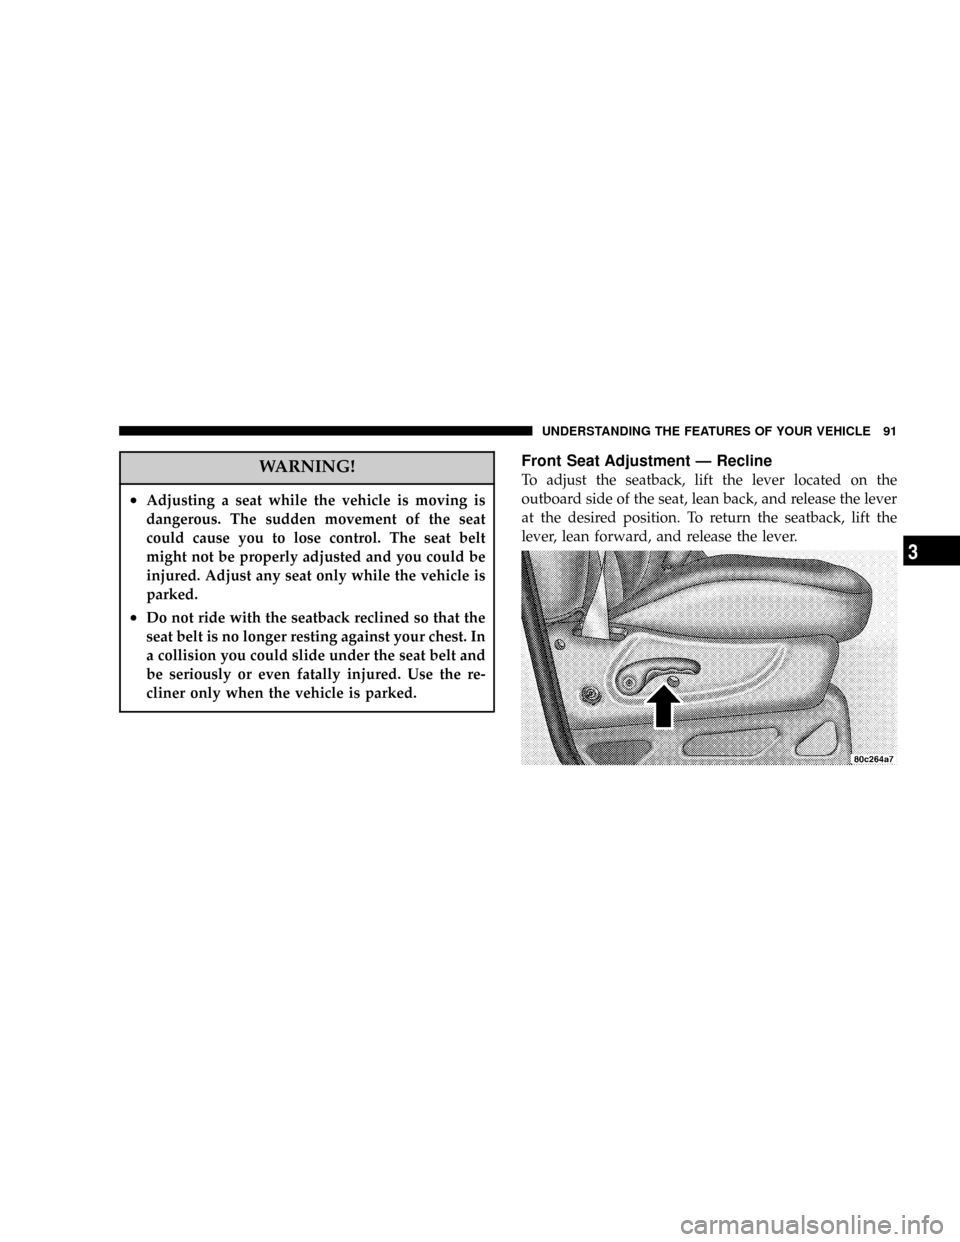
Front Seat Adjustment Ð Recline
To adjust the seatback, lift the lever located on the
outboard side of the seat, lean back, and release the lever
at the desired position. To return the seatback, lift the
lever, lean forward, and release the lever.
UNDERSTANDING THE FEATURES OF YOUR VEHICLE 91
3
Page 92 of 374
Head Restraints
Head restraints can reduce the risk of whiplash injury in
the event of impact from the rear. Adjustable head
restraints should be adjusted so that the upper edge is as
high as practical. The head restraints have a locking
button that must be pushed inward to lower the head
restraint. The restraints may be raised without pushing in
the button.
92 UNDERSTANDING THE FEATURES OF YOUR VEHICLE
Page 93 of 374
Power Seat Adjuster Ð If Equipped
WARNING!
Do not ride with the seatback reclined so that the
seat belt is no longer resting against your chest. In a
collision you could slide under the seat belt and be
seriously or even fatally injured. Use the recliner
only when the vehicle is parked.
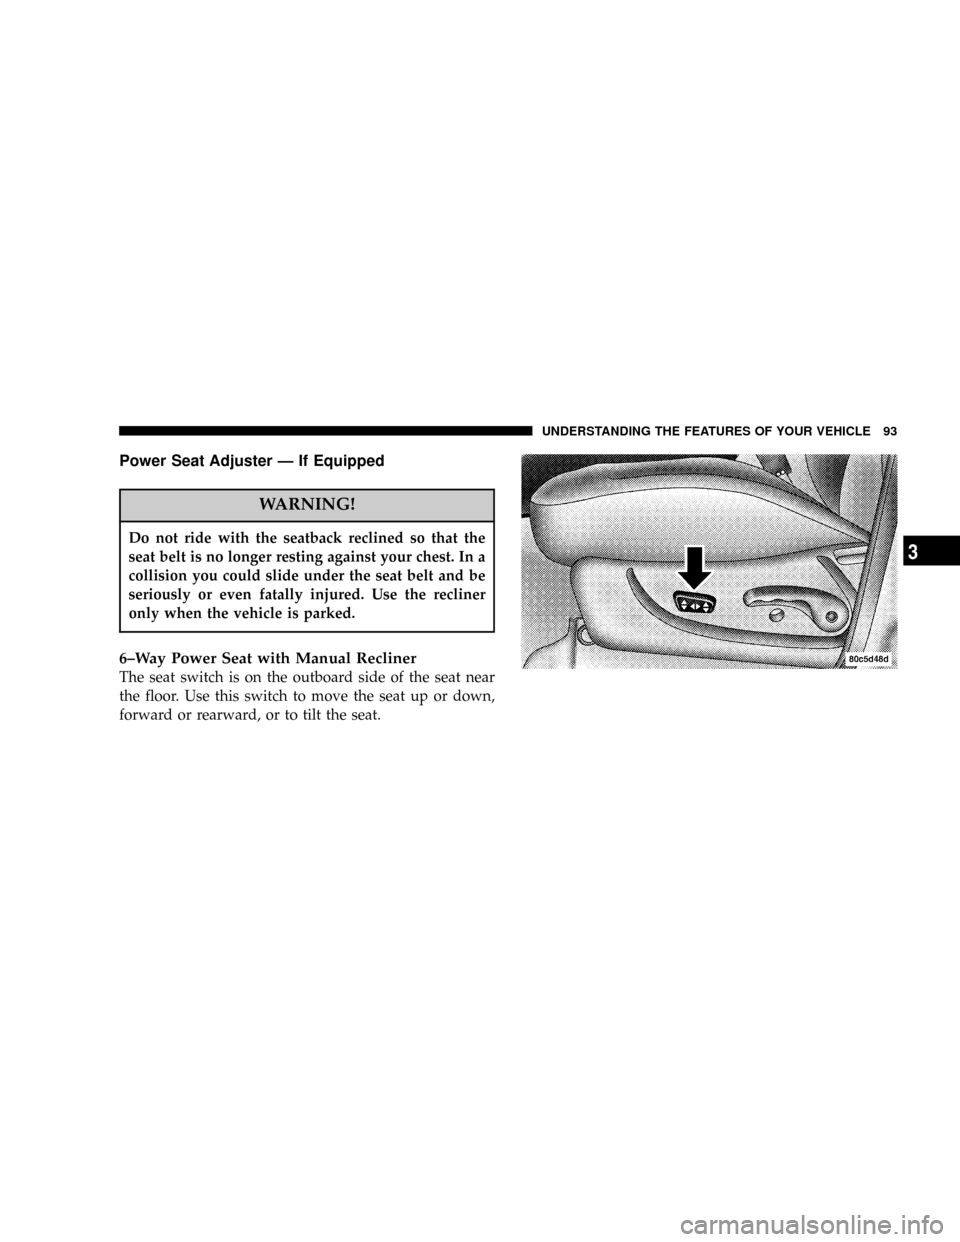
6±Way Power Seat with Manual Recliner
The seat switch is on the outboard side of the seat near
the floor. Use this switch to move the seat up or down,
forward or rearward, or to tilt the seat.
UNDERSTANDING THE FEATURES OF YOUR VEHICLE 93
3
Page 94 of 374
This seat also has a manual recline lever located just to
the rear of the power seat switch. Pull up on the lever to
recline the seat.65/35 Split Folding Rear Seat
To provide additional storage area, each rear seat can be
folded flat to allow for extended cargo space and still
maintain some rear seating room.
NOTE:Prior to folding the rear seat, it may be necessary
to reposition the front seat to it's mid-track position.
Also, be sure that the front seats are fully upright and
positioned forward. This will allow the rear seat to fold
down easily.
94 UNDERSTANDING THE FEATURES OF YOUR VEHICLE
Page 95 of 374
WARNING!
²It is extremely dangerous to ride in a cargo area,
inside or outside of a vehicle. In a collision,
people riding in these areas are more likely to be
seriously injured or killed.
²Do not allow people to ride in any area of your
vehicle that is not equipped with seats and seat
belts.
²Be sure everyone in your vehicle is in a seat and
using a seat belt properly.
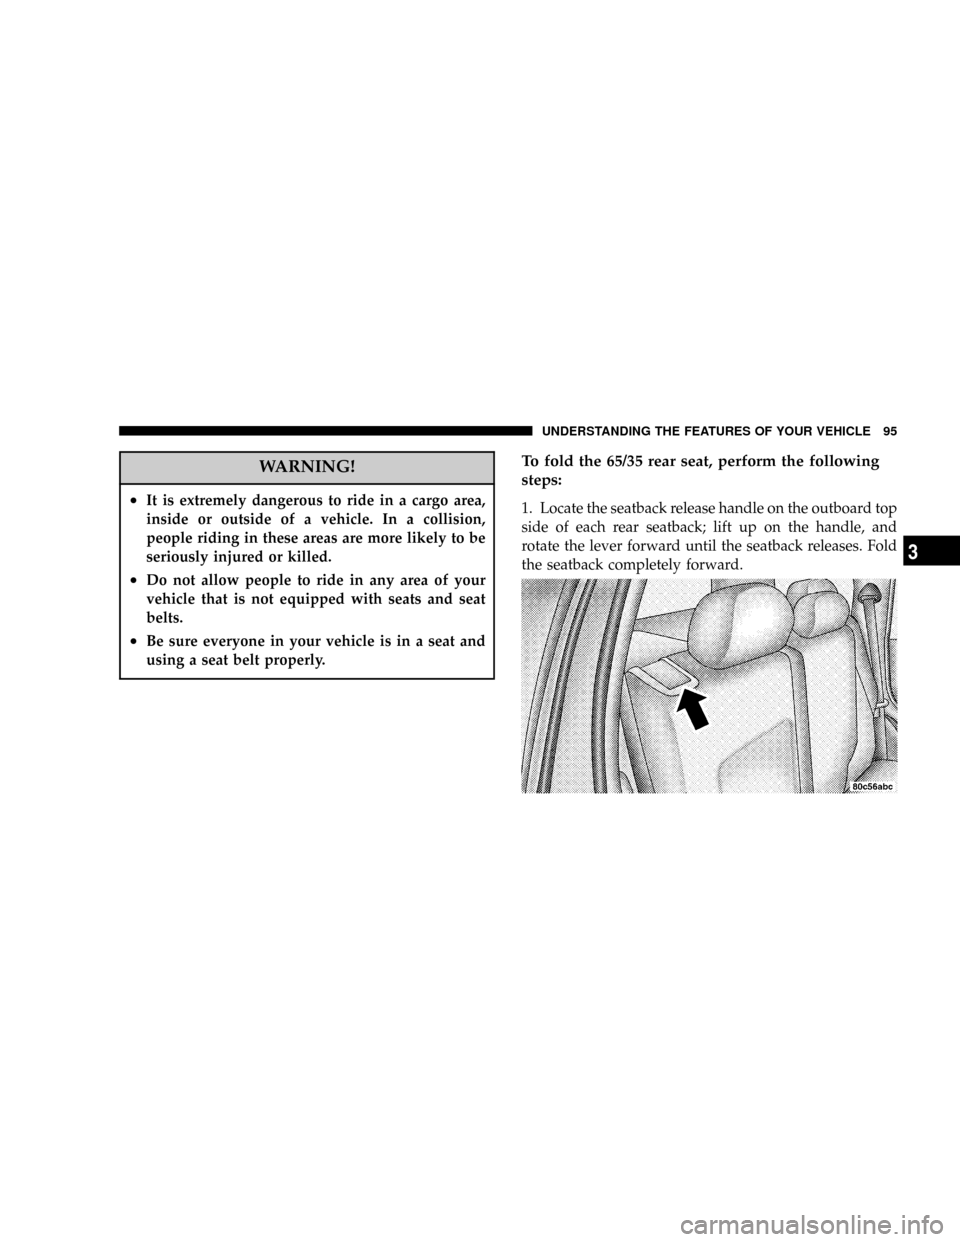
To fold the 65/35 rear seat, perform the following
steps:
1. Locate the seatback release handle on the outboard top
side of each rear seatback; lift up on the handle, and
rotate the lever forward until the seatback releases. Fold
the seatback completely forward.
UNDERSTANDING THE FEATURES OF YOUR VEHICLE 95
3
Page 96 of 374
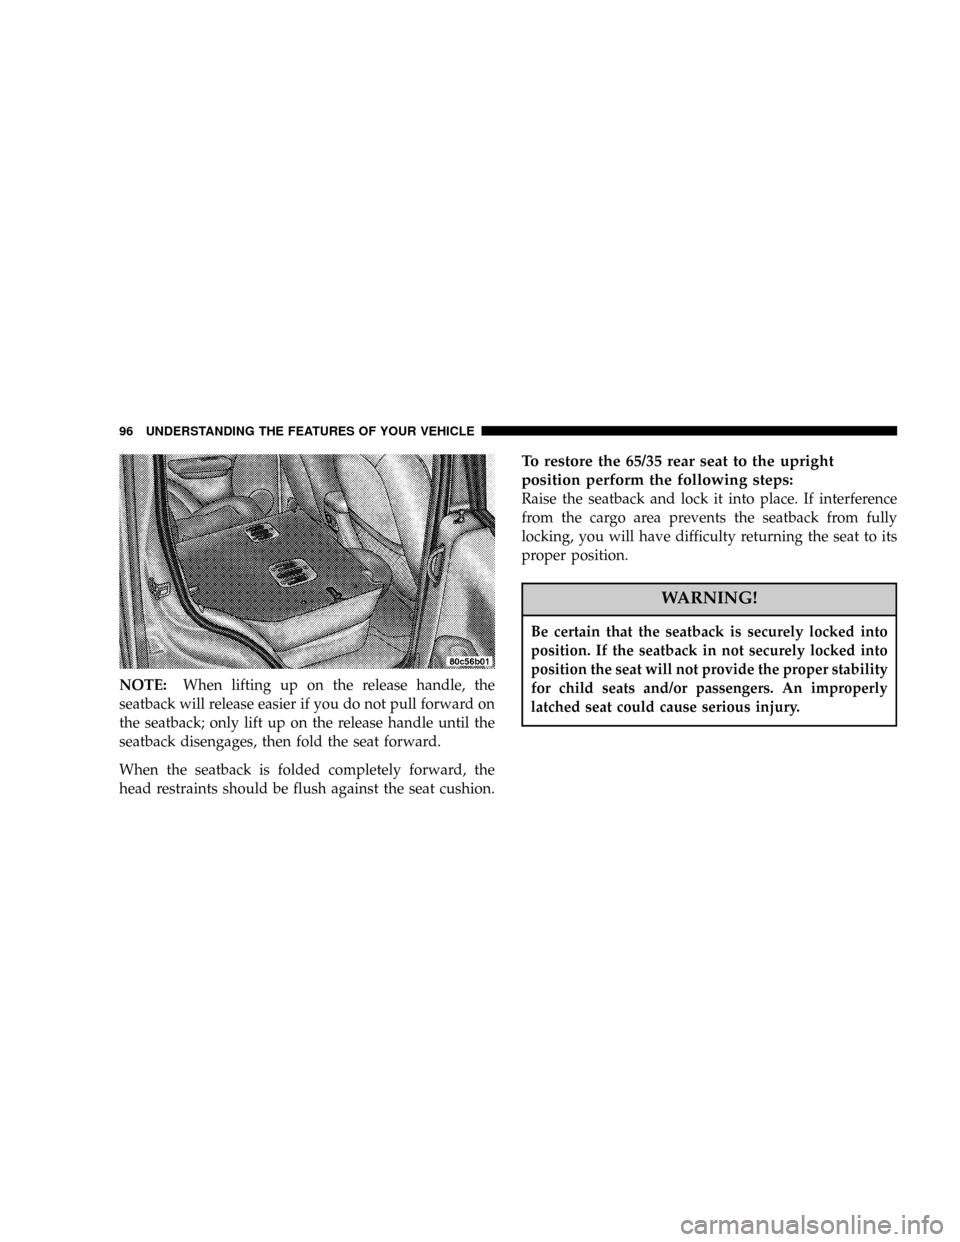
NOTE:When lifting up on the release handle, the
seatback will release easier if you do not pull forward on
the seatback; only lift up on the release handle until the
seatback disengages, then fold the seat forward.
When the seatback is folded completely forward, the
head restraints should be flush against the seat cushion.
To restore the 65/35 rear seat to the upright
position perform the following steps:
Raise the seatback and lock it into place. If interference
from the cargo area prevents the seatback from fully
locking, you will have difficulty returning the seat to its
proper position.
WARNING!
Be certain that the seatback is securely locked into
position. If the seatback in not securely locked into
position the seat will not provide the proper stability
for child seats and/or passengers. An improperly
latched seat could cause serious injury.
96 UNDERSTANDING THE FEATURES OF YOUR VEHICLE
Page 97 of 374
Heated Seats Ð If Equipped
The heated seat switch is located on the outboard side of
the front seats. Pressing this switch to its desired setting
(HI or LO) will activate the respective heating element for
the heated seat.
Once the heated seat switch is activated, depressing it a
second time will de-activate it.
TO OPEN AND CLOSE THE HOOD
To open the hood, two latches must be released. First pull
the hood release lever inside your vehicle located under
the left side of the instrument panel.
UNDERSTANDING THE FEATURES OF YOUR VEHICLE 97
3
Page 98 of 374
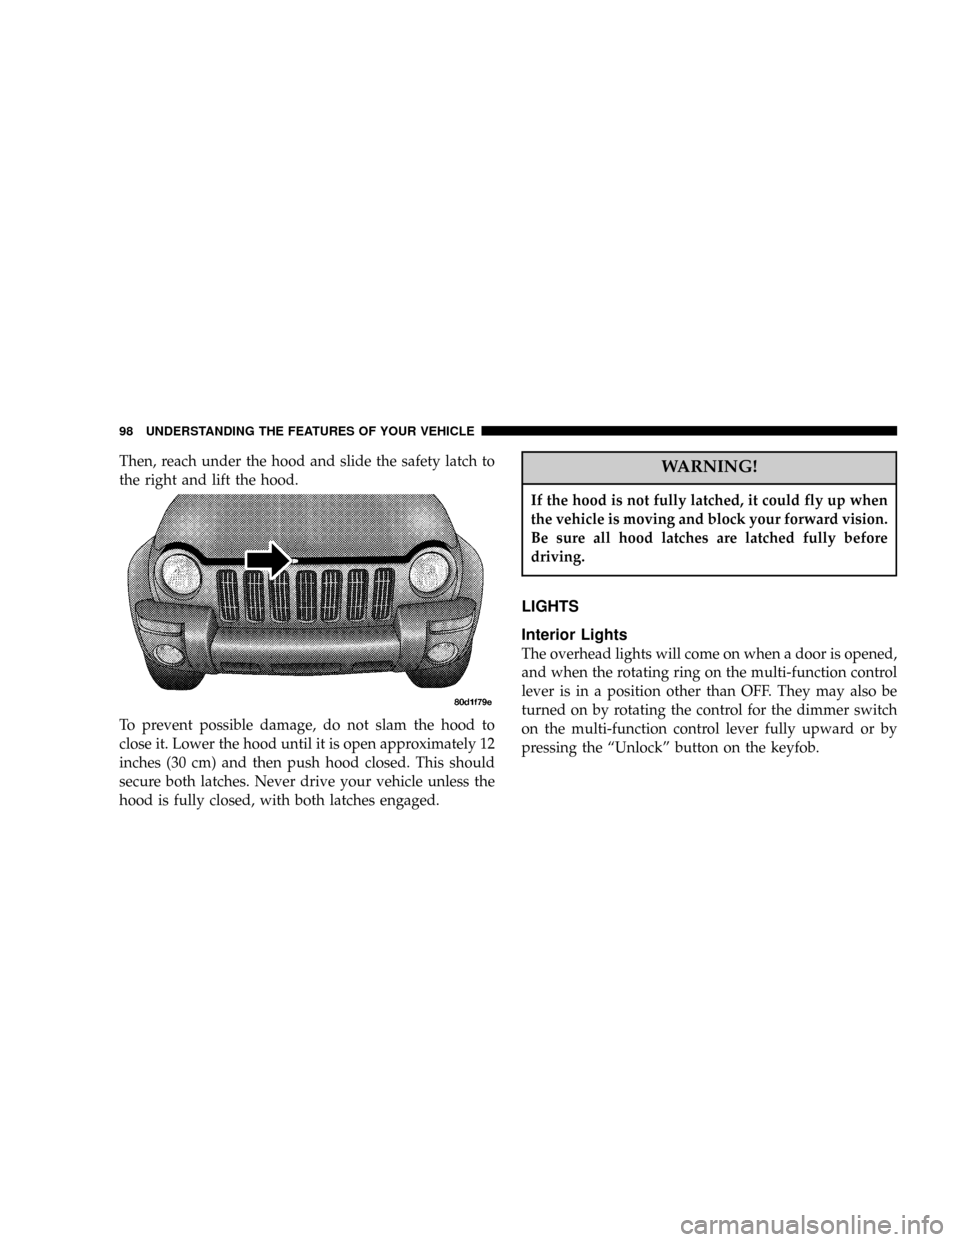
Then, reach under the hood and slide the safety latch to
the right and lift the hood.
To prevent possible damage, do not slam the hood to
close it. Lower the hood until it is open approximately 12
inches (30 cm) and then push hood closed. This should
secure both latches. Never drive your vehicle unless the
hood is fully closed, with both latches engaged.WARNING!
If the hood is not fully latched, it could fly up when
the vehicle is moving and block your forward vision.
Be sure all hood latches are latched fully before
driving.
LIGHTS
Interior Lights
The overhead lights will come on when a door is opened,
and when the rotating ring on the multi-function control
lever is in a position other than OFF. They may also be
turned on by rotating the control for the dimmer switch
on the multi-function control lever fully upward or by
pressing the ªUnlockº button on the keyfob.
98 UNDERSTANDING THE FEATURES OF YOUR VEHICLE
Page 99 of 374

The overhead lights will automatically turn off in about 8
minutes if a door is left open or the dimmer control is left
in the dome light position. Turn the ignition switch ON to
restore the overhead light operation.
Rear Cargo Light
The rear cargo light includes an independent ªOn/Offº
switch, which when ªoffº will not allow the illumination
of any interior lighting when the rear swing gate or
flipper glass is opened. All other methods of turning the
interior lighting on/off will function normally regardless
of the rear cargo light switch position.
Dimmer Control
With the park lights or headlights on, rotating the control
for the dimmer switch on the multi-function control lever
upward will increase the brightness of the instrument
panel lights. Rotating the control completely upward
turns on the dome light.
Daytime Brightness Feature
Certain components (odometer, radio, etc.) can be illumi-
nated at full brightness during the daytime. This can be
helpful when driving with your headlights on during the
daytime such as in a parade or a funeral procession. To
activate this feature, rotate the multi-function control
lever one detent lower than the dome light.
UNDERSTANDING THE FEATURES OF YOUR VEHICLE 99
3
Page 100 of 374
Front Map/Reading Lights
These lights are mounted in the overhead console. Each
light can be turned on by pressing the recessed area of the
lens. To turn these lights off, press the recessed area of the
lens a second time.
Multi-Function Control Lever
The multi-function control lever controls the operation of
the park lights, headlights, headlight beam selection,
passing light, fog lights, instrument panel light dimming,
and turn signals.
100 UNDERSTANDING THE FEATURES OF YOUR VEHICLE
Trending: radiator, low oil pressure, trip computer, Sunroof, charging, headlamp, diagram
