lock JEEP LIBERTY 2009 Owners Manual
[x] Cancel search | Manufacturer: JEEP, Model Year: 2009, Model line: LIBERTY, Model: JEEP LIBERTY 2009Pages: 506, PDF Size: 10.32 MB
Page 26 of 506
NOTE:Pressing the LOCK button on the RKE transmit-
ter while you are inside the vehicle will activate the
Security Alarm. Opening a door with the Security Alarm
activated will cause the alarm to sound. Press the UN-
LOCK button to deactivate the Security Alarm.
To Unlatch the Liftgate Flip-Up Window
Press the REAR RELEASE button twice to unlatch the
liftgate flip-up window.
Page 32 of 506
WARNING! (Continued)
•Never leave children alone in a vehicle. Leaving
unattended children in a vehicle is dangerous for a
number of reasons. A child or others could be
seriously or fatally injured. Don’t leave the key in
the ignition. A child could operate power win-
dows, other controls, or move the vehicle.
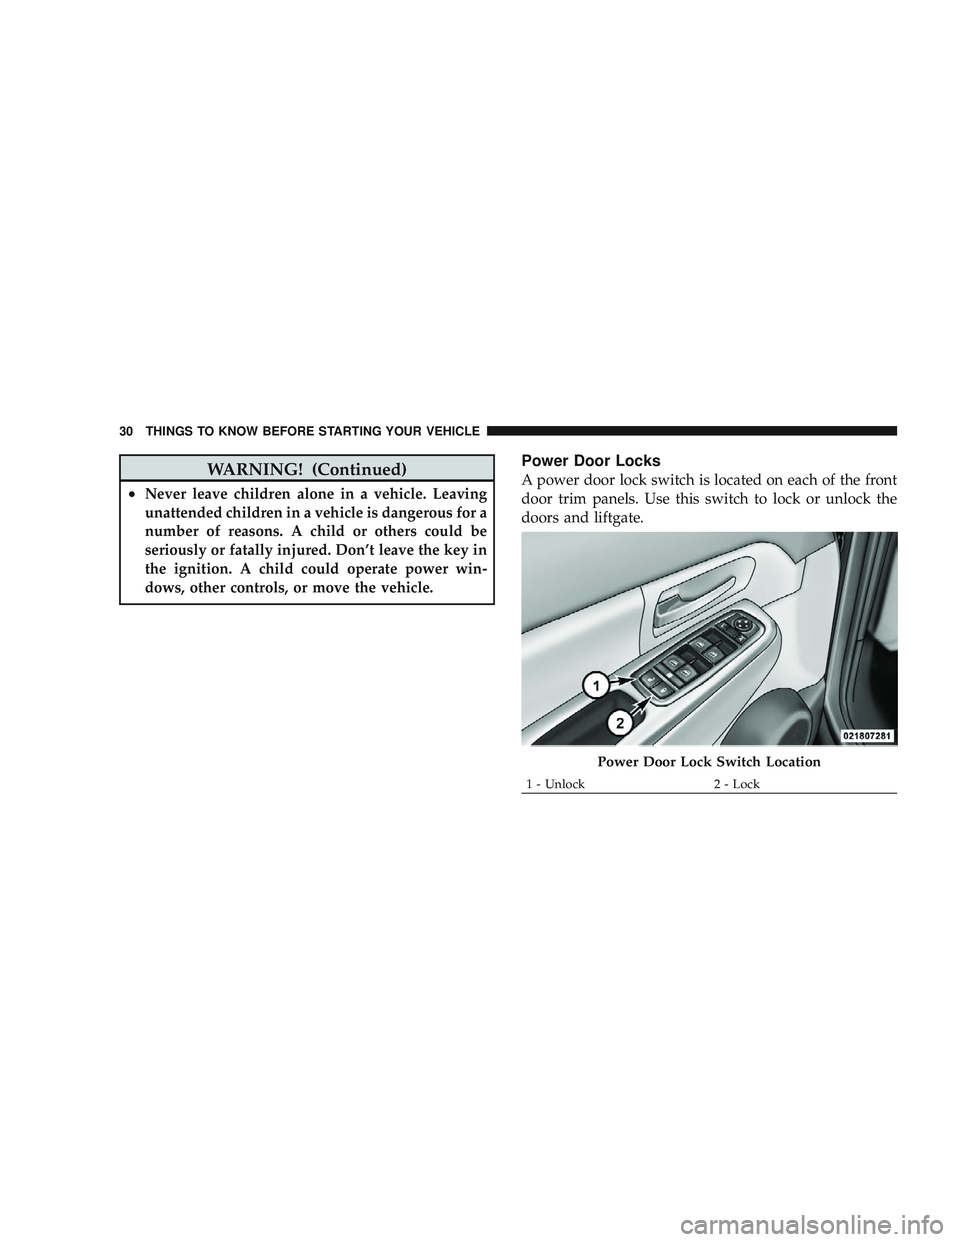
Power Door Locks
A power door lock switch is located on each of the front
door trim panels. Use this switch to lock or unlock the
doors and liftgate.
Page 36 of 506
WARNING!
Avoid trapping anyone in a vehicle in a collision.
Remember that the rear doors can only be opened
from the outside when the child protection locks are
engaged.
NOTE:
•After engaging the Child Protection Door Lock sys-
tem, always test the door from the inside to make
certain it is in the desired position.
•For emergency exit with the system engaged, move
the lock plunger up (unlocked position), roll down the
window, and open the door with the outside door
handle.
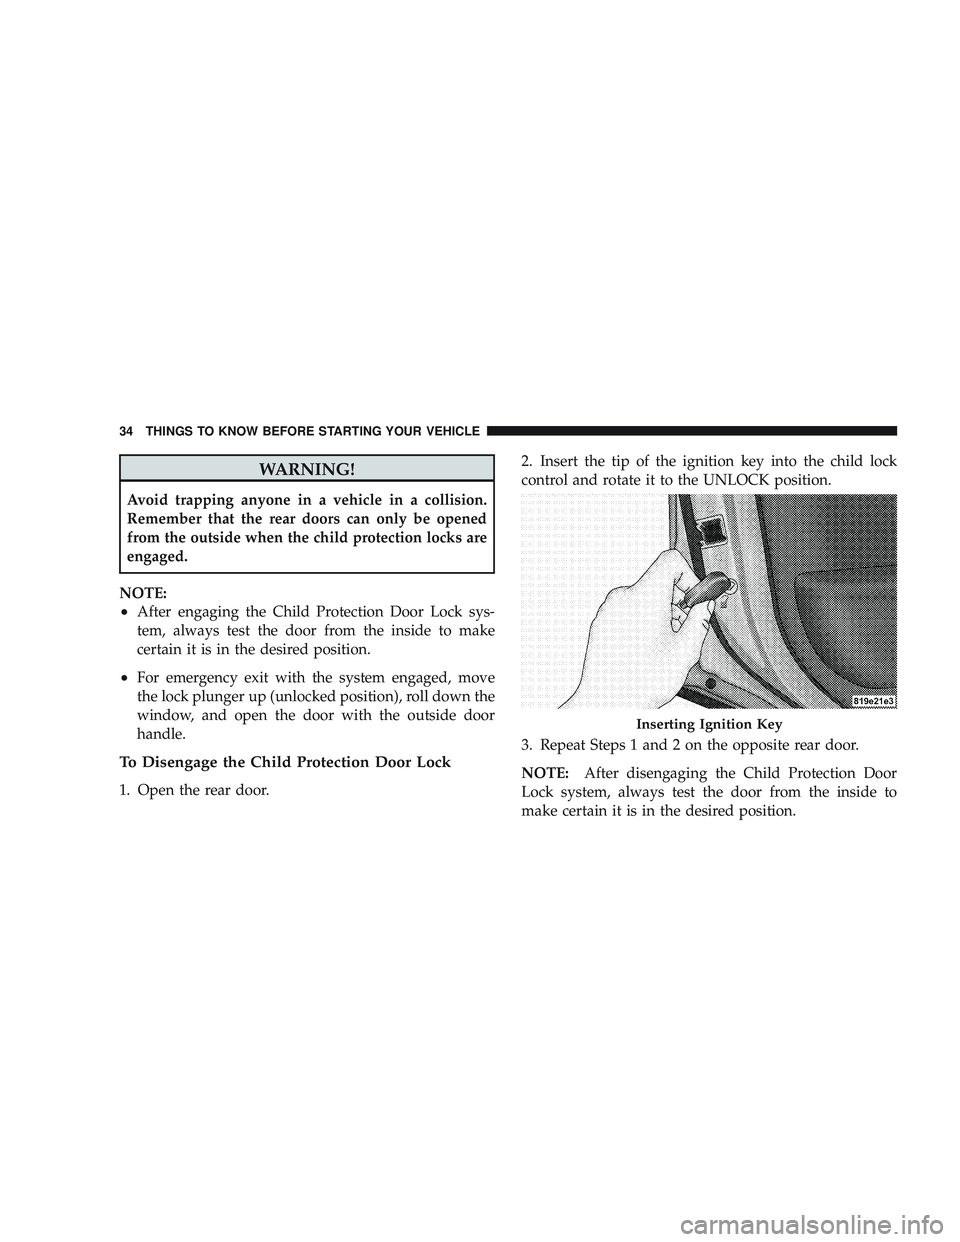
To Disengage the Child Protection Door Lock
1. Open the rear door. 2. Insert the tip of the ignition key into the child lock
control and rotate it to the UNLOCK position.
3. Repeat Steps 1 and 2 on the opposite rear door.
NOTE:
After disengaging the Child Protection Door
Lock system, always test the door from the inside to
make certain it is in the desired position.
Page 42 of 506
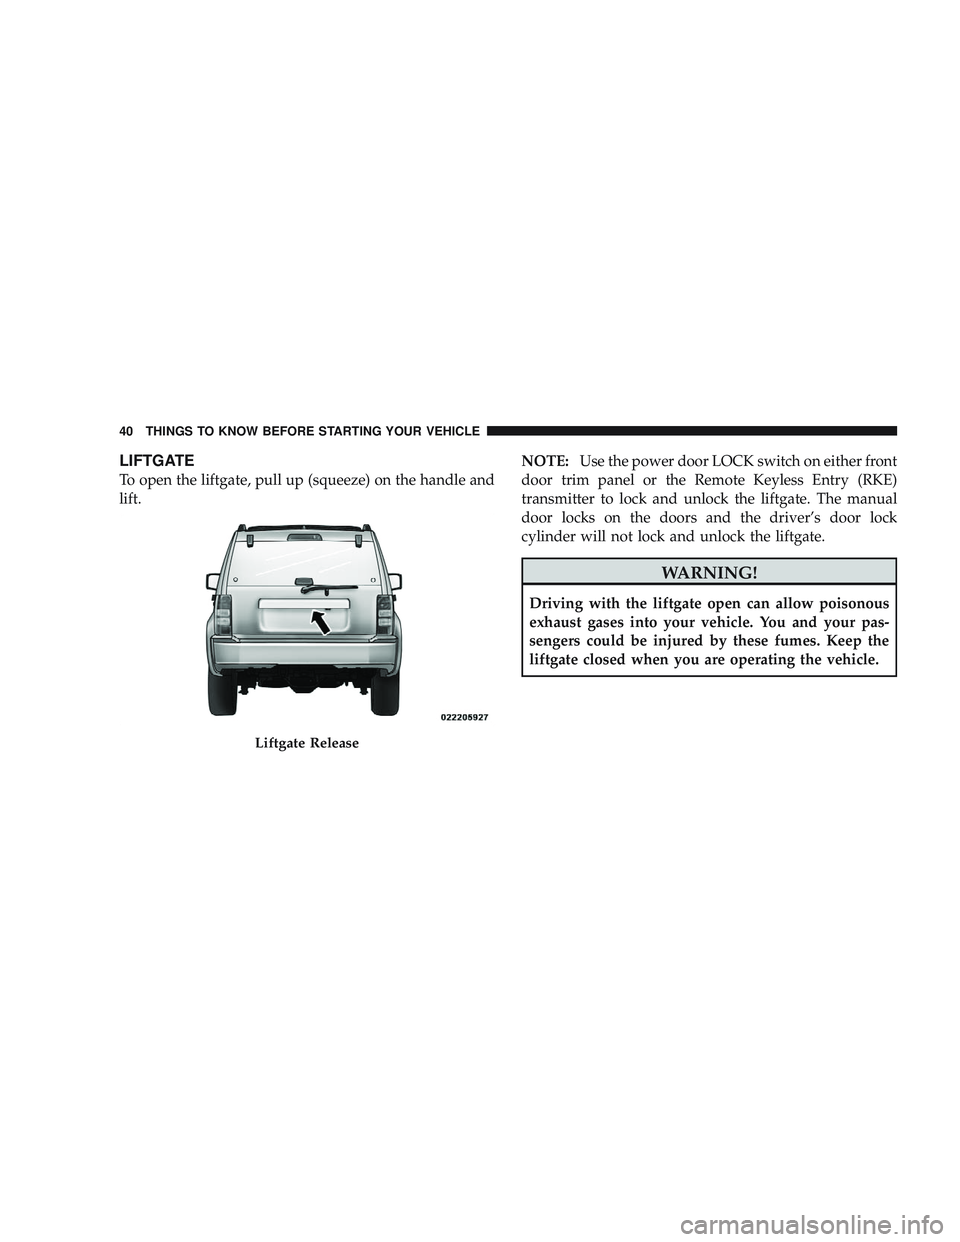
LIFTGATE
To open the liftgate, pull up (squeeze) on the handle and
lift.NOTE:
Use the power door LOCK switch on either front
door trim panel or the Remote Keyless Entry (RKE)
transmitter to lock and unlock the liftgate. The manual
door locks on the doors and the driver’s door lock
cylinder will not lock and unlock the liftgate.
Page 54 of 506
WARNING!
•The belt and retractor assembly must be replaced
if the seat belt assembly “automatic locking retrac-
tor” feature or any other seat belt function is not
working properly when checked according to the
procedures in the Service Manual.
•Failure to replace the belt and retractor assembly
could increase the risk of injury in collisions.
Seat Belts and Pregnant Women
We recommend that pregnant women use the seat belts
throughout their pregnancy. Keeping the mother safe is
the best way to keep the baby safe.
Pregnant women should wear the lap part of the belt
across the thighs and as snug across the hips as possible.
Keep the belt low so that it does not come across the
abdomen. That way the strong bones of the hips will take
the force if there is a collision.
Seat Belt Extender
If a seat belt is too short, even when fully extended, and
when the adjustable upper shoulder belt anchorage (if so
equipped) is in its lowest position, your authorized
dealer can provide you with a seat belt extender. This
extender should be used only if the existing belt is not
long enough. When it is not required, remove the ex-
tender, and store it.
Page 80 of 506
WARNING!
Improper installation of a child restraint to the
LATCH anchorages can lead to failure of an infant or
child restraint. The child could be badly injured or
killed. Follow the manufacturer’s directions exactly
when installing an infant or child restraint.
Installing Child Restraints Using the Vehicle Seat
Belt
The passenger seat belts are equipped with either cinch-
ing latch plates or automatic locking retractors, which are
designed to keep the lap portion tight around the child
restraint so that it is not necessary to use a locking clip. If
the seat belt has a cinching latch plate, pulling up on the
shoulder portion of the lap/shoulder belt will tighten the
belt. However, any seat belt system may loosen with
time, so check the belt occasionally, and pull it tight if
necessary.If the seat belt has an automatic locking retractor, pull the
belt from the retractor until there is enough slack to allow
you to pass the belt through the child restraint and slide
the latch plate into the buckle. Then, pull the belt until it
is all extracted from the retractor. Allow the belt to return
to the retractor, pulling on the excess webbing to tighten
the lap portion around the child restraint. Refer to
“Automatic Locking Mode” earlier in this section.
In the rear seat, you may have trouble tightening the
lap/shoulder belt on the child restraint because the
buckle or latch plate is too close to the belt path opening
on the restraint. Disconnect the latch plate from the
buckle and twist the short buckle-end belt several times
to shorten it. Insert the latch plate into the buckle with the
RELEASE button facing out.
If the belt still can’t be tightened, or if pulling and
pushing on the restraint loosens the belt, you may need
to do something more. Disconnect the latch plate from
78 THINGS TO KNOW BEFORE STARTING YOUR VEHICLE
Page 136 of 506
WARNING! (Continued)
•Do not allow people to ride in any area of your
vehicle that is not equipped with seats and seat
belts.
•Be sure everyone in your vehicle is in a seat and
using a seat belt properly.
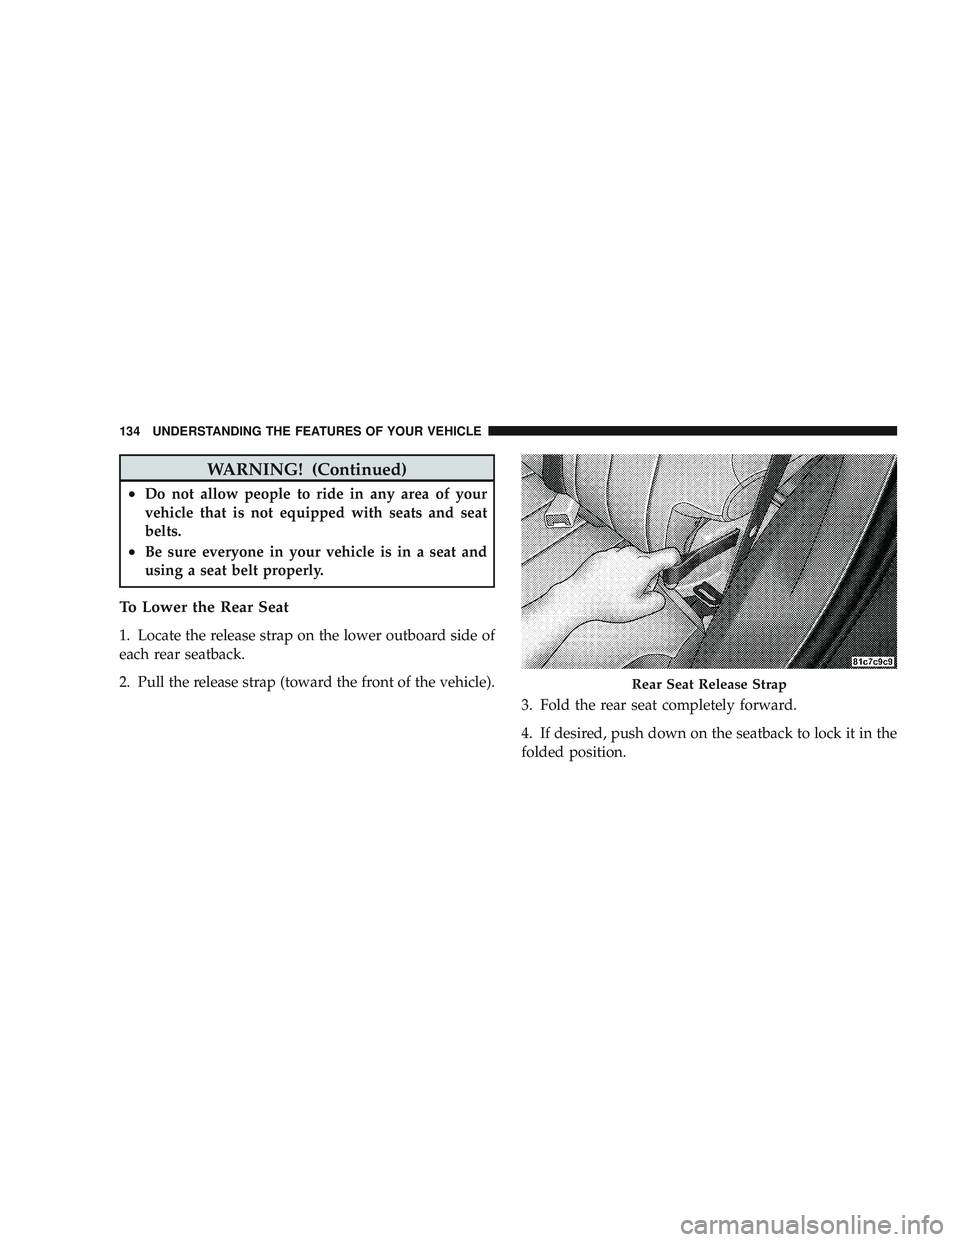
To Lower the Rear Seat
1. Locate the release strap on the lower outboard side of
each rear seatback.
2. Pull the release strap (toward the front of the vehicle).3. Fold the rear seat completely forward.
4. If desired, push down on the seatback to lock it in the
folded position.
Page 318 of 506
Hill Climbing
NOTE:Before attempting to climb a hill, determine the
conditions at the crest and/or on the other side.
Before climbing a steep hill, shift the transmission to a
lower gear and shift the transfer case to 4WD LOW. Use
first gear and 4WD LOW for very steep hills.
If you stall or begin to lose headway while climbing a
steep hill, allow your vehicle to come to a stop and
immediately apply the brakes. Restart the engine and
shift to REVERSE. Back slowly down the hill allowing the
compression braking of the engine to help regulate your
speed. If the brakes are required to control vehicle speed,
apply them lightly and avoid locking or skidding the
tires.
Page 400 of 506
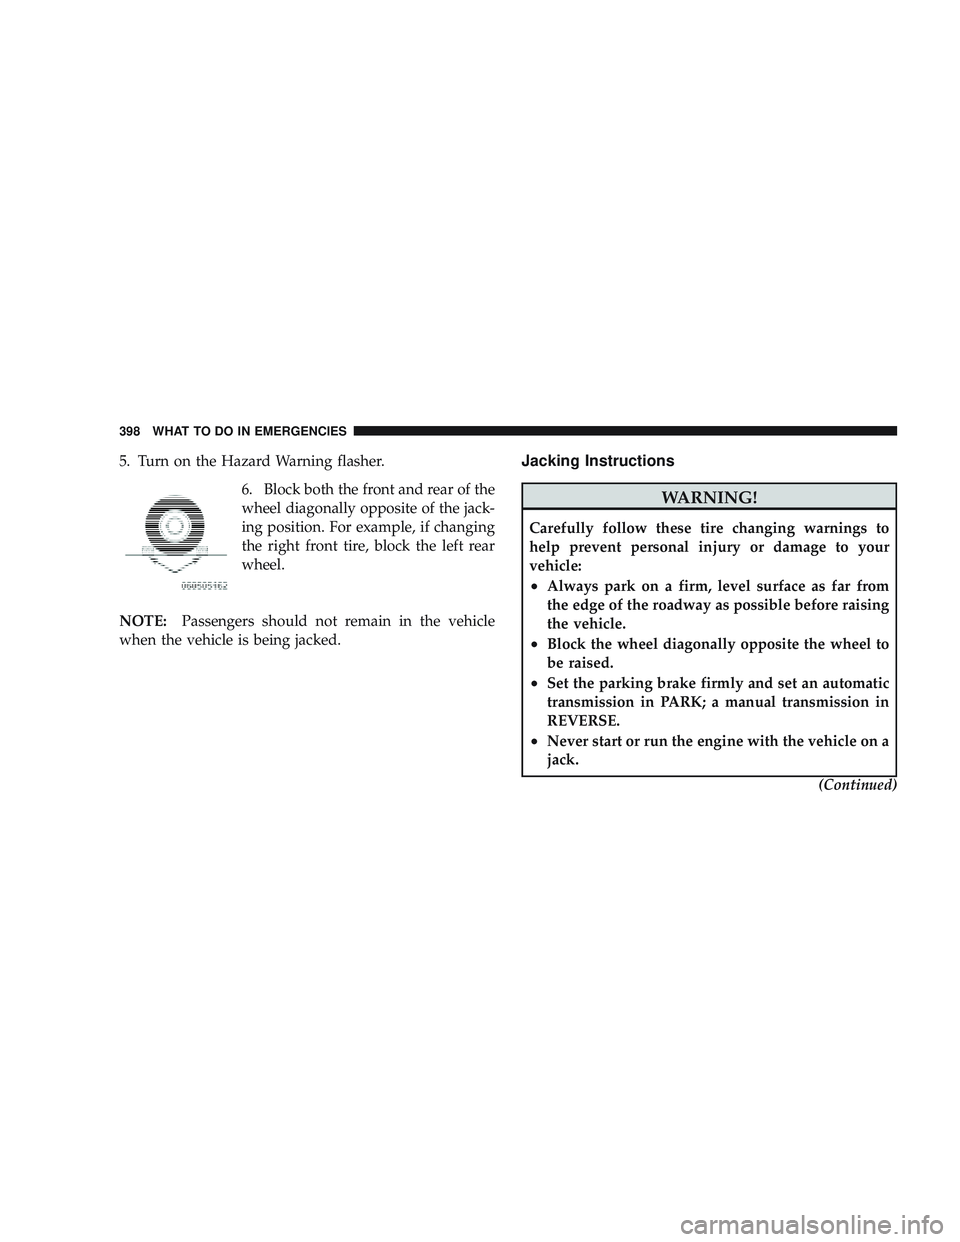
5. Turn on the Hazard Warning flasher.6. Block both the front and rear of the
wheel diagonally opposite of the jack-
ing position. For example, if changing
the right front tire, block the left rear
wheel.
NOTE: Passengers should not remain in the vehicle
when the vehicle is being jacked.Jacking Instructions