oil pressure JEEP LIBERTY 2011 KK / 2.G Owners Manual
[x] Cancel search | Manufacturer: JEEP, Model Year: 2011, Model line: LIBERTY, Model: JEEP LIBERTY 2011 KK / 2.GPages: 542
Page 93 of 542
WARNING! (Continued)
•Always make sure that objects cannot fall into the
driver footwell while the vehicle is moving. Ob-
jects can become trapped under the brake pedal
and accelerator pedal causing a loss of vehicle
control.
•If required, mounting posts must be properly
installed, if not equipped from the factory.
Failure to properly follow floor mat installation or
mounting can cause interference with the brake
pedal and accelerator pedal operation causing loss
of control of the vehicle.
Periodic Safety Checks You Should Make Outside
The Vehicle
Tires
Examine tires for excessive tread wear and uneven wear
patterns. Check for stones, nails, glass, or other objectslodged in the tread or sidewall. Inspect the tread for cuts
and cracks. Inspect sidewalls for cuts, cracks and bulges.
Check the wheel nuts for tightness. Check the tires
(including spare) for proper cold inflation pressure.
Lights
Have someone observe the operation of exterior lights
while you work the controls. Check turn signal and high
beam indicator lights on the instrument panel.
Door Latches
Check for positive closing, latching, and locking.
Fluid Leaks
Check area under vehicle after overnight parking for fuel,
engine coolant, oil, or other fluid leaks. Also, if gasoline
fumes are detected or if fuel, power steering fluid, or
brake fluid leaks are suspected, the cause should be
located and corrected immediately.
2
THINGS TO KNOW BEFORE STARTING YOUR VEHICLE 91
Page 227 of 542
the charging system light remains on, it means that the
vehicle is experiencing a problem with the charging
system. Obtain SERVICE IMMEDIATELY. See an autho-
rized dealer.
If jump starting is required, refer to “Jump Starting
Procedures” in “What To Do In Emergencies”.
13. Oil Pressure Warning LightThis light indicates low engine oil pressure. The
light should turn on momentarily when the engine
is started. If the light turns on while driving, stop the
vehicle and shut off the engine as soon as possible. A
chime will sound for four minutes when this light turns
on.
Do not operate the vehicle until the cause is corrected.
This light does not indicate how much oil is in the engine.
The engine oil level must be checked under the hood. 14. Anti-Lock Brake (ABS) Light
This light monitors the Anti-Lock Brake System
(ABS). The light will turn on when the ignition
switch is turned to the ON/RUN position and
may stay on for as long as four seconds.
If the ABS light remains on or turns on while driving, it
indicates that the Anti-Lock portion of the brake system
is not functioning and that service is required. However,
the conventional brake system will continue to operate
normally if the BRAKE warning light is not on.
If the ABS light is on, the brake system should be serviced
as soon as possible to restore the benefits of Anti-Lock
brakes. If the ABS light does not turn on when the
ignition switch is turned to the ON/RUN position, have
the light inspected by an authorized dealer.
15. Tachometer
This gauge measures engine revolutions-per-minute
(RPM x 1000). When the engine RPM are kept within the
4
UNDERSTANDING YOUR INSTRUMENT PANEL 225
Page 230 of 542
CAUTION!
Driving with a hot engine cooling system could
damage your vehicle. If the temperature gauge reads
“H” pull over and stop the vehicle. Idle the vehicle
with the air conditioner turned off until the pointer
drops back into the normal range. If the pointer
remains on the “H” and you hear continuous chimes,
turn the engine off immediately and call an autho-
rized dealership for service.
WARNING!
A hot engine cooling system is dangerous. You or
others could be badly burned by steam or boiling
coolant. You may want to call an authorized dealer-
ship for service if your vehicle overheats. If you
decide to look under the hood yourself, see “Main-
taining Your Vehicle”. Follow the warnings under the
Cooling System Pressure Cap paragraph.
24. Transmission Temperature Warning Light — If
Equipped This light indicates that the transmission fluid
temperature is running hot. This may occur
with severe usage, such as trailer towing. If this
light turns on, safely pull over and stop the
vehicle. Then, shift the transmission into NEUTRAL and
run the engine at idle or faster until the light turns off.
228 UNDERSTANDING YOUR INSTRUMENT PANEL
Page 241 of 542
•Right Rear Low Pressure (with a single chime). Refer
to “Tire Pressure Monitoring System” in “Starting And
Operating”.
•Check TPM System (with a single chime). Refer to
“Tire Pressure Monitoring System” in “Starting And
Operating”.
•Check Gascap (refer to “Adding Fuel” in “Starting
And Operating” for more details)
•Service Park Assist System (with a single chime)
•Oil Change Required (with a single chime)
•ECO (Fuel Saver Indicator) — if equipped
Oil Change Required
Your vehicle is equipped with an engine oil change
indicator system. The “Oil Change Required” message
will flash in the EVIC display for approximately 10 sec-
onds after a single chime has sounded to indicate the nextscheduled oil change interval. The engine oil change
indicator system is duty cycle based, which means the
engine oil change interval may fluctuate dependent upon
your personal driving style.
Unless reset, this message will continue to display each
time you turn the ignition switch to the ON position. To
turn off the message temporarily, press and release the
FUNCTION SELECT button. To reset the oil change
indicator system (after performing the scheduled main-
tenance), perform the following procedure:
1. Turn the ignition switch to the ON position.
Do not
start the engine.
2. Fully depress the accelerator pedal slowly three times
within 10 seconds.
3. Turn the ignition switch to the LOCK position.
4
UNDERSTANDING YOUR INSTRUMENT PANEL 239
Page 376 of 542
WARNING!
Tires and the spare tire should be replaced after six
years, regardless of the remaining tread. Failure to
follow this warning can result in sudden tire failure.
You could lose control and have a collision resulting
in serious injury or death.
Keep dismounted tires in a cool, dry place with as little
exposure to light as possible. Protect tires from contact
with oil, grease, and gasoline.
Replacement Tires
The tires on your new vehicle provide a balance of many
characteristics. They should be inspected regularly for
wear and correct cold tire inflation pressure. The manu-
facturer strongly recommends that you use tires equiva-
lent to the originals in size, quality and performance
when replacement is needed. (Refer to the paragraph on
“Tread Wear Indicators”). Refer to the “Tire and Loading Information” placard for the size designation of your tire.
The Load Index and Speed Symbol for your tire will be
found on the original equipment tire sidewall. See the
Tire Sizing Chart example found in the Tire Safety
Information section of this manual for more information
relating to the Load Index and Speed Symbol of a tire.
It is recommended to replace the two front tires or two
rear tires as a pair. Replacing just one tire can seriously
affect your vehicle’s handling. If you ever replace a
wheel, make sure that the wheel’s specifications match
those of the original wheels.
It is recommended you contact your original equipment
or an authorized tire dealer with any questions you may
have on tire specifications or capability. Failure to use
equivalent replacement tires may adversely affect the
safety, handling, and ride of your vehicle.
374 STARTING AND OPERATING
Page 445 of 542
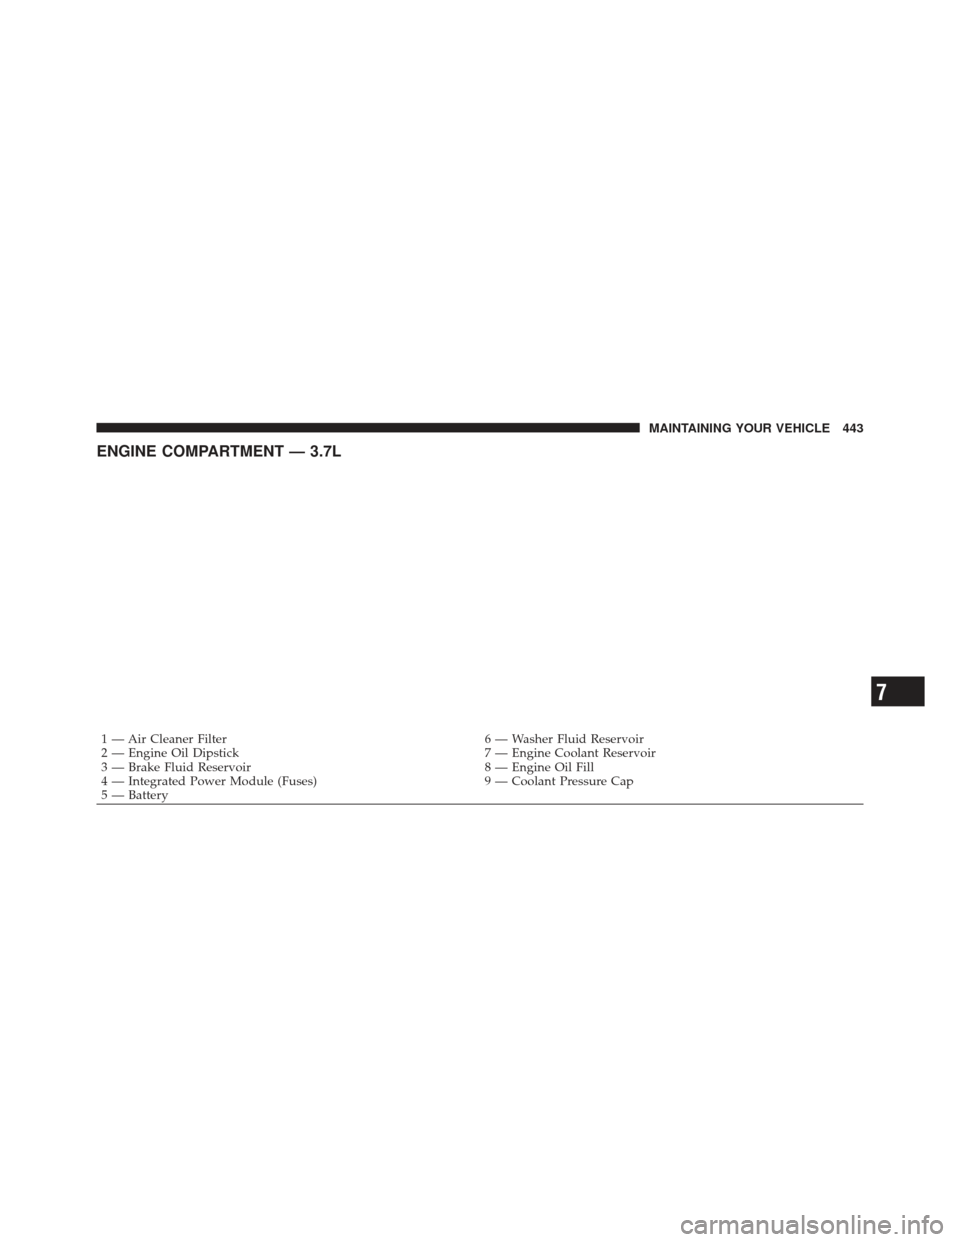
ENGINE COMPARTMENT — 3.7L
1 — Air Cleaner Filter6 — Washer Fluid Reservoir
2 — Engine Oil Dipstick 7 — Engine Coolant Reservoir
3 — Brake Fluid Reservoir 8 — Engine Oil Fill
4 — Integrated Power Module (Fuses) 9 — Coolant Pressure Cap
5 — Battery
7
MAINTAINING YOUR VEHICLE 443
Page 450 of 542
CAUTION! (Continued)
•Your vehicle has been built with improved fluids
that protect the performance and durability of
your vehicle and also allow extended maintenance
intervals. Do not use chemical flushes in these
components as the chemicals can damage your
engine, transmission, power steering or air condi-
tioning. Such damage is not covered by the New
Vehicle Limited Warranty. If a flush is needed
because of component malfunction, use only the
specified fluid for the flushing procedure.
Engine Oil
Checking Oil Level
To assure proper engine lubrication, the engine oil must
be maintained at the correct level. Check the oil level at
regular intervals, such as every fuel stop. The best time to
check the engine oil level is about five minutes after a
fully warmed up engine is shut off.Checking the oil while the vehicle is on level ground will
improve the accuracy of the oil level readings. Always
maintain the oil level within the SAFE zone on the
dipstick. Adding 1 quart (0.9 L) of oil when the reading is
at the bottom of the SAFE zone will result in a reading at
the top of the safe zone on these engines.
CAUTION!
Overfilling or underfilling the crankcase will cause
aeration or loss of oil pressure. This could damage
your engine.
Change Engine Oil
The oil change indicator system will remind you that it is
time to take your vehicle in for scheduled maintenance.
Refer to the “Maintenance Schedule” for further informa-
tion.
448 MAINTAINING YOUR VEHICLE
Page 496 of 542
Once A Month
•Check tire pressure and look for unusual wear or
damage.
•Inspect the battery and clean and tighten the terminals
as required.
•Check the fluid levels of the coolant reservoir and the
brake master cylinder, add as needed.
•Check all lights and other electrical items for correct
operation.
At Each Oil Change
•Change the engine oil filter.
•Inspect the brake hoses and lines.
CAUTION!
•Failure to perform the required maintenance items
may result in damage to the vehicle.
•Proper operation of four-wheel drive vehicles de-
pends on tires of equal size, type and circumfer-
ence on each wheel. Any difference in tire size can
cause damage to the transfer case. Tire rotation
schedule should be followed to balance tire wear.
Required Maintenance Intervals
Refer to the Maintenance Schedules on the following
pages for the required maintenance intervals.
8
M A I
N T
E
N A
N CE
S
C
H E
D
U L
E
S494 MAINTENANCE SCHEDULES
Page 522 of 542
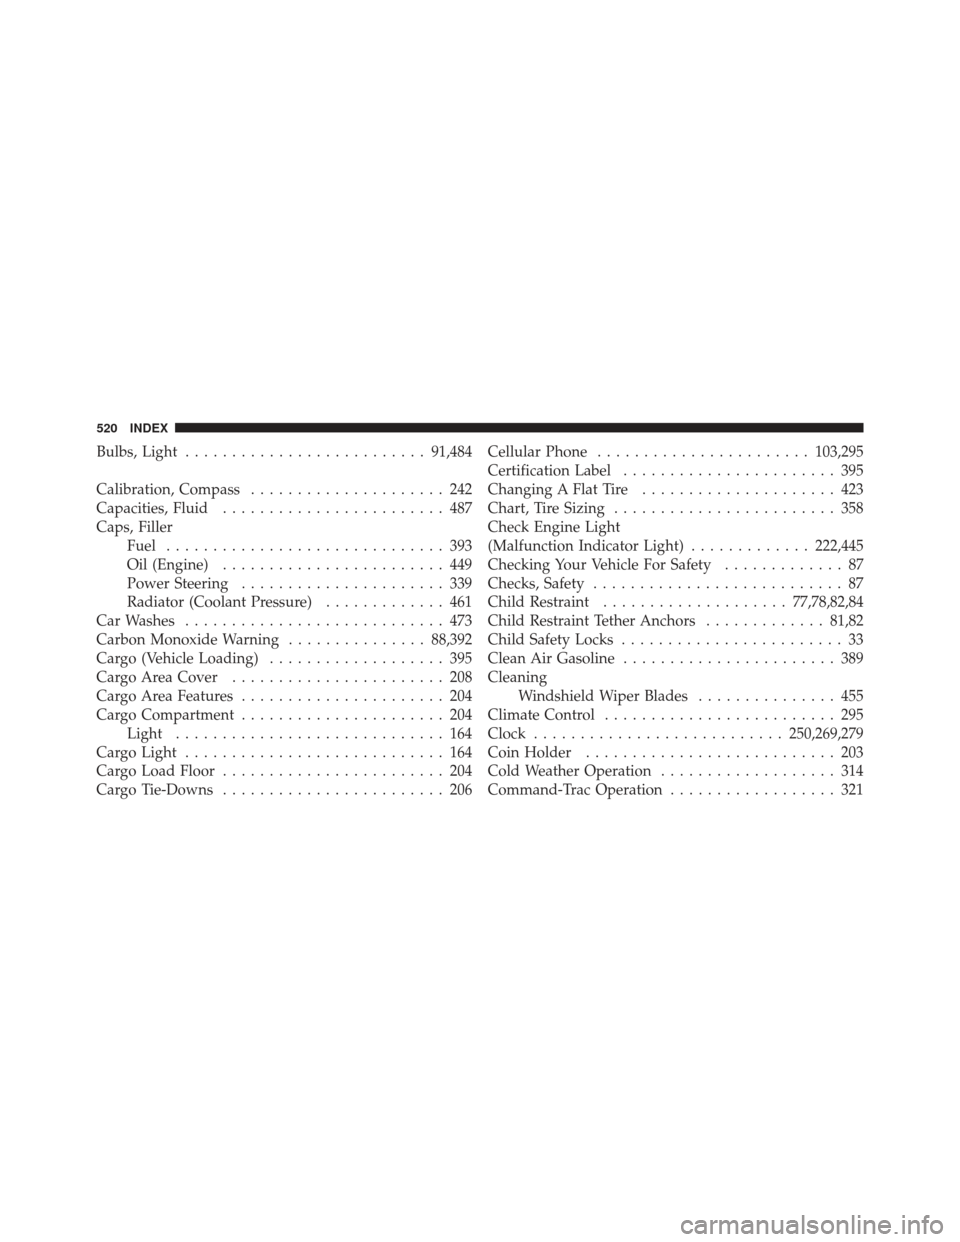
Bulbs, Light.......................... 91,484
Calibration, Compass ..................... 242
Capacities, Fluid ........................ 487
Caps, Filler Fuel .............................. 393
Oil (Engine) ........................ 449
Power Steering ...................... 339
Radiator (Coolant Pressure) ............. 461
Car Washes ............................ 473
Carbon Monoxide Warning ...............88,392
Cargo (Vehicle Loading) ................... 395
Cargo Area Cover ....................... 208
Cargo Area Features ...................... 204
Cargo Compartment ...................... 204
Light ............................. 164
Cargo Light ............................ 164
Cargo Load Floor ........................ 204
Cargo Tie-Downs ........................ 206 Cellular Phone
....................... 103,295
Certification Label ....................... 395
Changing A Flat Tire ..................... 423
Chart, Tire Sizing ........................ 358
Check Engine Light
(Malfunction Indicator Light) .............222,445
Checking Your Vehicle For Safety ............. 87
Checks, Safety ........................... 87
Child Restraint .................... 77,78,82,84
Child Restraint Tether Anchors .............81,82
Child Safety Locks ........................ 33
Clean Air Gasoline ....................... 389
Cleaning Windshield Wiper Blades ............... 455
Climate Control ......................... 295
Clock ........................... 250,269,279
Coin Holder ........................... 203
Cold Weather Operation ................... 314
Command-Trac Operation .................. 321
520 INDEX
Page 523 of 542
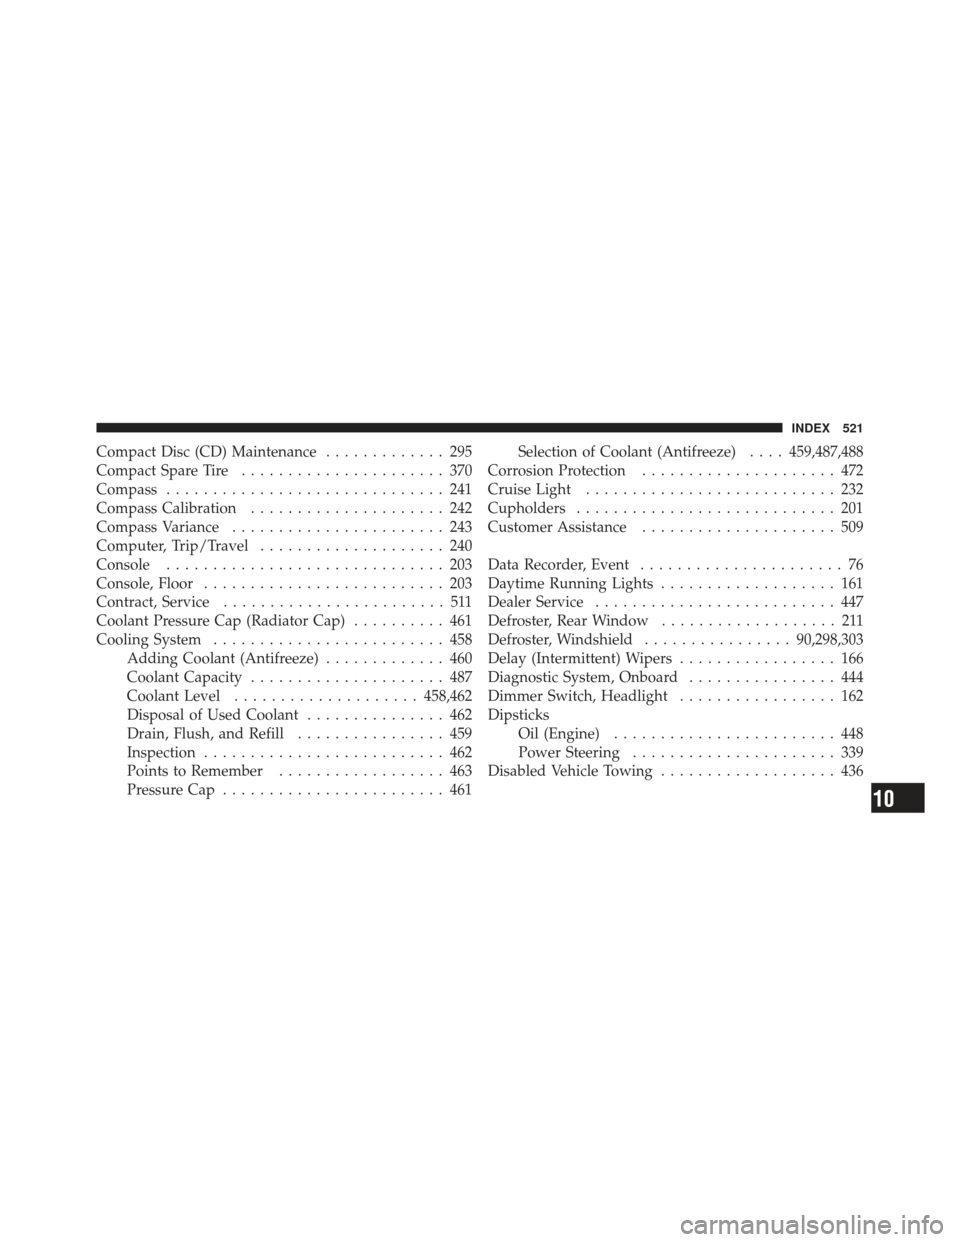
Compact Disc (CD) Maintenance............. 295
Compact Spare Tire ...................... 370
Compass .............................. 241
Compass Calibration ..................... 242
Compass Variance ....................... 243
Computer, Trip/Travel .................... 240
Console .............................. 203
Console, Floor .......................... 203
Contract, Service ........................ 511
Coolant Pressure Cap (Radiator Cap) .......... 461
Cooling System ......................... 458
Adding Coolant (Antifreeze) ............. 460
Coolant Capacity ..................... 487
Coolant Level .................... 458,462
Disposal of Used Coolant ............... 462
Drain, Flush, and Refill ................ 459
Inspection .......................... 462
Points to Remember .................. 463
Pressure Cap ........................ 461 Selection of Coolant (Antifreeze)
....459,487,488
Corrosion Protection ..................... 472
Cruise Light ........................... 232
Cupholders ............................ 201
Customer Assistance ..................... 509
Data Recorder, Event ...................... 76
Daytime Running Lights ................... 161
Dealer Service .......................... 447
Defroster, Rear Window ................... 211
Defroster, Windshield ................90,298,303
Delay (Intermittent) Wipers ................. 166
Diagnostic System, Onboard ................ 444
Dimmer Switch, Headlight ................. 162
Dipsticks Oil (Engine) ........................ 448
Power Steering ...................... 339
Disabled Vehicle Towing ................... 436
10
INDEX 521