child seat JEEP LIBERTY 2011 KK / 2.G User Guide
[x] Cancel search | Manufacturer: JEEP, Model Year: 2011, Model line: LIBERTY, Model: JEEP LIBERTY 2011 KK / 2.GPages: 88, PDF Size: 3.24 MB
Page 3 of 88
INTRODUCTION/WELCOMEWelcome From Chrysler Group LLC....2
CONTROLS AT A GLANCEDriver Cockpit................4
Instrument Cluster .............6
GETTING STARTEDKeyFOB ..................8
Remote Start................8
Theft Alarm .................9
Seat Belt ..................9
Supplemental Restraint System (SRS) —
Airbags .................. 10
Child Restraints .............. 11
Front Seats ................ 13
Rear Seats ................ 15
Heated Seats ............... 16
Tilt Steering Column ........... 17
OPERATING YOUR VEHICLETurn Signal/Lights Lever ......... 18
Wiper/Washer Lever ........... 19
Speed Control .............. 20
Manual Climate Controls ......... 21
Automatic Temperature Controls (ATC) . . 22
Parksense
®Rear Park Assist ....... 22
Liftgate Flipper Glass ........... 23
Power Sunroof .............. 23
Sky Slider
®Roof ............. 25
Wind Buffeting .............. 25
ELECTRONICSYour Vehicle's Sound System ...... 26
Non-Touch-Screen Radios ........ 28
Touch-Screen Radios ........... 31
Steering Wheel Audio Controls ...... 38
Uconnect™ Phone ............ 38
Uconnect™ Voice Command ...... 40
Electronic Vehicle Information Center
(EVIC) ................... 41
Programmable Features ......... 42
Universal Garage Door Opener
(HomeLink
®) ............... 43
Power Outlet ............... 45
OFF-ROAD CAPABILITIES
Four-Wheel Drive Operation ....... 46
UTILITY
Cargo Area Features........... 48
Trailer Towing Weights (Maximum Trailer
Weight Ratings) .............. 49
Tow/Haul Mode .............. 50
Recreational Towing (Behind
Motorhome, Etc.) ............. 50
WHAT TO DO IN EMERGENCIES
24-Hour Towing Assistance ....... 52
Instrument Cluster Warning Lights .... 52
If Your Engine Overheats ......... 55
Jacking And Tire Changing ........ 56
Jump-Starting .............. 60
Shift Lever Override ............ 62
Towing A Disabled Vehicle ........ 63
Freeing A Stuck Vehicle .......... 64
Event Data Recorder (EDR) ........ 65
MAINTAINING YOUR VEHICLE
Opening The Hood............ 66
Engine Compartment ........... 67
Fluids And Capacities ........... 68
Maintenance Chart ............ 69
Fuses ................... 72
Tire Pressures ............... 76
Wheel And Wheel Trim Care ....... 76
Exterior Bulbs ............... 77
CONSUMER ASSISTANCE
Chrysler Group LLC Customer Center . . 78
Chrysler Canada Inc. Customer Center . 78
Assistance For The Hearing Impaired . . 78
Publications Ordering ........... 78
Reporting Safety Defects In The 50 United
States And Washington, D.C. ...... 79
MOPAR ACCESSORIESAuthentic Accessories By MOPAR®... 80
INDEX.................. 81
TABLE OF CONTENTS
Page 11 of 88
• With remote start, the engine will only run for 15 minutes (timeout) unless the ignitionkey is placed in the ON/RUN position.
• The vehicle must be started with the key after two consecutive timeouts.
WARNING!
• Do not start or run an engine in a closed garage or confined area. Exhaust gas contains Carbon Monoxide (CO) which is odorless and colorless. Carbon
Monoxide is poisonous and can cause serious injury or death when inhaled.
• Keep Key Fob transmitters away from children. Operation of the Remote Start System, windows, door locks or other controls could cause serious injury or
death.
THEFT ALARM
To Arm
• Press the Key Fob LOCK button or the power door lock switch while the door is
open.
To Disarm
• Press the Key Fob UNLOCK button and turn the ignition to the ON/RUN position.
SEAT BELT
• Be sure everyone in your vehicle is in a seat and using a seat belt properly.
• Position the lap belt across your thighs, below your abdomen. To remove slack inthe lap portion, pull up a bit on the shoulder belt. To loosen the lap belt if it is too
tight, tilt the latch plate and pull on the lap belt. A snug belt reduces the risk of
sliding under the belt in a collision.
• Position the shoulder belt on your chest so that it is comfortable and not resting on your neck. The retractor will withdraw any slack in the belt.
• A shoulder belt placed behind you will not protect you from injury during a collision. You are more likely to hit your head in a collision if you do not wear your shoulder
belt. The lap and shoulder belt are meant to be used together.
• A belt that is too loose will not protect you properly. In a sudden stop you could move too far forward, increasing the possibility of injury. Wear your seat belt snugly.
• A frayed or torn belt could rip apart in a collision and leave you with no protection. Inspect the belt system periodically, checking for cuts, frays, or loose parts.
Damaged parts must be replaced immediately. Do not disassemble or modify the
system. Seat belt assemblies must be replaced after a collision if they have been
damaged (bent retractor, torn webbing, etc.).
• The seat belts for both front seating positions are equipped with pretensioning devices that are designed to remove slack from the seat belt in the event of a
collision.
• A deployed pretensioner or a deployed airbag must be replaced immediately.
GETTING STARTED
9
Page 13 of 88
CHILD RESTRAINTS
• Children 12 years and under should ride properly buckled up in a rear seat, ifavailable. According to crash statistics, children are safer when properly restrained in
the rear seats rather than in the front.
• Every state in the United States and all Canadian provinces require that small children ride in proper restraint systems. This is the law, and you can be prosecuted
for ignoring it.
Installing The LATCH - Compatible Child Restraint System
• Your vehicle's second row passenger seats are equipped with the child restraintanchorage system called LATCH, which stands for Lower Anchors and Tether for
CHildren.
• The rear outboard seating positions have lower anchors and all three rear seating positions have top tether anchors.
• Child seats with fixed lower attachments must be installed in the outboard positions only. Child seats with flexible lower attachments can be used in all three seating
positions.
• Never install LATCH-compatible child seats such that two seats share a common
lower anchorage.
• Loosen the child seat adjusters on thelower straps and tether straps so that
you can attach the hook or connector
to the lower and tether anchorages
more easily.
• Attach the lower hooks or connectors over the top of the anchorage bars, pushing aside the seat cover material. The rear seat lower anchorages are round bars,
located at the rear of the seat cushion where it meets the seatback. The rear seat
lower anchors can be readily identified by the symbol
located on the seatback
directly above the anchorages and are just visible when you lean into the rear seat to
install the child restraint.
• The tether strap should be attached to the tether anchor on the rear of the seatback using the most direct path. For the outboard seating positions, route the tether
underneath the head rest and attach the hook to the tether anchor located on the
back of the seat.
GETTING STARTED
11
Page 14 of 88
• Tighten all three straps as you push thechild restraint rearward and downward
into the seat.
Installing The Child Restraint Using The Vehicle Seat Belts
• To install a child restraint, first, pull enough of the seat belt webbing from the
retractor to route it through the belt path of the child restraint and slide the latch
plate into the buckle.
• Next, extract all the seat belt webbing out of the retractor and then allow the belt to retract into the retractor. Finally, pull on any excess webbing to tighten the lap
portion around the child restraint. Any seat belt system will loosen with time, so
check the belt occasionally, and pull it tight if necessary.
• Once you have completed securing the child restraint with the seat belt, secure the top tether strap. The tether strap should be attached to the tether anchor on the rear
of the seatback using the most direct path. For the outboard seating positions, route
the tether underneath the head rest and attach the hook to the tether anchor
located on the back of the seat.
WARNING!
• In a collision, an unrestrained child, even a tiny baby, can become a projectileinside the vehicle. The force required to hold even an infant on your lap could
become so great that you could not hold the child, no matter how strong you
are. The child and others could be severely injured or killed. Any child riding in
your vehicle should be in a proper restraint for the child's size.
• Improper installation of a child restraint to the LATCH anchorages can lead to failure of an infant or child restraint. The child could be severely injured or killed.
Follow the manufacturer’s directions exactly when installing an infant or child
restraint.
• An incorrectly anchored tether strap could lead to increased head motion and possible injury to the child. Use only the anchor positions directly behind the
child seat to secure a child restraint top tether strap.
• Rearward-facing child seats must never be used in the front seat of a vehicle with a front passenger airbag. An airbag deployment could cause severe injury
or death to infants in this position.
GETTING STARTED
12
Page 18 of 88
WARNING!
Be certain that the seatback is securely locked into position. If the seatback is
not securely locked into position, the seat will not provide the proper stability for
child seats and/or passengers. An improperly latched seat could cause serious
injury.
HEATED SEATS
Front Heated Seats
• The controls for front heated seats arelocated near the bottom center of the
instrument panel (below the heater/air
conditioning controls).
• Press the switch once to select High-level heating. Press the switch a
second time to select Low-level
heating. Press the switch a third time to
shut the heating elements Off.
• If the High-level setting is selected, the system will automatically switch to Low-level after approximately 30 minutes. The Low-level setting will turn Off automatically after
approximately 30 minutes.
WARNING!
• Persons who are unable to feel pain to the skin because of advanced age,chronic illness, diabetes, spinal cord injury, medication, alcohol use, exhaustion
or other physical conditions must exercise care when using the seat heater. It
may cause burns even at low temperatures, especially if used for long periods
of time.
• Do not place anything on the seat that insulates against heat, such as a blanket or cushion. This may cause the seat heater to overheat. Sitting in a
seat that has been overheated could cause serious burns due to the increased
surface temperature of the seat.
GETTING STARTED
16
Page 26 of 88
Venting Sunroof
• Press and release the "VENT" button, and the sunroof will open to the vent position.This is called “Express Vent” and will occur regardless of sunroof position. During
Express Vent operation, any movement of the switch will stop the sunroof.
Pinch Protection Feature
• This feature will detect an obstruction in the opening of the sunroof during ExpressClose operation. If an obstruction in the path of the sunroof is detected, the sunroof
will automatically return to the open position.
NOTE: Pinch protection is disabled while the switch is pressed and held during manual
opening and closing of the sunroof.
WARNING!
• Never leave children in a vehicle with the key in the ignition switch. Occupants, particularly unattended children, can become entrapped by the power sunroof
while operating the power sunroof switch. Such entrapment may result in
serious injury or death.
• In a collision, there is a greater risk of being thrown from a vehicle with an open sunroof. You could also be severely injured or killed. Always fasten your seat
belt properly and make sure all passengers are properly secured.
• Do not allow small children to operate the sunroof. Never allow your fingers, other body parts, or any object to project through the sunroof opening. Injury
may result.
OPERATING YOUR VEHICLE
24
Page 50 of 88
CARGO AREA FEATURES
Cargo Load Floor
• The cargo load floor system has aload capacity of 400 lbs (181 kg). The
load floor has a built-in storage bin
that can hold a variety of items. The
underside of the storage bin cover
also contains a plastic-lined tray. The
cover can be installed with either side
facing up for added utility.
Cargo Tie-Down Hooks and Loops • The tie-downs located on the cargo area floor should be used to secure
loads safely when the vehicle is
moving.WARNING!
• Cargo tie-downs are not safeanchors for a child seat tether
strap. In a sudden stop or a
collision, a tie-down could pull
loose and allow the child seat to
come loose. A child could be badly
injured. Use only the anchors
provided for child seat tethers.
• To help protect against personal injury, passengers should not be
seated in the rear cargo area. The
rear cargo space is intended for
load carrying purposes only, not for
passengers, who should sit in
seats and use seat belts.
UTILITY
48
Page 83 of 88
Air Conditioning...........21,22
Airbag ..................10
AirbagLight ...............55
Alarm,Panic ...............8
Anti-Lock Brake System (ABS) ....54
Arming Theft System (Security Alarm) . 9
Audio Jack ...............32
Audio Settings ............29,30
Automatic Temperature Control (ATC) . 22
Automatic Transmission FluidType ...............68
AxleFluid ................68
Battery Charging System Light .......54
Belts, Seat ................9
BrakeFluid ...............68
Brake System WarningLight .............53
Bulb Replacement ...........77
Calibration, Compass ..........41
Change Oil Indicator ..........55
Charging System Light .........54
Check Engine Light (Malfunction
IndicatorLight) .............54
Child Restraint ..............11
Child Restraint Tether Anchors ....11
Climate Control ...........21,22
Clock Setting ............30,33
Compass Calibration ..........41
Cooling System Coolant Capacity ...........68
Cruise Control (Speed Control) ....20
CruiseLight ...............20
Customer Assistance ..........78
Defects, Reporting ...........79
Defroster, Rear Window ........21
Defroster,Windshield ..........21
Dimmer Control .............18
Dimmer Switch, Headlight .......18
Disarming, Theft System .........9
Driver Cockpit ..............4
ECO ...................42
Electronic Speed Control
(Cruise Control) .............20 Electronic Stability Program (ESP) . . . 52
Electronic Throttle Control Warning
Light ...................54
Electronic Vehicle Information
Center (EVIC)
............41,42
Electronics Your Vehicle's Sound System ....26
Engine Compartment .............67
Malfunction Indicator
(Check Engine) ............54
Oil Selection .............68
Overheating ..............55
Event Data Recorder ..........65
Express Down Windows .........8
Exterior Lights ..............77
Flash-To-Pass ..............18
Flipper Glass, Liftgate ........8,23
Fluid Capacities .............68
Fluids ...................68
FogLights ................18
Folding Front Passenger Seat .....14
Folding Rear Seat ............15
Four Wheel Drive Operation ......46
Freeing A Stuck Vehicle ........64
Front Heated Seats ...........16
Fuel Filler Cap (Gas Cap) .........55
Specifications .............
68
Garage Door Opener (HomeLink
®)..43
Gas Cap (Fuel Filler Cap) ........55
Hard Disk Drive .............33
Headlights ................18
Dimmer Switch ............18
High Beam ..............18
HeatedSeats ..............16
High Beam/Low Beam Select (Dimmer)
Switch ..................18
HomeLink
®(Garage Door Opener)
Transmitter ................43
Hood Release ..............66
Instrument Cluster ............6
Indicators ................7
INDEX
81
Page 84 of 88
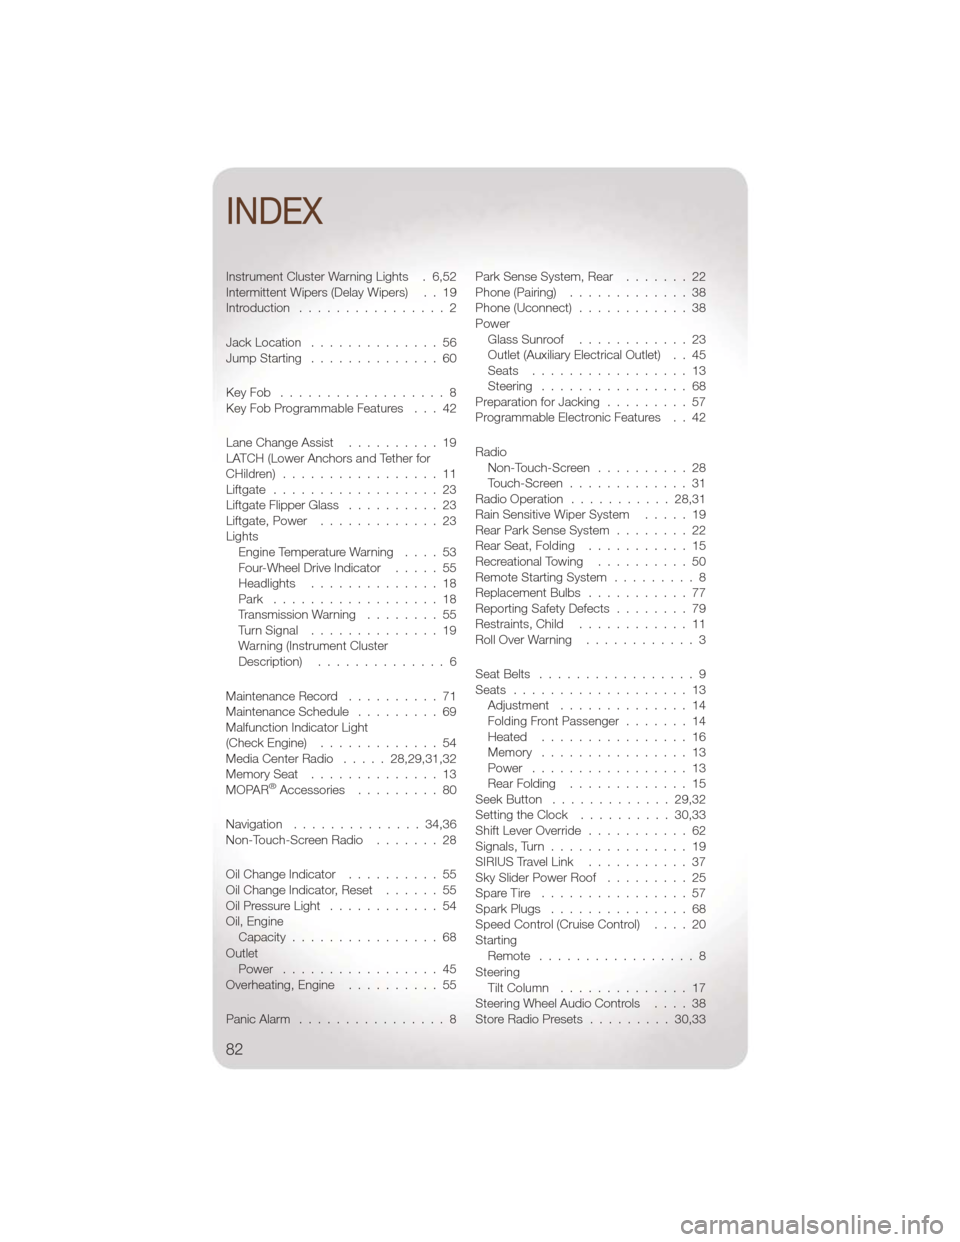
Instrument Cluster Warning Lights . 6,52
Intermittent Wipers (Delay Wipers) . . 19
Introduction................2
JackLocation ..............56
Jump Starting ..............60
KeyFob ..................8
Key Fob Programmable Features . . . 42
Lane Change Assist ..........19
LATCH (Lower Anchors and Tether for
CHildren) .................11
Liftgate ..................23
Liftgate Flipper Glass ..........23
Liftgate, Power .............23
Lights Engine Temperature Warning ....53
Four-Wheel Drive Indicator .....55
Headlights ..............18
Park ..................18
Transmission Warning ........55
TurnSignal ..............19
Warning (Instrument Cluster
Description) ..............6
Maintenance Record ..........71
Maintenance Schedule .........69
Malfunction Indicator Light
(Check Engine) .............54
Media Center Radio .....28,29,31,32
Memory Seat ..............13
MOPAR
®Accessories .........80
Navigation ..............34,36
Non-Touch-Screen Radio .......28
Oil Change Indicator ..........55
Oil Change Indicator, Reset ......55
OilPressureLight ............54
Oil, Engine Capacity ................68
Outlet Power .................45
Overheating, Engine ..........55
Panic Alarm ................8 ParkSenseSystem,Rear .......22
Phone (Pairing)
.............38
Phone (Uconnect) ............38
Power Glass Sunroof ............23
Outlet (Auxiliary Electrical Outlet) . . 45
Seats .................13
Steering ................68
PreparationforJacking .........57
Programmable Electronic Features . . 42
Radio Non-Touch-Screen ..........28
Touch-Screen .............31
Radio Operation ...........28,31
Rain Sensitive Wiper System .....19
Rear Park Sense System ........22
Rear Seat, Folding ...........15
Recreational Towing ..........50
Remote Starting System .........8
Replacement Bulbs ...........77
Reporting Safety Defects ........79
Restraints, Child ............11
RollOverWarning ............3
Seat Belts .................9
Seats ...................13
Adjustment ..............14
Folding Front Passenger .......14
Heated ................16
Memory ................13
Power .................13
Rear Folding .............15
Seek Button .............29,32
Setting the Clock ..........30,33
Shift Lever Override ...........62
Signals,Turn...............19
SIRIUSTravelLink ...........37
Sky Slider Power Roof .........25
Spare Tire ................57
Spark Plugs ...............68
Speed Control (Cruise Control) ....20
Starting Remote .................8
Steering Tilt Column ..............17
Steering Wheel Audio Controls ....38
Store Radio Presets .........30,33
INDEX
82