key JEEP LIBERTY 2012 KK / 2.G Owner's Guide
[x] Cancel search | Manufacturer: JEEP, Model Year: 2012, Model line: LIBERTY, Model: JEEP LIBERTY 2012 KK / 2.GPages: 124, PDF Size: 2.92 MB
Page 62 of 124
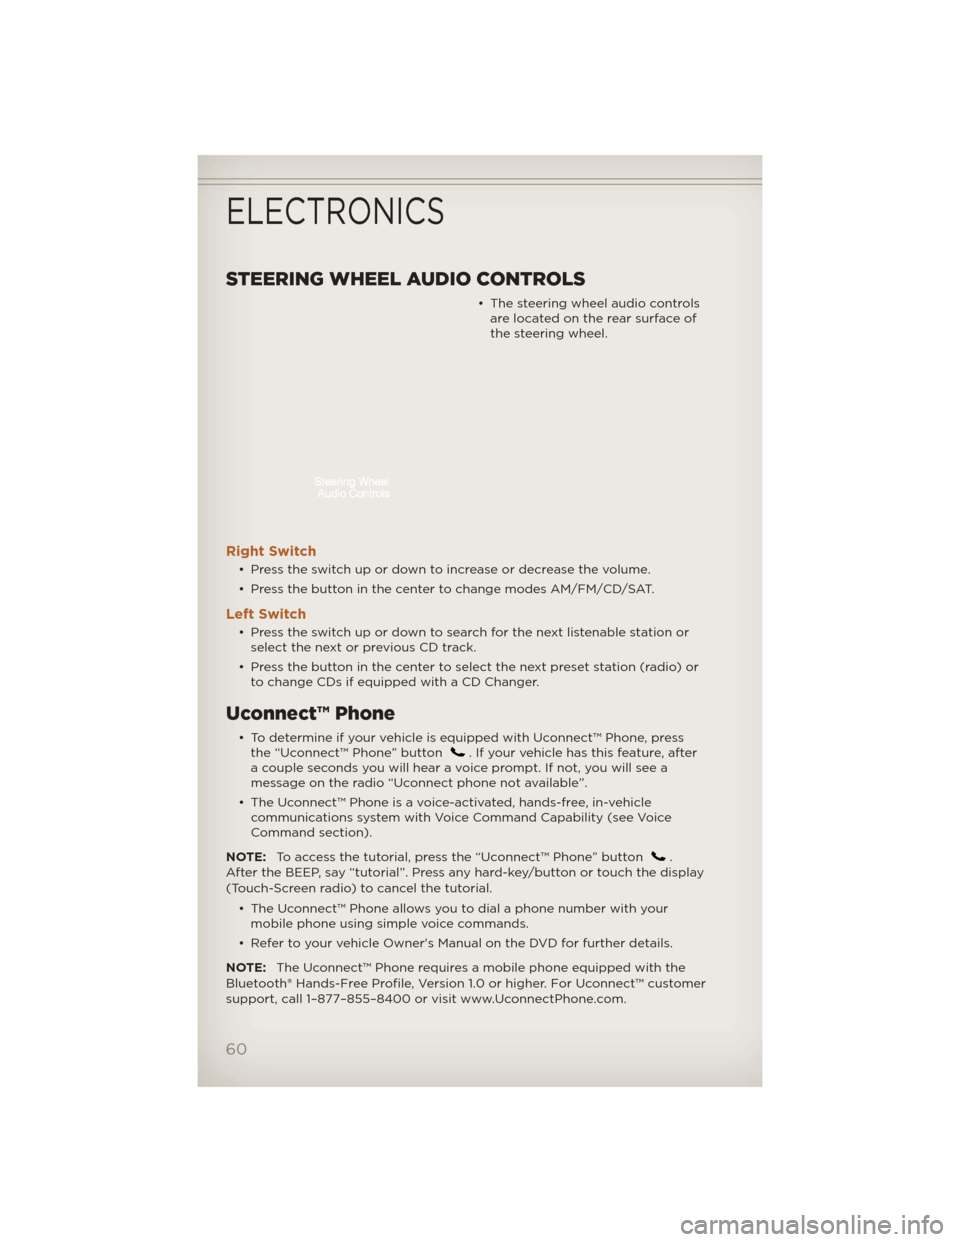
STEERING WHEEL AUDIO CONTROLS
• The steering wheel audio controlsare located on the rear surface of
the steering wheel.
Right Switch
• Press the switch up or down to increase or decrease the volume.
• Press the button in the center to change modes AM/FM/CD/SAT.
Left Switch
• Press the switch up or down to search for the next listenable station orselect the next or previous CD track.
• Press the button in the center to select the next preset station (radio) or to change CDs if equipped with a CD Changer.
Uconnect™ Phone
• To determine if your vehicle is equipped with Uconnect™ Phone, pressthe “Uconnect™ Phone” button. If your vehicle has this feature, after
a couple seconds you will hear a voice prompt. If not, you will see a
message on the radio “Uconnect phone not available”.
• The Uconnect™ Phone is a voice-activated, hands-free, in-vehicle communications system with Voice Command Capability (see Voice
Command section).
NOTE: To access the tutorial, press the “Uconnect™ Phone” button
.
After the BEEP, say “tutorial”. Press any hard-key/button or touch the display
(Touch-Screen radio) to cancel the tutorial.
• The Uconnect™ Phone allows you to dial a phone number with yourmobile phone using simple voice commands.
• Refer to your vehicle Owner's Manual on the DVD for further details.
NOTE: The Uconnect™ Phone requires a mobile phone equipped with the
Bluetooth® Hands-Free Profile, Version 1.0 or higher. For Uconnect™ customer
support, call 1–877–855–8400 or visit www.UconnectPhone.com.
ELECTRONICS
60
Page 66 of 124
Sirius XM™
Satellite Radio
Mode“Channel Number” (to change the channel by its spoken
number)
“Next Channel” (to select the next channel)
“Previous Channel” (to select the previous channel)
“List Channel” (to hear a list of available channels)
“Select Name” (to say the name of a channel)
“Radio Menu” (to switch to the radio menu)
“Main Menu” (to switch to the main menu)
Disc Mode “Track” (#) (to change the track) “Next Track” (to play the next track)
“Previous Track” (to play the previous track)
“Main Menu” (to switch to the main menu)
Memo Mode To switch to the voice recorder mode, say “Memo”. The following are common voice commands for this mode:
“New Memo” (to record a new memo) — During the
recording, you may press the Voice Command button
to stop recording. You proceed by saying one of
the following commands:
— “Save” (to save the memo)
— “Continue” (to continue recording)
— “Delete” (to delete the recording)
— “Play Memos” (to play previously recorded memos) —
During the playback you may press the Voice Command
button
to stop playing memos. You proceed by saying
one of the following commands:
— “Repeat” (to repeat a memo)
— “Next” (to play the next memo)
— “Previous” (to play the previous memo)
— “Delete” (to delete a memo)
— “Delete All” (to delete all memos)
SMS (Text Messaging)
• If equipped with Uconnect™ Voice Command, your Media Center 430N & 730N radios may be able to play incoming Short Message Service (SMS)
messages (text messages) through the vehicle's sound system.
• It also allows you to respond by selecting from various pre-defined phrases.
• Not all phones are compatible with this feature. Refer to the phone compatibility list at www.UconnectPhone.com. Connected mobile
phones must be bluetooth-compatible, and paired with your radio.
• Press the “Voice Command” button
and after the BEEP, say
“SMS” to get started.
NOTE: To access the tutorial, press the “Voice Command” button
.
After the BEEP, say “tutorial”. Press any hard-key/button or touch the display
(Touch-Screen radio) to cancel the tutorial.
ELECTRONICS
64
Page 67 of 124
WARNING!
Any voice commanded system should be used only in safe driving
conditions following local laws and phone use. All attention should be
kept on the roadway ahead. Failure to do so may result in a collision
causing you and others to be severely injured or killed.
Bluetooth® STREAMING AUDIO
• If equipped with Uconnect™ Voice Command, your Bluetooth-equippediPod® devices, cell phones or other media players, may also be able to
stream music to your vehicle's speakers. Your connected device must be
Bluetooth-compatible, and paired with your Media Center radio (see
Uconnect™ Phone for pairing instructions). Non-Touch-Screen Radios:
Press the “AUX” button on the radio faceplate until "BT" or “Audio
Streaming” is displayed on the radio screen. Touch-Screen-Radios: Press
the “RADIO/MEDIA” or “MEDIA” hard-key and then touch the “AUX”
soft-key tab.
ELECTRONIC VEHICLE INFORMATION CENTER
(EVIC)
• The EVIC features a driverinteractive display that is located
in the instrument cluster. Pressing
the controls on the steering wheel
allows the driver to select vehicle
information and Personal Settings.
For additional information, refer to
Programmable Features in this
guide.
• Press and release the MENU button and the mode displayed will change between Compass/Temperature, Trip, System Status, and Personal
settings.
• Press the DOWN
button to scroll through sub menus (i.e., Trip
Functions, Avg. Fuel Economy, DTE, Elapsed Time, and Units).
ELECTRONICS
65
Page 68 of 124
• Press and release the COMPASSbutton for instant access to the
Compass/Temperature screens.
• Press the SELECT
button to RESET Trip Functions and change
Personal Settings.
Compass Calibration
• This compass is self-calibrating, which eliminates the need to set the compass manually. When the vehicle is new, the compass may appear
erratic and the EVIC will display “CAL” until the compass is calibrated.
• You may also calibrate the compass by completing one or more 360 degree turns (in an area free from large metal or metallic objects) until
the “CAL” message displayed in the EVIC turns off. The compass will now
function normally.
ECO
• The ECO message will appear in your odometer whenever you aredriving in a fuel efficient manner.
• This feature allows you to monitor when you are driving in a fuel efficient manner, and it can be used to modify driving habits in order to increase
fuel economy.
PROGRAMMABLE FEATURES
Electronic Vehicle Information Center (EVIC)
• The EVIC can be used to program the following Personal Settings. Pressand release the MENU button until Personal Settings displays, then press
the DOWN button
to scroll through the settings. Press the SELECT
buttonto change the setting.
• Language • Easy Exit Seat
• Auto UNLK On Exit • Key-Off Power Delay
• RKE Unlock • ILLUMIN. Approach
• RKE Linked To Memory • Park ASST. System
• Sound Horn With Lock • Hill Start Assist
• Flash Lamp With Lock • Rain Sensing Intermittent Wipers
• Display Fuel Saver • Headlamps With Wipers
• Headlamp Off Delay
Key Fob Programmable Features
• The following features may also be programmed by using the Key Fob transmitter or the ignition switch and driver's door lock switch.
NOTE: Pressing the LOCK button while you are inside the vehicle will
activate the Vehicle Security Alarm. Opening a door with the Vehicle
Security Alarm activated will cause the alarm to sound. Press the UNLOCK
button to deactivate the Vehicle Security Alarm.
ELECTRONICS
66
Page 74 of 124
FOUR-WHEEL DRIVE OPERATION
Command-Trac II® Transfer Case
• The Command-TracII® transfer case provides four positions:• Two-wheel drive (2WD) high range
• Four-wheel drive (4WD LOCK) high range
• Four-wheel drive (4WD LOW) low range
• NEUTRAL (N)
2WD To 4WD LOCK
• Move transfer case lever to the desired position.
• Shifts between 2WD and 4WD LOCK can be done with the vehicle stopped or in motion. With the vehicle in motion, the transfer case will
engage/disengage faster if you momentarily release the accelerator
pedal after moving the transfer case lever.
• If the vehicle is stopped, the key must be in the ON/RUN position.
• Shifts can not be completed if the key is in the ACC position.
4WD LOCK To 4WD LOW
• With the engine running, slow the vehicle speed to 2 to 3 mph (3 to 5 km/h) and shift the transmission into NEUTRAL.
• While still rolling, move the transfer case lever to the 4WD LOW position.
• After the indicator light is ON (not flashing) shift the transmission into gear.
• If the indicator light in the instrument cluster is flashing, the shift did not occur and the current transfer case position will be maintained.
• This transfer case is intended to be driven in the two-wheel drive position (2WD) for normal street and highway conditions such as dry,
hard-surfaced roads.
• When additional traction is required, select the transfer case 4WD LOCK position or 4WD LOW position. This position locks the front driveshaft
and rear driveshaft together and forces the front and rear wheels to
rotate at the same speed.
• When operating in 4WD LOW, the engine speed is approximately three times that of the 4WD LOCK position at a given road speed. Take care
not to over-speed the engine and do not exceed 25 mph (40 km/h).
• Use the transfer case NEUTRAL position for recreational towing only.
Selec-Trac II® Transfer Case
• The Selec-Trac II® active on-demand transfer case provides four positions:
• Two-wheel drive (2WD) high range
• Four-wheel drive Auto (4WD AUTO) high range
• NEUTRAL (N)
• Four-wheel drive (4WD LOW) low range
OFF-ROAD CAPABILITIES
72
Page 75 of 124
• This transfer case is intended to be driven in either the two-wheel driveposition (2WD) or the four-wheel drive Auto position (4WD AUTO) for
normal street and highway conditions such as dry, hard-surfaced roads.
• For added capability when traversing steep grades, rough terrain, or extremely poor traction surfaces, select the transfer case 4WD LOW
position. This position locks the front driveshaft and rear driveshaft
together and forces the front and rear wheels to rotate at the same
speed while multiplying engine torque.
• When operating in 4WD LOW, the engine speed is approximately three times that of the 4WD LOCK position at a given road speed. Take care
not to over-speed the engine and do not exceed 25 mph (40 km/h).
• Use the transfer case NEUTRAL position for recreational towing only.
2WD To 4WD AUTO
• Move transfer case lever to the desired position.
• Shifts between 2WD and 4WD AUTO can be done with the vehicle stopped or in motion. With the vehicle in motion, the transfer case will
engage/disengage faster if you momentarily release the accelerator
pedal after moving the transfer case lever.
• If the vehicle is stopped, the key must be in the ON/RUN position.
• Shifts can not be completed if the key is in the ACC position.
4WD AUTO To 4WD LOW
• With the engine running, slow the vehicle speed to 2 to 3 mph (3 to 5 km/h) and shift the transmission into NEUTRAL.
• While still rolling, move the transfer case lever to the 4WD LOW position.
• After the indicator light is ON (not flashing) shift the transmission into gear.
• If the indicator light in the instrument cluster is flashing, the shift did not occur and the current transfer case position will be maintained.
WARNING!
• You or others could be injured if you leave the vehicle unattendedwith the transfer case in the NEUTRAL position without first fully
engaging the parking brake. The transfer case NEUTRAL position
disengages both the front driveshaft and rear driveshaft from the
powertrain, and it will allow the vehicle to move even if the
transmission is in PARK. The parking brake should always be applied
when the driver is not in the vehicle.
OFF-ROAD CAPABILITIES
73
Page 80 of 124
• The parking brakemustbe firmly engaged and the wheels chocked
during driveshaft removal and installation. The parking brake must
remain engaged unless the vehicle is securely and properly connected to
the tow vehicle, or the driveshaft is completely reinstalled. See your
authorized dealer for proper driveshaft removal and reinstallation
procedures, including flange orientation/alignment, use of thread-locking
compound, proper bolt torque specifications, etc.
Towing – Four-Wheel Drive Models
• Depress the brake pedal and turn the ignition switch to ON/RUN
with the engine shut off.
• Shift the transmission into NEUTRAL.
• Shift the transfer case into NEUTRAL by holding down the
NEUTRAL Pin switch for four
seconds until the LED starts to
blink. The LED will stop blinking
and remain on when the shift is
complete.
• Start the engine and shift into DRIVE to ensure there is no vehicle movement.
• Shut the engine off and shift the transmission into PARK.
• Place the ignition switch in the OFF position and remove the key.
• Apply the parking brake, attach the vehicle to the tow vehicle with a tow bar and release the parking brake.
• Refer to your Owner's Manual on the DVD for further details.
CAUTION!
Towing with the rear wheels on the ground (while the driveshaft is
connected) will cause severe transmission damage. Damage from
improper towing is not covered under the New Vehicle Limited
Warranty.
WARNING!
• If the driveshaft is removed, the vehicle can roll even if the transmission is in PARK, which could cause serious injury or death.
UTILITY
78
Page 114 of 124
Headlights...............18
Dimmer Switch ...........19
High Beam .............19
HeatedMirrors ..........22,23
HeatedSeats .............16
High Beam/Low Beam Select
(Dimmer) Switch ...........19
HomeLink® (Garage Door
Opener) Transmitter ........68
Hood Release .............95
Instrument Cluster ..........6
Indicators ...............7
Instrument Cluster Warning
Lights ................6,79
Intermittent Wipers
(DelayWipers) ............20
Introduction ..............2
iPod®/USB/MP3 Control Bluetooth Streaming Audio . . 65
Jack Location ............84
Jack Operation ..........84,85
Jacking Instructions .........85
Jump Starting ............89
KeyFob .................8
Key Fob Programmable
Features ................66
Lane Change Assist .........19
LATCH (Lower Anchors and
TetherforCHildren) .........11
Liftgate.................24
Liftgate Flipper Glass ........24
Liftgate,Power ............24
Lights
Engine Temperature Warning..80
Four-Wheel Drive Indicator . . 82
Headlights ..............18
Park ..................18
TransmissionWarning ......82
Turn Signal .............19
Warning (Instrument Cluster
Description) .............6 Maintenance Record . . . . . . . . 101
Maintenance Schedule . . . . . . . 99
Malfunction Indicator Light
(Check Engine) . . . . . . . . . . . . 81
Media Center Radio . . . . . 30,32,34
Memory Seat . . . . . . . . . . . . . 14
Mirrors
Heated ..............22,23
MOPAR® Accessories . . . . . . . . 110
Navigation ............44,53
New Vehicle Break-In Period . . . 18
Oil Change Indicator . .......83
Oil Change Indicator, Reset . . . . 83
OilPressureLight ..........82
Oil, Engine Capacity ...............97
Outlet Power .................71
Overheating, Engine . . . . ....83
PanicAlarm ...............8
Park Sense System, Rear . . . . . 24
Phone (Pairing) ............61
Phone (Uconnect) . . . . . . . . . 60
Placard, Tire and Loading
Information .............106
Power Glass Sunroof . . .........25
Outlet (Auxiliary Electrical
Outlet) ................71
Seats .................13
Steering ...............97
Preparation for Jacking . . . . . . 85
Programmable Electronic
Features ................66
Radio Operation .........37,46
Rain Sensitive Wiper System . . . 20
Rear Park Sense System . . . . . . 24
RearSeat,Folding ..........15
Recreational Towing . . . . . . . . 77
Remote Starting System . . . . . . 9
Replacement Bulbs . . . . . . . . 107
Reporting Safety Defects . . . . 109
INDEX
112
Page 124 of 124
Jeep.com
Download a FREE el\Iectronic copy
of the Owner’s Man\f\aal or Warranty
\booklet by visiting\a the For Owners tab\a at:
www.Jeep.com (U.S.)\a or
www.Jeep.ca (Canada).\a
Getthe free mo bile appf or your phone
http:/ /getta g.mo bi
Download a free Vehicle
Information App
by visiting your
application store, Keyword (Jeep), or
scanning the Microsoft Tag. To put
Microsoft Tags to work for you, use your
mobile phone’s browser or App store to
download a Microsoft Tag reader, like the
free one at www.gettag.mobi. Then
follow the directions to scan the code.
12KK74-926-AA
Liberty
Fourth Edition
User Guide
2012
Liberty
User G\fide
919031_12d_Liberty_User_Guide_011212.indd 11/12/12 11:51 AM