ECO mode JEEP LIBERTY 2012 KK / 2.G User Guide
[x] Cancel search | Manufacturer: JEEP, Model Year: 2012, Model line: LIBERTY, Model: JEEP LIBERTY 2012 KK / 2.GPages: 124, PDF Size: 2.92 MB
Page 3 of 124
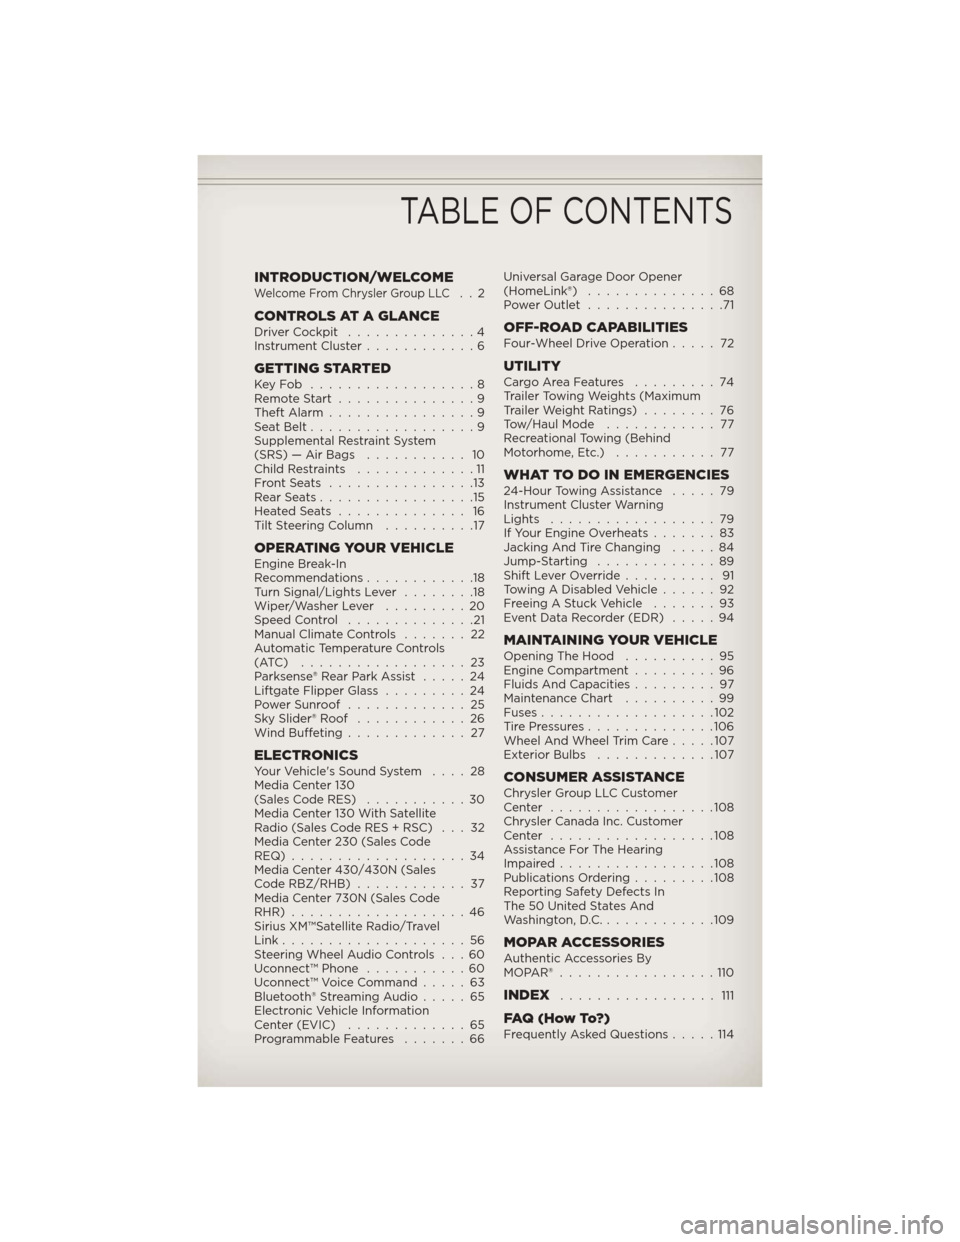
INTRODUCTION/WELCOMEWelcome From Chrysler Group LLC..2
CONTROLS AT A GLANCEDriver Cockpit..............4
Instrument Cluster ............6
GETTING STARTEDKeyFob ..................8
Remote Start...............9
Theft Alarm ................9
Seat Belt ..................9
Supplemental Restraint System
(SRS) — Air Bags ........... 10
Child Restraints .............11
FrontSeats ................13
RearSeats.................15
HeatedSeats .............. 16
Tilt Steering Column ..........17
OPERATING YOUR VEHICLEEngine Break-In
Recommendations............18
Turn Signal/Lights Lever ........18
Wiper/Washer Lever .........20
Speed Control ..............21
Manual Climate Controls .......22
Automatic Temperature Controls
(ATC) ..................23
Parksense® Rear Park Assist .....24
Liftgate Flipper Glass .........24
Power Sunroof .............25
Sky Slider® Roof ............26
Wind Buffeting .............27
ELECTRONICSYour Vehicle's Sound System ....28
Media Center 130
(Sales Code RES) ...........30
Media Center 130 With Satellite
Radio (Sales Code RES + RSC) . . . 32
Media Center 230 (Sales Code
REQ)...................34
Media Center 430/430N (Sales
Code RBZ/RHB) ............37
Media Center 730N (Sales Code
RHR) ...................46
Sirius XM™Satellite Radio/Travel
Link ....................56
Steering Wheel Audio Controls . . . 60
Uconnect™ Phone ...........60
Uconnect™ Voice Command .....63
Bluetooth® Streaming Audio .....65
Electronic Vehicle Information
Center (EVIC) .............65
Programmable Features .......66Universal Garage Door Opener
(HomeLink®)
..............68
Power Outlet ...............71
OFF-ROAD CAPABILITIESFour-Wheel Drive Operation .....72
UTILITYCargoAreaFeatures .........74
Trailer Towing Weights (Maximum
Trailer Weight Ratings)........76
Tow/Haul Mode ............ 77
Recreational Towing (Behind
Motorhome, Etc.) ........... 77
WHAT TO DO IN EMERGENCIES24-Hour Towing Assistance .....79
Instrument Cluster Warning
Lights ..................79
If Your Engine Overheats .......83
Jacking And Tire Changing .....84
Jump-Starting .............89
Shift Lever Override .......... 91
Towing A Disabled Vehicle ......92
Freeing A Stuck Vehicle .......93
Event Data Recorder (EDR) .....94
MAINTAINING YOUR VEHICLEOpening The Hood..........95
Engine Compartment .........96
Fluids And Capacities .........97
Maintenance Chart ..........99
Fuses ...................102
TirePressures..............106
Wheel And Wheel Trim Care .....107
Exterior Bulbs .............107
CONSUMER ASSISTANCEChrysler Group LLC Customer
Center ..................108
Chrysler Canada Inc. Customer
Center ..................108
Assistance For The Hearing
Impaired.................108
Publications Ordering .........108
Reporting Safety Defects In
The 50 United States And
Washington, D.C. ............109
MOPAR ACCESSORIESAuthentic Accessories By
MOPAR®.................110
INDEX................. 111
FAQ(HowTo?)Frequently Asked Questions .....114
TABLE OF CONTENTS
Page 20 of 124
ENGINE BREAK-IN RECOMMENDATIONS
• A long break-in period is not required for the engine and drivetrain(transmission and axle) in your vehicle.
• Drive moderately during the first 300 miles (500 km). After the initial 60 miles (100 km), speeds up to 50 or 55 mph (80 or 90 km/h) are
desirable.
• While cruising, brief full-throttle acceleration within the limits of local traffic laws contributes to a good break-in. Wide-open throttle
acceleration in low gear can be detrimental and should be avoided.
• The engine oil installed in the engine at the factory is a high-quality energy conserving type lubricant. Oil changes should be consistent with
anticipated climate conditions under which vehicle operations will occur.
For the recommended viscosity and quality grades, refer to “Maintaining
Your Vehicle”.
NOTE: A new engine may consume some oil during its first few thousand
miles (kilometers) of operation. This should be considered a normal part of
the break-in and not interpreted as an indication of difficulty.
CAUTION!
Never use Non-Detergent Oil or Straight Mineral Oil in the engine or
damage may result.
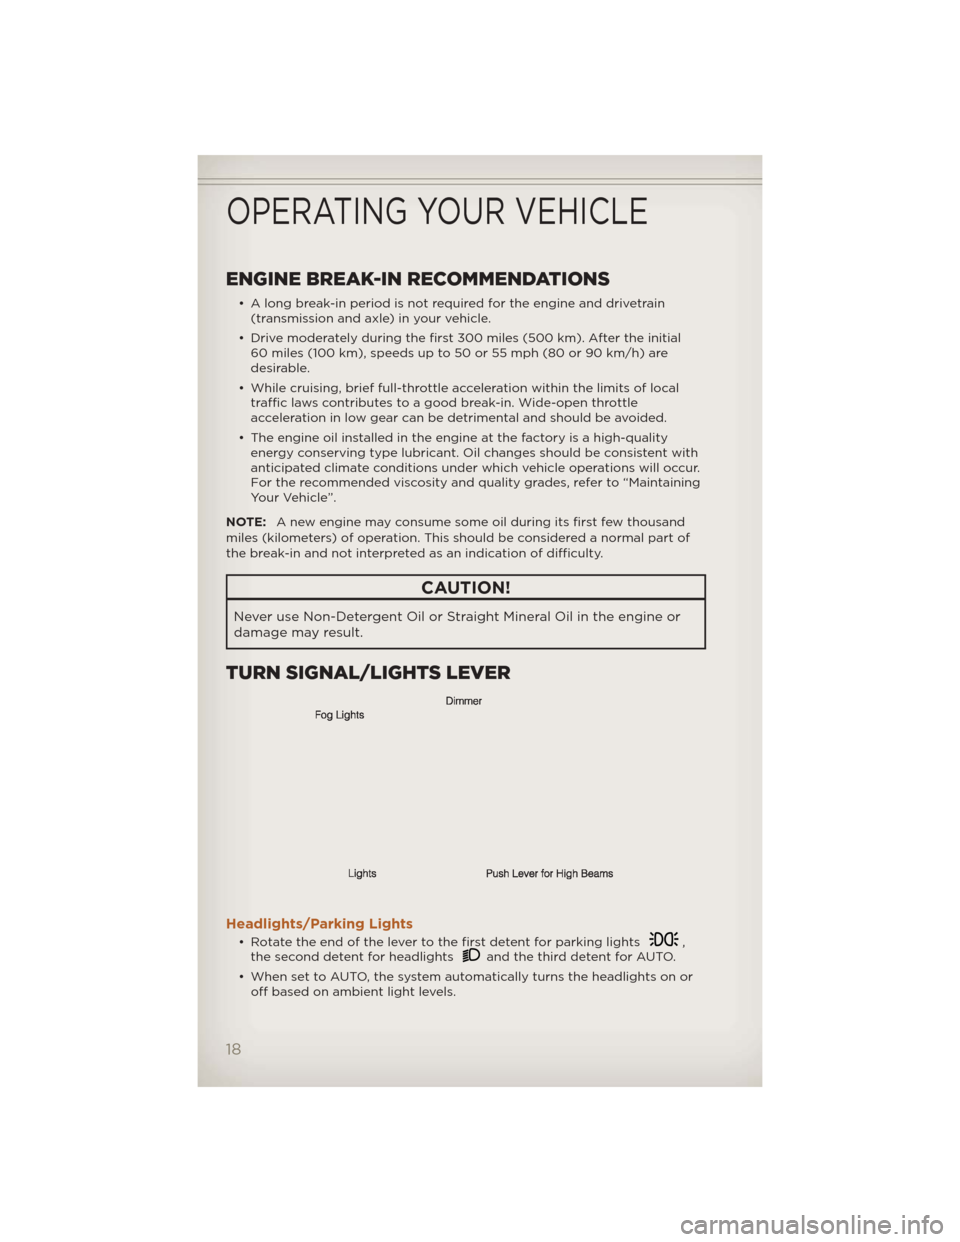
TURN SIGNAL/LIGHTS LEVER
Headlights/Parking Lights
• Rotate the end of the lever to the first detent for parking lights,
the second detent for headlightsand the third detent for AUTO.
• When set to AUTO, the system automatically turns the headlights on or off based on ambient light levels.
OPERATING YOUR VEHICLE
18
Page 33 of 124
Store Radio Presets• Press the “SET/RND” button once and SET 1 will show in the display. Then select button (1–6).
• A second station may be added to each push button. Press the “SET/RND” button twice and SET 2 will show in the display. Then select
button (1–6).
CD/DISC Operation
Seek Up/Down Buttons
• Press to seek through CD tracks.
• Hold either button to bypass tracks without stopping.
SET/RND Button (Random Play) • Press this button while the CD is playing to activate Random Play.
• This feature plays the selections on the CD in random order to provide an interesting change of pace.
Audio Jack Operation
• The Audio Jack allows a portable device, such as an MP3 player or acassette player, to be plugged into the radio and utilize the vehicle’s
audio system, using a 3.5 mm audio cable, to amplify the source and play
through the vehicle speakers.
• Pressing the “AUX” button will change the mode to auxiliary device if the Audio Jack is connected, allowing the music from your portable device
to play through the vehicle's speakers.
• The functions of the portable device are controlled using the device buttons. The volume may be controlled using the radio or portable
device.
ELECTRONICS
31
Page 35 of 124
Radio Operation
Seek Up/Down Buttons• Press to seek through radio stations in AM, FM, or SAT bands.
• Hold either button to bypass stations without stopping.
Store Radio Presets • Press the “SET/RND” button once and SET 1 will show in the display. Then select button (1–6).
• A second station may be added to each push button. Press the “SET/RND” button twice and SET 2 will show in the display. Then select
button (1–6).
Music Type • Press the “MUSIC TYPE” button to activate this mode. Press the “MUSIC TYPE” button again or turn the “TUNE/SCROLL” control knob to select
the desired music type (Adult Hits, Country, Jazz, Oldies, Rock, etc.).
• Once a music type is chosen and the icon is displayed, press either “SEEK” button and the radio will only search for stations with the
selected music type.
NOTE: The Music Type function only operates when in FM mode.
SETUP Button • Pressing the “SETUP” button allows you to select between items that are available in that particular mode.
• Turn the “TUNE/SCROLL” control knob to scroll through the entries. Push the “AUDIO/SELECT” button to select an entry and make changes.
Sirius XM™ Satellite Radio
• Sirius XM™ Satellite Radio gives you over 130 channels, including 100%commercial-free music from nearly every genre, plus all your favorite
sports, news, talk and entertainment channels–all with crystal clear,
coast-to-coast coverage, all in one place and all at your fingertips.
• To access Sirius XM™ Satellite Radio, press the “SAT” hard-key.
CD/DISC Operation
Seek Up/Down Buttons
• Press to seek through CD tracks.
• Hold either button to bypass tracks without stopping.
SET/RND Button (Random Play) • Press this button while the CD is playing to activate Random Play.
• This feature plays the selections on the CD in random order to provide an interesting change of pace.
ELECTRONICS
33
Page 37 of 124
• Your radio has many features that add to the comfort and convenience ofyou and your passengers. Some of these radio features should not be used
when driving because they take your eyes from the road or your attention
from driving.
Clock Setting
• Press and hold the “TIME” button until the hours blink; turn the“TUNE/SCROLL” control knob to set the hours.
• Press the “TUNE/SCROLL” control knob until the minutes begin to blink; turn the “TUNE/SCROLL” control knob to set the minutes.
• Press the “TUNE/SCROLL” control knob to save the time change.
• To exit, press any button/knob or wait five seconds.
Equalizer, Balance And Fade
• Press the “TUNE/SCROLL” control knob and BASS, MID, TREBLE, BALANCE and FADE will display. Rotate the “TUNE/SCROLL” control
knob to select the desired setting.
Radio Operation
Seek Up/Down Buttons
• Press to seek through radio stations in AM, FM, or SAT bands.
• Hold either button to bypass stations without stopping.
Store Radio Presets • Press the “SET” button once and SET 1 will show in the display. Then select button (1–6).
• A second station may be added to each push button. Press the “SET” button twice and SET 2 will show in the display. Then select button (1–6).
Music Type • Press the “MUSIC TYPE” button to activate this mode. Press the “MUSIC TYPE” button again or turn the “TUNE/SCROLL” control knob to select
the desired music type (Adult Hits, Country, Jazz, Oldies, Rock, etc.).
• Once a music type is chosen and the icon is displayed, press the SEEK button and the radio will only search for stations with the selected music
type.
NOTE: The Music Type function only operates when in FM mode.
SETUP Button • Pressing the “SETUP” button allows you to select between items that are available in that particular mode.
• Turn the “TUNE/SCROLL” control knob to scroll through the entries. Push the “AUDIO/SELECT” button to select an entry and make changes.
ELECTRONICS
35
Page 42 of 124
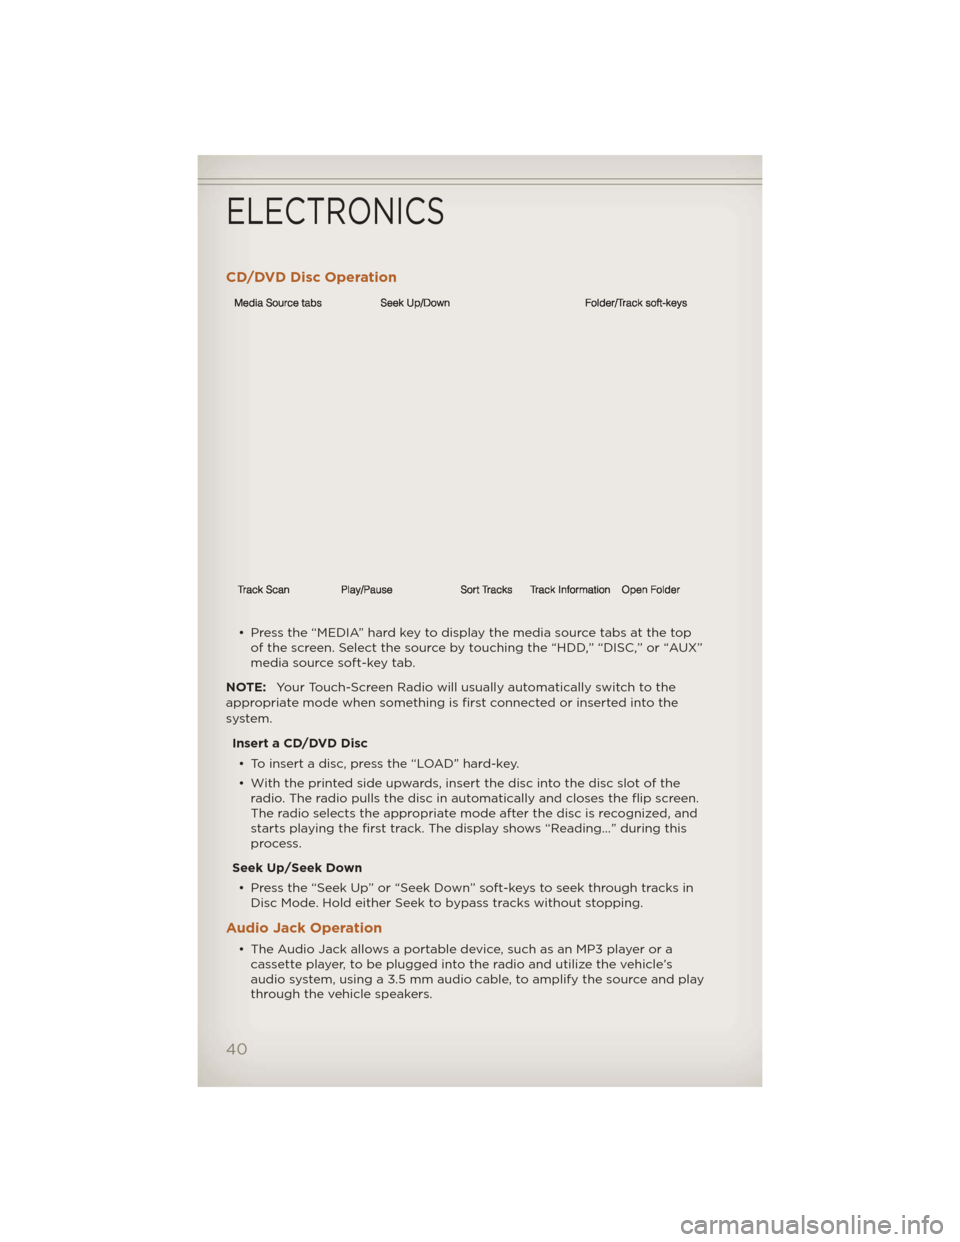
CD/DVD Disc Operation
• Press the “MEDIA” hard key to display the media source tabs at the topof the screen. Select the source by touching the “HDD,” “DISC,” or “AUX”
media source soft-key tab.
NOTE: Your Touch-Screen Radio will usually automatically switch to the
appropriate mode when something is first connected or inserted into the
system.
Insert a CD/DVD Disc• To insert a disc, press the “LOAD” hard-key.
• With the printed side upwards, insert the disc into the disc slot of the radio. The radio pulls the disc in automatically and closes the flip screen.
The radio selects the appropriate mode after the disc is recognized, and
starts playing the first track. The display shows “Reading...” during this
process.
Seek Up/Seek Down • Press the “Seek Up” or “Seek Down” soft-keys to seek through tracks in Disc Mode. Hold either Seek to bypass tracks without stopping.
Audio Jack Operation
• The Audio Jack allows a portable device, such as an MP3 player or acassette player, to be plugged into the radio and utilize the vehicle’s
audio system, using a 3.5 mm audio cable, to amplify the source and play
through the vehicle speakers.
ELECTRONICS
40
Page 51 of 124
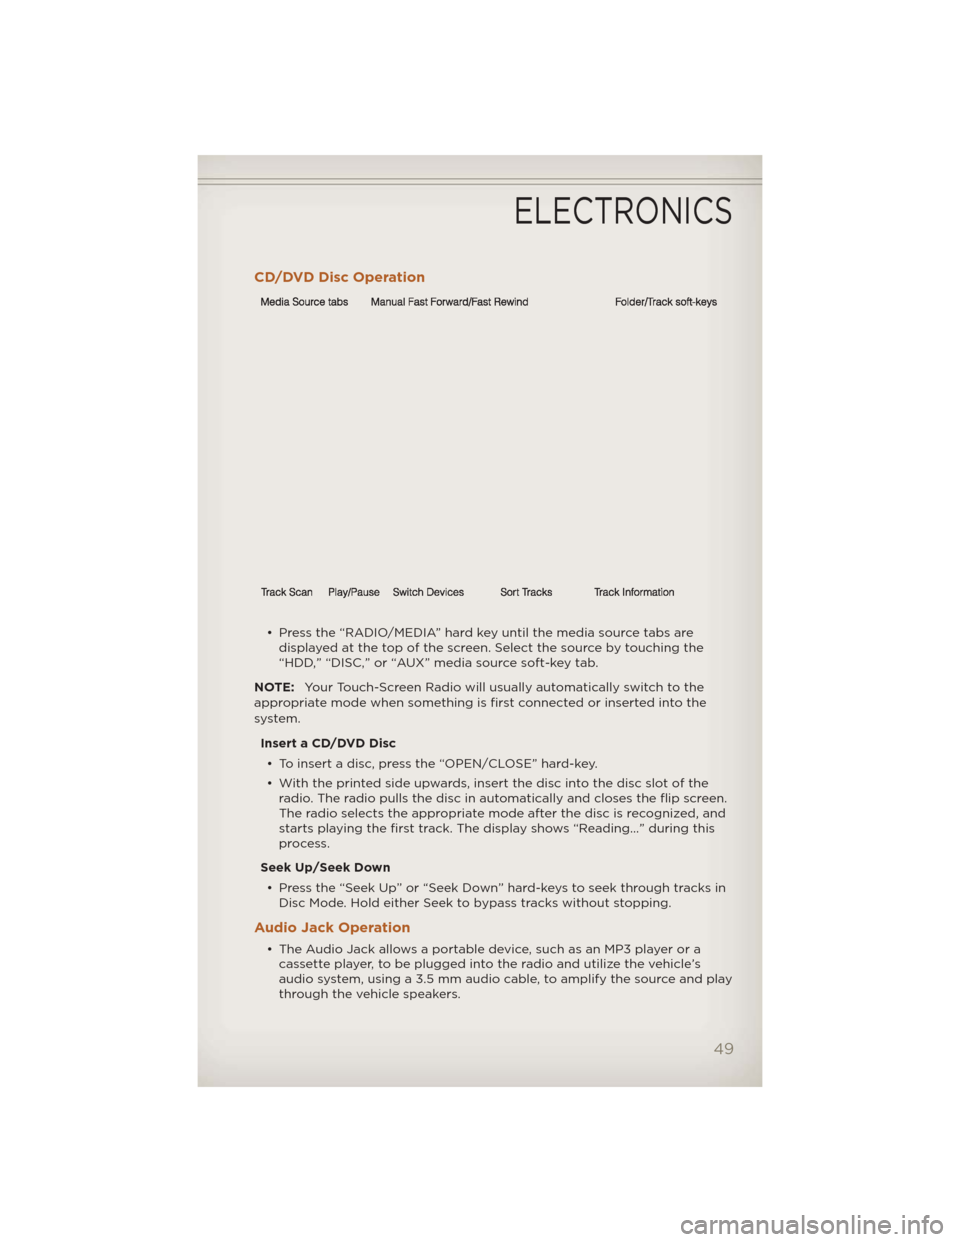
CD/DVD Disc Operation
• Press the “RADIO/MEDIA” hard key until the media source tabs aredisplayed at the top of the screen. Select the source by touching the
“HDD,” “DISC,” or “AUX” media source soft-key tab.
NOTE: Your Touch-Screen Radio will usually automatically switch to the
appropriate mode when something is first connected or inserted into the
system.
Insert a CD/DVD Disc• To insert a disc, press the “OPEN/CLOSE” hard-key.
• With the printed side upwards, insert the disc into the disc slot of the radio. The radio pulls the disc in automatically and closes the flip screen.
The radio selects the appropriate mode after the disc is recognized, and
starts playing the first track. The display shows “Reading...” during this
process.
Seek Up/Seek Down • Press the “Seek Up” or “Seek Down” hard-keys to seek through tracks in Disc Mode. Hold either Seek to bypass tracks without stopping.
Audio Jack Operation
• The Audio Jack allows a portable device, such as an MP3 player or acassette player, to be plugged into the radio and utilize the vehicle’s
audio system, using a 3.5 mm audio cable, to amplify the source and play
through the vehicle speakers.
ELECTRONICS
49
Page 60 of 124
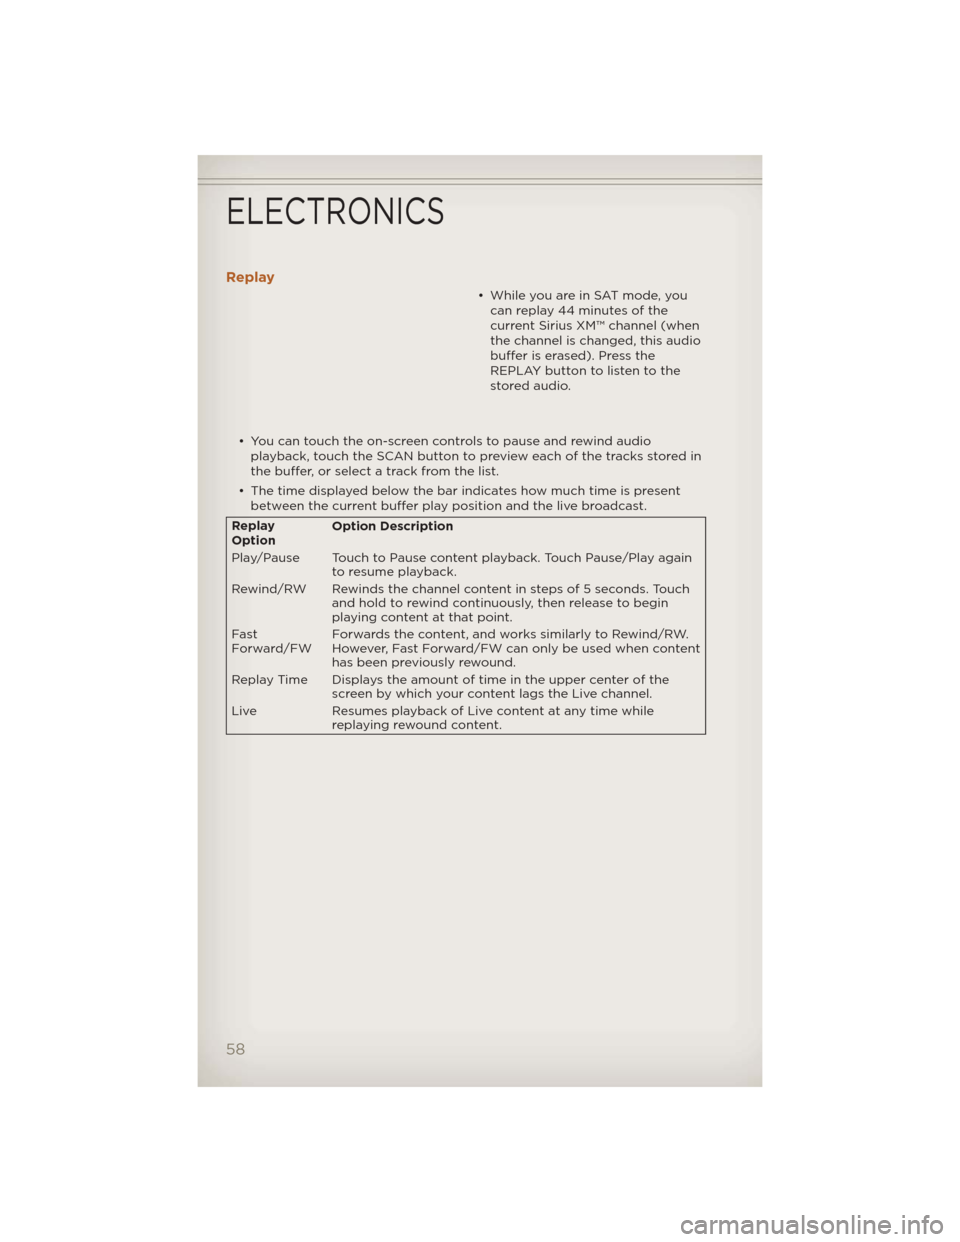
Replay
• While you are in SAT mode, youcan replay 44 minutes of the
current Sirius XM™ channel (when
the channel is changed, this audio
buffer is erased). Press the
REPLAY button to listen to the
stored audio.
• You can touch the on-screen controls to pause and rewind audio playback, touch the SCAN button to preview each of the tracks stored in
the buffer, or select a track from the list.
• The time displayed below the bar indicates how much time is present between the current buffer play position and the live broadcast.
Replay
Option Option Description
Play/Pause Touch to Pause content playback. Touch Pause/Play again to resume playback.
Rewind/RW Rewinds the channel content in steps of 5 seconds. Touch and hold to rewind continuously, then release to begin
playing content at that point.
Fast
Forward/FW Forwards the content, and works similarly to Rewind/RW.
However, Fast Forward/FW can only be used
when content
has been previously rewound.
Replay Time Displays the amount of time in the upper center of the screen by which your content lags the Live channel.
Live Resumes playback of Live content at any time while
replaying rewound content.
ELECTRONICS
58
Page 62 of 124
STEERING WHEEL AUDIO CONTROLS
• The steering wheel audio controlsare located on the rear surface of
the steering wheel.
Right Switch
• Press the switch up or down to increase or decrease the volume.
• Press the button in the center to change modes AM/FM/CD/SAT.
Left Switch
• Press the switch up or down to search for the next listenable station orselect the next or previous CD track.
• Press the button in the center to select the next preset station (radio) or to change CDs if equipped with a CD Changer.
Uconnect™ Phone
• To determine if your vehicle is equipped with Uconnect™ Phone, pressthe “Uconnect™ Phone” button. If your vehicle has this feature, after
a couple seconds you will hear a voice prompt. If not, you will see a
message on the radio “Uconnect phone not available”.
• The Uconnect™ Phone is a voice-activated, hands-free, in-vehicle communications system with Voice Command Capability (see Voice
Command section).
NOTE: To access the tutorial, press the “Uconnect™ Phone” button
.
After the BEEP, say “tutorial”. Press any hard-key/button or touch the display
(Touch-Screen radio) to cancel the tutorial.
• The Uconnect™ Phone allows you to dial a phone number with yourmobile phone using simple voice commands.
• Refer to your vehicle Owner's Manual on the DVD for further details.
NOTE: The Uconnect™ Phone requires a mobile phone equipped with the
Bluetooth® Hands-Free Profile, Version 1.0 or higher. For Uconnect™ customer
support, call 1–877–855–8400 or visit www.UconnectPhone.com.
ELECTRONICS
60
Page 65 of 124
WARNING!
• Any voice commanded system should be used only in safe drivingconditions following local laws and phone use. All attention should
be kept on the roadway ahead. Failure to do so may result in a
collision causing you and others to be severely injured or killed.
• In an emergency, to use Uconnect™ Phone, your mobile phone must be:
• turned on,
• paired to Uconnect™ Phone,
• and have network coverage.
Uconnect™ VOICE COMMAND
• The Uconnect™ Voice Command system allows you to control your AM, FM radio, satellite radio, disc player, HDD, Uconnect™ Phone, a memo
recorder, and supported portable media devices.
• When you press the “Voice Command” button
located on the
radio faceplate or steering wheel, you will hear a beep. The beep is your
signal to give a command. If you do not say a command within a few
seconds, the system will present you with a list of options. If you ever
wish to interrupt the system while it lists options, press the “Voice
Command” button
, listen for the BEEP, and say your command.
Voice Command Operation
• Start a dialogue by pressing the “Voice Command” button,
you will hear a beep. The beep is
your signal to give a command.
Below are a list of voice
commands for each of the
different modes.
Common Voice Commands (Examples)
Main Menu “Radio” (to switch to the radio mode) “Disc” (to switch to the disc mode)
“Memo” (to switch to the memo recorder)
“System Setup” (to switch to system setup)
Radio Mode “Frequency” (to change the frequency) “Next Station” (to select the next station)
“Previous Station” (to select the previous station)
“Radio Menu” (to switch to the radio menu)
“Main Menu” (to switch to the main menu)
ELECTRONICS
63