door lock JEEP LIBERTY 2012 KK / 2.G User Guide
[x] Cancel search | Manufacturer: JEEP, Model Year: 2012, Model line: LIBERTY, Model: JEEP LIBERTY 2012 KK / 2.GPages: 124, PDF Size: 2.92 MB
Page 7 of 124
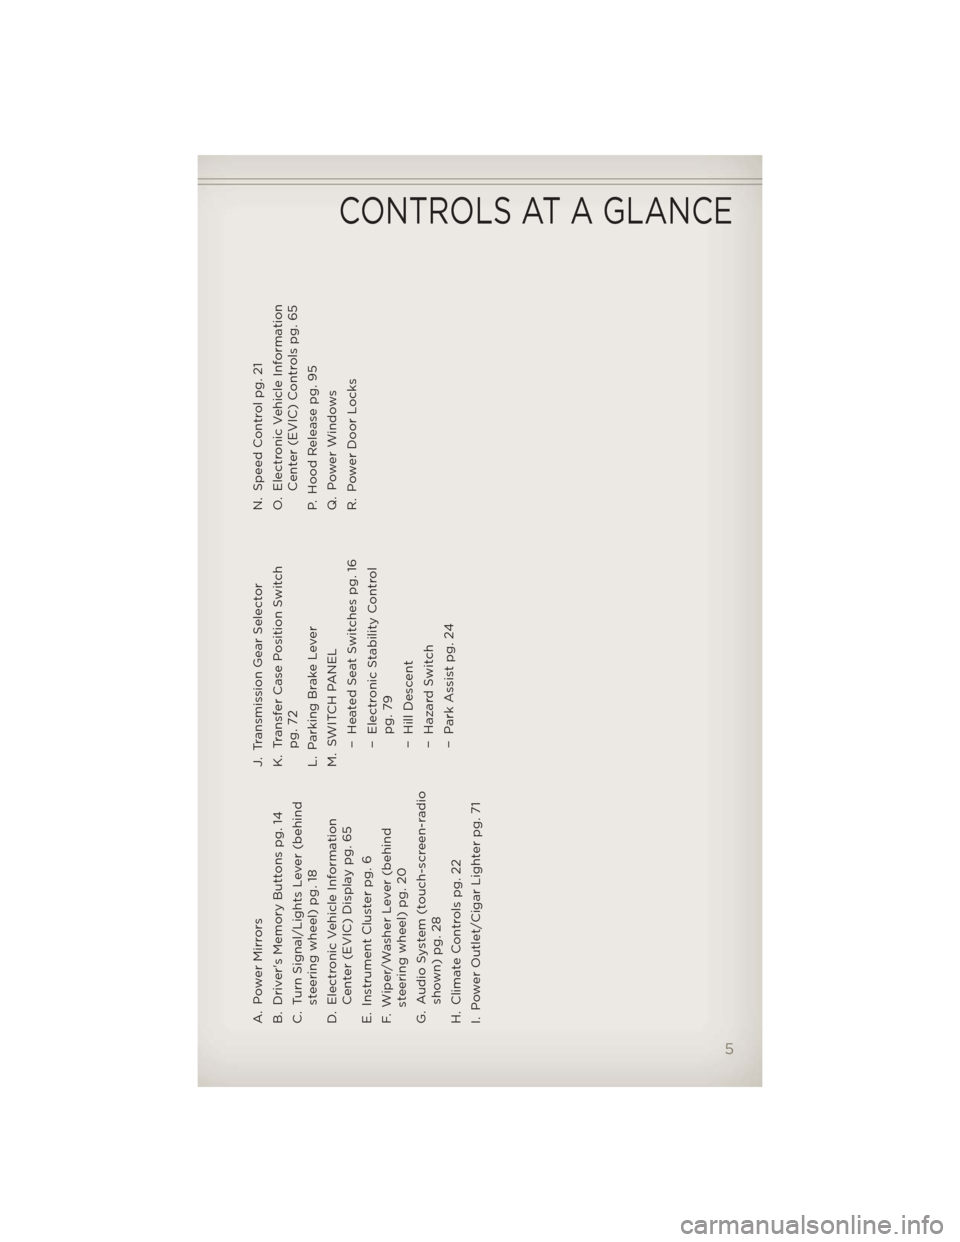
A. Power Mirrors
B. Driver's Memory Buttons pg. 14
C. Turn Signal/Lights Lever (behindsteering wheel) pg. 18
D. Electronic Vehicle Information Center (EVIC) Display pg. 65
E. Instrument Cluster pg. 6
F. Wiper/Washer Lever (behind steering wheel) pg. 20
G. Audio System (touch-screen-radio shown) pg. 28
H. Climate Controls pg. 22
I. Power Outlet/Cigar Lighter pg. 71 J. Transmission Gear Selector
K. Transfer Case Position Switch
pg. 72
L. Parking Brake Lever
M. SWITCH PANEL − Heated Seat Switches pg. 16
− Electronic Stability Controlpg. 79
− Hill Descent
− Hazard Switch
− Park Assist pg. 24 N. Speed Control pg. 21
O. Electronic Vehicle Information
Center (EVIC) Controls pg. 65
P. Hood Release pg. 95
Q. Power Windows
R. Power Door Locks
CONTROLS AT A GLANCE
5
Page 10 of 124
KEY FOB
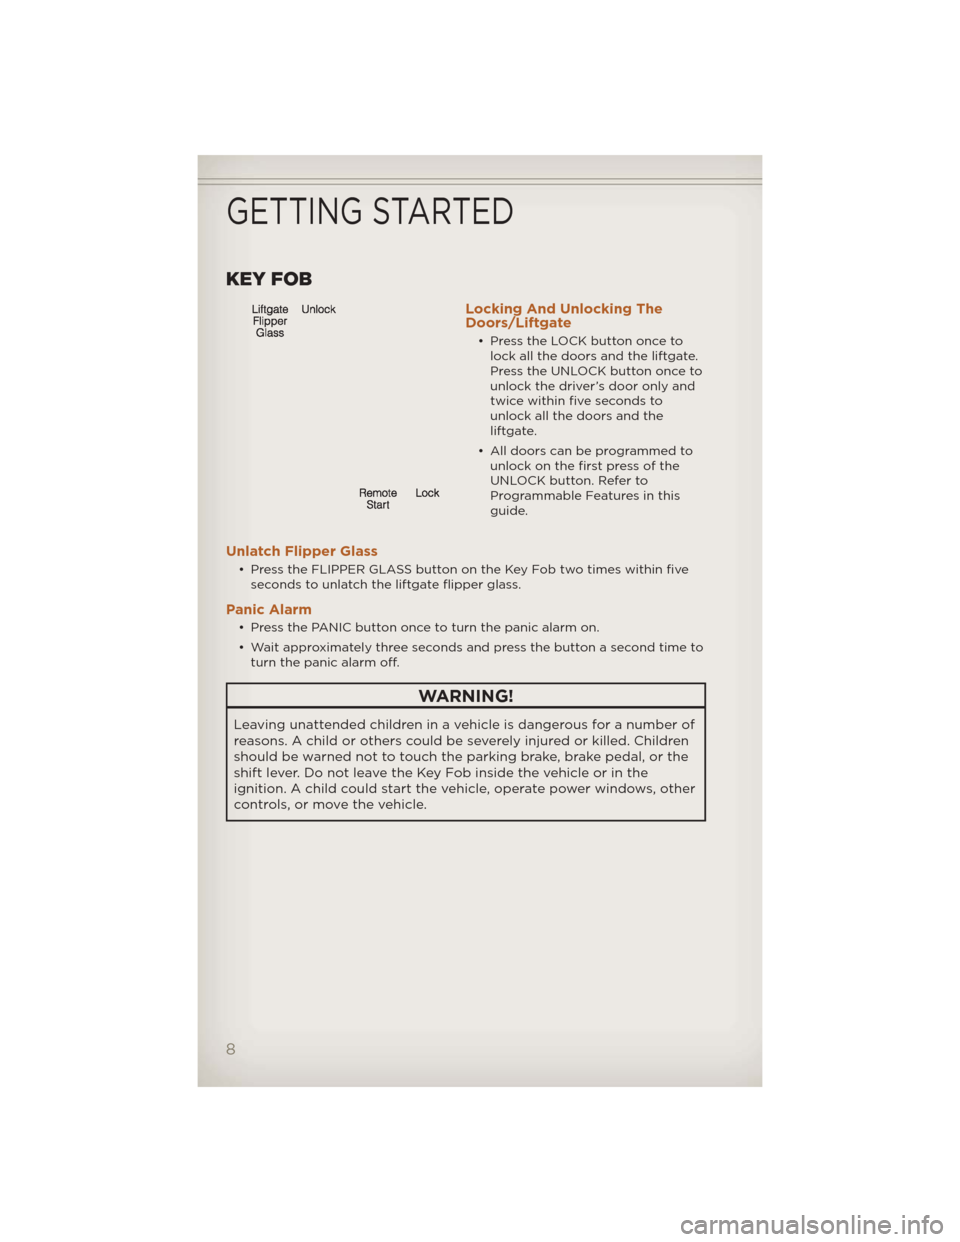
Locking And Unlocking The
Doors/Liftgate
• Press the LOCK button once tolock all the doors and the liftgate.
Press the UNLOCK button once to
unlock the driver’s door only and
twice within five seconds to
unlock all the doors and the
liftgate.
• All doors can be programmed to unlock on the first press of the
UNLOCK button. Refer to
Programmable Features in this
guide.
Unlatch Flipper Glass
• Press the FLIPPER GLASS button on the Key Fob two times within fiveseconds to unlatch the liftgate flipper glass.
Panic Alarm
• Press the PANIC button once to turn the panic alarm on.
• Wait approximately three seconds and press the button a second time toturn the panic alarm off.
WARNING!
Leaving unattended children in a vehicle is dangerous for a number of
reasons. A child or others could be severely injured or killed. Children
should be warned not to touch the parking brake, brake pedal, or the
shift lever. Do not leave the Key Fob inside the vehicle or in the
ignition. A child could start the vehicle, operate power windows, other
controls, or move the vehicle.
GETTING STARTED
8
Page 11 of 124
REMOTE START
• Press the REMOTE START buttonx2on the Key Fob twice within five
seconds. Pressing the REMOTE START button a third time shuts the
engine off.
• To drive the vehicle, press the UNLOCK button, insert the key in the ignition and turn to the ON/RUN position.
• With remote start, the engine will only run for 15 minutes (timeout) unless the ignition key is placed in the ON/RUN position.
• The vehicle must be started with the key after two consecutive timeouts.
WARNING!
• Do not start or run an engine in a closed garage or confined area. Exhaust gas contains Carbon Monoxide (CO) which is odorless and
colorless. Carbon Monoxide is poisonous and can cause serious
injury or death when inhaled.
• Keep Key Fob transmitters away fromchildren. Operation of the
Remote Start System, windows, door locks or other controls could
cause serious injury or death.
THEFT ALARM
To A r m
• Press the Key Fob LOCK button or the power door lock switch while the door is open.
To Disarm
• Press the Key Fob UNLOCK button or turn the ignition to the ON/RUNposition.
SEAT BELT
• Be sure everyone in your vehicle is in a seat and using a seat beltproperly.
• Position the lap belt across your thighs, below your abdomen. To remove slack in the lap portion, pull up a bit on the shoulder belt. To loosen the
lap belt if it is too tight, tilt the latch plate and pull on the lap belt. A
snug belt reduces the risk of sliding under the belt in a collision.
• Position the shoulder belt on your chest so that it is comfortable and not resting on your neck. The retractor will withdraw any slack in the belt.
• A shoulder belt placed behind you will not protect you from injury during a collision. You are more likely to hit your head in a collision if you do not
wear your shoulder belt. The lap and shoulder belt are meant to be used
together.
GETTING STARTED
9
Page 68 of 124
• Press and release the COMPASSbutton for instant access to the
Compass/Temperature screens.
• Press the SELECT
button to RESET Trip Functions and change
Personal Settings.
Compass Calibration
• This compass is self-calibrating, which eliminates the need to set the compass manually. When the vehicle is new, the compass may appear
erratic and the EVIC will display “CAL” until the compass is calibrated.
• You may also calibrate the compass by completing one or more 360 degree turns (in an area free from large metal or metallic objects) until
the “CAL” message displayed in the EVIC turns off. The compass will now
function normally.
ECO
• The ECO message will appear in your odometer whenever you aredriving in a fuel efficient manner.
• This feature allows you to monitor when you are driving in a fuel efficient manner, and it can be used to modify driving habits in order to increase
fuel economy.
PROGRAMMABLE FEATURES
Electronic Vehicle Information Center (EVIC)
• The EVIC can be used to program the following Personal Settings. Pressand release the MENU button until Personal Settings displays, then press
the DOWN button
to scroll through the settings. Press the SELECT
buttonto change the setting.
• Language • Easy Exit Seat
• Auto UNLK On Exit • Key-Off Power Delay
• RKE Unlock • ILLUMIN. Approach
• RKE Linked To Memory • Park ASST. System
• Sound Horn With Lock • Hill Start Assist
• Flash Lamp With Lock • Rain Sensing Intermittent Wipers
• Display Fuel Saver • Headlamps With Wipers
• Headlamp Off Delay
Key Fob Programmable Features
• The following features may also be programmed by using the Key Fob transmitter or the ignition switch and driver's door lock switch.
NOTE: Pressing the LOCK button while you are inside the vehicle will
activate the Vehicle Security Alarm. Opening a door with the Vehicle
Security Alarm activated will cause the alarm to sound. Press the UNLOCK
button to deactivate the Vehicle Security Alarm.
ELECTRONICS
66
Page 69 of 124
Unlock On First Press• To unlock either the driver's side, or all doors, on the first press of the UNLOCK button:
• Press and hold the LOCK button for at least 4 seconds, but no longer than 10 seconds. Then, press and hold the UNLOCK button while still
holding the LOCK button.
• Release both buttons at the same time.
Auto Unlock Doors On Exit • To have all of the vehicle doors unlock when any door is opened:• Enter your vehicle and close all the doors.
• Cycle the ignition switch between LOCK and ON and then back to LOCK four times, ending up in the LOCK position (do not start the
engine).
• Press the power door UNLOCK switch to unlock the doors. A single chime will indicate that programming is complete.
Sound Horn With Lock • To turn the horn chirp on or off when the doors are locked:• Press the LOCK button for at least 4 seconds, but no longer than 10 seconds. Then, press the PANIC button while still holding the LOCK
button.
• Release both buttons at the same time.
Flashing Lamp With Lock • The turn signal lights flashing, when the doors are locked or unlocked, feature can be turned on or off. To turn this feature on or off:
• Press and hold the UNLOCK button for at least 4 seconds, but no longer than 10 seconds. Then, press and hold the LOCK button while still
holding the UNLOCK button.
• Release both buttons at the same time.
ELECTRONICS
67
Page 72 of 124
Programming A Non-Rolling Code
• For programming Garage Door Openers manufactured before 1995.
• Turn the ignition switch to the ON/RUN position.
• Place the hand-held transmitter 1 to 3 in (3 to 8 cm) away from theHomeLink® button you wish to program while keeping the HomeLink®
indicator light in view.
• Simultaneously press and hold both the HomeLink® button you want to program and the hand-held transmitter button.
• Continue to hold both buttons and observe the indicator light. The Homelink® indicator will flash slowly and then rapidly after Homelink® has
received the frequency signal from the hand-held transmitter. Release
both buttons after the indicator light changes from slow to rapid.
• Press and hold the programmed HomeLink® button and observe the indicator light.
NOTE:
• If the indicator light stays on constantly, programming is complete and the garage door (or device) should activate when the HomeLink® button is
pressed.
• To program the two remaining HomeLink® buttons, repeat each step for each remaining button. DO NOT erase the channels.
Using HomeLink®
• To operate, press and release the programmed HomeLink® button.Activation will now occur for the programmed device (i.e., garage door
opener, gate operator, security system, entry door lock, home/office
lighting, etc.,). The hand-held transmitter of the device may also be used
at any time.
WARNING!
• Your motorized door or gate will open and close while you areprogramming the universal transceiver. Do not program the
transceiver if people or pets are in the path of the door or gate.
• Do not run your vehicle in a closed garage or confined area while programming the transceiver. Exhaust gas from your vehicle
contains Carbon Monoxide (CO) which is odorless and colorless.
Carbon Monoxide is poisonous when inhaled and can cause you and
others to be severely injured or killed.
ELECTRONICS
70
Page 97 of 124
OPENING THE HOOD
• Pull the release lever located below the instrument panel and in front ofthe driver’s door.
• Raise the hood and locate the safety latch, in the middle of the hood opening.
• Move the safety latch while lifting the hood at the same time.
• Insert the support rod into the slot on the hood.
• To close the hood, remove the support rod and place it in the retaining clip, then lower the hood slowly.
WARNING!
Be sure the hood is fully latched before driving your vehicle. If the
hood is not fully latched, it could open when the vehicle is in motion
and block your vision. Failure to follow this warning could result in
serious injury or death.
MAINTAINING YOUR VEHICLE
95
Page 105 of 124
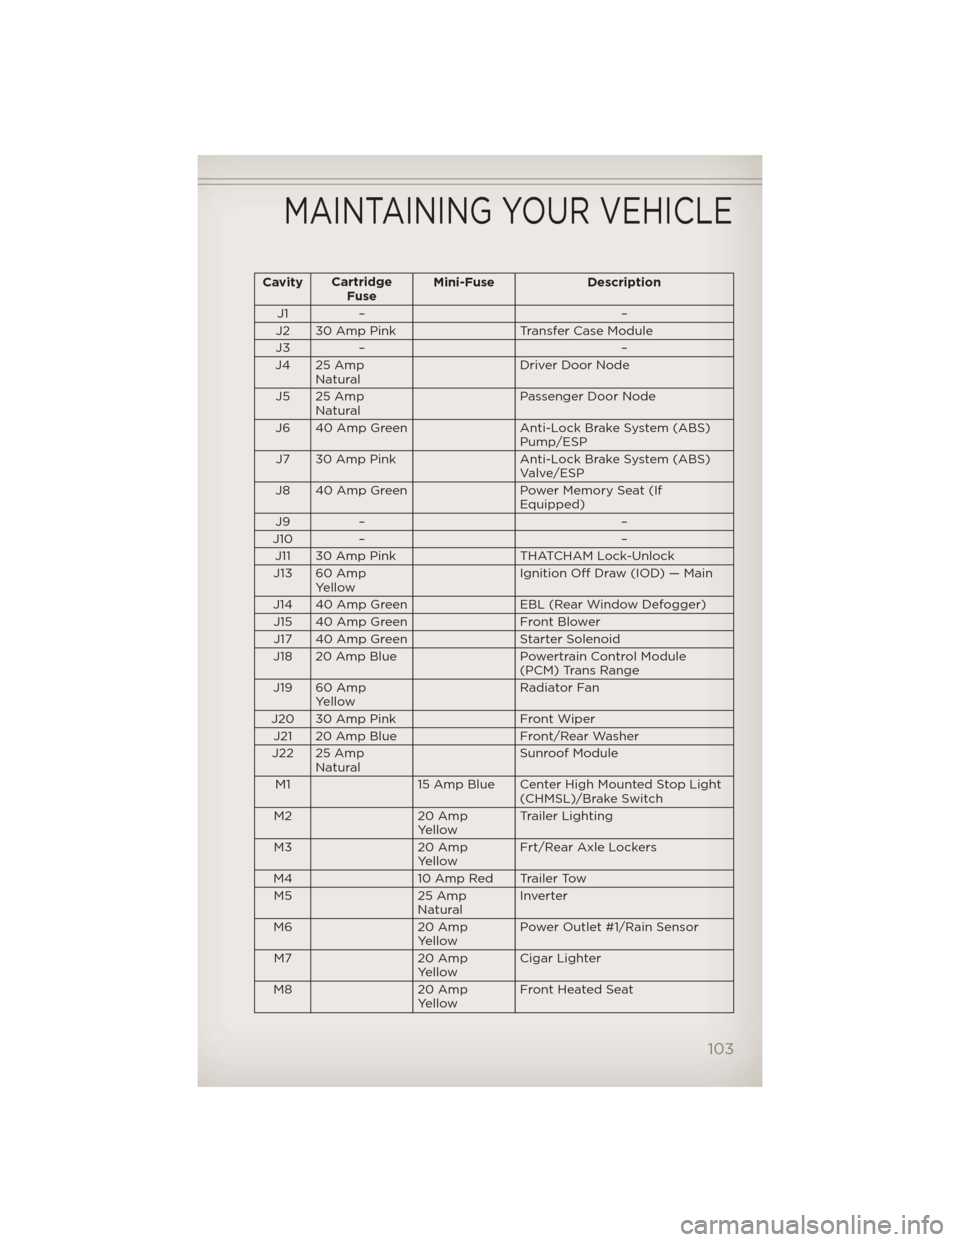
CavityCartridge
Fuse Mini-Fuse Description
J1 – –
J2 30 Amp Pink Transfer Case Module
J3 – –
J4 25 Amp Natural Driver Door Node
J5 25 Amp Natural Passenger Door Node
J6 40 Amp Green Anti-Lock Brake System (ABS)
Pump/ESP
J7 30 Amp Pink Anti-Lock Brake System (ABS)
Valve/ESP
J8 40 Amp Green Power Memory Seat (If
Equipped)
J9 – –
J10 – –
J11 30 Amp Pink THATCHAM Lock-Unlock
J13 60 Amp Yellow Ignition Off Draw (IOD) — Main
J14 40 Amp Green EBL (Rear Window Defogger)
J15 40 Amp Green Front Blower
J17 40 Amp Green Starter Solenoid
J18 20 Amp Blue Powertrain Control Module
(PCM) Trans Range
J19 60 Amp Yellow Radiator Fan
J20 30 Amp Pink Front Wiper
J21 20 Amp Blue Front/Rear Washer
J22 25 Amp Natural Sunroof Module
M1 15 Amp Blue Center High Mounted Stop Light
(CHMSL)/Brake Switch
M2 20 Amp
Yellow Trailer Lighting
M3 20 Amp
Yellow Frt/Rear Axle Lockers
M4 10 Amp Red Trailer Tow
M5 25 Amp
Natural Inverter
M6 20 Amp
Yellow Power Outlet #1/Rain Sensor
M7 20 Amp
Yellow Cigar Lighter
M8 20 Amp
Yellow Front Heated Seat
MAINTAINING YOUR VEHICLE
103
Page 106 of 124
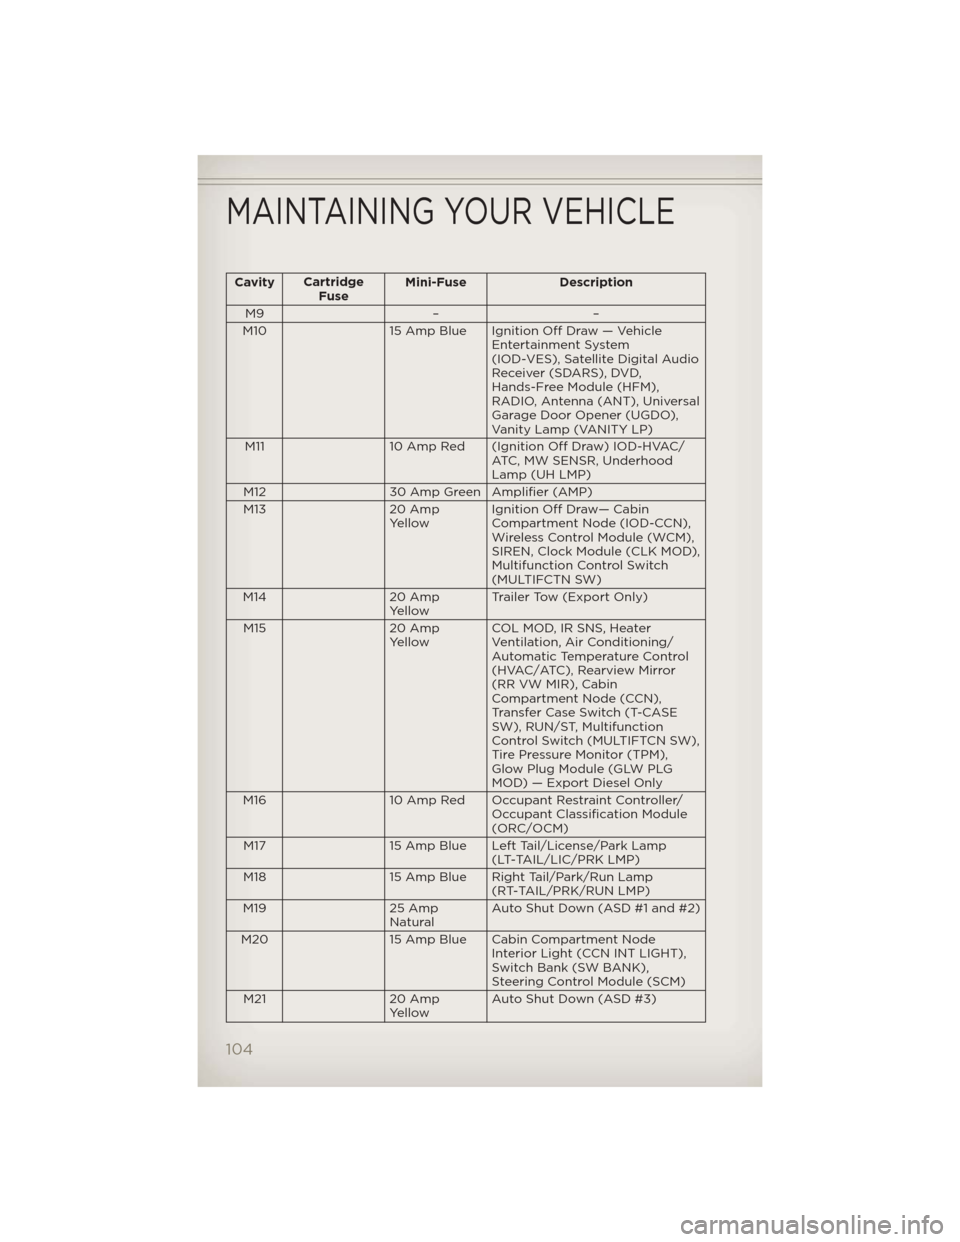
CavityCartridge
Fuse Mini-Fuse Description
M9 – –
M10 15 Amp Blue Ignition Off Draw — Vehicle Entertainment System
(IOD-VES), Satellite Digital Audio
Receiver (SDARS), DVD,
Hands-Free Module (HFM),
RADIO, Antenna (ANT), Universal
Garage Door Opener (UGDO),
Vanity Lamp (VANITY LP)
M11 10 Amp Red (Ignition Off Draw) IOD-HVAC/ ATC, MW SENSR, Underhood
Lamp (UH LMP)
M12 30 Amp Green Amplifier (AMP)
M13 20 Amp YellowIgnition Off Draw— Cabin
Compartment Node (IOD-CCN),
Wireless Control Module (WCM),
SIREN, Clock Module (CLK MOD),
Multifunction Control Switch
(MULTIFCTN SW)
M14 20 Amp
Yellow Trailer Tow (Export Only)
M15 20 Amp
Yellow COL MOD, IR SNS, Heater
Ventilation, Air Conditioning/
Automatic Temperature Control
(HVAC/ATC), Rearview Mirror
(RR VW MIR), Cabin
Compartment Node (CCN),
Transfer Case Switch (T-CASE
SW), RUN/ST, Multifunction
Control Switch (MULTIFTCN SW),
Tire Pressure Monitor (TPM),
Glow Plug Module (GLW PLG
MOD) — Export Diesel Only
M16 10 Amp Red Occupant Restraint Controller/
Occupant Classification Module
(ORC/OCM)
M17 15 Amp Blue Left Tail/License/Park Lamp
(LT-TAIL/LIC/PRK LMP)
M18 15 Amp Blue Right Tail/Park/Run Lamp
(RT-TAIL/PRK/RUN LMP)
M19 25 Amp
Natural Auto Shut Down (ASD #1 and #2)
M20 15 Amp Blue Cabin Compartment Node
Interior Light (CCN INT LIGHT),
Switch Bank (SW BANK),
Steering Control Module (SCM)
M21 20 Amp
Yellow Auto Shut Down (ASD #3)
MAINTAINING YOUR VEHICLE
104
Page 112 of 124
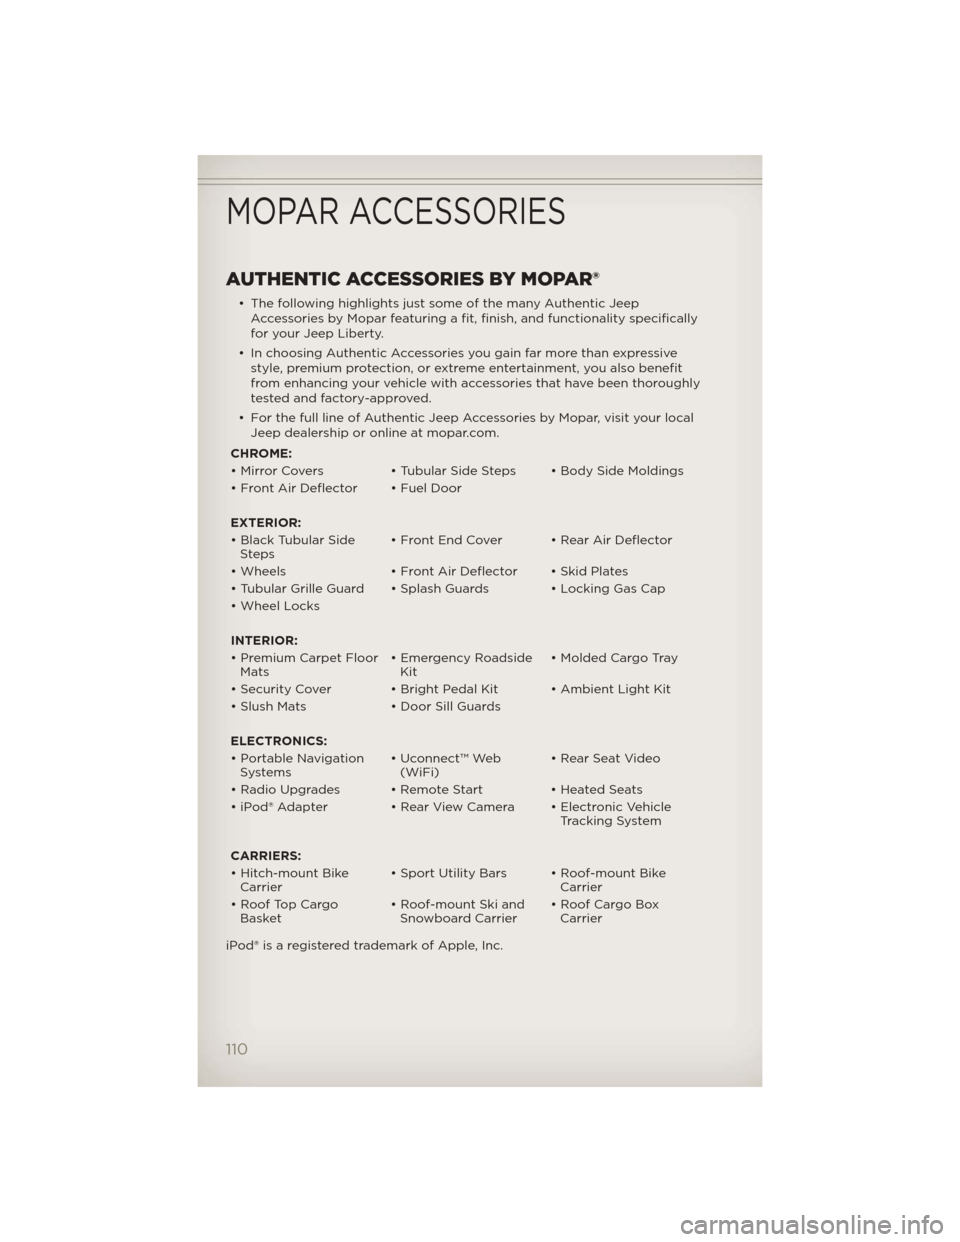
AUTHENTIC ACCESSORIES BY MOPAR®
• The following highlights just some of the many Authentic JeepAccessories by Mopar featuring a fit, finish, and functionality specifically
for your Jeep Liberty.
• In choosing Authentic Accessories you gain far more than expressive style, premium protection, or extreme entertainment, you also benefit
from enhancing your vehicle with accessories that have been thoroughly
tested and factory-approved.
• For the full line of Authentic Jeep Accessories by Mopar, visit your local Jeep dealership or online at mopar.com.
CHROME:
• Mirror Covers • Tubular Side Steps • Body Side Moldings
• Front Air Deflector • Fuel Door
EXTERIOR:
• Black Tubular Side Steps • Front End Cover • Rear Air Deflector
• Wheels • Front Air Deflector • Skid Plates
• Tubular Grille Guard • Splash Guards • Locking Gas Cap
• Wheel Locks
INTERIOR:
• Premium Carpet Floor Mats • Emergency Roadside
Kit • Molded Cargo Tray
• Security Cover • Bright Pedal Kit • Ambient Light Kit
• Slush Mats • Door Sill Guards
ELECTRONICS:
• Portable Navigation Systems • Uconnect™ Web
(WiFi) • Rear Seat Video
• Radio Upgrades • Remote Start • Heated Seats
• iPod® Adapter • Rear View Camera • Electronic Vehicle
Tracking System
CARRIERS:
• Hitch-mount Bike Carrier • Sport Utility Bars • Roof-mount Bike
Carrier
• Roof Top Cargo Basket • Roof-mount Ski and
Snowboard Carrier • Roof Cargo Box
Carrier
iPod® is a registered trademark of Apple, Inc.
MOPAR ACCESSORIES
110