instrument panel JEEP PATRIOT 2007 1.G User Guide
[x] Cancel search | Manufacturer: JEEP, Model Year: 2007, Model line: PATRIOT, Model: JEEP PATRIOT 2007 1.GPages: 440, PDF Size: 7.26 MB
Page 97 of 440
When calling a number with your UConnectŸ system
that normally requires you to enter in a touch-tone
sequence on your cellular phone keypad, you can push
the 'Voice Recognition' button and say the sequence you
wish to enter followed by the word9Send.9For example,
if required to enter your pin number followed with a
pound3746#,youcanpressthe'Voice Recognition'
button and say93746#Send.9Saying a number, or
sequence of numbers, followed by9Send9is also to be
used to navigate through an automated customer service
center menu structure and to leave a number on a pager.
Barge In - Overriding Prompts
The 'Voice Recognition' button can be used when you
wish to skip part of a prompt and issue your voice
recognition command immediately. For example, if a
prompt is playing9Would you like to pair a phone, clear
a{,9you could press the 'Voice Recognition' button and
say9Pair a Phone9to select that option without having to
listen to the rest of the voice prompt.
Turning Confirmation Prompts On/Off
Turning confirmation prompts off will stop the system
from confirming your choices (e.g., the UConnectŸ
system will not repeat a phone number before you dial
it).
²Press the 'Phone' button to begin.
²After the9Ready9prompt and the following beep, say
9Setup Confirmations.9The UConnectŸ system will
play the current confirmation prompt status and you
will be given the choice to change it.
Phone and Network Status Indicators
If available on the radio and/or on a premium display
such as the instrument panel cluster, and supported by
your cell phone, the UConnectŸ system will provide
notification to inform you of your phone and network
status when you are attempting to make a phone call
using UConnectŸ. The status is given for roaming net-
work signal strength, phone battery strength, etc.
96 UNDERSTANDING THE FEATURES OF YOUR VEHICLE
Page 113 of 440
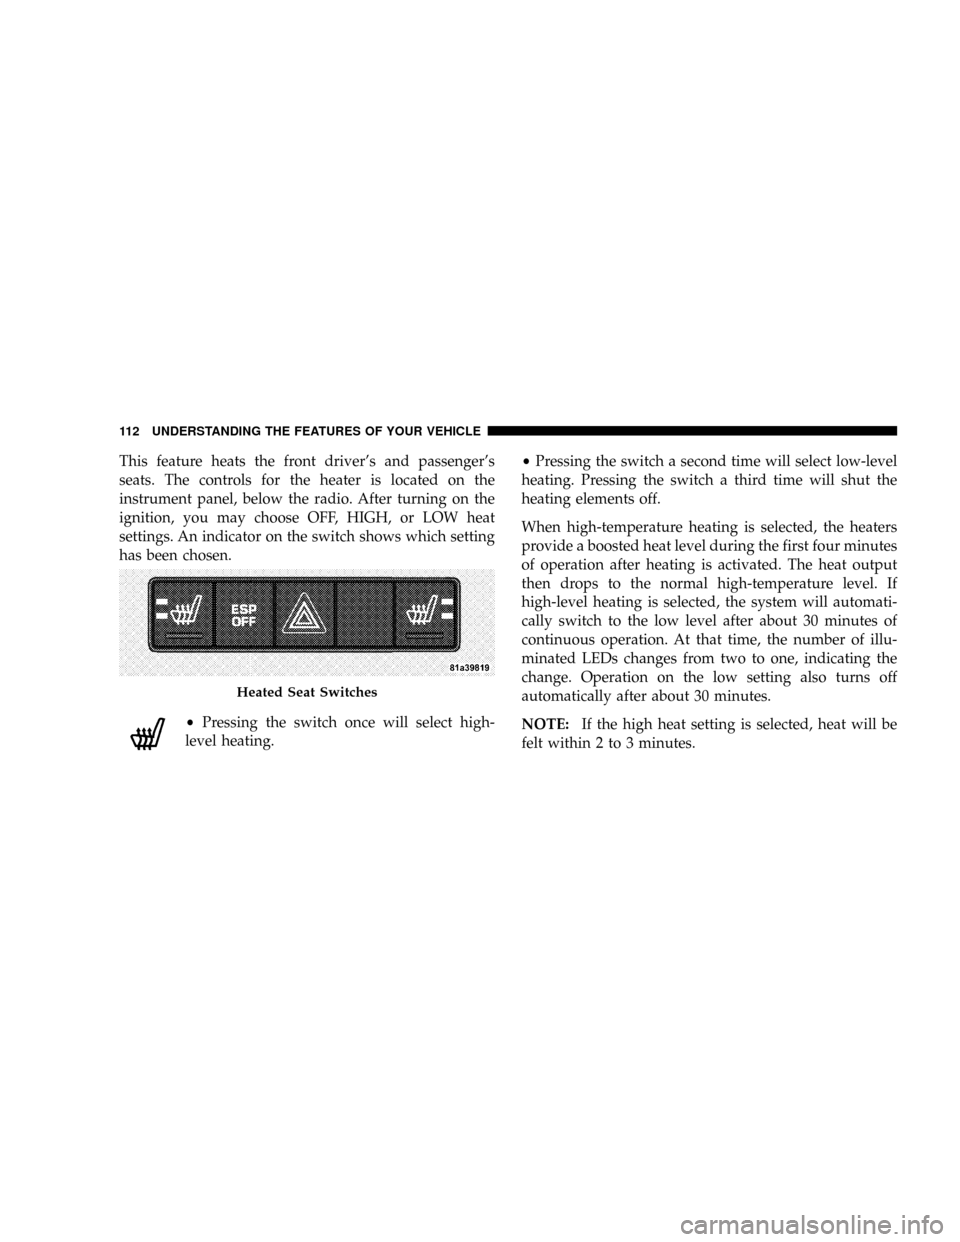
This feature heats the front driver's and passenger's
seats. The controls for the heater is located on the
instrument panel, below the radio. After turning on the
ignition, you may choose OFF, HIGH, or LOW heat
settings. An indicator on the switch shows which setting
has been chosen.
²Pressing the switch once will select high-
level heating.²Pressing the switch a second time will select low-level
heating. Pressing the switch a third time will shut the
heating elements off.
When high-temperature heating is selected, the heaters
provide a boosted heat level during the first four minutes
of operation after heating is activated. The heat output
then drops to the normal high-temperature level. If
high-level heating is selected, the system will automati-
cally switch to the low level after about 30 minutes of
continuous operation. At that time, the number of illu-
minated LEDs changes from two to one, indicating the
change. Operation on the low setting also turns off
automatically after about 30 minutes.
NOTE:If the high heat setting is selected, heat will be
felt within 2 to 3 minutes.
Heated Seat Switches
112 UNDERSTANDING THE FEATURES OF YOUR VEHICLE
Page 120 of 440
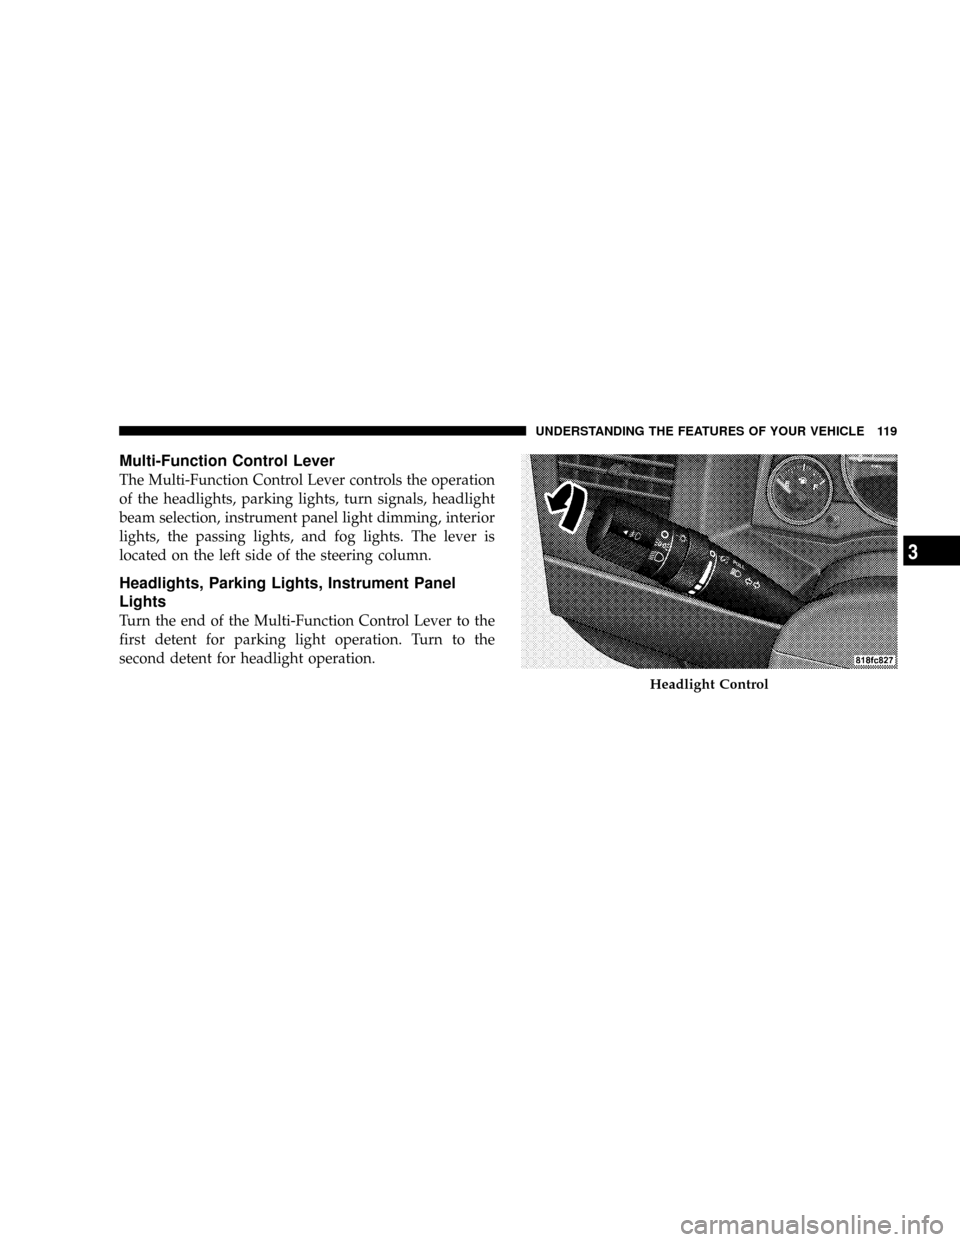
Multi-Function Control Lever
The Multi-Function Control Lever controls the operation
of the headlights, parking lights, turn signals, headlight
beam selection, instrument panel light dimming, interior
lights, the passing lights, and fog lights. The lever is
located on the left side of the steering column.
Headlights, Parking Lights, Instrument Panel
Lights
Turn the end of the Multi-Function Control Lever to the
first detent for parking light operation. Turn to the
second detent for headlight operation.
Headlight Control
UNDERSTANDING THE FEATURES OF YOUR VEHICLE 119
3
Page 121 of 440
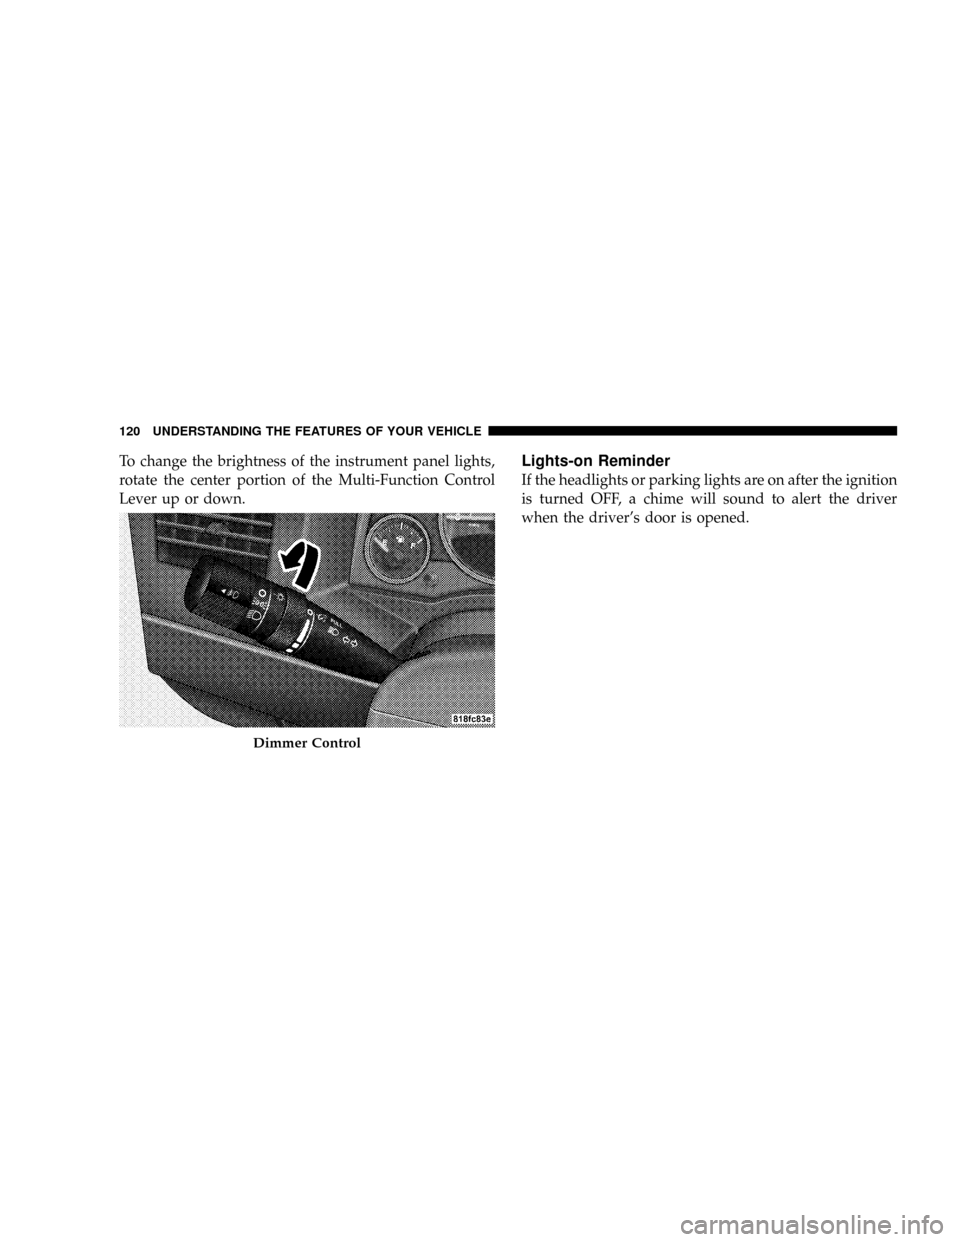
To change the brightness of the instrument panel lights,
rotate the center portion of the Multi-Function Control
Lever up or down.Lights-on Reminder
If the headlights or parking lights are on after the ignition
is turned OFF, a chime will sound to alert the driver
when the driver's door is opened.
Dimmer Control
120 UNDERSTANDING THE FEATURES OF YOUR VEHICLE
Page 164 of 440
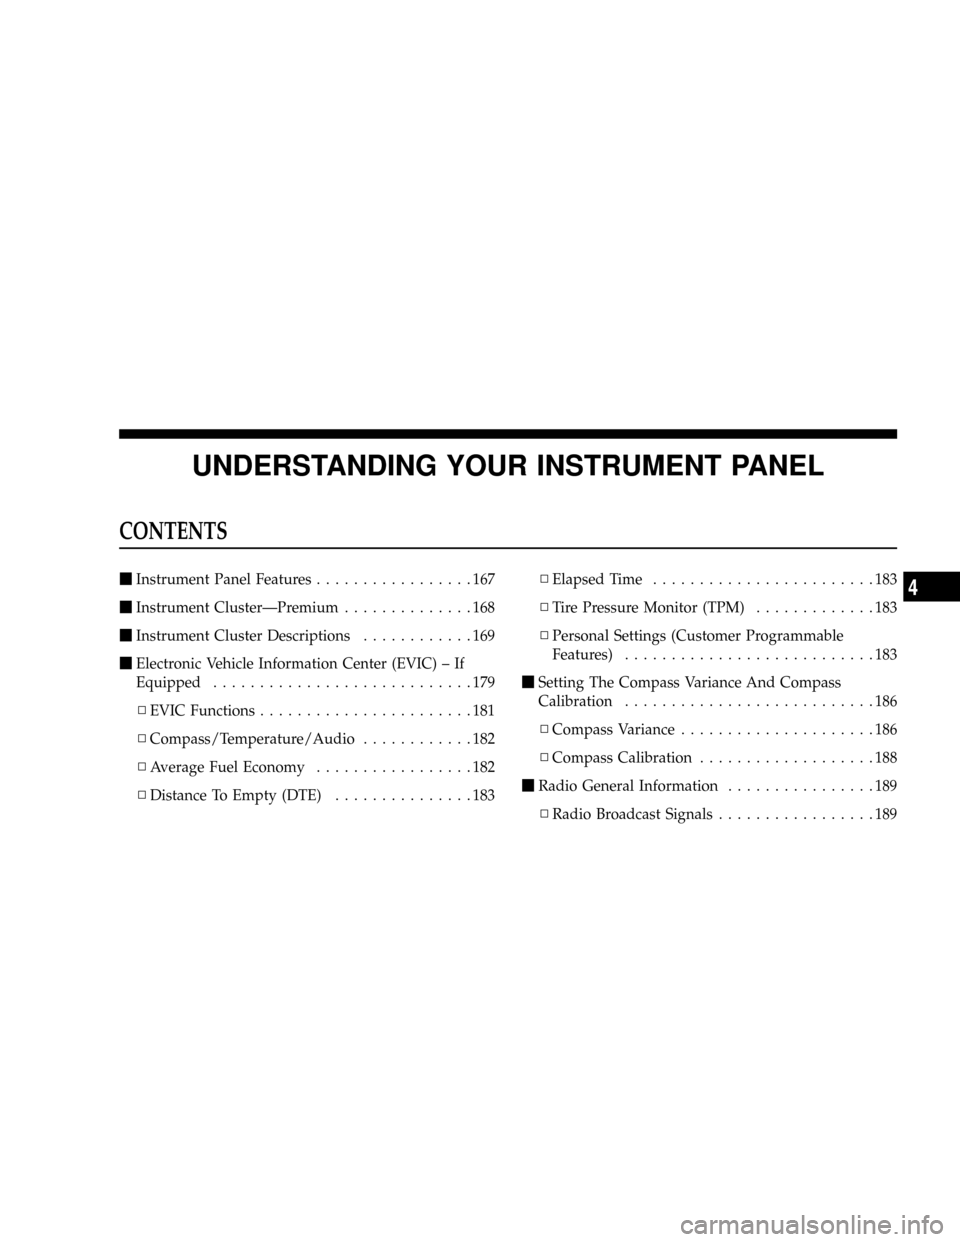
UNDERSTANDING YOUR INSTRUMENT PANEL
CONTENTS
mInstrument Panel Features.................167
mInstrument ClusterÐPremium..............168
mInstrument Cluster Descriptions............169
mElectronic Vehicle Information Center (EVIC) ± If
Equipped............................179
NEVIC Functions.......................181
NCompass/Temperature/Audio............182
NAverage Fuel Economy.................182
NDistance To Empty (DTE)...............183NElapsed Time........................183
NTire Pressure Monitor (TPM).............183
NPersonal Settings (Customer Programmable
Features)...........................183
mSetting The Compass Variance And Compass
Calibration...........................186
NCompass Variance.....................186
NCompass Calibration...................188
mRadio General Information................189
NRadio Broadcast Signals.................1894
Page 165 of 440
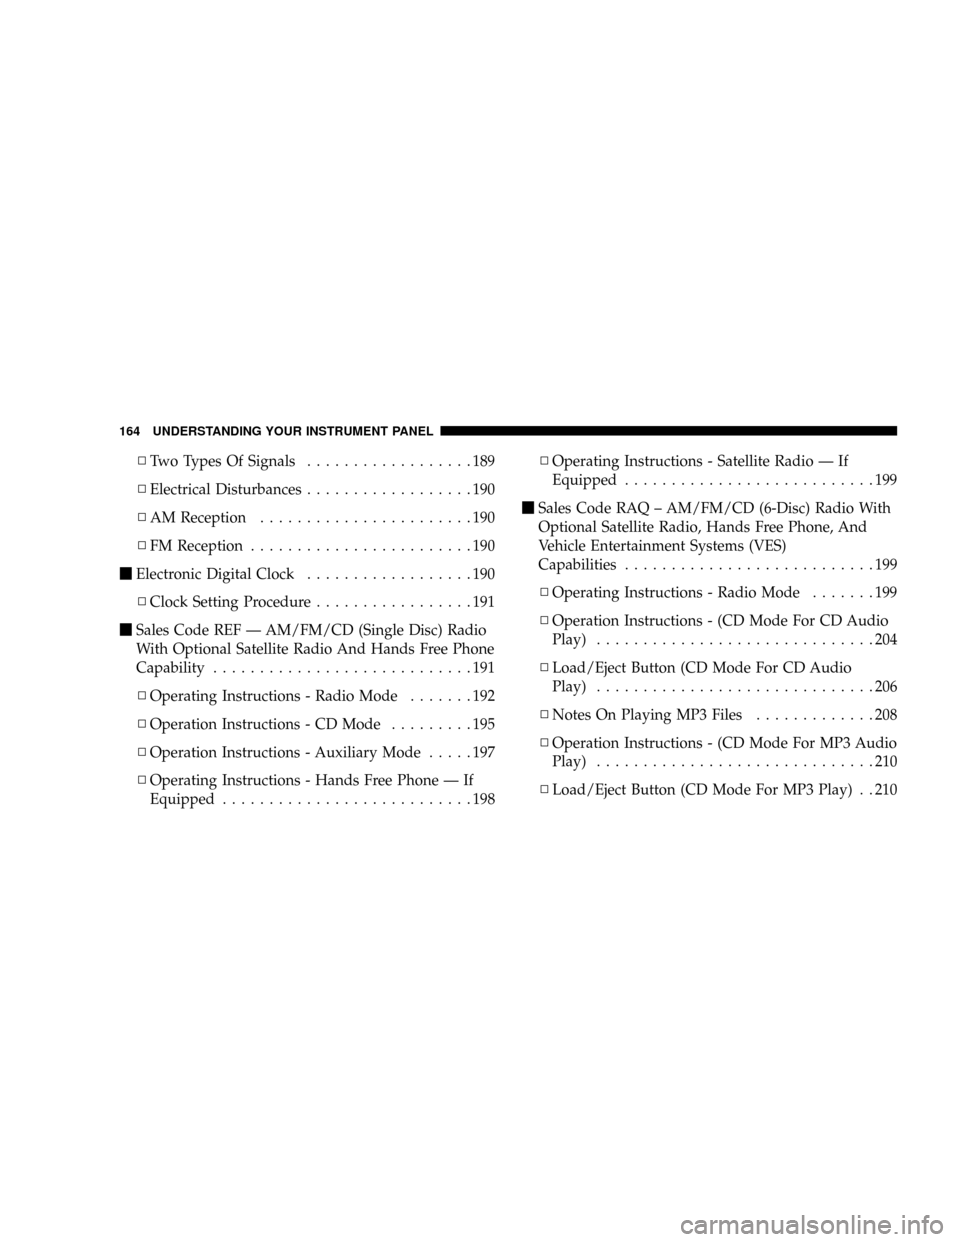
NTwo Types Of Signals..................189
NElectrical Disturbances..................190
NAM Reception.......................190
NFM Reception........................190
mElectronic Digital Clock..................190
NClock Setting Procedure.................191
mSales Code REF Ð AM/FM/CD (Single Disc) Radio
With Optional Satellite Radio And Hands Free Phone
Capability............................191
NOperating Instructions - Radio Mode.......192
NOperation Instructions - CD Mode.........195
NOperation Instructions - Auxiliary Mode.....197
NOperating Instructions - Hands Free Phone Ð If
Equipped...........................198NOperating Instructions - Satellite Radio Ð If
Equipped...........................199
mSales Code RAQ ± AM/FM/CD (6-Disc) Radio With
Optional Satellite Radio, Hands Free Phone, And
Vehicle Entertainment Systems (VES)
Capabilities...........................199
NOperating Instructions - Radio Mode.......199
NOperation Instructions - (CD Mode For CD Audio
Play)..............................204
NLoad/Eject Button (CD Mode For CD Audio
Play)..............................206
NNotes On Playing MP3 Files.............208
NOperation Instructions - (CD Mode For MP3 Audio
Play)..............................210
NLoad/Eject Button (CD Mode For MP3 Play) . . 210
164 UNDERSTANDING YOUR INSTRUMENT PANEL
Page 166 of 440
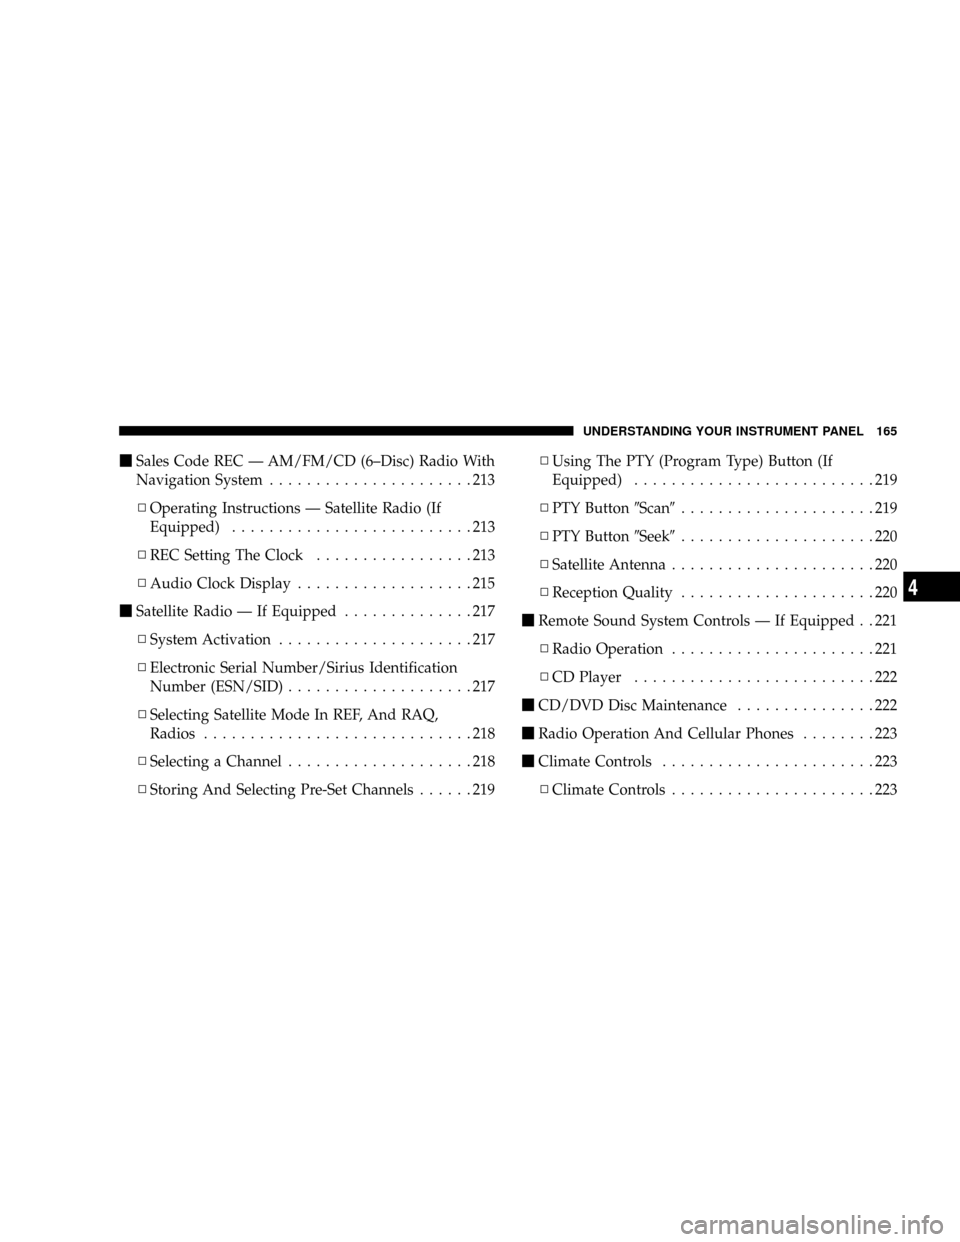
mSales Code REC Ð AM/FM/CD (6±Disc) Radio With
Navigation System......................213
NOperating Instructions Ð Satellite Radio (If
Equipped)..........................213
NREC Setting The Clock.................213
NAudio Clock Display...................215
mSatellite Radio Ð If Equipped..............217
NSystem Activation.....................217
NElectronic Serial Number/Sirius Identification
Number (ESN/SID)....................217
NSelecting Satellite Mode In REF, And RAQ,
Radios.............................218
NSelecting a Channel....................218
NStoring And Selecting Pre-Set Channels......219NUsing The PTY (Program Type) Button (If
Equipped)..........................219
NPTY Button9Scan9.....................219
NPTY Button9Seek9.....................220
NSatellite Antenna......................220
NReception Quality.....................220
mRemote Sound System Controls Ð If Equipped . . 221
NRadio Operation......................221
NCD Player..........................222
mCD/DVD Disc Maintenance...............222
mRadio Operation And Cellular Phones........223
mClimate Controls.......................223
NClimate Controls......................223
UNDERSTANDING YOUR INSTRUMENT PANEL 165
4
Page 167 of 440
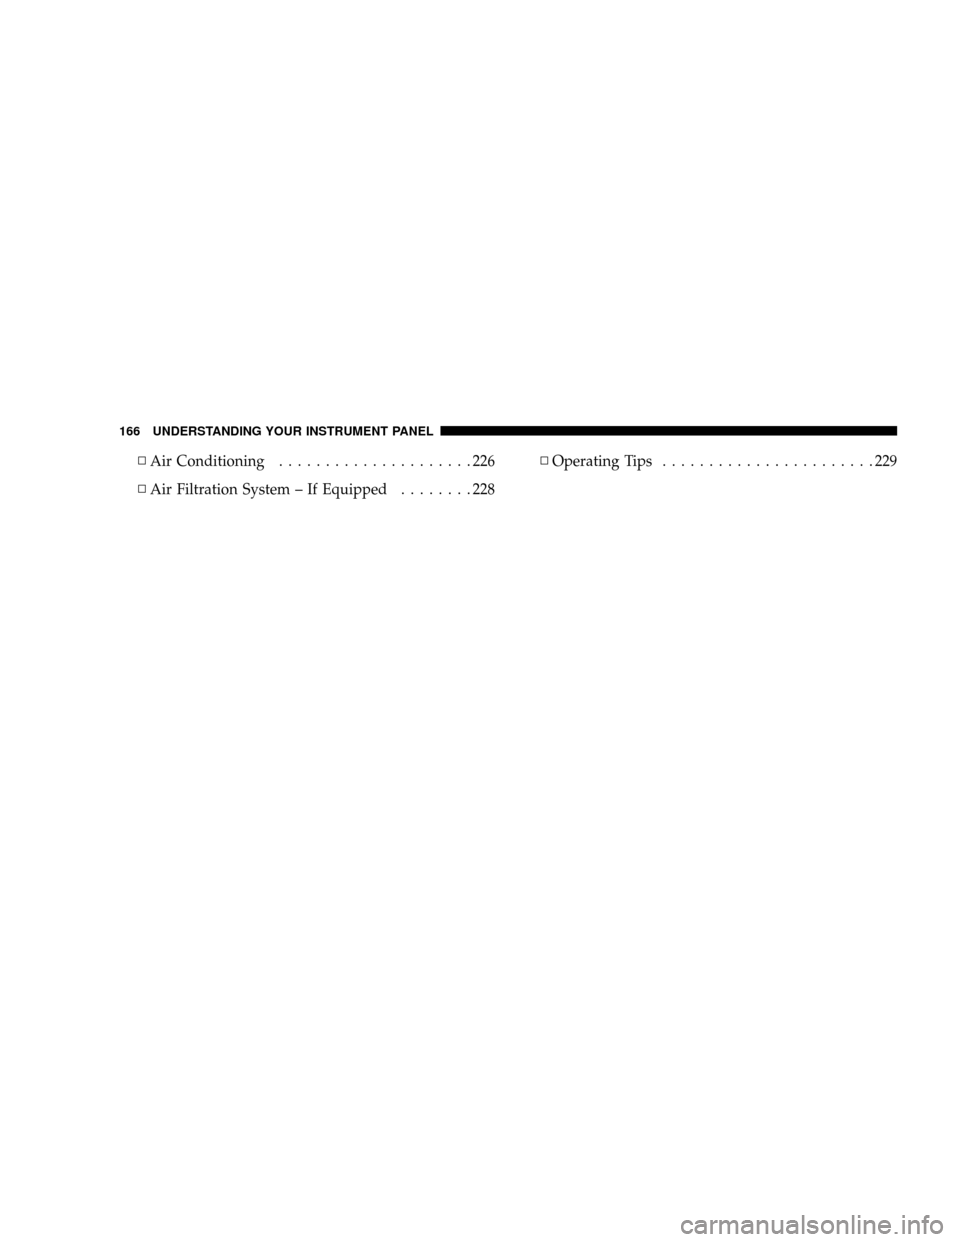
NAir Conditioning.....................226
NAir Filtration System ± If Equipped........228NOperating Tips.......................229
166 UNDERSTANDING YOUR INSTRUMENT PANEL
Page 168 of 440
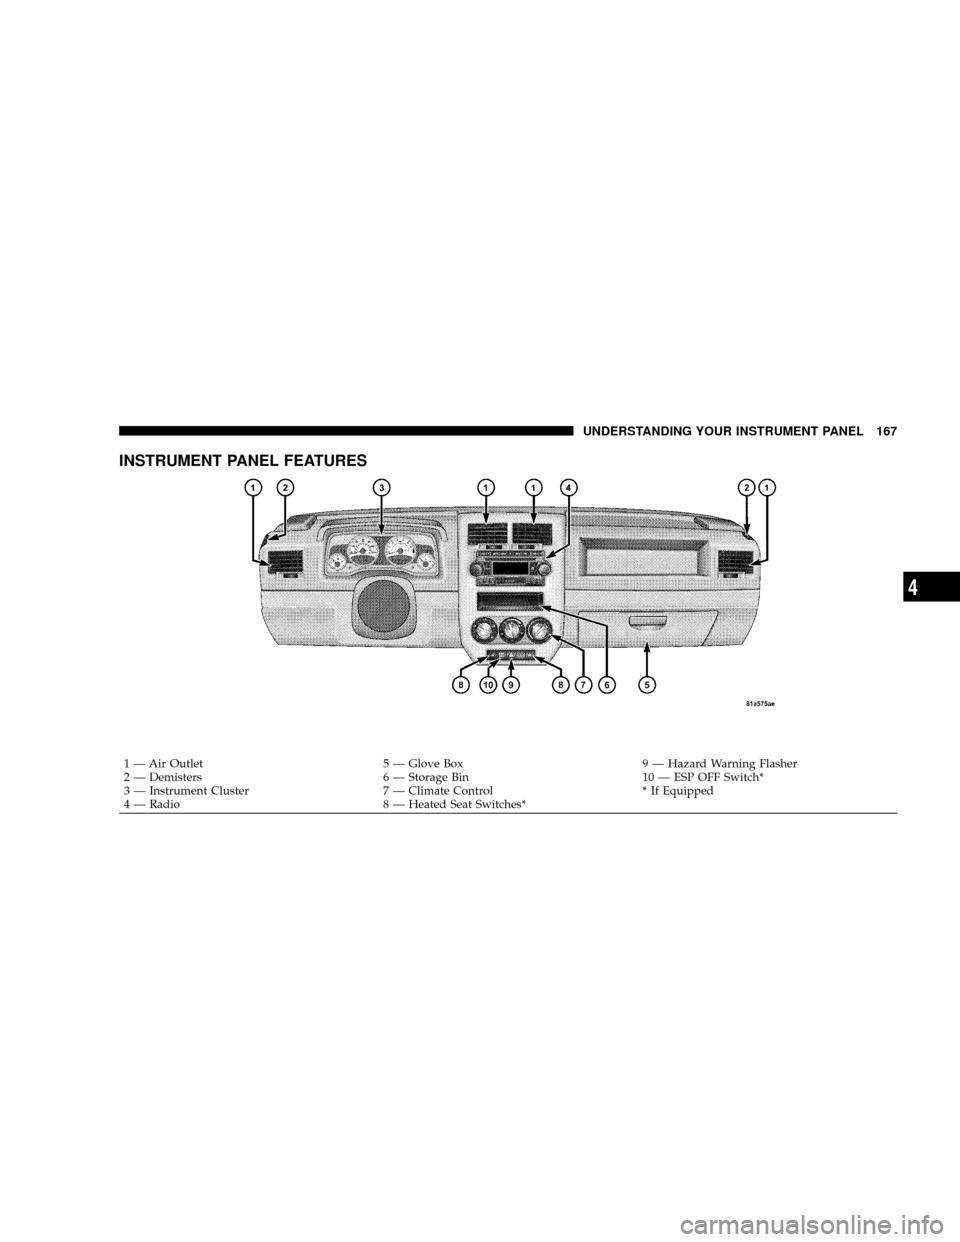
INSTRUMENT PANEL FEATURES
1 Ð Air Outlet 5 Ð Glove Box 9 Ð Hazard Warning Flasher
2 Ð Demisters 6 Ð Storage Bin 10 Ð ESP OFF Switch*
3 Ð Instrument Cluster 7 Ð Climate Control * If Equipped
4 Ð Radio 8 Ð Heated Seat Switches*
UNDERSTANDING YOUR INSTRUMENT PANEL 167
4
Page 169 of 440
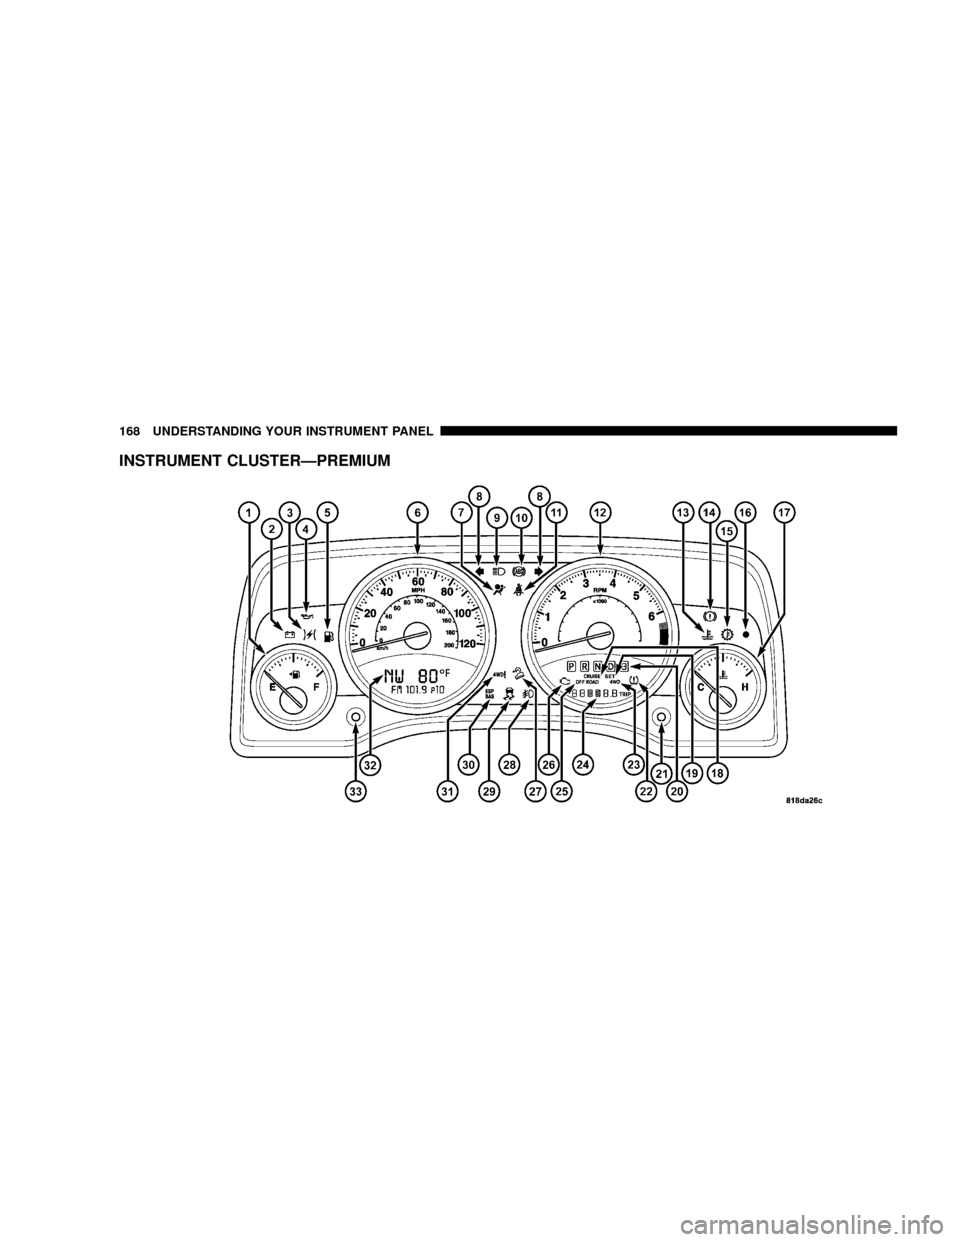
INSTRUMENT CLUSTERÐPREMIUM
168 UNDERSTANDING YOUR INSTRUMENT PANEL