odometer JEEP PATRIOT 2007 1.G Owners Manual
[x] Cancel search | Manufacturer: JEEP, Model Year: 2007, Model line: PATRIOT, Model: JEEP PATRIOT 2007 1.GPages: 440, PDF Size: 7.26 MB
Page 144 of 440
gravel conditions and more wheel spin than ESP would
normally allow is required to gain traction.
To turn ESP on again, momentarily depress the ªESP
Control Switchº. This will restore the normal ªESP Onº
mode of operation.
WARNING!
In the Partial ESP mode, the engine torque reduction
and stability features are desensitized. Therefore, the
enhanced vehicle stability offered by ESP is
unavailable.
NOTE:To improve the vehicle's traction when driving
with snow chains, or starting off in deep snow, sand or
gravel, it may be desirable to switch to the ªPartial Offº
mode by pressing the ESP switch. Once the situation
requiring ESP to be switched to the ªPartial Offº mode isovercome, turn ESP back on by momentarily depressing
the ªESP Control Switchº. This may be done while the
vehicle is in motion.
ESP 4WD Operating Modes
In addition to ESP ON and Partial ESP (described above
in ªESP 2WD Operating Modesº), all 4WD equipped
vehicles can also choose the following ESP operating
mode:
ESP OFF
This mode is intended for off-highway or off-road use
when ESP stability features could inhibit vehicle maneu-
verability due to trail conditions. This mode is entered by
depressing and holding the ªESP Control Switchº for 5
seconds when the vehicle is stopped and the engine is
running. After 5 seconds, the ªESP/TCS Indicator Lightº
will illuminate and the ªESP Offº message will appear in
the odometer. Press and release the trip odometer button
located on the instrument cluster to clear this message.
UNDERSTANDING THE FEATURES OF YOUR VEHICLE 143
3
Page 175 of 440
the pointer drops back into the normal range. If the
pointer remains on theH(red) mark, turn the engine off
immediately and call for service.
There are steps that you can take to slow down an
impending overheat condition. If your air conditioning is
on, turn it off. The air conditioning system adds heat to
the engine cooling system and turning off the A/C
removes this heat. You can also turn the Temperature
control to maximum heat, the Mode control to Floor and
the Fan control to High. This allows the heater core to act
as a supplement to the radiator and aids in removing heat
from the engine cooling system.
18. Cruise Indicator Ð If Equipped
This indicator shows that the Speed Control
System is ON.
19. Speed ControlSETlight.
This indicator shows that the Speed Control System is
SET.20. Transmission Range Indicator
This display indicator shows the automatic transmission
gear selection.
21. Odometer/Trip Odometer Reset Button
Press this button to change the display from odometer to
either of the two trip odometer settings. Trip A or Trip B
will appear when in the trip odometer mode. Push in and
hold the button for two seconds to reset the trip odometer
to 0 miles or kilometers. The odometer must be in trip
mode to reset.
22. Tire Pressure Monitor Light
Each tire, including the spare (if provided),
should be checked monthly when cold and
inflated to the inflation pressure recommended
by the vehicle manufacturer on the vehicle
placard or tire inflation pressure label. (If your vehicle
has tires of a different size than the size indicated on the
174 UNDERSTANDING YOUR INSTRUMENT PANEL
Page 177 of 440
CAUTION!
The TPMS has been optimized for the original
equipment tires and wheels. TPMS pressures and
warning have been established for the tire size
equipped on your vehicle. Undesirable system opera-
tion or sensor damage may result when using re-
placement equipment that is not of the same size,
type, and/or style. Aftermarket wheels can cause
sensor damage. Do not use tire sealant from a can, or
balance beads if your vehicle is equipped with a
TPMS, as damage to the sensors may result.
23. Four-Wheel-Drive Light
This light indicates the vehicle is in 4WD locked mode.
24. Odometer/Trip Odometer
A vacuum fluorescent display indicates the total distance
the vehicle has been driven. Also, the cluster will display,replacing the odometer/trip odometer, vehicle warning
messages such as: door/gate ajar and loose gas cap.
Loose gas cap will be displayed from the Odometer/Trip
Odometer on all models.
NOTE:If vehicle is equipped with the optional Elec-
tronic Vehicle Information Center (EVIC) in the instru-
ment cluster, all warnings including ªdoorº, and ªgATEº
will only be displayed in the EVIC display. For additional
information, refer to ªElectronic Vehicle Information Cen-
ter Ð If Equippedº in Section 3.
U.S. federal regulations require that upon transfer of
vehicle ownership, the seller certify to the purchaser the
correct mileage that the vehicle has been driven. There-
fore, if the odometer reading is changed during repair or
replacement, be sure to keep a record of the reading
before and after the service so that the correct mileage can
be determined.
176 UNDERSTANDING YOUR INSTRUMENT PANEL
Page 187 of 440
power outlets will remain active for up to 60 minutes
after the ignition switch has been turned off. Opening a
vehicle door will cancel this feature. Press and hold the
EVIC button when in this display until ªOffº, ª45 sec.º,
ª5 min.º, or ª10 min.º appears to make your selection.
Turn Headlamps on with Remote Key Unlock
When this feature is selected the headlamps will activate
and remain on for up to 90 seconds when the doors are
unlocked using the remote keyless entry transmitter.
Press and hold the EVIC button when in this display until
ªOFFº, ª30 sec.º, ª60 sec.º, or ª90 sec.º appears to make
your selection.
Confirmation of Voice Commands Ð If Equipped
When ON is selected all voice commands from the
U-Connect system are confirmed. Press and hold the
EVIC button when in this display until ªONº or ªOFFº
appears to make your selection.
Display English or Metric
The EVIC, odometer, and navigation system units can be
changed between English and Metric.
Press and hold the EVIC button when in this display until
ªUSº or ªMETRICº appears to make your selection.
Setting The Compass Variance And Compass
Calibration
Compass Variance
Compass Variance is the difference between magnetic
North and Geographic North. In some areas of the
country, the difference between magnetic and geographic
North is great enough to cause the compass to give false
readings. In order to ensure compass accuracy, the com-
pass variance should be set to the zone number on the
compass variance map that corresponds to the current
location of the vehicle.
186 UNDERSTANDING YOUR INSTRUMENT PANEL
Page 295 of 440
CAUTION!
Replacing original tires with tires of a different size
may result in false speedometer and odometer
readings.
Alignment And Balance
Poor suspension alignment may result in:
²Fast tire wear.
²Uneven tire wear, such as feathering and one-sided
wear.
²Vehicle pull to right or left.
Tires may also cause the vehicle to pull to the left or right.
Alignment will not correct this condition. See your dealer
for proper diagnosis.Improper alignment will not cause vehicle vibration.
Vibration may be a result of tire and wheel out-of-
balance. Proper balancing will reduce vibration and
avoid tire cupping and spotty wear.
TIRE PRESSURE MONITORING SYSTEM (TPMS)
Ð IF EQUIPPED
Base Tire Pressure Monitoring System (TPMS)
Operation ± If Equipped
This is the Tire Pressure Monitoring System warn-
ing indicator located in the instrument cluster.
²The Tire Pressure Monitoring System (TPMS) will
warn the driver of a low tire pressure based on the
vehicle recommended cold placard pressure.
²The tire pressure will vary with temperature by about
1 psi (6.9 kPa) for every 12 ÉF (6.5 ÉC). This means that
when the outside temperature decreases, the tire pres-
sure will decrease. Tire pressure should always be set
294 STARTING AND OPERATING
Page 309 of 440
NOTE:When the fuel nozzle ªclicksº or shuts off, the
fuel tank is full.
WARNING!
²Never have any smoking materials lit in or near
the vehicle when the gas cap is removed or the
tank filled.
²Never add fuel when the engine is running. This is
in violation of most state and federal fire regula-
tions and will cause the malfunction indicator
light to turn on.
NOTE:Tighten the gas cap about 1/4 turn until you
hear one click. This is an indication that cap is properly
tightened.If the gas cap is not tighten properly, the Malfunction
Indicator Light will come on. Be sure the gas cap is
tightened every time the vehicle is refueled.
WARNING!
A fire may result if gasoline is pumped into a
portable container that is inside of a vehicle. You
could be burned. Always place gas containers on the
ground while filling.
Loose Fuel Filler Cap Message
If the vehicle diagnostic system determines that the fuel
filler cap is loose or improperly installed, a ªGASCAPº
message will be displayed in the Odometer/Trip Odom-
eter in the instrument cluster. Refer to ªInstrument
Cluster Descriptionº in Section 4 of this manual. Tighten
the fuel filler cap properly and press the odometer/trip
odometer reset button to turn the message off. If the
308 STARTING AND OPERATING
Page 345 of 440
Loose Fuel Filler Cap Message
After fuel is added, the vehicle diagnostic system can
determine if the fuel filler cap is possible loose or
improperly installed. A GASCAP message will be dis-
played in the instrument cluster. Tighten the gas cap until
a9clicking9sound is heard. This is an indication that the
gas cap is properly tightened. Press the trip odometer
reset button to turn off the message. If the problem
persists, the message will appear the next time the
vehicle is started. This might indicate a damaged cap. If
the problem is detected twice in a row, the system will
turn on the Malfunction Indicator Light (MIL). Resolving
the problem will turn the MIL light off.
EMISSIONS INSPECTION AND MAINTENANCE
PROGRAMS
In some localities, it may be a legal requirement to pass
an inspection of your vehicle's emissions control system.
Failure to pass could prevent vehicle registration.
For states, which have an I/M (Inspection and
Maintenance) requirement, this check verifies the
following: the MIL (Malfunction Indicator Light)
is functioning and is not on when the engine is running,
and that the OBD (On Board Diagnostic) system is ready
for testing.
Normally, the OBD system will be ready. The OBD
system maynotbe ready if your vehicle was recently
serviced, if you recently had a dead battery, or a battery
replacement. If the OBD system should be determined
not ready for the I/M test, your vehicle may fail the test.
344 MAINTAINING YOUR VEHICLE
Page 428 of 440
Fluid Level Checks
Automatic Transaxle.................... 369
Fluids................................ 388
Fluids, Lubricants and Genuine Parts.......... 388
Fog Lights.......................121,177,383
Folding Rear Seat........................ 114
Folding Rear Seat (Sedan).................. 114
Four Wheel Drive....................... 246
Systems............................. 246
Four Wheel Drive Operation................ 246
Freeing A Stuck Vehicle................... 335
Fuel..............................303,388
Adding............................. 307
Additives............................ 305
Capacity............................ 388
Clean Air............................ 303
Filler Cap (Gas Cap).................... 307
Filter............................... 353
Gasoline............................ 303Gauge.............................. 169
Hoses.............................. 365
Light............................... 170
Octane Rating........................ 303
Requirements......................... 303
System Hoses......................... 365
Tank Capacity........................ 388
Fueling............................... 307
Fuses................................ 376
Garage Door Opener (HomeLinkt) ........... 130
Gas Cap (Fuel Filler Cap)............307,308,344
Gasoline, Clean Air...................... 303
Gasoline (Fuel).......................303,388
Gasoline, Reformulated................... 304
Gauges
Coolant Temperature.................... 173
Fuel................................ 169
Odometer........................... 176
INDEX 427
10
Page 432 of 440
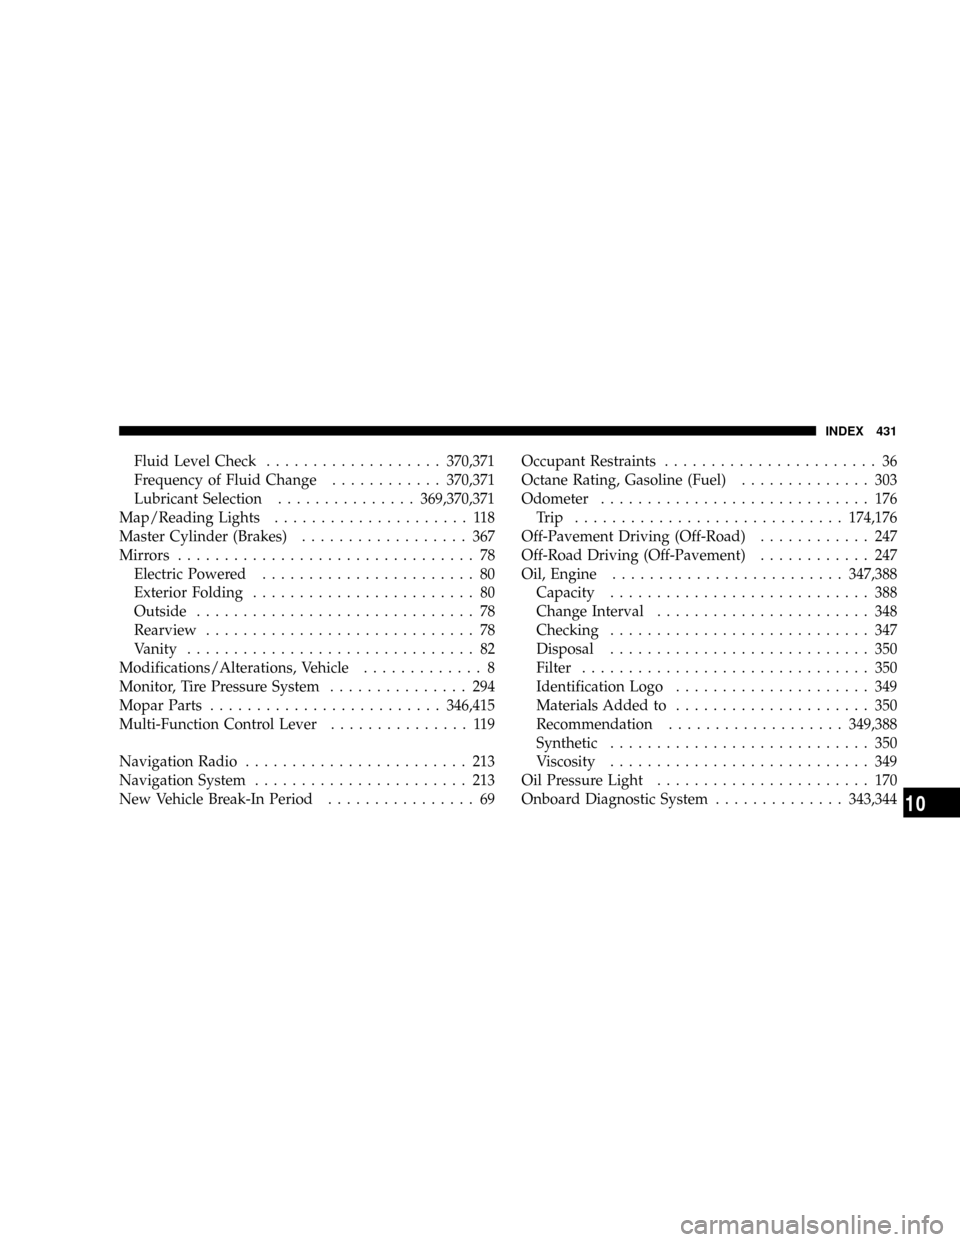
Fluid Level Check...................370,371
Frequency of Fluid Change............370,371
Lubricant Selection...............369,370,371
Map/Reading Lights..................... 118
Master Cylinder (Brakes).................. 367
Mirrors................................ 78
Electric Powered....................... 80
Exterior Folding........................ 80
Outside.............................. 78
Rearview............................. 78
Vanity............................... 82
Modifications/Alterations, Vehicle............. 8
Monitor, Tire Pressure System............... 294
Mopar Parts.........................346,415
Multi-Function Control Lever............... 119
Navigation Radio........................ 213
Navigation System....................... 213
New Vehicle Break-In Period................ 69Occupant Restraints....................... 36
Octane Rating, Gasoline (Fuel).............. 303
Odometer............................. 176
Trip .............................174,176
Off-Pavement Driving (Off-Road)............ 247
Off-Road Driving (Off-Pavement)............ 247
Oil, Engine.........................347,388
Capacity............................ 388
Change Interval....................... 348
Checking............................ 347
Disposal............................ 350
Filter............................... 350
Identification Logo..................... 349
Materials Added to..................... 350
Recommendation...................349,388
Synthetic............................ 350
Viscosity............................ 349
Oil Pressure Light....................... 170
Onboard Diagnostic System..............343,344
INDEX 431
10
Page 438 of 440
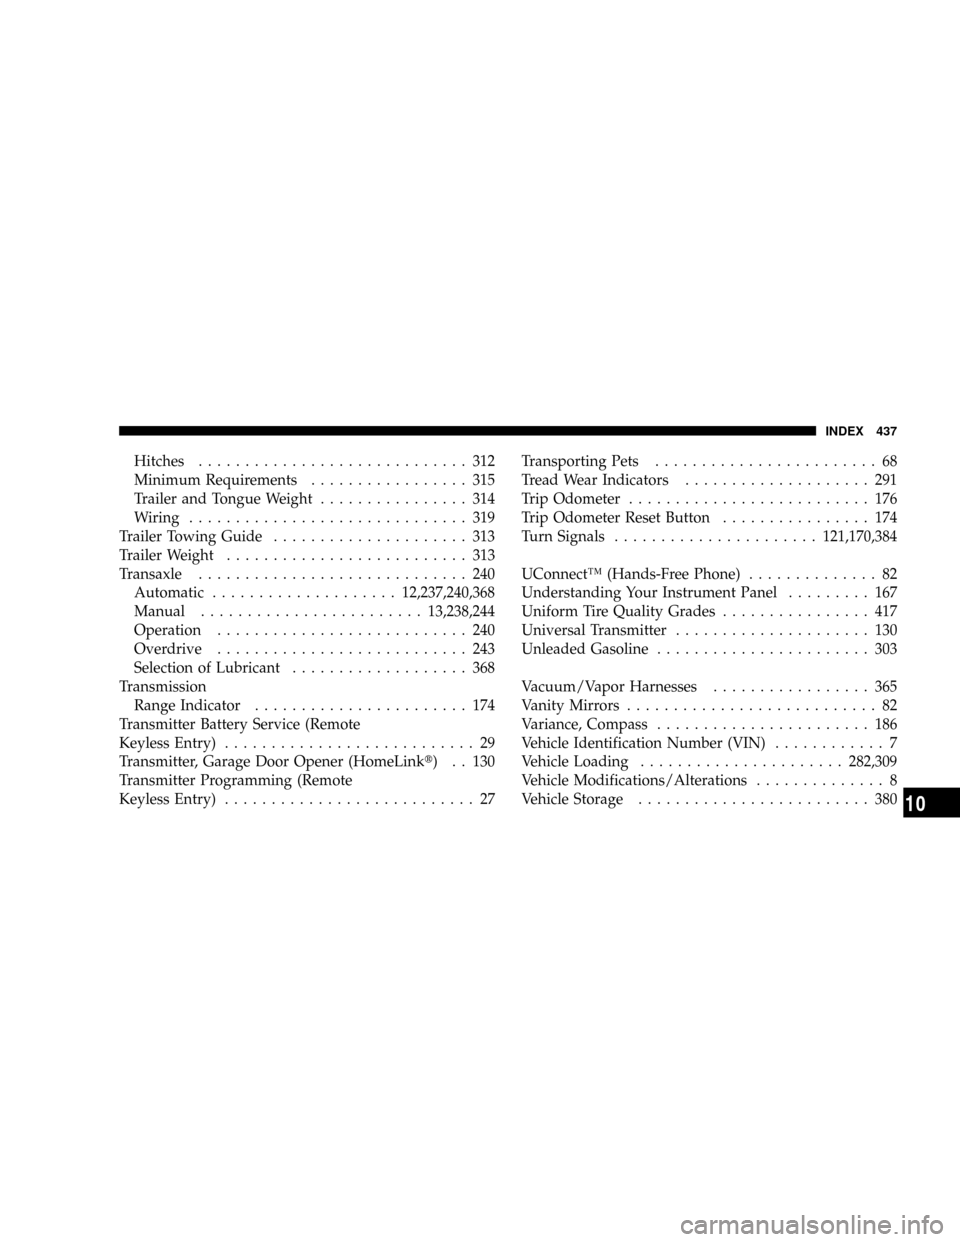
Hitches............................. 312
Minimum Requirements................. 315
Trailer and Tongue Weight................ 314
Wiring.............................. 319
Trailer Towing Guide..................... 313
Trailer Weight.......................... 313
Transaxle............................. 240
Automatic....................12,237,240,368
Manual........................13,238,244
Operation........................... 240
Overdrive........................... 243
Selection of Lubricant................... 368
Transmission
Range Indicator....................... 174
Transmitter Battery Service (Remote
Keyless Entry)........................... 29
Transmitter, Garage Door Opener (HomeLinkt) . . 130
Transmitter Programming (Remote
Keyless Entry)........................... 27Transporting Pets........................ 68
Tread Wear Indicators.................... 291
Trip Odometer.......................... 176
Trip Odometer Reset Button................ 174
Turn Signals......................121,170,384
UConnectŸ (Hands-Free Phone).............. 82
Understanding Your Instrument Panel......... 167
Uniform Tire Quality Grades................ 417
Universal Transmitter..................... 130
Unleaded Gasoline....................... 303
Vacuum/Vapor Harnesses................. 365
Vanity Mirrors........................... 82
Variance, Compass....................... 186
Vehicle Identification Number (VIN)............ 7
Vehicle Loading......................282,309
Vehicle Modifications/Alterations.............. 8
Vehicle Storage......................... 380
INDEX 437
10