JEEP PATRIOT 2010 1.G Owners Manual
PATRIOT 2010 1.G
JEEP
JEEP
https://www.carmanualsonline.info/img/16/7133/w960_7133-0.png
JEEP PATRIOT 2010 1.G Owners Manual
Trending: fuel filter, charging, sat nav, airbag off, reset sun roof, engine oil capacity, wiper blades
Page 171 of 496
STORAGE
Glove Compartment And Storage Bin
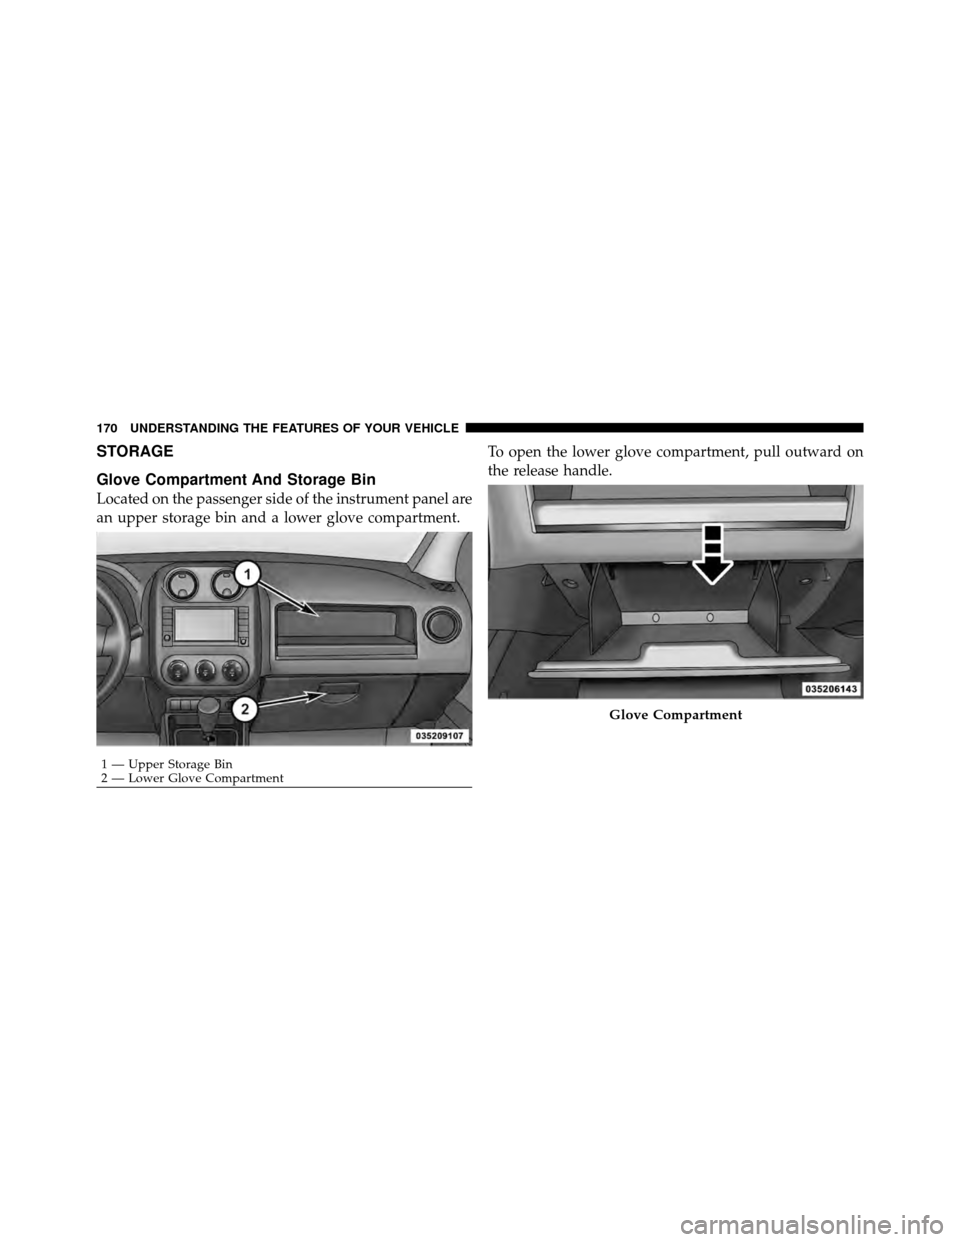
Located on the passenger side of the instrument panel are
an upper storage bin and a lower glove compartment.To open the lower glove compartment, pull outward on
the release handle.
1 — Upper Storage Bin
2 — Lower Glove Compartment
Glove Compartment
170 UNDERSTANDING THE FEATURES OF YOUR VEHICLE
Page 172 of 496
Door Storage
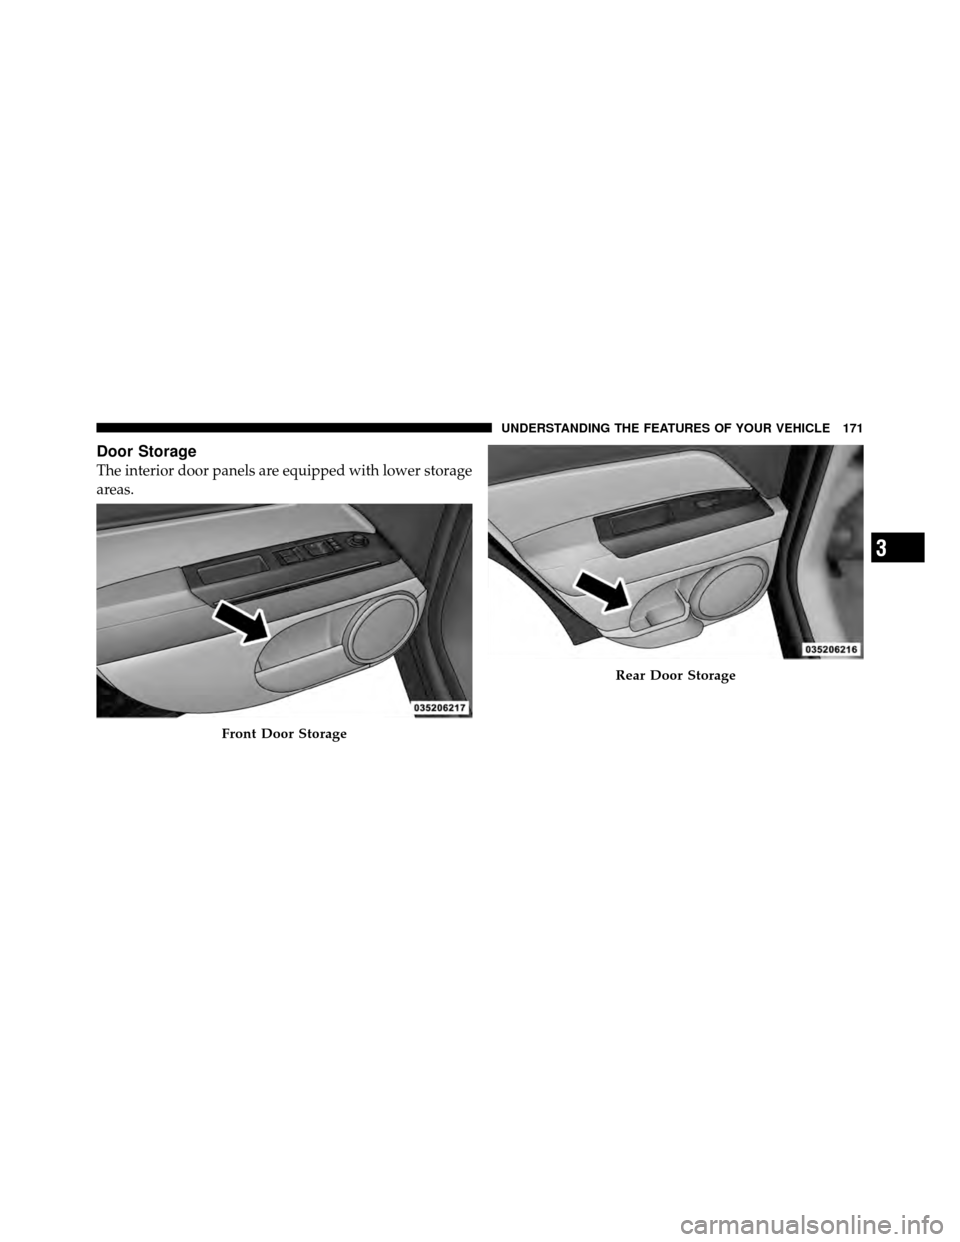
The interior door panels are equipped with lower storage
areas.
Front Door Storage
Rear Door Storage
3
UNDERSTANDING THE FEATURES OF YOUR VEHICLE 171
Page 173 of 496
CONSOLE FEATURES
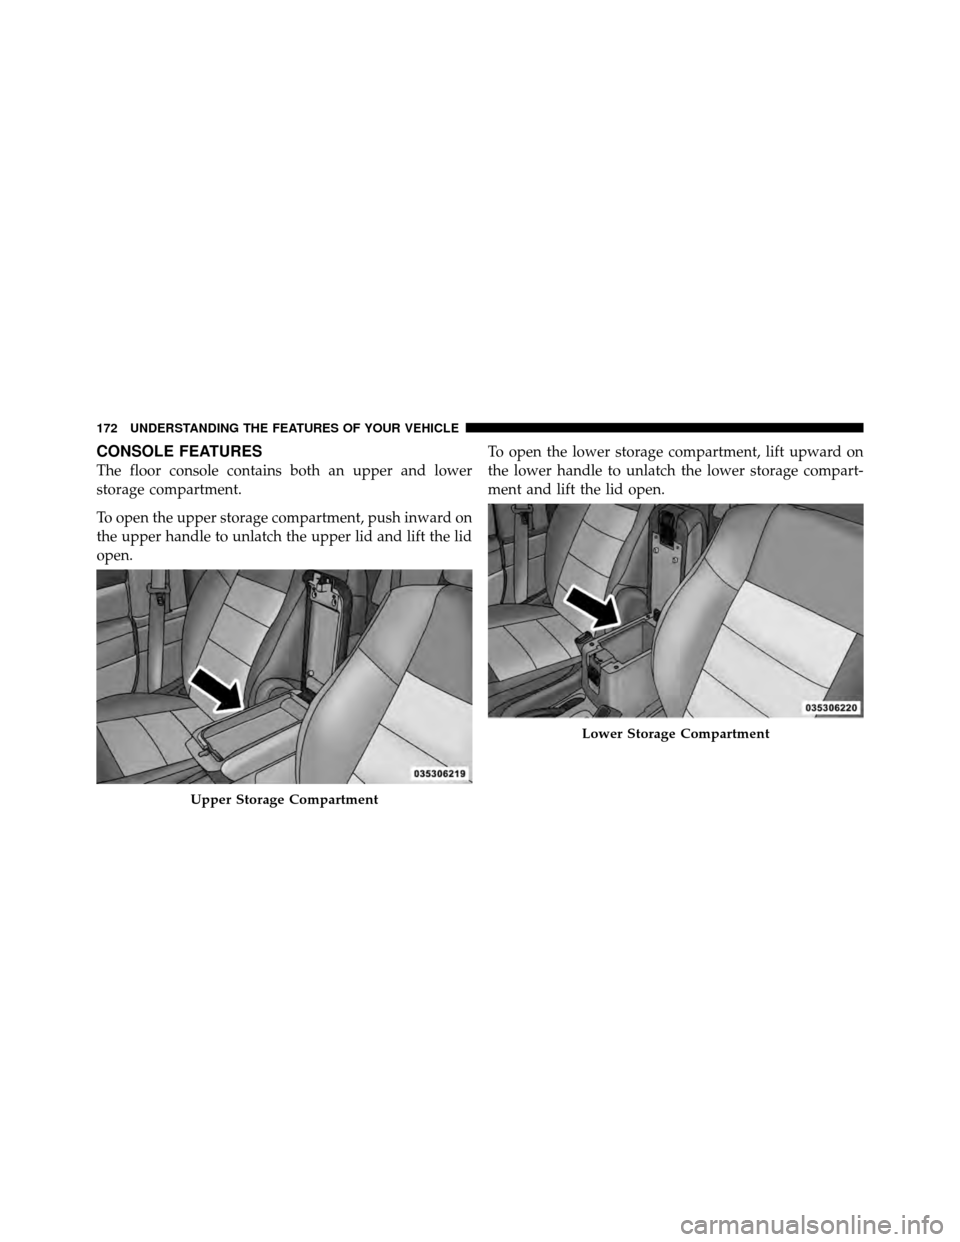
The floor console contains both an upper and lower
storage compartment.
To open the upper storage compartment, push inward on
the upper handle to unlatch the upper lid and lift the lid
open.To open the lower storage compartment, lift upward on
the lower handle to unlatch the lower storage compart-
ment and lift the lid open.
Upper Storage Compartment
Lower Storage Compartment
172 UNDERSTANDING THE FEATURES OF YOUR VEHICLE
Page 174 of 496
WARNING!
Do not operate this vehicle with a console compart-
ment lid in the open position. Cellular phones, music
players, and other handheld electronic devices
should be stowed while driving. Use of these devices
while driving can cause an accident due to distrac-
tion, resulting in death or injury.
CARGO AREA FEATURES
Cargo Light/Removable Self-Recharging
Flashlight
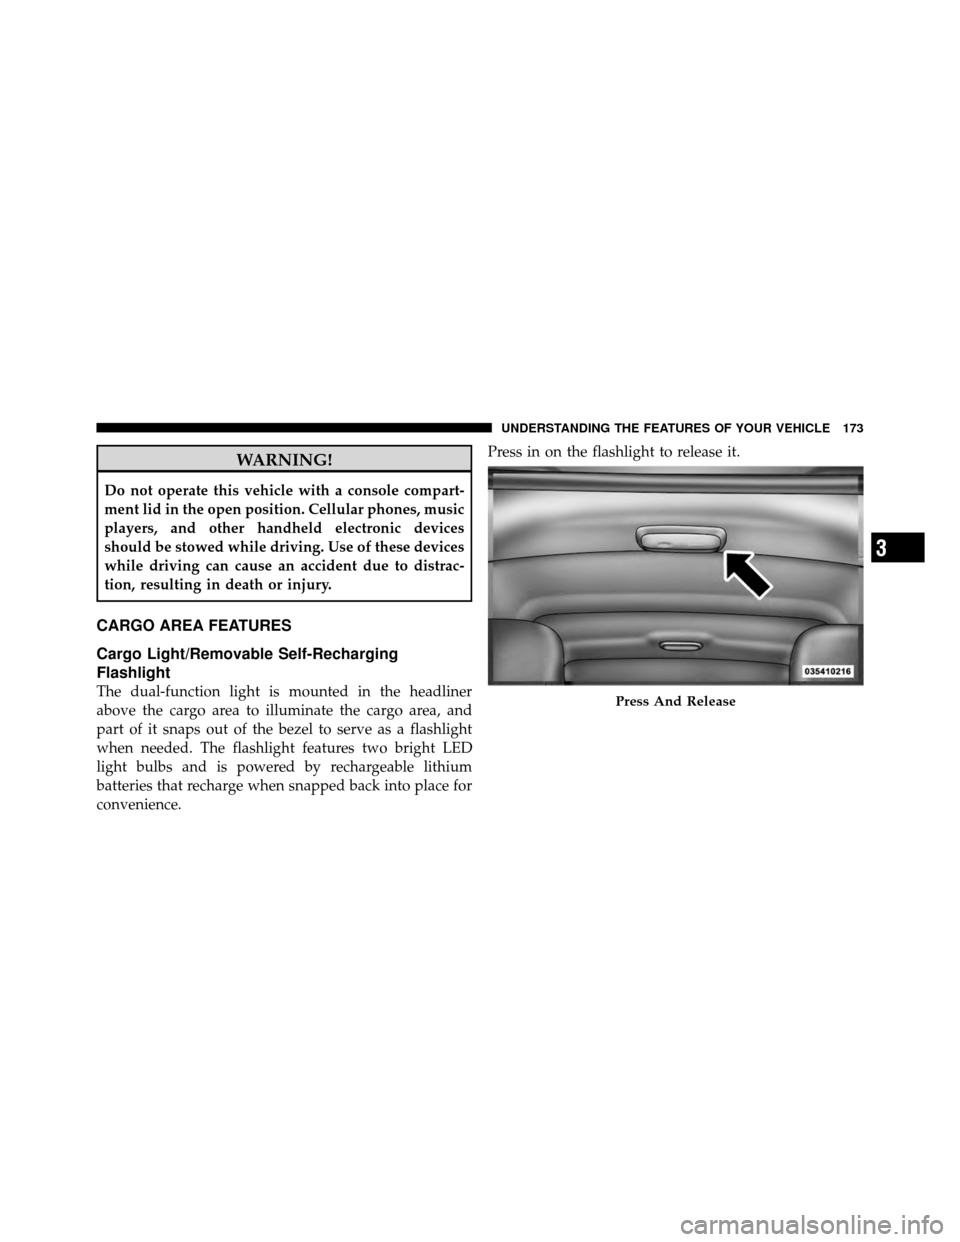
The dual-function light is mounted in the headliner
above the cargo area to illuminate the cargo area, and
part of it snaps out of the bezel to serve as a flashlight
when needed. The flashlight features two bright LED
light bulbs and is powered by rechargeable lithium
batteries that recharge when snapped back into place for
convenience.Press in on the flashlight to release it.Press And Release
3
UNDERSTANDING THE FEATURES OF YOUR VEHICLE 173
Page 175 of 496
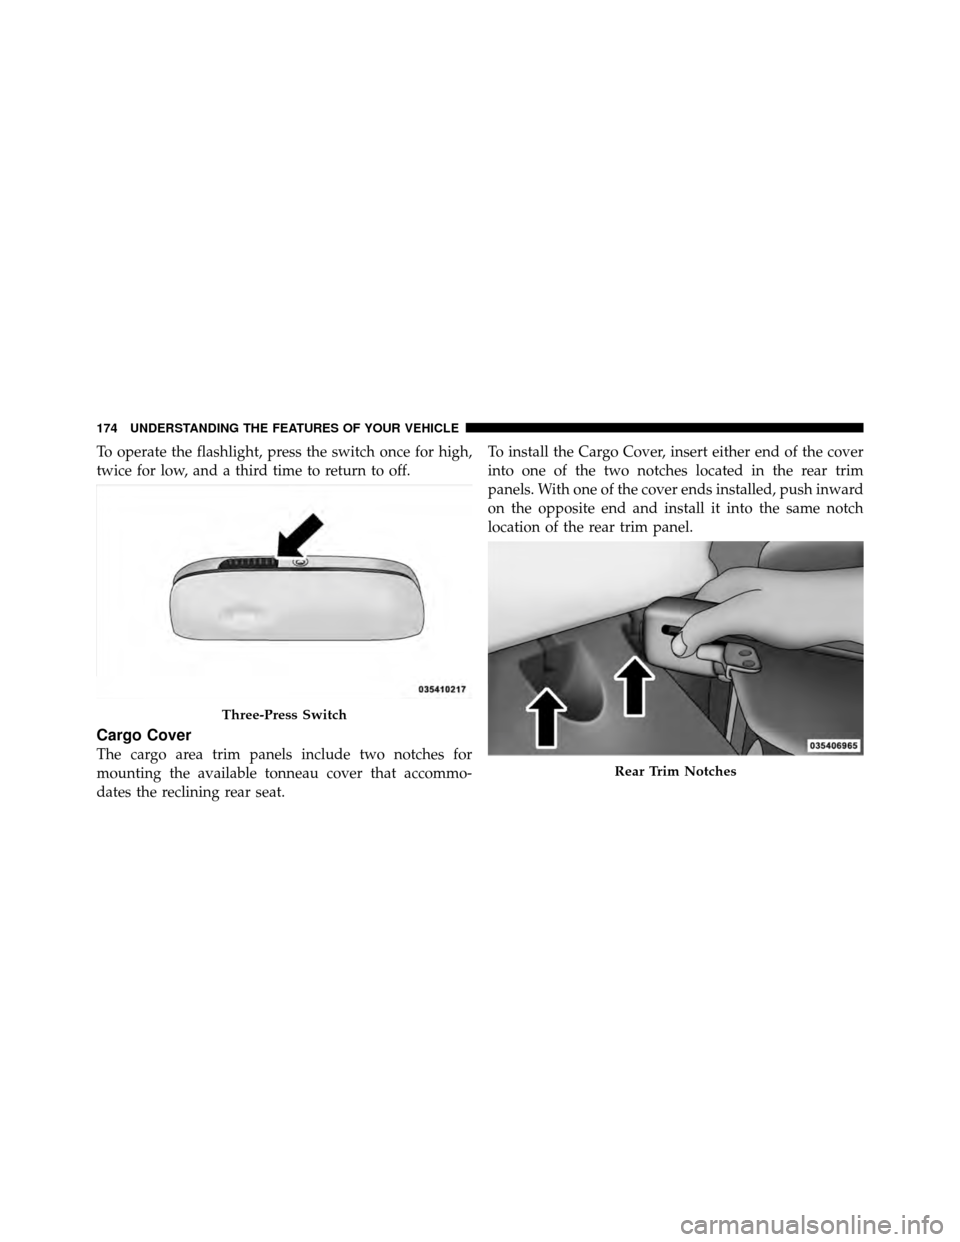
To operate the flashlight, press the switch once for high,
twice for low, and a third time to return to off.
Cargo Cover
The cargo area trim panels include two notches for
mounting the available tonneau cover that accommo-
dates the reclining rear seat.To install the Cargo Cover, insert either end of the cover
into one of the two notches located in the rear trim
panels. With one of the cover ends installed, push inward
on the opposite end and install it into the same notch
location of the rear trim panel.
Three-Press Switch
Rear Trim Notches
174 UNDERSTANDING THE FEATURES OF YOUR VEHICLE
Page 176 of 496
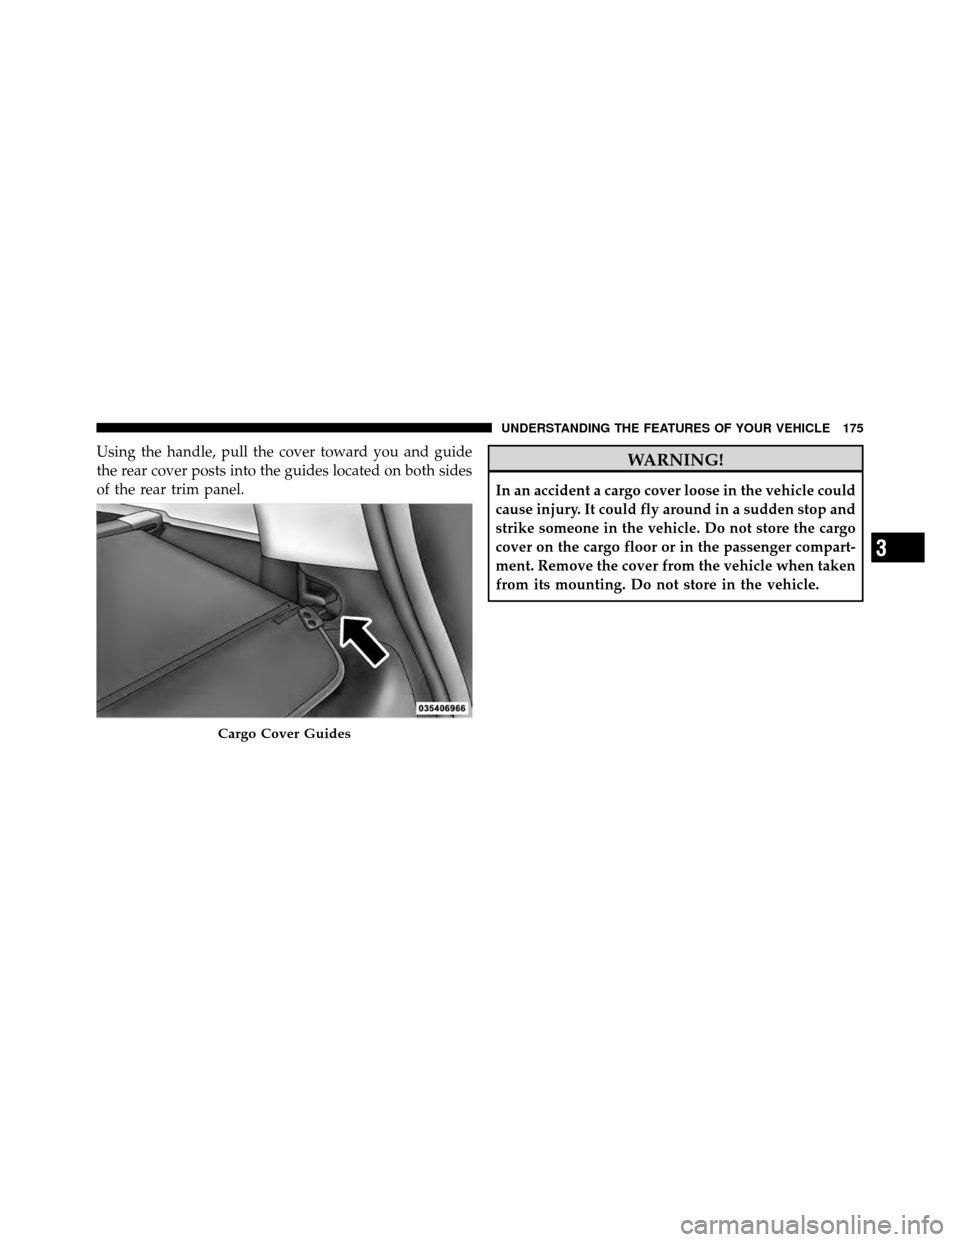
Using the handle, pull the cover toward you and guide
the rear cover posts into the guides located on both sides
of the rear trim panel.WARNING!
In an accident a cargo cover loose in the vehicle could
cause injury. It could fly around in a sudden stop and
strike someone in the vehicle. Do not store the cargo
cover on the cargo floor or in the passenger compart-
ment. Remove the cover from the vehicle when taken
from its mounting. Do not store in the vehicle.
Cargo Cover Guides
3
UNDERSTANDING THE FEATURES OF YOUR VEHICLE 175
Page 177 of 496
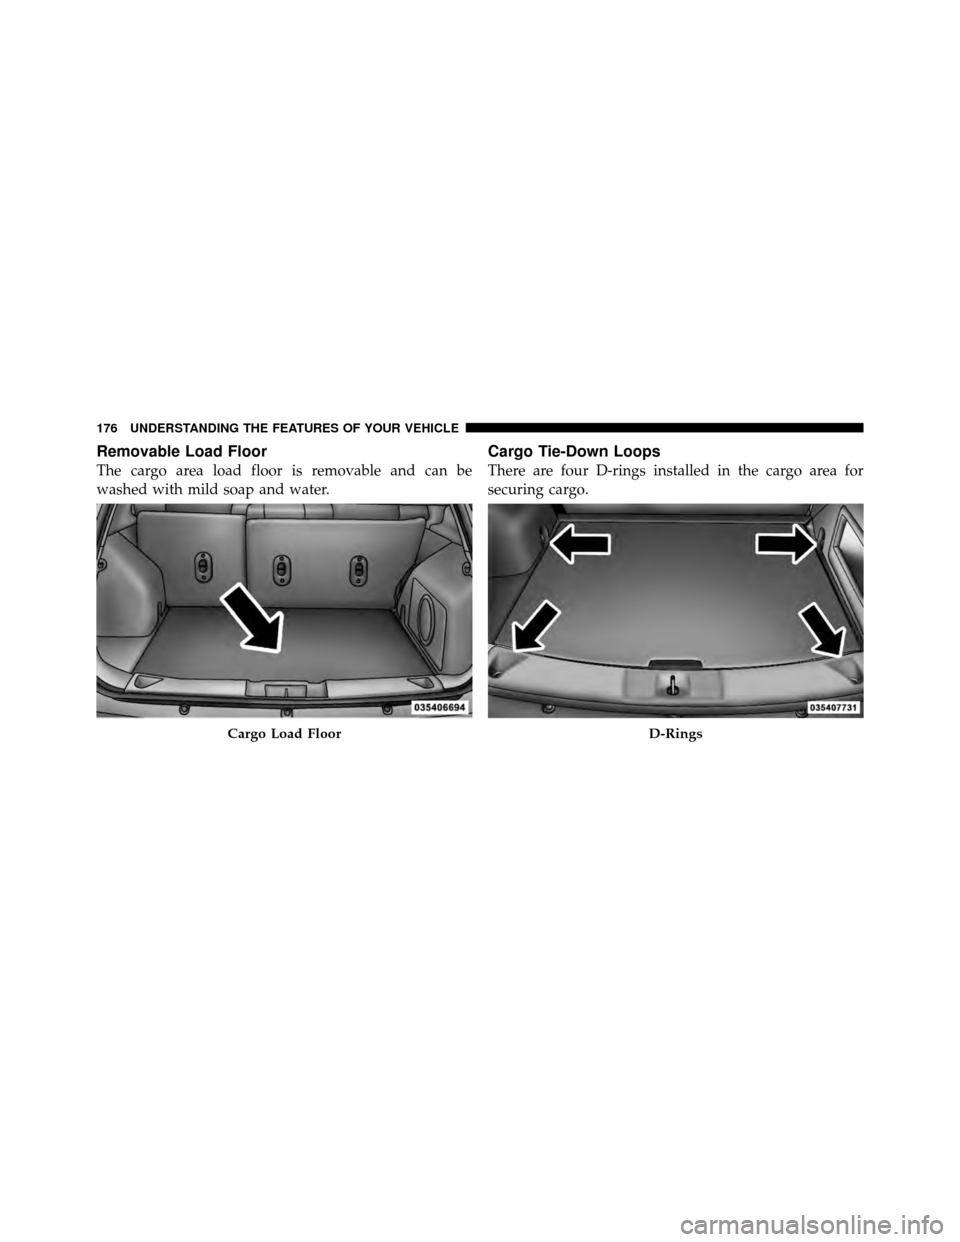
Removable Load Floor
The cargo area load floor is removable and can be
washed with mild soap and water.
Cargo Tie-Down Loops
There are four D-rings installed in the cargo area for
securing cargo.
Cargo Load FloorD-Rings
176 UNDERSTANDING THE FEATURES OF YOUR VEHICLE
Page 178 of 496
WARNING!
•Cargo tie-down loops are not safe anchors for a
child seat tether strap. In a sudden stop or collision
a loop could pull loose and allow the child seat to
come loose. A child could be badly injured. Use
only the anchors provided for child seat tethers.
•The weight and position of cargo and passengers
can change the vehicle center of gravity and ve-
hicle handling. To avoid loss of control resulting
in personal injury, follow these guidelines for
loading your vehicle:
•Always place cargo evenly on the cargo floor. Put
heavier objects as low and as far forward as
possible.(Continued)
WARNING! (Continued)
•Place as much cargo as possible in front of the rear
axle. Too much weight or improperly placed
weight over or behind the rear axle can cause the
rear of the vehicle to sway.
•Do not pile luggage or cargo higher than the top of
the seatback. This could impair visibility or be-
come a dangerous projectile in a sudden stop or
collision.
•To help protect against personal injury, passengers
should not be seated in the rear cargo area. The
rear cargo space is intended for load carrying
purposes only, not for passengers, who should sit
in seats and use seat belts.
3
UNDERSTANDING THE FEATURES OF YOUR VEHICLE 177
Page 179 of 496
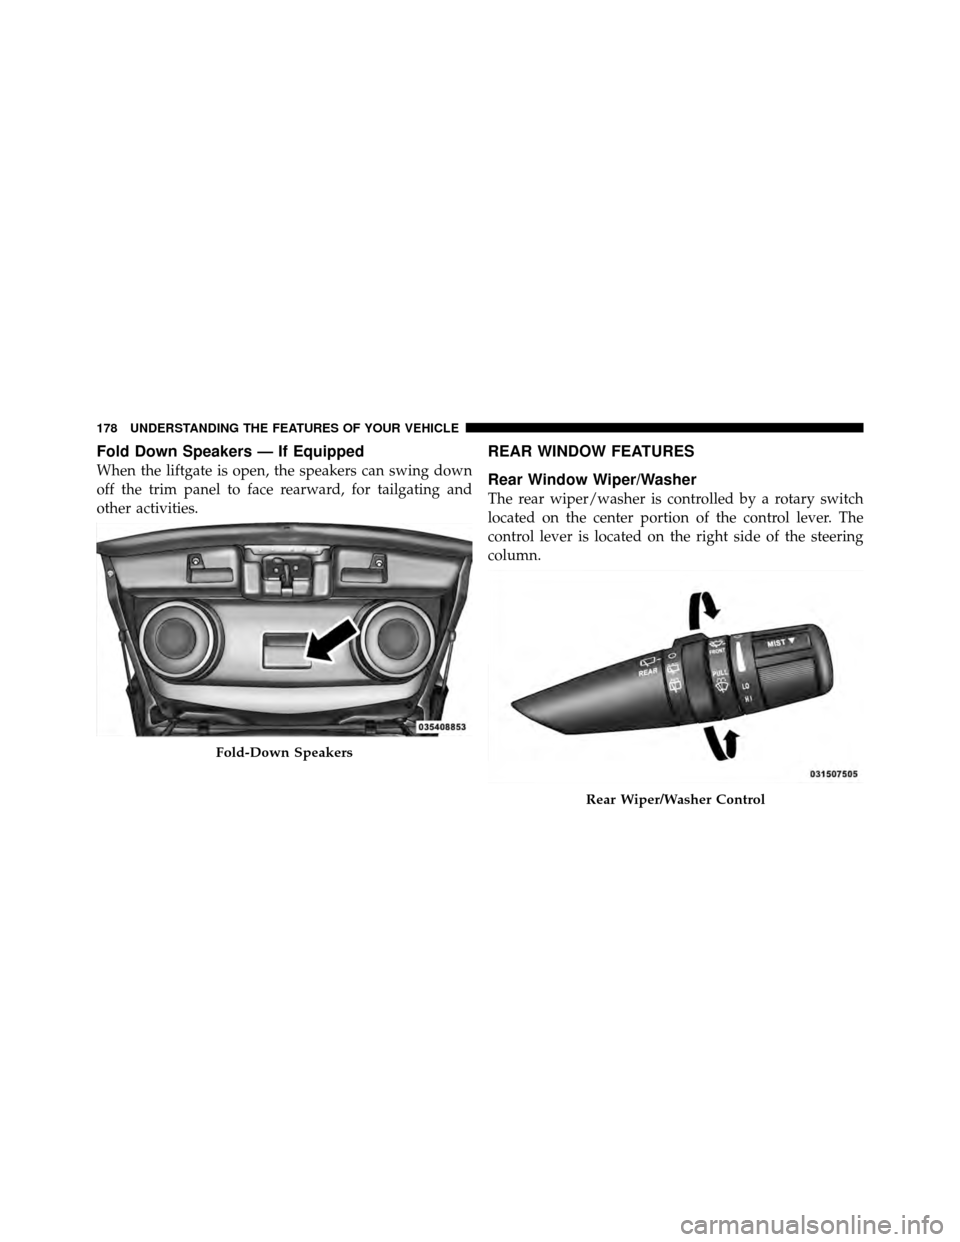
Fold Down Speakers — If Equipped
When the liftgate is open, the speakers can swing down
off the trim panel to face rearward, for tailgating and
other activities.
REAR WINDOW FEATURES
Rear Window Wiper/Washer
The rear wiper/washer is controlled by a rotary switch
located on the center portion of the control lever. The
control lever is located on the right side of the steering
column.
Fold-Down Speakers
Rear Wiper/Washer Control
178 UNDERSTANDING THE FEATURES OF YOUR VEHICLE
Page 180 of 496
Rotate the center portion of the lever upward to the
first detent position for rear wiper operationa.
NOTE: The rear wiper operates in an intermittent mode
only.
Rotate the center portion of the lever past the first
detent to activate the rear washer. The washer
pump will continue to operate as long as the switch
is held. Upon release, the wipers will cycle two times
before returning to the set position.
If the rear wiper is operating when the ignition is turned
OFF, the wiper will automatically return to the “park”
position if power accessory delay is active. Power acces-
sory delay can be cancelled by opening the door, if this
happens the rear wiper will stop at its current position
and will not go to “park”.Rear Window Defroster
The rear window defroster button is located on the
bottom right-side of the blower control knob.
Press this button to turn on the rear window defroster
and the heated outside mirrors (if equipped). An indica-
tor in the button will illuminate when the rear window
defroster is on. The rear window defroster automatically
turns off after approximately 10 minutes. For an addi-
tional five minutes of operation, press the button a
second time.
NOTE: To prevent excessive battery drain, use the rear
window defroster only when the engine is operating.
3
UNDERSTANDING THE FEATURES OF YOUR VEHICLE 179
Trending: service, sensor, TPMS reset, towing capacity, overheating, traction control, coolant
