manual radio set JEEP PATRIOT 2014 1.G User Guide
[x] Cancel search | Manufacturer: JEEP, Model Year: 2014, Model line: PATRIOT, Model: JEEP PATRIOT 2014 1.GPages: 126, PDF Size: 2.29 MB
Page 50 of 126

Clock Setting
1. Turn the radio on, then touch the screen where the time is displayed.
2. Touch the “User Clock” soft-key or the time display (Navigation radio only).
3. To adjust the hours, touch either the “Hour Forward” or “Hour Backward”soft-key.
4. To adjust the minutes, touch either the “Minute Forward” or “Minute Backward” soft-key.
5. To save the new time setting, touch the screen where the word “Save” is displayed.
Menu
• Press the MENU hard-key to access the System Setup menu and the My Filesmenu.
• Press the MENU hard-key in an active mode (SAT, CD, AUX, etc.) to change
mode specific settings.
Equalizer, Balance And Fade
Audio Control Menu
• Press the AUDIO hard-key on the rightside of the radio.
• Use either the “arrow” soft-keys or the cross-hair on the screen to change Bal-
ance and Fade. The “CENTER” soft-
key resets the settings.
• Touch the “Equalizer” soft-key and use either the arrow soft-keys or the
sliders on the screen to adjust BASS, MID, and/or TREBLE.
Display Settings
• Press the MENU hard-key and touch the “Display Settings” soft-key to ac-
cess the Display Settings menu.
• Select the “Daytime Colors” soft-key to switch to manual daytime mode and
to adjust the brightness of the display
using daytime colors.
ELECTRONICS
48
Page 51 of 126

• Select the “Nighttime Colors” soft-key to switch to manual nighttime mode and toadjust the brightness of the display using nighttime colors.
• Select the “Auto Color Mode” soft-key to switch to automatic daytime/nighttime mode and to control the brightness of the display using the dimmer switch of the
vehicle.
• Touch the “EXIT” soft-key to save your settings.
Radio Operation
• To access Radio Mode, press the RADIO button on the left side of the faceplate, then press the “AM,” “FM” or “SAT” button at the top of the screen to select the
band.
Seek Up/Seek Down
• Press the “Seek Up” or “Seek Down” buttons on the touchscreen to seek through radio stations in AM, FM, or SAT bands. Hold either Seek to bypass stations
without stopping.
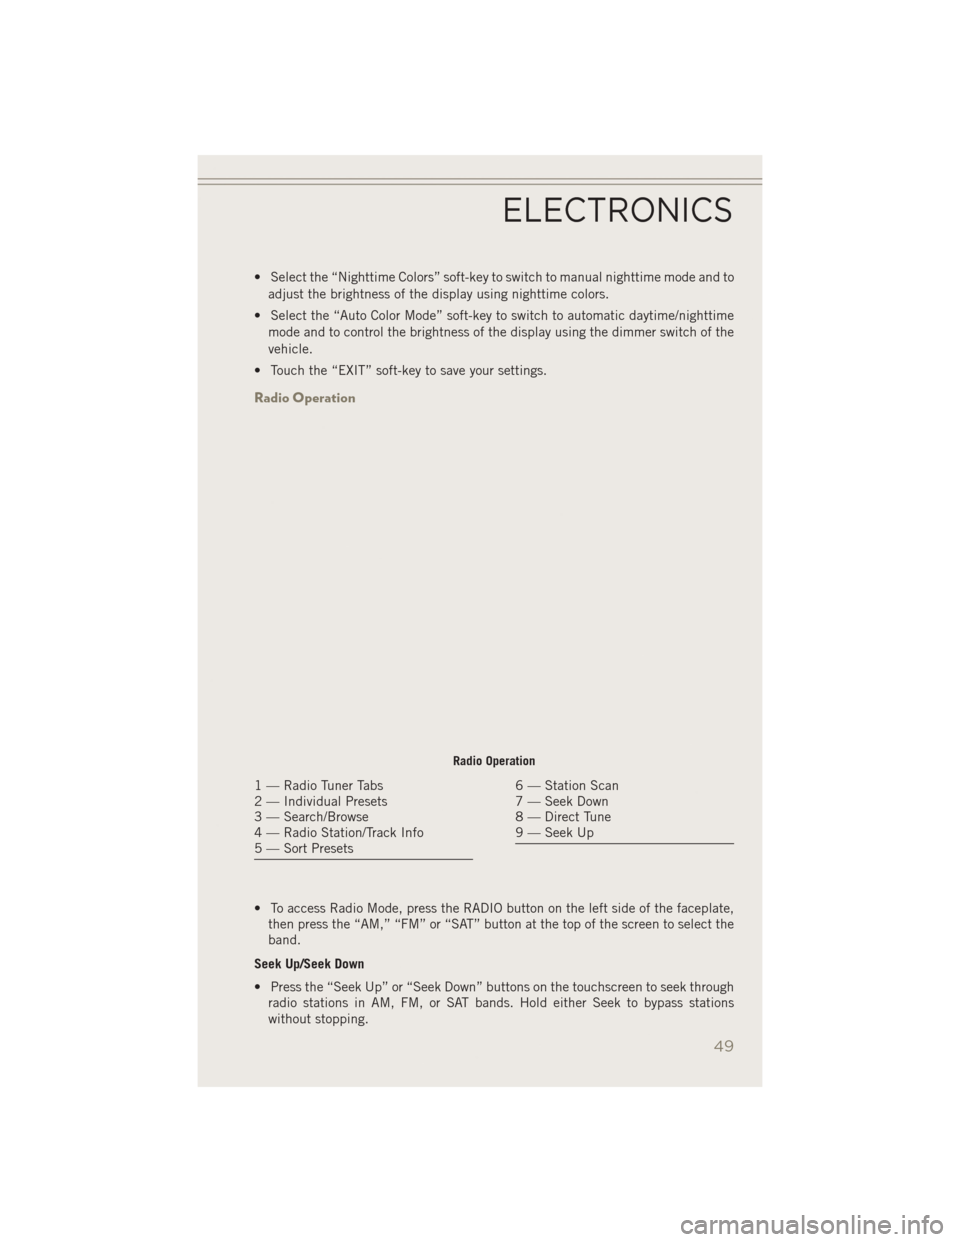
Radio Operation
1 — Radio Tuner Tabs
2 — Individual Presets
3 — Search/Browse
4 — Radio Station/Track Info
5 — Sort Presets6 — Station Scan
7 — Seek Down
8 — Direct Tune
9 — Seek Up
ELECTRONICS
49
Page 65 of 126

Uconnect® PHONE
• To determine if your vehicle is equipped with Uconnect®Phone, press the
Uconnect®Phone buttonlocated on the radio faceplate. If your vehicle has
this feature, you will hear a voice prompt. If not, you will see a message on the
radio stating “Uconnect phone not available.”
• The Uconnect
®Phone is a voice-activated, hands-free, in-vehicle communica-
tions system with Voice Command Capability (see Voice Command section).
NOTE:
To access the tutorial, press the Uconnect
®Phone buttonand after the BEEP,
say “tutorial.” Press any hard-key/button or touch the display (Touchscreen radio) to
cancel the “tutorial.”
• The Uconnect
®Phone allows you to dial a phone number with your mobile phone
using simple voice commands.
• Refer to your vehicle Owner's Manual on the DVD for further details.
NOTE:
The Uconnect
®Phone requires a mobile phone equipped with the Bluetooth®
Hands-Free Profile Version 1.0 or higher. For Uconnect®Customer Support: U.S.
residents - visit www.UconnectPhone.com or call 1–877–855–8400. Canadian
Residents - call, 1-800-465–2001 (English) or 1-800-387-9983 (French). This site
will provide specific instructions based on the type of mobile phone being paired.
Phone Pairing
NOTE:
Pairing is a one-time initial setup before using the phone. Prior to starting the pairing
procedure ensure all additional phones within the vehicle have their Bluetooth®disabled.
• Activate Bluetooth®on the phone you are pairing.
• Push the “Phone”
button to begin.
• Wait for the “ready” prompt and BEEP.
• After the BEEP, say ”setup” or “Uconnect device setup.”
• After the BEEP, say “device pairing.”
• After the BEEP, say “pair a device.”
• Follow the audible prompts.
• You will be asked to say a four-digit Personal Identification Number (PIN),
which you will later need to enter into
your mobile phone. You can say any
four-digit PIN. You will not need to
remember this PIN after the initial
pairing process.
Phone Pairing
ELECTRONICS
63
Page 123 of 126

LocksLiftgate, Tailgate ..........10
Lumbar Support ............20
Maintenance Record .........109
MaintenanceSchedule........105
Malfunction Indicator Light (Check Engine)................83
MediaCenterRadio........43,47
MOPAR
®Accessories .........116
Navigation ................54
Navigation System (Uconnect
®
gps)..................55
Navigation Voice Prompt Volume . . .55
New Vehicle Break-In Period .....24
OilChangeIndicator..........85
Oil, Engine Capacity ..............104
Oil Pressure Light ...........84
Outlet Power ................75
Overheating, Engine ..........85
Panic Alarm ...............10
Phone (Uconnect
®) ..........63
Placard, Tire and Loading Information .............112
Power Inverter ...............74
Outlet (Auxiliary Electrical
Outlet) ...............75
Seats ................18
Steering ..............104
Power Sunroof .............32
Preparation for Jacking ........88
Programmable Electronic Features . .69
Radio Operation .....37,40,44,49
Rain Sensitive Wiper System .....26
Rear Seat, Folding ...........21
Rear Wiper/Washer ...........26
Remote Keyless Entry (RKE) Arm The Alarm ...........12
Disarm The Alarm .........12
Lock The Doors ...........10
Panic Alarm ............10 Remote Keyless Entry (RKE) . . .10
Unlock The Doors
.........10
Remote Starting How To Use Remote Start .....11
KeyFob ...............11
Remote Starting System .....11
Remote Starting System ........11
Replacement Bulbs ..........113
Reporting Safety Defects .......115
RollOverWarning ............4
Satellite Radio (Uconnect
®
studios) ...........39,41,45
Schedule,Maintenance .......105
Seat Belt Automatic Locking Retractor
(ALR) ................13
Child Restraints ........13,15
Energy Management Feature . . .13
Engage The Automatic
Locking Mode ...........16
Lap/Shoulder Belts .........13
Seat Belt Pretensioner ......13
Seat Belt Reminder ........13
Seats ................18,19
Adjustment .............19
Folding Front Passenger .....20
Heated ...............22
Height Adjustment ........19
Manual ...............19
Power ................18
Rear Folding ............21
Security Alarm Arm The System ..........12
Disarm The System ........12
Security Alarm ...........12
Shift Lever Override ..........97
Signals, Turn ..............26
SIRIUS Travel Link ...........57
SpareTire................87
SparkPlugs..............104
Speed Control Accel/Decel ............28
Cancel ...............28
Resume ...............28
Set .................27
Starting Remote ...............11
INDEX
121