headlights JEEP PATRIOT 2016 1.G User Guide
[x] Cancel search | Manufacturer: JEEP, Model Year: 2016, Model line: PATRIOT, Model: JEEP PATRIOT 2016 1.GPages: 148, PDF Size: 8.25 MB
Page 12 of 148
KEY FOB
Locking And Unlocking The Doors
And Liftgate
Lock The Doors And Liftgate
Push and release the LOCK button on the
RKE transmitter to lock all doors and
liftgate. The turn signal lights will flash,
and the horn will chirp to acknowledge
the signal.
Unlock The Doors And Liftgate
Push and release the UNLOCK button on
the RKE transmitter once to unlock the
driver’s door or twice within five seconds
to unlock all doors and liftgate. The turn
signal lights will flash to acknowledge the
unlock signal. The illuminated entry sys-
tem will also turn on.
All doors can be programmed to unlock
on the first push of the UNLOCK button.
Refer to “Electronic Vehicle Information
Center (EVIC) Customer Programmable
Features” in “Electronics” for further in-
formation.
Panic Alarm
To turn the Panic Alarm feature ON or OFF, push and hold the PANIC button on the
RKE transmitter for at least one second and release. When the Panic Alarm is on, the
headlights and park lights will flash, the horn will pulse on and off and the interior
lights will turn on.
The Panic Alarm will stay on for three minutes unless you turn it off by pushing the
PANIC button a second time or if the vehicle speed is 5 mph (8 km/h) or greater.
NOTE:
When you turn off the Panic Alarm by pushing the PANIC button a second time, you
may have to move closer to the vehicle due to the radio frequency noises of the
system.
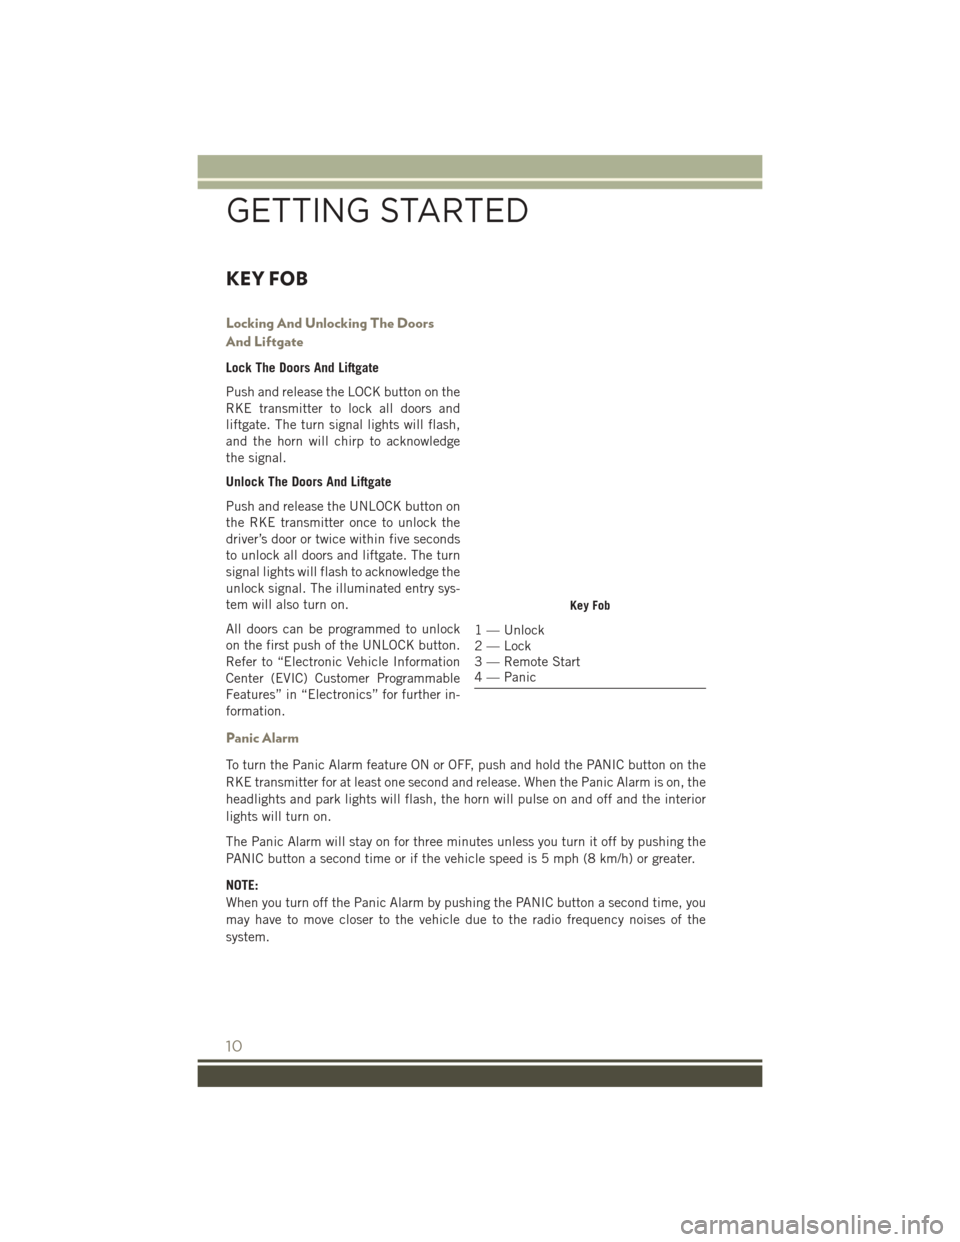
Key Fob
1 — Unlock
2 — Lock
3 — Remote Start
4 — Panic
GETTING STARTED
10
Page 31 of 148
ENGINE BREAK-IN RECOMMENDATIONS
A long break-in period is not required for the engine and drivetrain (transmission and
axle) in your vehicle.
Drive moderately during the first 300 miles (500 km). After the initial 60 miles
(100 km), speeds up to 50 or 55 mph (80 or 90 km/h) are desirable.
While cruising, brief full-throttle acceleration within the limits of local traffic laws
contributes to a good break-in. Wide-open throttle acceleration in low gear can be
detrimental and should be avoided.
The engine oil installed in the engine at the factory is a high-quality energy
conserving type lubricant. Oil changes should be consistent with anticipated climate
conditions under which vehicle operations will occur. Refer to “Maintaining Your
Vehicle,” for the recommended viscosity and quality grades.
NOTE:
A new engine may consume some oil during its first few thousand miles (kilometers)
of operation. This should be considered a normal part of the break-in and not
interpreted as an indication of an engine problem or malfunction.
CAUTION!
Never use Non-Detergent Oil or Straight Mineral Oil in the engine or damage may
result.
MULTIFUNCTION LEVER
The multifunction lever controls the operation of the headlights, parking lights, turn
signals, headlight beam selection, instrument panel light dimming, interior lights,
the passing lights, and the fog lights. The multifunction lever is located on the left
side of the steering column.
Turn Signal/Lights Lever
OPERATING YOUR VEHICLE
29
Page 32 of 148
Headlights And Parking Lights
Turn the end of the multifunction lever to the first detent to turn on the parking lights.
Turn the end of the lever to the second detent to turn on the headlights.
Automatic Headlights
Turning the end of the multifunction lever to the third detent (AUTO), will activate the
automatic headlight system.
With the engine running and the multifunction lever in the AUTO position, the
headlights will turn on and turn off based on the surrounding light levels.
Instrument Panel Dimming
Rotate the center portion of the lever to the extreme bottom position to fully dim the
instrument panel lights and prevent the interior lights from illuminating when a door
is opened.
Rotate the center portion of the lever up to increase the brightness of the instrument
panel lights when the parking lights or headlights are on.
Rotate the center portion of the lever upward to the next detent position to brighten
the odometer and radio when the parking lights or headlights are on.
Rotate the center portion of the lever upward to the last detent to turn on the interior
lighting.
Flash-To-Pass
You can signal another vehicle with your headlights by lightly pulling the multifunc-
tion lever toward you. This will turn on the high beam headlights until the lever is
released.
NOTE:
If the multifunction lever is held in the flash-to-pass position for more than 20
seconds, the high beams will shut off. If this occurs, wait 30 seconds for the next
flash-to-pass operation.
High/Low Beam Switch
Push the multifunction lever away from you to switch the headlights to high beam.
Pull the multifunction lever toward you to switch the headlights back to low beam.
Fog Lights
The front fog light switch is on the multifunction lever. To activate the front fog lights,
turn on the parking lights or the low beam headlights and pull out the end of the
multifunction lever.
NOTE:
The fog lights will only operate with the headlights on low beam. Selecting high beam
headlights will turn off the fog lights.
OPERATING YOUR VEHICLE
30
Page 34 of 148
Windshield Wiper Operation
Rotate the end of the lever upward to the second detent past the intermittent settings
for low-speed wiper operation. Rotate the end of the lever upward to the third detent
past the intermittent settings for high-speed wiper operation.
Intermittent Wiper System
Use the intermittent wiper when weather conditions make a single wiping cycle, with
a variable pause between cycles, desirable. Select the delay interval by turning the
end of the lever. Rotate the end of the lever upward (clockwise) to decrease the delay
time and downward (counterclockwise) to increase the delay time. The delay can be
regulated from a maximum of approximately 18 seconds between cycles, to a cycle
every second.
NOTE:
The wiper delay times depend on vehicle speed. If the vehicle is moving less than
10 mph (16 km/h), delay times will be doubled.
Windshield Washers
To use the washer, pull the control lever toward you and hold while spray is desired.
If the lever is pulled while in the delay range, the wiper will operate in low-speed
while the lever is pulled and for two wipe cycles after the lever is released, and then
resume the intermittent interval previously selected.
If the lever is pulled while in the off position, the wipers will operate for two wipe
cycles, then turn off.
WARNING!
Sudden loss of visibility through the windshield could lead to a collision. You
might not see other vehicles or other obstacles. To avoid sudden icing of the
windshield during freezing weather, warm the windshield with the defroster before
and during windshield washer use.
Headlights On With Wipers (Available With Automatic Headlights Only)
When this feature is active, the headlights will turn on approximately 10 seconds
after the wipers are turned on if the headlight switch is placed in the AUTO position.
In addition, the headlights will turn off when the wipers are turned off if they were
turned on by this feature.
NOTE:
The Headlights On with Wipers feature can be turned on or off using the Electronic
Vehicle Information Center (EVIC). Refer to “Electronic Vehicle Information Center
(EVIC)” in “Understanding Your Instrument Panel” on the DVD for further informa-
tion.
OPERATING YOUR VEHICLE
32
Page 96 of 148
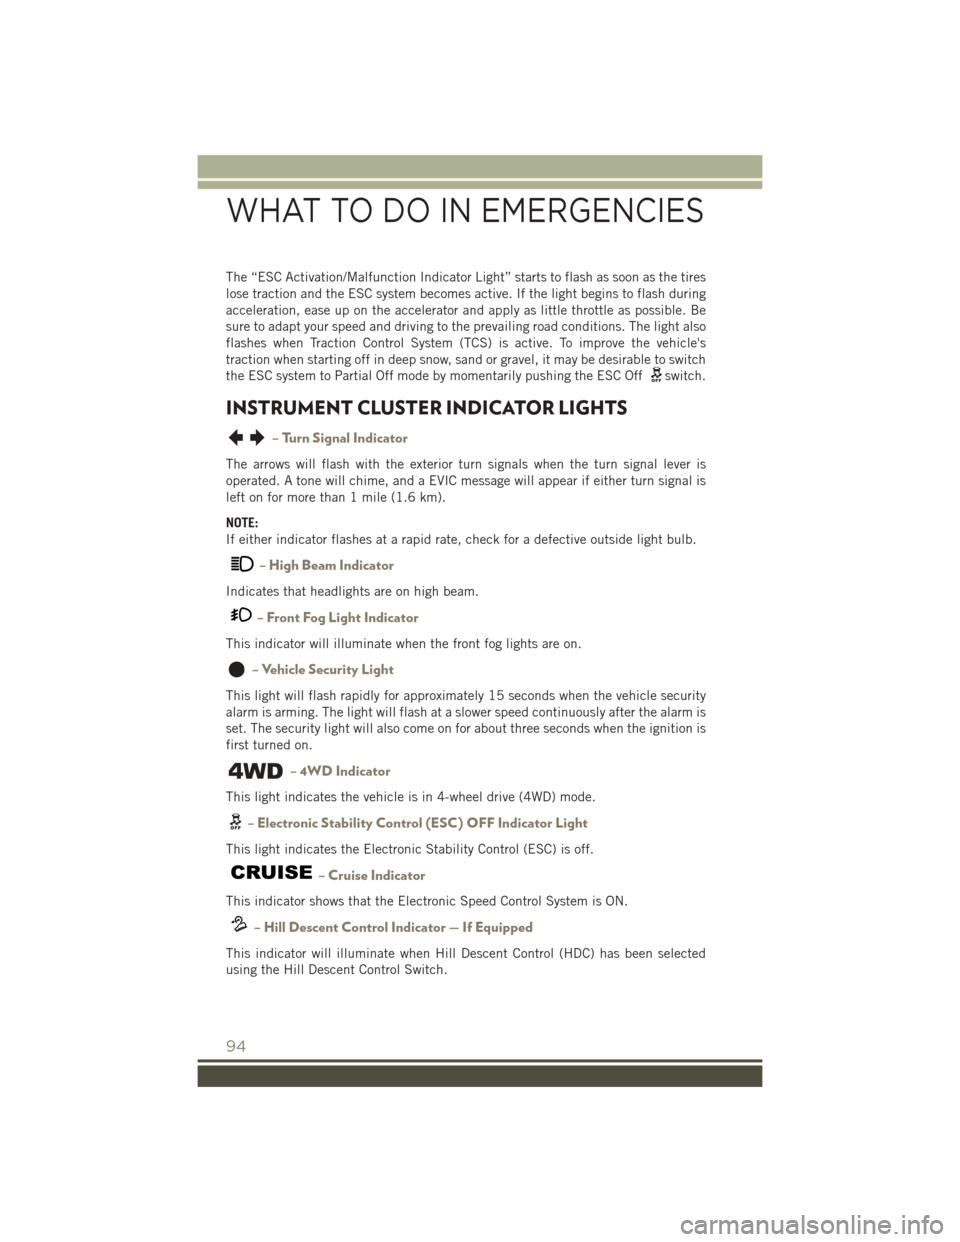
The “ESC Activation/Malfunction Indicator Light” starts to flash as soon as the tires
lose traction and the ESC system becomes active. If the light begins to flash during
acceleration, ease up on the accelerator and apply as little throttle as possible. Be
sure to adapt your speed and driving to the prevailing road conditions. The light also
flashes when Traction Control System (TCS) is active. To improve the vehicle's
traction when starting off in deep snow, sand or gravel, it may be desirable to switch
the ESC system to Partial Off mode by momentarily pushing the ESC Off
switch.
INSTRUMENT CLUSTER INDICATOR LIGHTS
– Turn Signal Indicator
The arrows will flash with the exterior turn signals when the turn signal lever is
operated. A tone will chime, and a EVIC message will appear if either turn signal is
left on for more than 1 mile (1.6 km).
NOTE:
If either indicator flashes at a rapid rate, check for a defective outside light bulb.
– High Beam Indicator
Indicates that headlights are on high beam.
– Front Fog Light Indicator
This indicator will illuminate when the front fog lights are on.
– Vehicle Security Light
This light will flash rapidly for approximately 15 seconds when the vehicle security
alarm is arming. The light will flash at a slower speed continuously after the alarm is
set. The security light will also come on for about three seconds when the ignition is
first turned on.
– 4WD Indicator
This light indicates the vehicle is in 4-wheel drive (4WD) mode.
– Electronic Stability Control (ESC) OFF Indicator Light
This light indicates the Electronic Stability Control (ESC) is off.
– Cruise Indicator
This indicator shows that the Electronic Speed Control System is ON.
– Hill Descent Control Indicator — If Equipped
This indicator will illuminate when Hill Descent Control (HDC) has been selected
using the Hill Descent Control Switch.
WHAT TO DO IN EMERGENCIES
94
Page 138 of 148
Four Wheel Drive Operation......85
Freeing A Stuck Vehicle .......108
Fuel Capacity ..............116
Octane Rating ..........116
Tank Capacity ..........116
Garage Door Opener (HomeLink) ...........81,83
Gasoline(Fuel) ............116
Gear Select Lever Override ......106
GeneralMaintenance.........118
Glass Cleaning ............118
GPS Navigation (Uconnect GPS) . . .65
Hard Drive (HDD) ............59
Headlights Cleaning .............118
High Beam/Low Beam Select
Switch ...............30
OnWithWipers ..........32
Passing ...............30
Switch ...............30
Head Restraints ............22
Heated Mirrors ...........38,39
Heated Seats ..............27
High Beam Indicator ..........94
High Beam/Low Beam Select (Dimmer) Switch ................30
HomeLink Operation ..............83
HomeLink (Garage Door Opener). .81, 83
Hood Release .............110
Installing A Child Restraint With ALR..................20
Installing Child Restraints Using The LATCH Lower Anchorages .....20
Installing Child Restraints Using The Vehicle Seat Belt ..........20
Instrument Cluster ............8
Indicators ..............8
Instrument Cluster Warning Lights ............8,89,94
Instrument Panel Cover .......118
Instrument Panel Lens Cleaning . .118
Integrated Power Module (Fuses) . .123
Interior And Instrument Lights . . .6, 7 Interior Appearance Care
.......118
Intermittent Wipers (Delay Wipers) . .32
Introduction ...............2
Canada ................3
Inverter Outlet (115V) .........83
Inverter, Power .............83
iPod/USB/MP3 Control ........71
Bluetooth Streaming Audio ....77
Jacking Instructions ..........98
Jack Location ..............96
Jack Operation ...........96,98
Jump Starting .............103
KeyFob.................10 Arm The Alarm ...........12
Disarm The Alarm .........12
Lock The Doors ...........10
Panic Alarm ............10
Remote Start ............11
Unlock The Doors .........10
Key Fob Programmable Features . . .79
Lane Change Assist ..........31
Lap/Shoulder Belts ...........13
Latches Hood ...............110
LATCH (Lower Anchors And Tether For CHildren)...............18
Left Switch Steering Wheel Audio Controls . .71
Liftgate Window Wiper/Washer ....33
LightBulbs ..............128
Lights AirBag ...............17
Cruise ................94
Dimmer Switch,
Headlight ...........29,30
Engine Temperature Warning . . .92
Fog ...............30,94
Four-Wheel Drive Indicator ....94
Headlights .............30
Headlights On With Wipers ....32
Headlight Switch .........30
HighBeam .............30
High Beam Indicator .......94
High Beam/Low Beam Select . .30
Hill Descent Control Indicator . .94
INDEX
136