ECO mode JEEP PATRIOT 2017 1.G Owners Manual
[x] Cancel search | Manufacturer: JEEP, Model Year: 2017, Model line: PATRIOT, Model: JEEP PATRIOT 2017 1.GPages: 421, PDF Size: 3.4 MB
Page 26 of 421
WARNING!
•Do not start or run an engine in a closed garage or
confined area. Exhaust gas contains Carbon Monox-
ide (CO) which is odorless and colorless. Carbon
Monoxide is poisonous and can cause serious injury
or death when inhaled.
• Keep key fobs away from children. Operation of the
Remote Start System, windows, door locks or other
controls could cause serious injury or death.
Remote Start Abort Message Display
The following messages will display if the vehicle fails to
remote start or exits remote start prematurely:
• Remote Start Aborted — Door Open
• Remote Start Aborted — Hood Open
• Remote Start Aborted — L/Gate Open
• Remote Start Aborted — Fuel Low
• Remote Start Aborted — System Fault
The message stays active until the ignition is placed in the
ON/RUN position.
To Enter Remote Start
Push and release the Remote Startbutton on the key
fob twice within five seconds. The vehicle doors will
lock, the parking lights will flash, and the horn will
chirp twice (if programmed). Then, the engine will start
and the vehicle will remain in the Remote Start mode for
a 15-minute cycle.
NOTE:
• The park lamps will turn on and remain on during
Remote Start mode.
• For security, power window and power sunroof opera-
tion (if equipped) are disabled when the vehicle is in the
Remote Start mode.
• If your power door locks were unlocked, Remote Start
will automatically lock the doors.
• The engine can be started two consecutive times (two
15-minute cycles) with the key fob. However, the igni-
tion must be placed in the ON/RUN position before you
can repeat the start sequence for a third cycle.
Remote Start will also cancel if any of the following occur:
• The engine stalls or RPM exceeds 2500.
24 GETTING TO KNOW YOUR VEHICLE
Page 27 of 421
•Any engine warning lamps come on.
• Low Fuel Light turns on.
• The hood is opened.
• The hazard switch is pushed.
• The transmission is moved out of PARK.
• The brake pedal is pushed.
To Exit Remote Start Mode Without Driving The
Vehicle
Push and release the Remote Startbutton one time or
allow the engine to run for the entire 15-minute cycle.
NOTE: To avoid unintentional shut downs, the system will
disable the one time push of the Remote Start
button
for two seconds after receiving a valid Remote Start
request.
To Exit Remote Start Mode And Drive The Vehicle
Before the end of the 15-minute cycle, push and release the
unlock
button on the key fob to unlock the doors and
disarm the Vehicle Security Alarm (if equipped). Then,
insert the key into the ignition and place the ignition in
the ON/RUN position.
NOTE: The ignition must be placed in the ON/RUN
position in order to drive the vehicle.
SENTRY KEY
The Sentry Key Immobilizer System prevents unauthor-
ized vehicle operation by disabling the engine. The system
does not need to be armed or activated. Operation is
automatic, regardless of whether the vehicle is locked or
unlocked.
The system uses key fobs that have an embedded electronic
chip (transponder) to prevent unauthorized vehicle opera-
tion. Therefore, only key fobs that are programmed to the
vehicle can be used to start and operate the vehicle. The
system will shut the engine off in two seconds if someone
uses an invalid key to try to start the engine.
NOTE: A key fob that has not been programmed is also
considered an invalid key, even if it is cut to fit the ignition
or lock cylinder for that vehicle.
During normal operation, after placing the ignition in the
on position, the Vehicle Security Light will turn on for three
seconds for a bulb check. If the light remains on after the
bulb check, it indicates that there is a problem with the
electronics. In addition, if the Vehicle Security Light begins
to flash after the bulb check, it indicates that someone used3
GETTING TO KNOW YOUR VEHICLE 25
Page 33 of 421
4. A single chime will indicate the completion of theprogramming.
5. Repeat these steps if you want to return this feature to its previous setting.
NOTE:
• If you do not hear the chime, it means that the system
did not enter the programming mode and you will need
to repeat the procedure.
• Use the Automatic Door Lock feature in accordance with
local laws.
Automatic Unlock Doors On Exit
The doors will unlock automatically if:
• The Automatic Unlock Doors On Exit feature is enabled.
• The transmission was in gear, and the vehicle speed
returned to 0 MPH (0 km/h).
• The transmission is in NEUTRAL or PARK.
• The driver’s door is opened.
• The doors were not previously unlocked.
Automatic Unlock Doors On Exit Programming
The Automatic Unlock Doors On Exit feature can be
enabled or disabled as follows:
•For vehicles equipped with the instrument cluster dis-
play, refer to “Instrument Cluster Display — If
Equipped/Personal Settings (Customer-Programmable
Features)” in “Getting To Know Your Instrument Panel”
for further information.
• For vehicles not equipped with the instrument cluster
display, perform the following procedure:
1. Close all doors and place the key in the ignition.
2. Within 15 seconds, place the ignition between LOCK and ON/RUN and then back to LOCK five times,
ending up in the ON/RUN position (do not start the
engine).
3. Within 30 seconds, push the power door UNLOCK switch to unlock the doors.
4. A single chime will indicate the completion of the programming.
5. Repeat these steps if you want to return this feature to its previous setting.
3
GETTING TO KNOW YOUR VEHICLE 31
Page 39 of 421
Heated Seats — If Equipped
On some models, the front driver and passenger seats may
be equipped with heaters in both the seat cushions and
seatbacks. The controls for the front heated seats are
located on the center instrument panel area.
You can choose from HI, LO or OFF heat settings. Amber
indicator lights in each switch indicate the level of heat in
use. Two indicator lights will illuminate for HI, one for LO
and none for OFF.Push the switch once to select HI-level heating.
Push the switch a second time to select LO-level
heating. Push the switch a third time to shut the
heating elements OFF.
When the HI-level setting is selected, the heater will
provide a boosted heat level during the initial stages of
operation. Then, the heat output will drop to the normal
HI-level. If the HI-level setting is selected, the system will
automatically switch to LO-level after approximately 30
minutes of continuous operation. At that time, the display
will change from HI to LO, indicating the change. When
the LO-level heating is selected, the system automatically
turns the heater and the indicator light OFF after approxi-
mately 30 minutes of continuous operation. NOTE:
Once a heat setting is selected, heat will be felt
within two to five minutes.
WARNING!
• Persons who are unable to feel pain to the skin
because of advanced age, chronic illness, diabetes,
spinal cord injury, medication, alcohol use, exhaus-
tion or other physical condition must exercise care
when using the seat heater. It may cause burns even
at low temperatures, especially if used for long
periods of time.
• Do not place anything on the seat or seatback that
insulates against heat, such as a blanket or cushion.
This may cause the seat heater to overheat. Sitting in
a seat that has been overheated could cause serious
burns due to the increased surface temperature of the
seat.3
GETTING TO KNOW YOUR VEHICLE 37
Page 56 of 421
Rear Window Wiper/Washer
The rear wiper/washer is controlled by a rotary switch
located on the center portion of the control lever. The
control lever is located on the right side of the steering
column.Rotate the center portion of the lever upward to the
first detent position for rear wiper operation. NOTE:
The rear wiper operates in an intermittent mode
only.
Rotate the center portion of the lever past the
first detent to activate the rear washer. The
washer pump and the wiper will continue to
operate as long as the switch is held (for a
maximum of 10 seconds). Upon release, the wiper will
continue to cycle two times before returning to the set
position.
If the rear wiper is operating when the ignition is turned
OFF, the wiper will automatically return to the “park”
position if power accessory delay is active. Power acces-
sory delay can be cancelled by opening the door, if this
happens the rear wiper will stop at its current position and
will not go to “park”.
Rear Wiper/Washer Control Lever
54 GETTING TO KNOW YOUR VEHICLE
Page 59 of 421
IconDescription
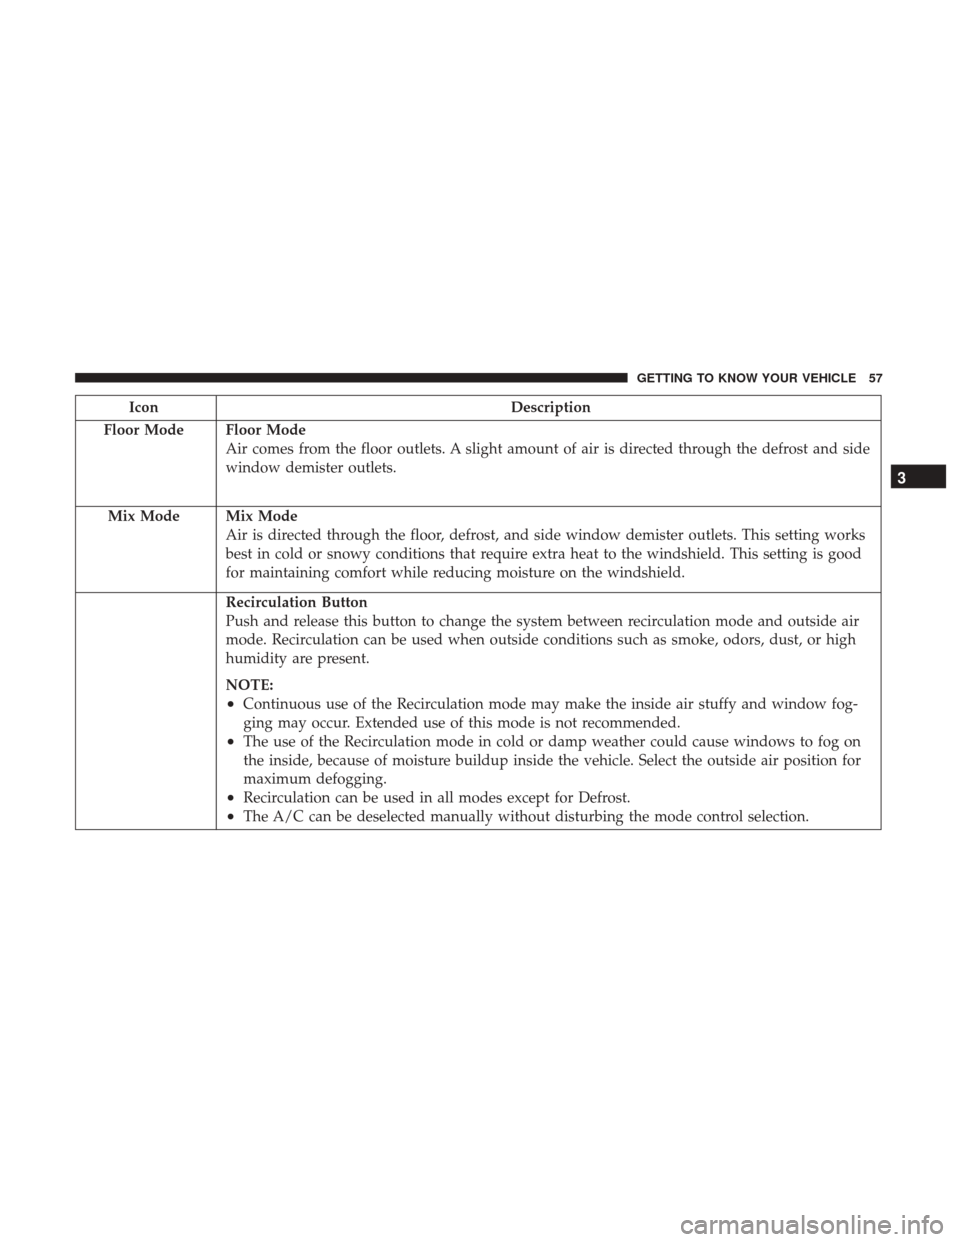
Floor Mode
Floor Mode
Air comes from the floor outlets. A slight amount of air is directed through the defrost and side
window demister outlets.
Mix Mode
Mix Mode
Air is directed through the floor, defrost, and side window demister outlets. This setting works
best in cold or snowy conditions that require extra heat to the windshield. This setting is good
for maintaining comfort while reducing moisture on the windshield.
Recirculation Button
Push and release this button to change the system between recirculation mode and outside air
mode. Recirculation can be used when outside conditions such as smoke, odors, dust, or high
humidity are present.
NOTE:
•Continuous use of the Recirculation mode may make the inside air stuffy and window fog-
ging may occur. Extended use of this mode is not recommended.
•The use of the Recirculation mode in cold or damp weather could cause windows to fog on
the inside, because of moisture buildup inside the vehicle. Select the outside air position for
maximum defogging.
•Recirculation can be used in all modes except for Defrost.
•The A/C can be deselected manually without disturbing the mode control selection.
3
GETTING TO KNOW YOUR VEHICLE 57
Page 63 of 421
IconDescription
Recirculation Button
Push and release this button to change the system between recirculation mode and outside air
mode. Recirculation can be used when outside conditions such as smoke, odors, dust, or high
humidity are present.
NOTE:
•Continuous use of the Recirculation mode may make the inside air stuffy and window fog-
ging may occur. Extended use of this mode is not recommended.
•The use of the Recirculation mode in cold or damp weather could cause windows to fog on
the inside, because of moisture buildup inside the vehicle. Select the outside air position for
maximum defogging.
•Recirculation can be used in all modes except for Defrost.
•The A/C can be deselected manually without disturbing the mode control selection.
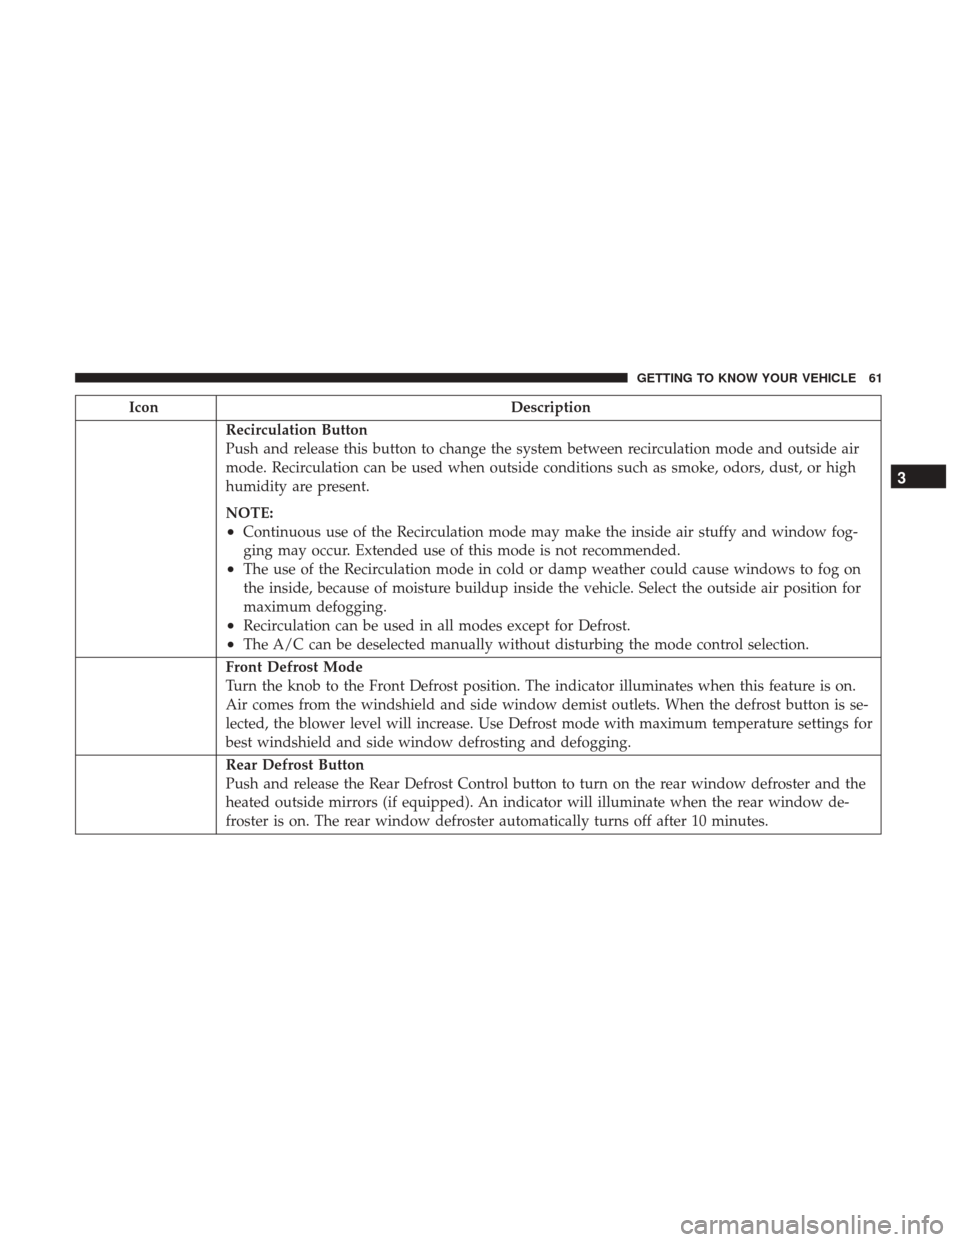
Front Defrost Mode
Turn the knob to the Front Defrost position. The indicator illuminates when this feature is on.
Air comes from the windshield and side window demist outlets. When the defrost button is se-
lected, the blower level will increase. Use Defrost mode with maximum temperature settings for
best windshield and side window defrosting and defogging.
Rear Defrost Button
Push and release the Rear Defrost Control button to turn on the rear window defroster and the
heated outside mirrors (if equipped). An indicator will illuminate when the rear window de-
froster is on. The rear window defroster automatically turns off after 10 minutes.
3
GETTING TO KNOW YOUR VEHICLE 61
Page 64 of 421
CAUTION!
Failure to follow these cautions can cause damage to
the heating elements:
•Use care when washing the inside of the rear win-
dow. Do not use abrasive window cleaners on the
interior surface of the window. Use a soft cloth and a
mild washing solution, wiping parallel to the heat-
ing elements. Labels can be peeled off after soaking
with warm water.
• Do not use scrapers, sharp instruments, or abrasive
window cleaners on the interior surface of the win-
dow.
• Keep all objects a safe distance from the window.
Climate Control Functions
A/C (Air Conditioning)
The Air Conditioning (A/C) button allows the operator to
manually activate or deactivate the air conditioning sys-
tem. When the air conditioning system is turned on, cool
dehumidified air will flow through the outlets into the
cabin. For improved fuel economy, press the A/C button to
turn off the air conditioning and manually adjust the
blower and airflow mode settings. Also, make sure to select
only Panel, Bi-Level or Floor modes. NOTE:
•
If fog or mist appears on the windshield or side glass,
select Defrost mode and increase blower speed if
needed.
• If your air conditioning performance seems lower than
expected, check the front of the A/C condenser (located
in front of the radiator), for an accumulation of dirt or
insects. Clean with a gentle water spray from the front of
the radiator and through the condenser.
Recirculation
When outside air contains smoke, odors, or high humidity,
or if rapid cooling is desired, you may wish to recirculate
interior air by pressing the Recirculation control button.
The recirculation indicator will illuminate when this button
is selected. Press the button a second time to turn off the
Recirculation mode and allow outside air into the vehicle.
62 GETTING TO KNOW YOUR VEHICLE
Page 66 of 421
The operator can override the AUTO mode setting to
change airflow distribution by rotating the Mode Control
knob (on the right).
Operating Tips
NOTE:Refer to the chart at the end of this section for
suggested control settings for various weather conditions.
Summer Operation
The engine cooling system must be protected with a
high-quality antifreeze coolant to provide proper corrosion
protection and to protect against engine overheating. OAT
coolant (conforming to MS.90032) is recommended. Refer
to “Dealer Service” in “Servicing And Maintenance” for
proper coolant selection.
64 GETTING TO KNOW YOUR VEHICLE
Page 72 of 421
Opening Sunroof — Manual Mode
To open the sunroof, push and hold the switch rearward.
Sunroof will move rearward and automatically stop at full
open position. Any release of the switch will stop the
movement. The sunroof and sunshade will remain in a
partially opened condition until the sunroof switch is
pushed again.
Venting Sunroof — Express
Push and release the Vent button within one half second
and the sunroof will open to the vent position. This is
called “Express Vent”, and it will occur regardless of
sunroof position. During Express Vent operation, any other
actuation of the switch will stop the sunroof.
Closing
Closing Sunroof — Express
Push the switch forward and release it within one-half
second and the sunroof will close automatically from any
position. The sunroof will close fully and stop automati-
cally. This is called “Express Close.” During Express Close
operation, any other actuation of the switch will stop the
sunroof.
Closing Sunroof — Manual Mode
To close the sunroof, push and hold the switch forward.
Sunroof will move forward and automatically stop at full
closed position. Any release of the switch will stop the
movement and the sunroof will remain in a partially closed
condition until the sunroof switch is pushed again.
Wind Buffeting
Wind buffeting can be described as the perception of
pressure on the ears or a helicopter-type sound in the ears.
Your vehicle may exhibit wind buffeting with the windows
down, or the sunroof (if equipped) in certain open or
partially open positions. This is a normal occurrence and
can be minimized. If the buffeting occurs with the rear
windows open, open the front and rear windows together
to minimize the buffeting. If the buffeting occurs with the
sunroof open, adjust the sunroof opening to minimize the
buffeting or open any window.
Sunshade Operation
The sunshade can be opened manually. However, the
sunshade will open automatically as the sunroof opens.
NOTE:The sunshade cannot be closed if the sunroof is
open.
70 GETTING TO KNOW YOUR VEHICLE