charging JEEP PATRIOT 2020 Owner handbook (in English)
[x] Cancel search | Manufacturer: JEEP, Model Year: 2020, Model line: PATRIOT, Model: JEEP PATRIOT 2020Pages: 332, PDF Size: 1.99 MB
Page 131 of 332

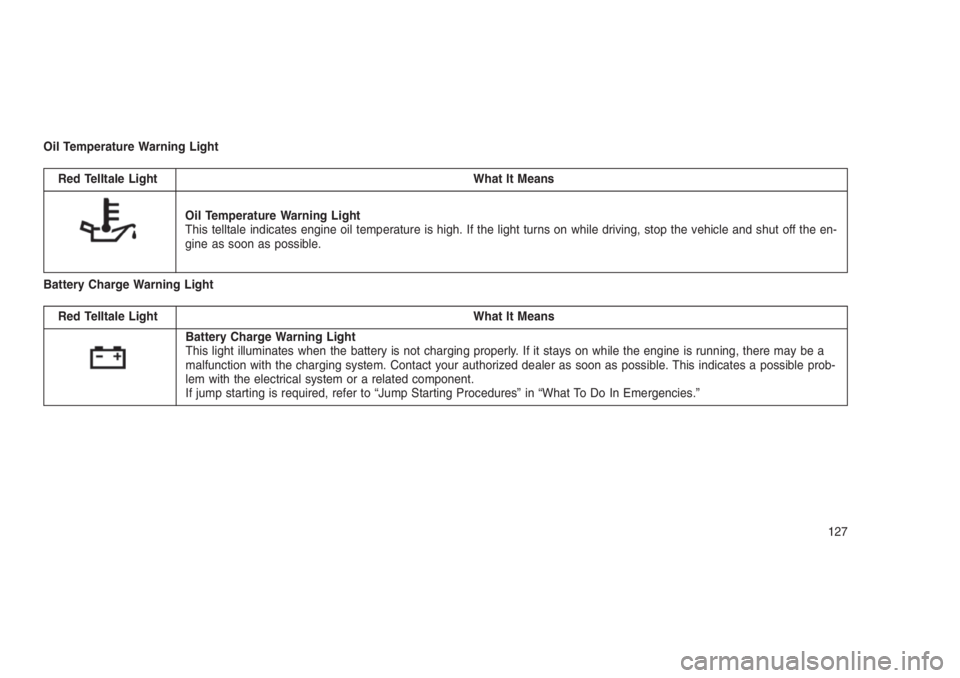
Oil Temperature Warning Light
Red Telltale Light What It Means
Oil Temperature Warning Light
This telltale indicates engine oil temperature is high. If the light turns on while driving, stop the vehicle and shut off the en-
gine as soon as possible.
Battery Charge Warning Light
Red Telltale Light What It Means
Battery Charge Warning Light
This light illuminates when the battery is not charging properly. If it stays on while the engine is running, there may be a
malfunction with the charging system. Contact your authorized dealer as soon as possible. This indicates a possible prob-
lem with the electrical system or a related component.
If jump starting is required, refer to “Jump Starting Procedures” in “What To Do In Emergencies.”
127
Page 150 of 332

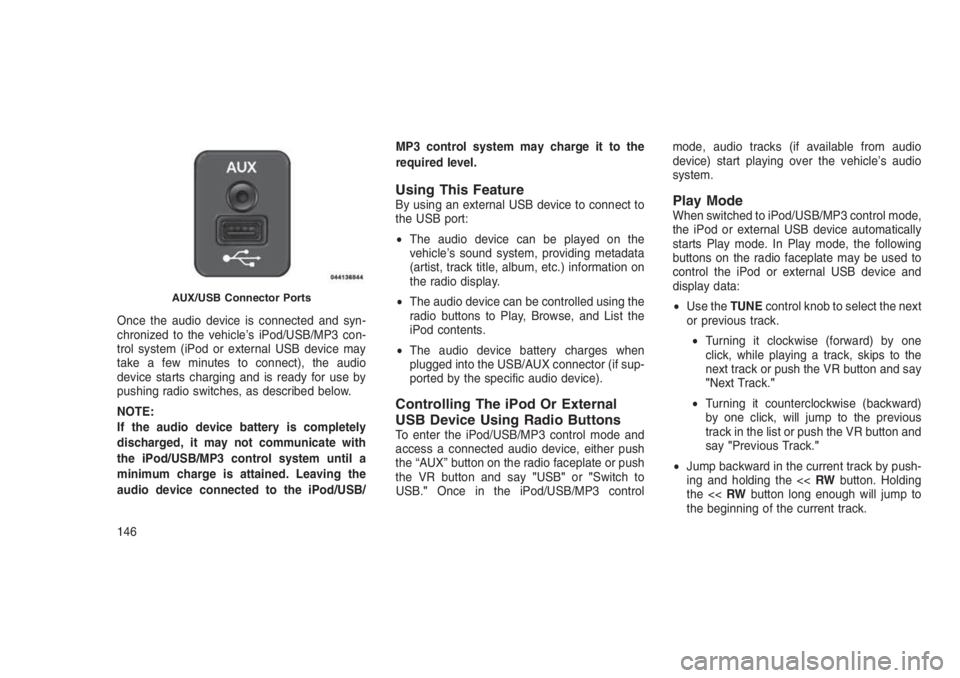
Once the audio device is connected and syn-
chronized to the vehicle’s iPod/USB/MP3 con-
trol system (iPod or external USB device may
take a few minutes to connect), the audio
device starts charging and is ready for use by
pushing radio switches, as described below.
NOTE:
If the audio device battery is completely
discharged, it may not communicate with
the iPod/USB/MP3 control system until a
minimum charge is attained. Leaving the
audio device connected to the iPod/USB/MP3 control system may charge it to the
required level.
Using This FeatureBy using an external USB device to connect to
the USB port:
•The audio device can be played on the
vehicle’s sound system, providing metadata
(artist, track title, album, etc.) information on
the radio display.
•The audio device can be controlled using the
radio buttons to Play, Browse, and List the
iPod contents.
•The audio device battery charges when
plugged into the USB/AUX connector (if sup-
ported by the specific audio device).
Controlling The iPod Or External
USB Device Using Radio Buttons
To enter the iPod/USB/MP3 control mode and
access a connected audio device, either push
the “AUX” button on the radio faceplate or push
the VR button and say"USB"or"Switch to
USB."Once in the iPod/USB/MP3 controlmode, audio tracks (if available from audio
device) start playing over the vehicle’s audio
system.
Play ModeWhen switched to iPod/USB/MP3 control mode,
the iPod or external USB device automatically
starts Play mode. In Play mode, the following
buttons on the radio faceplate may be used to
control the iPod or external USB device and
display data:
•Use theTUNEcontrol knob to select the next
or previous track.
•Turning it clockwise (forward) by one
click, while playing a track, skips to the
next track or push the VR button and say
"Next Track."
•Turning it counterclockwise (backward)
by one click, will jump to the previous
track in the list or push the VR button and
say"Previous Track."
•Jump backward in the current track by push-
ing and holding the <
AUX/USB Connector Ports
146
Page 246 of 332

WARNING!(Continued)
•Batteries contain sulfuric acid that can
burn your skin or eyes and generate hy-
drogen gas which is flammable and explo-
sive. Keep open flames or sparks away
from the battery.
1. Set the parking brake, shift the automatic
transmission into PARK (manual transmis-
sion to NEUTRAL) and turn the ignition to
LOCK.
2. Turn off the heater, radio, and all unneces-
sary electrical accessories.
3. If using another vehicle to jump-start the
battery, park the vehicle within the jumper
cables reach, set the parking brake and
make sure the ignition is OFF.
WARNING!
Do not allow vehicles to touch each other as
this could establish a ground connection and
personal injury could result.
Jump-Starting Procedure
WARNING!
Failure to follow this jump-starting procedure
could result in personal injury or property
damage due to battery explosion.
CAUTION!
Failure to follow these procedures could re-
sult in damage to the charging system of the
booster vehicle or the discharged vehicle.
NOTE:
Remove Air Intake before proceeding with
this Jump-Starting procedure.Connecting The Jumper Cables
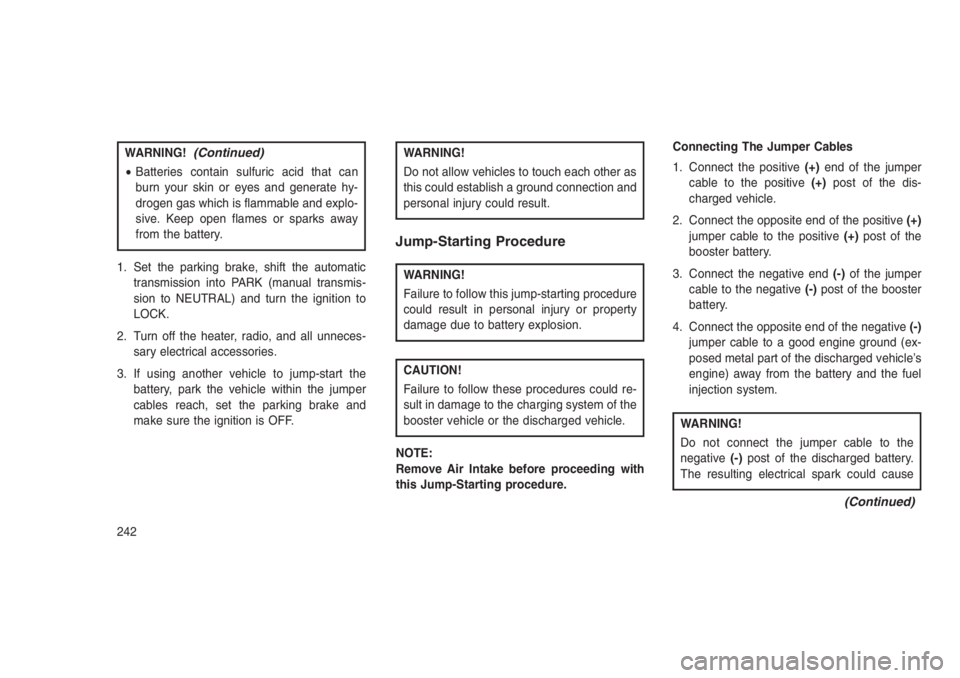
1. Connect the positive(+)end of the jumper
cable to the positive(+)post of the dis-
charged vehicle.
2. Connect the opposite end of the positive(+)
jumper cable to the positive(+)post of the
booster battery.
3. Connect the negative end(-)of the jumper
cable to the negative(-)post of the booster
battery.
4. Connect the opposite end of the negative(-)
jumper cable to a good engine ground (ex-
posed metal part of the discharged vehicle’s
engine) away from the battery and the fuel
injection system.
WARNING!
Do not connect the jumper cable to the
negative(-)post of the discharged battery.
The resulting electrical spark could cause
(Continued)
242
Page 322 of 332

Adding Engine Coolant (Antifreeze). . . .264
Adding Fuel..................212
Adding Washer Fluid.............261
Additives, Fuel................211
Adjust
Down....................89
Forward...................89
Rearward..................89
Up......................89
AirBag.....................38
Advance Front Air Bag..........38
Air Bag Operation.............39
Air Bag Warning Light...........44
Enhanced Accident Response......43
Event Data Recorder (EDR).......45
Front Air Bag................38
If A Deployment Occurs..........43
Knee Impact Bolsters...........40
Maintaining Your Air Bag System.....45
Side Air Bags...............40
Transporting Pets.............57
Air Bag Deployment..............38
Air Bag Light.............44, 59, 123
Air Bag Maintenance.............45
Air Cleaner, Engine (Engine Air Cleaner
Filter)....................258
Air Conditioner Maintenance........259Air Conditioning................150
Air Conditioning Controls..........150
Air Conditioning Filter.........158, 260
Air Conditioning Refrigerant......259, 260
Air Conditioning System.....150, 153, 259
Air Conditioning, Operating Tips. . . .157, 159
Air Pressure, Tires..............196
Alarm (Security Alarm)............125
Alarm System (Security Alarm)......14, 15
Alterations/Modifications, Vehicle.......8
Anti-Lock Brake System (ABS).......187
Anti-Lock Warning Light...........133
Antifreeze (Engine Coolant)......263, 280
Capacities................280
Disposal..................265
Appearance Care...............271
Assist, Hill Start................189
Automatic Dimming Mirror..........65
Automatic Door Locks.............22
Automatic Temperature Control (ATC) . . .153
Automatic Transaxle..............12
Fluid Level Check.........268, 269
Automatic Transmission . .168, 169, 267, 268
Autostick.................176
Fluid And Filter Changes........269
Fluid Type.............267, 268
Gear Ranges............170, 174Special Additives..........268, 269
Autostick.................176, 177
Battery..................127, 258
Charging System Light.........127
Keyless Transmitter Replacement
(RKE)...................18
Belts, Seat...................59
Body Mechanism Lubrication........261
Brake Assist System.............189
Brake Fluid..................282
Brake System..............186, 266
Master Cylinder.............266
Parking..................185
Warning Light..............124
Brake, Parking................185
Brake/Transmission Interlock........169
Brakes.....................186
Bulb Replacement..............279
Bulbs, Light................60, 279
Calibration, Compass............144
Camera, Rear.................104
Capacities, Antifreeze (Engine Coolant) . .280
Capacities, Fluid...............280
Caps, Filler
Fuel....................212
318