roof rack JEEP PATRIOT 2020 Owner handbook (in English)
[x] Cancel search | Manufacturer: JEEP, Model Year: 2020, Model line: PATRIOT, Model: JEEP PATRIOT 2020Pages: 332, PDF Size: 1.99 MB
Page 45 of 332
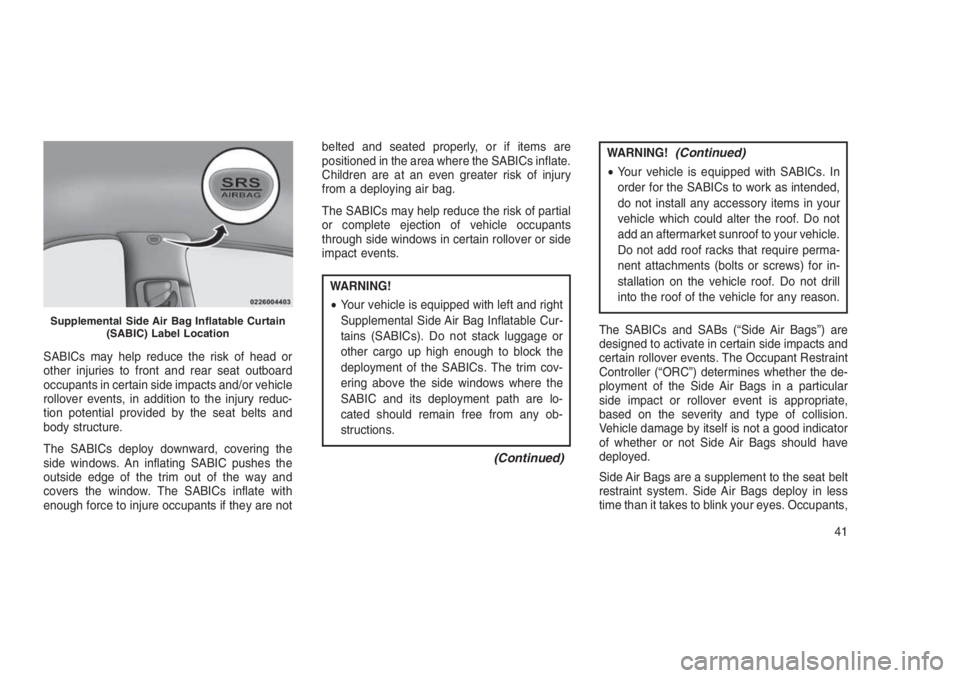
SABICs may help reduce the risk of head or
other injuries to front and rear seat outboard
occupants in certain side impacts and/or vehicle
rollover events, in addition to the injury reduc-
tion potential provided by the seat belts and
body structure.
The SABICs deploy downward, covering the
side windows. An inflating SABIC pushes the
outside edge of the trim out of the way and
covers the window. The SABICs inflate with
enough force to injure occupants if they are notbelted and seated properly, or if items are
positioned in the area where the SABICs inflate.
Children are at an even greater risk of injury
from a deploying air bag.
The SABICs may help reduce the risk of partial
or complete ejection of vehicle occupants
through side windows in certain rollover or side
impact events.
WARNING!
•Your vehicle is equipped with left and right
Supplemental Side Air Bag Inflatable Cur-
tains (SABICs). Do not stack luggage or
other cargo up high enough to block the
deployment of the SABICs. The trim cov-
ering above the side windows where the
SABIC and its deployment path are lo-
cated should remain free from any ob-
structions.
(Continued)
WARNING!(Continued)
•Your vehicle is equipped with SABICs. In
order for the SABICs to work as intended,
do not install any accessory items in your
vehicle which could alter the roof. Do not
add an aftermarket sunroof to your vehicle.
Do not add roof racks that require perma-
nent attachments (bolts or screws) for in-
stallation on the vehicle roof. Do not drill
into the roof of the vehicle for any reason.
The SABICs and SABs (“Side Air Bags”) are
designed to activate in certain side impacts and
certain rollover events. The Occupant Restraint
Controller (“ORC”) determines whether the de-
ployment of the Side Air Bags in a particular
side impact or rollover event is appropriate,
based on the severity and type of collision.
Vehicle damage by itself is not a good indicator
of whether or not Side Air Bags should have
deployed.
Side Air Bags are a supplement to the seat belt
restraint system. Side Air Bags deploy in less
time than it takes to blink your eyes. Occupants,
Supplemental Side Air Bag Inflatable Curtain
(SABIC) Label Location
41
Page 68 of 332
•ELECTRICAL POWER OUTLETS. . . . . . . . . . . . . . . . . . . . .108
•CUPHOLDERS . . . . . . . . . ........................109
•STORAGE . . . . . . . . . . . . . . . . . . . . . . . . . . . .. . . . . . . .109
•Glove Compartment And Storage Bin..................109
•Door Storage.................................110
•CONSOLE FEATURES . . . . . . . .....................111
•CARGO AREA FEATURES . . . . . . . . . . . . . . . . . . . .......111
•Cargo Light.................................111
•Cargo Cover.................................111
•Removable Load Floor...........................112
•Cargo Tie-Down Loops..........................112
•Fold Down Speakers — If Equipped...................113
•REAR WINDOW FEATURES . . . . . . . . . . . . . . . ..........113•Rear Window Wiper/Washer.......................113
•Rear Window Defroster..........................114
•ROOF LUGGAGE RACK — IF EQUIPPED . . . . . . . . . . . .....114
64
Page 118 of 332
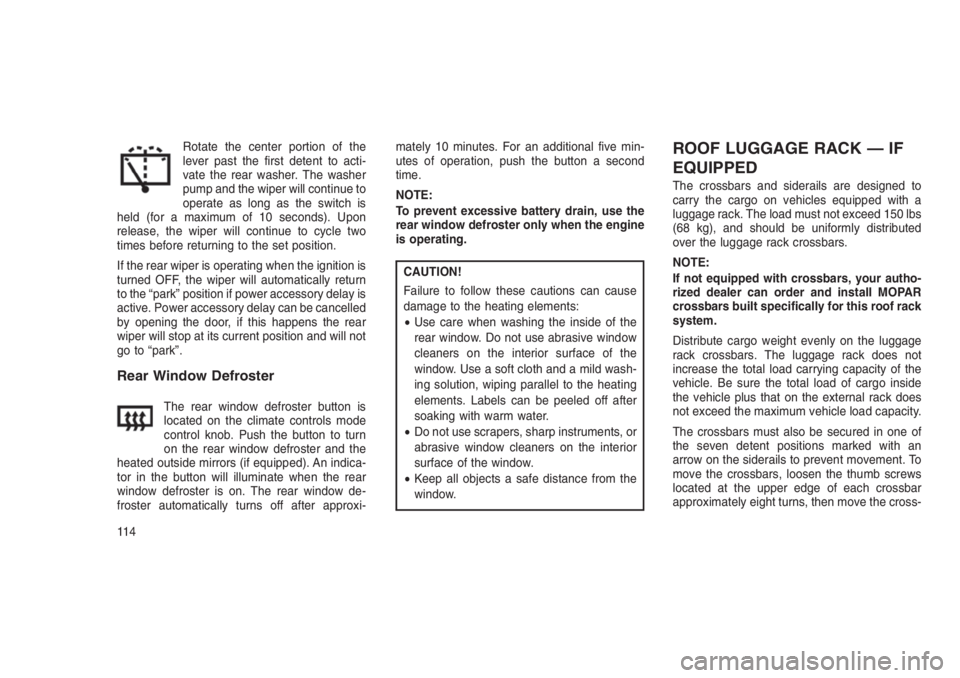
Rotate the center portion of the
lever past the first detent to acti-
vate the rear washer. The washer
pump and the wiper will continue to
operate as long as the switch is
held (for a maximum of 10 seconds). Upon
release, the wiper will continue to cycle two
times before returning to the set position.
If the rear wiper is operating when the ignition is
turned OFF, the wiper will automatically return
to the “park” position if power accessory delay is
active. Power accessory delay can be cancelled
by opening the door, if this happens the rear
wiper will stop at its current position and will not
go to “park”.
Rear Window Defroster
The rear window defroster button is
located on the climate controls mode
control knob. Push the button to turn
on the rear window defroster and the
heated outside mirrors (if equipped). An indica-
tor in the button will illuminate when the rear
window defroster is on. The rear window de-
froster automatically turns off after approxi-mately 10 minutes. For an additional five min-
utes of operation, push the button a second
time.
NOTE:
To prevent excessive battery drain, use the
rear window defroster only when the engine
is operating.
CAUTION!
Failure to follow these cautions can cause
damage to the heating elements:
•Use care when washing the inside of the
rear window. Do not use abrasive window
cleaners on the interior surface of the
window. Use a soft cloth and a mild wash-
ing solution, wiping parallel to the heating
elements. Labels can be peeled off after
soaking with warm water.
•Do not use scrapers, sharp instruments, or
abrasive window cleaners on the interior
surface of the window.
•Keep all objects a safe distance from the
window.
ROOF LUGGAGE RACK — IF
EQUIPPED
The crossbars and siderails are designed to
carry the cargo on vehicles equipped with a
luggage rack. The load must not exceed 150 lbs
(68 kg), and should be uniformly distributed
over the luggage rack crossbars.
NOTE:
If not equipped with crossbars, your autho-
rized dealer can order and install MOPAR
crossbars built specifically for this roof rack
system.
Distribute cargo weight evenly on the luggage
rack crossbars. The luggage rack does not
increase the total load carrying capacity of the
vehicle. Be sure the total load of cargo inside
the vehicle plus that on the external rack does
not exceed the maximum vehicle load capacity.
The crossbars must also be secured in one of
the seven detent positions marked with an
arrow on the siderails to prevent movement. To
move the crossbars, loosen the thumb screws
located at the upper edge of each crossbar
approximately eight turns, then move the cross-
11 4
Page 119 of 332
bar to the desired position, keeping the cross-
bars perpendicular to the luggage rack side
rails. Once the crossbar is in one of the seven
detent positions, retighten the thumb screws to
lock the crossbar into position.
NOTE:
•To help control wind noise when the
crossbars are not in use, place the front
crossbar in the first detent from the front
of the vehicle and the rear crossbar in the
second detent from the rear of the ve-
hicle.
•If the rear crossbar (or any metallic ob-
ject) is placed over the satellite radio
antenna (if equipped), you may experi-
ence interruption of satellite radio recep-
tion. For improved satellite radio recep-
tion, place the rear crossbar in the second
detent from the rear of the vehicle when
not in use.CAUTION!
•To prevent damage to the roof of your
vehicle, DO NOT carry any loads on the
luggage rack without crossbars installed.
The load should be secured and placed on
top of the crossbars, not directly on the
roof. If it is necessary to place the load on
the roof, place a blanket or some other
protection between the load and the roof
surface.
•To avoid damage to the luggage rack and
vehicle, do not exceed the maximum lug-
gage rack load capacity of 150 lb (68 kg).
Always distribute heavy loads as evenly as
possible and secure the load appropriately.
•Long loads which extend over the wind-
shield, such as wood panels or surfboards,
or loads with large frontal area should be
secured to both the front and rear of the
vehicle.
(Continued)
CAUTION!(Continued)
•Travel at reduced speeds and turn corners
carefully when carrying large or heavy
loads on the roof rack. Wind forces, due to
natural causes or nearby truck traffic, can
add sudden upward lift to a load. This is
especially true on large flat loads and may
result in damage to the cargo or your
vehicle.
WARNING!
Cargo must be securely tied before driving
your vehicle. Improperly secured loads can
fly off the vehicle, particularly at high speeds,
resulting in personal injury or property dam-
age. Follow the roof rack cautions when
carrying cargo on your roof rack.
11 5
Page 326 of 332
High Beam/Low Beam Select......98
Instrument Cluster............96
License..................280
Lights On Reminder............97
Malfunction Indicator (Check Engine) .129
Map Reading...............99
Park...................136
Passing..................98
Seat Belt Reminder...........123
Security Alarm..........15, 16, 125
Service..................279
Side Repeater..............279
Tire Pressure Monitoring (TPMS) . . .130
Traction Control.............193
Turn Signal......60, 96, 97, 136, 280
Warning (Instrument Cluster
Description)............126, 136
Locks......................21
Automatic Door..............22
Child Protection..............23
Door....................21
Power Door................21
Steering Wheel..............13
Lubrication, Body...............261
Lug Nuts...................228
Luggage Rack (Roof Rack).........114Lumbar Support................91
Maintenance Free Battery..........258
Maintenance Procedures..........256
Maintenance Schedule.........284, 285
Malfunction Indicator Light
(Check Engine)..............129
Manual Transaxle..............165
Fluid Level Check............270
Lubricant Selection...........270
Manual Transmission..........166, 269
Fluid Level Check............270
Frequency Of Fluid Change......270
Lubricant Selection...........269
Map/Reading Lights..............99
Master Cylinder (Brakes)..........266
Methanol..................
.210
Methanol Fuel................210
Mirrors.....................65
Automatic Dimming............65
Electric Powered.............66
Exterior Folding..............66
Heated...................66
Outside..................65
Rearview..................65
Vanity...................66Modifications/Alterations, Vehicle.......8
Monitor, Tire Pressure System.......204
MOPAR Parts.................256
Multi-Function Control Lever.........96
Navigation System (Uconnect GPS). . . .149
New Vehicle Break-In Period.........57
Occupant Restraints..............26
Octane Rating, Gasoline (Fuel).......210
Oil Change Indicator.............140
Oil Change Indicator, Reset.........140
Oil Filter, Change...............258
Oil Filter, Selection..............258
Oil Pressure Light..............126
Oil, Engine...............256, 280
Capacity.................280
Change Interval.............257
Checking.................256
Disposal.................258
Filter...................258
Filter Disposal..............258
Identification Logo............257
Materials Added To...........258
Pressure Warning Light.........126
Recommendation.........257, 280
322