jump start JEEP RENEGADE 2015 1.G Owners Manual
[x] Cancel search | Manufacturer: JEEP, Model Year: 2015, Model line: RENEGADE, Model: JEEP RENEGADE 2015 1.GPages: 678, PDF Size: 29.84 MB
Page 323 of 678
floor and hold it there. Crank the engine for no more than
15 seconds. This should clear any excess fuel in case the
engine is flooded. Leave the ignition key in the
MAR/ON position, release the accelerator pedal and
repeat the “Normal Starting” procedure.
CAUTION!
To prevent damage to the starter, do not continuously
crank the engine for more than 25 seconds at a time.
Wait 60 seconds before trying again.
WARNING!
•Never pour fuel or other flammable liquid into the
throttle body air inlet opening in an attempt to start
the vehicle. This could result in flash fire causing
serious personal injury.
(Continued)
WARNING!(Continued)
•Do not attempt to push or tow your vehicle to get it
started. Vehicles equipped with an automatic trans-
mission cannot be started this way. Unburned fuel
could enter the catalytic converter and once the
engine has started, ignite and damage the converter
and vehicle.
•If the vehicle has a discharged battery, booster
cables may be used to obtain a start from a booster
battery or the battery in another vehicle. This type
of start can be dangerous if done improperly. Refer
to “Jump Starting” in “In Case Of Emergencies” for
further information.
Extreme Cold Weather (Below –20°F or−29°C)
To ensure reliable starting under extreme cold conditions
an externally powered electric block heater (available
from your authorized dealer) is required for the 1.4L
7
STARTING AND OPERATING 321
Page 324 of 678
Turbo engine below -20°F (-29°C) and for the 2.4L engine
below -29°F (-34°C) and is recommended for the 2.4L
engine below -20°F (-29°C).
Extended Park Starting
NOTE:An extended park condition occurs when the
vehicle has not been started or driven for at least 35 days.
1. Install a battery charger or jumper cables to the battery
to ensure a full battery charge during the crank cycle.
2. Cycle the ignition in the AVV/START position and
release it when the engine starts.
3. If the engine fails to start within ten seconds, cycle the
ignition to the STOP/OFF position, wait 10-15 seconds
to allow the starter to cool, then repeat the Extended
Park Starting procedure.
4. If the engine fails to start after eight attempts, allow
the starter to cool for at least 10 minutes, then repeat
the procedure.
CAUTION!
To prevent damage to the starter, do not continuously
crank the engine for more than 10 seconds at a time.
Wait 10 to 15 seconds before trying again.
Warming Up The Engine
Proceed as follows:
•Travel slowly, letting the engine run at a reduced RPM,
without accelerating suddenly.
•It is recommended to wait until the engine coolant
temperature gauge starts to rise for maximum perfor-
mance.
322 STARTING AND OPERATING
Page 428 of 678
▫Road Tire Installation...................486
!TIRE SERVICE KIT STORAGE..............487
▫Tire Service Kit.......................488
!JUMP-STARTING PROCEDURES...........492
▫Preparations For Jump-Start..............492
▫Jump-Starting Procedure................494
!ENHANCED ACCIDENT RESPONSE SYSTEM . .496
!SUPPLY OF EMERGENCY................497
!IF YOUR ENGINE OVERHEATS............498
!SHIFT LEVER OVERRIDE................499
!IGNITION KEY REMOVAL OVERRIDE.......501
!FREEING A STUCK VEHICLE.............503
!TOWING A DISABLED VEHICLE...........505
▫Front Wheel Drive (FWD)................506
▫Four-Wheel Drive (4WD)................507
!EMERGENCY TOW HOOKS — IF EQUIPPED . .507
426 IN CASE OF EMERGENCY
Page 494 of 678
WARNING!
Store the sealant canister in its special compartment,
away from sources of heat.
JUMP-STARTING PROCEDURES
If your vehicle has a discharged battery it can be jump-
started using a set of jumper cables and a battery in
another vehicle or by using a portable battery booster
pack. Jump-starting can be dangerous if done improperly
so please follow the procedures in this section carefully.
NOTE:When using a portable battery booster pack
follow the manufacturer ’s operating instructions and
precautions.
CAUTION!
Do not use a portable battery booster pack or any
other booster source with a system voltage greater
than 12 Volts or damage to the battery, starter motor,
alternator or electrical system may occur.
WARNING!
Do not attempt jump-starting if the battery is frozen.
It could rupture or explode and cause personal injury.
Preparations For Jump-Start
The battery in your vehicle is located in the front of the
engine compartment, behind the left headlight assembly.
NOTE:The positive battery post is covered with a
protective cap. Lift up on the cap to gain access to the
positive battery post.
492 IN CASE OF EMERGENCY
Page 495 of 678
WARNING!
•Take care to avoid the radiator cooling fan when-
ever the hood is raised. It can start anytime the
ignition switch is ON. You can be injured by
moving fan blades.
•Remove any metal jewelry such as rings, watch
bands and bracelets that could make an inadvertent
electrical contact. You could be seriously injured.
•Batteries contain sulfuric acid that can burn your
skin or eyes and generate hydrogen gas which is
flammable and explosive. Keep open flames or
sparks away from the battery.
Proceed as follows:
1. Set the Electric Park Brake, shift the automatic trans-
mission into PARK (manual transmission in NEU-
TRAL) and turn the ignition to STOP/OFF.
2. Turn off the heater, radio, and all unnecessary electri-
cal accessories.
3. If using another vehicle to jump-start the battery, park
the vehicle within the jumper cables reach, set the
parking brake and make sure the ignition is STOP/
OFF.
WARNING!
Do not allow vehicles to touch each other as this
could establish a ground connection and personal
injury could result.
8
IN CASE OF EMERGENCY 493
Page 496 of 678
Jump-Starting Procedure
WARNING!
Failure to follow this jump-starting procedure could
result in personal injury or property damage due to
battery explosion.
CAUTION!
Failure to follow these procedures could result in
damage to the charging system of the booster vehicle
or the discharged vehicle.
Connecting The Jumper Cables
1. Connect the positive(+)end of the jumper cable to the
positive(+)post of the discharged vehicle.
2. Connect the opposite end of the positive(+)jumper
cable to the positive(+)post of the booster battery.
3. Connect the negative(-)end of the jumper cable to the
negative(-)post of the booster battery.
4. Connect the opposite end of the negative(-)jumper
cable to a good engine ground (exposed metal part of
the discharged vehicle’s engine) away from the battery
and the fuel injection system.
WARNING!
Do not connect the jumper cable to the negative (-)
post of the discharged battery. The resulting electri-
cal spark could cause the battery to explode and
could result in personal injury. Only use the specific
ground point, do not use any other exposed metal
parts.
494 IN CASE OF EMERGENCY
Page 497 of 678
5. Start the engine in the vehicle that has the booster
battery, let the engine idle a few minutes, and then
start the engine in the vehicle with the discharged
battery.
6. Once the engine is started, remove the jumper cables
in the reverse sequence:
Disconnecting The Jumper Cables
1. Disconnect the negative(-)end of the jumper cable
from the engine ground of the vehicle with the dis-
charged battery.
2. Disconnect the opposite end of the negative(-)jumper
cable from the negative(-)post of the booster battery.
3. Disconnect the positive(+)end of the jumper cable
from the positive(+)post of the booster battery.
4. Disconnect the opposite end of the positive(+)jumper
cable from the positive(+)post of the vehicle with the
discharged battery.
If frequent jump-starting is required to start your vehicle
you should have the battery and charging system in-
spected at your authorized dealer.
CAUTION!
Accessories plugged into the vehicle power outlets
draw power from the vehicle’s battery, even when not
in use (i.e., cellular phones, etc.). Eventually, if
plugged in long enough without engine operation,
the vehicle’s battery will discharge sufficiently to
degrade battery life and/or prevent the engine from
starting.
8
IN CASE OF EMERGENCY 495
Page 535 of 678
WARNING!
The air induction system (air cleaner, hoses, etc.) can
provide a measure of protection in the case of engine
backfire. Do not remove the air induction system (air
cleaner, hoses, etc.) unless such removal is necessary
for repair or maintenance. Make sure that no one is
near the engine compartment before starting the
vehicle with the air induction system (air cleaner,
hoses, etc.) removed. Failure to do so can result in
serious personal injury.
Engine Air Cleaner Filter Selection
The quality of replacement engine air cleaner filters
varies considerably. Only high quality filters should be
used to assure most efficient service. MOPAR® engine air
cleaner filters are a high quality filter and are recom-
mended.
Maintenance-Free Battery
Your vehicle is equipped with a maintenance-free battery.
You will never have to add water, nor is periodic main-
tenance required.
WARNING!
•Battery fluid is a corrosive acid solution and can
burn or even blind you. Do not allow battery fluid
to contact your eyes, skin, or clothing. Do not lean
over a battery when attaching clamps. If acid
splashes in eyes or on skin, flush the area imme-
diately with large amounts of water. Refer to
“Jump-Starting Procedures” in the “In Case Of
Emergencies” section for further information.
(Continued)
9
MAINTAINING AND CARING FOR YOUR VEHICLE 533
Page 664 of 678
Remote Keyless Entry (RKE)................53
Driver’s Seat Back Tilt.......................66
Driving................................402
E-85 Fuel...............................393
Electrical Outlet, Auxiliary (Power Outlet)........164
Electric Park Brake........................325
Electric Parking Brake......................325
Electronic Roll Mitigation (ERM)..............228
Electronic Speed Control (Cruise Control)........348
Electronic Stability Control (ESC)..............224
Electronic Vehicle Information Center (EVIC)......375
Electronic Vehicle Information Center (EVIC) . . . .201
Emergency, In Case of
Hazard Warning Flasher..................427
Jacking...............................476
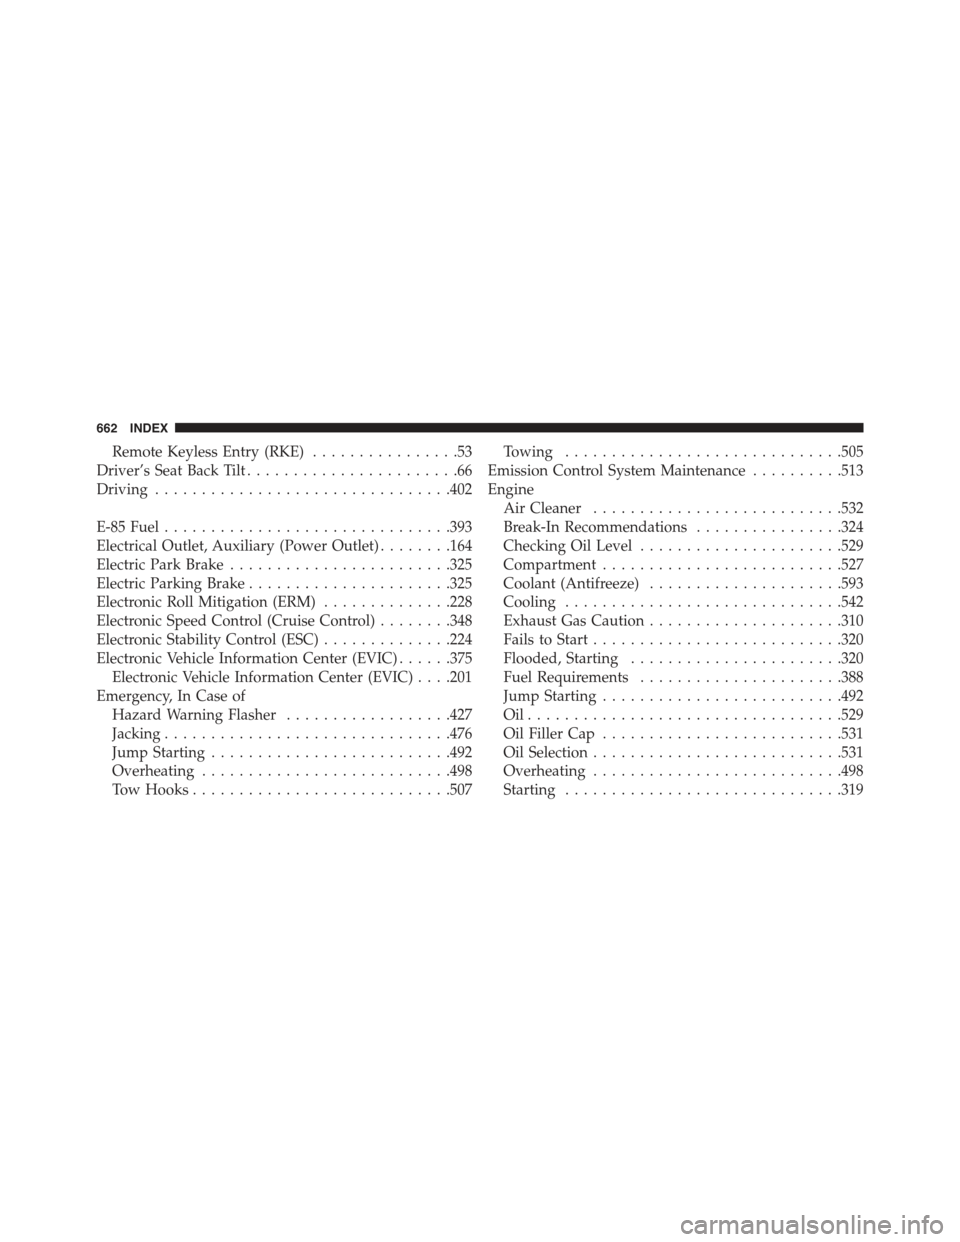
Jump Starting..........................492
Overheating...........................498
Tow Hooks............................507
Towing..............................505
Emission Control System Maintenance..........513
Engine
Air Cleaner...........................532
Break-In Recommendations................324
Checking Oil Level......................529
Compartment..........................527
Coolant (Antifreeze).....................593
Cooling..............................542
Exhaust Gas Caution.....................310
Fails to Start...........................320
Flooded, Starting.......................320
Fuel Requirements......................388
Jump Starting..........................492
Oil . . . . . . . . . . . . . . . . . . . . . . . . . . . . . . . . ..529
Oil Filler Cap..........................531
Oil Selection...........................531
Overheating...........................498
Starting..............................319
662 INDEX
Page 667 of 678
Hill Descent Control Indicator................231
Hill Start Assist...........................229
Hitches
Trailer Towing.........................412
Holder, Coin.............................169
Holder, Cup.............................170
Hood Prop..............................146
Hood Release............................146
Ignition
Key . . . . . . . . . . . . . . . . . . . . . . . . . . . . . . . . . .41
Ignition Key Removal......................501
Immobilizer (Sentry Key)....................49
Inside Rearview Mirror......................81
Instrument Cluster........................177
Instrument Panel Cover.....................558
Instrument Panel Lens Cleaning...............558
Interior and Instrument Lights................100
Interior Appearance Care....................556
Interior Lights...........................100
Intermittent Wipers (Delay Wipers).............106
Introduction..............................4
Inverter, Power...........................165
Jacking Instructions........................479
Jack Location............................477
Jack Operation...........................476
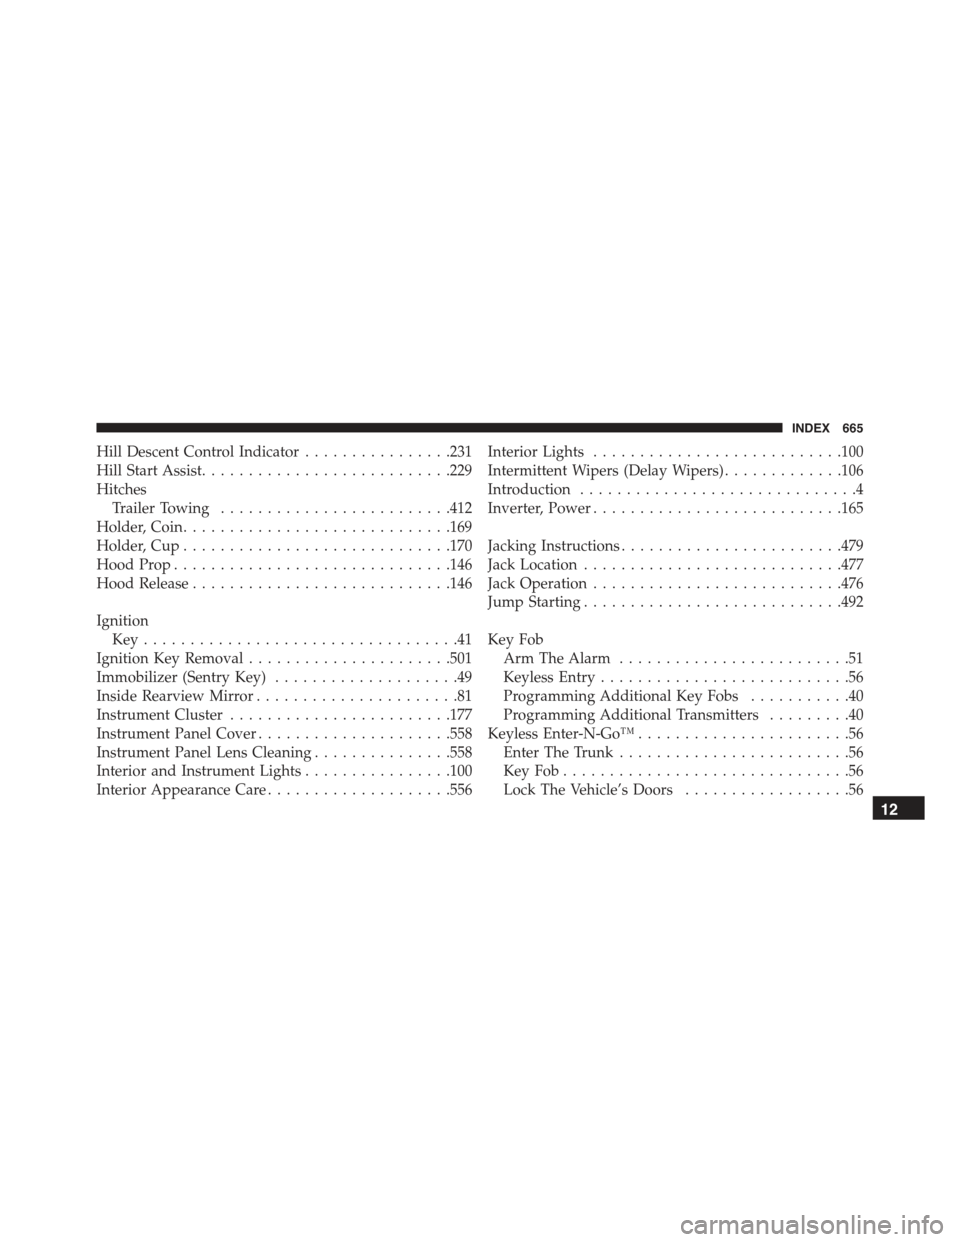
Jump Starting............................492
Key Fob
Arm The Alarm.........................51
Keyless Entry...........................56
Programming Additional Key Fobs...........40
Programming Additional Transmitters.........40
Keyless Enter-N-Go™.......................56
Enter The Trunk.........................56
Key Fob . . . . . . . . . . . . . . . . . . . . . . . . . . . . . . .56
Lock The Vehicle’s Doors..................56
12
INDEX 665