start stop button JEEP RENEGADE 2016 1.G User Guide
[x] Cancel search | Manufacturer: JEEP, Model Year: 2016, Model line: RENEGADE, Model: JEEP RENEGADE 2016 1.GPages: 688, PDF Size: 7.09 MB
Page 344 of 688
The electronically-controlled transmission provides a
precise shift schedule. The transmission electronics are
self-calibrating. The first few shifts on a new vehicle may
be somewhat abrupt. This is a normal condition, and
precision shifts will develop within a few hundred miles
(kilometers).The nine-speed transmission has been developed to meet
the needs of FCA current and future lineup of FWD/
AWD vehicles. Software and calibration is refined to
optimize the customer ’s driving experience and fuel
economy. By design, some vehicle and drive-line combi-
nations utilize 9th gear only in very specific driving
situations and conditions.
Only shift from DRIVE to PARK or REVERSE when the
accelerator pedal is released and the vehicle is stopped.
Be sure to keep your foot on the brake pedal when
shifting between these gears.
DO NOT race the engine when shifting from PARK or
NEUTRAL into another gear range.
CAUTION!
After selecting any gear range, wait a moment to
allow the selected gear to engage before accelerating.
This is especially important when the engine is cold.
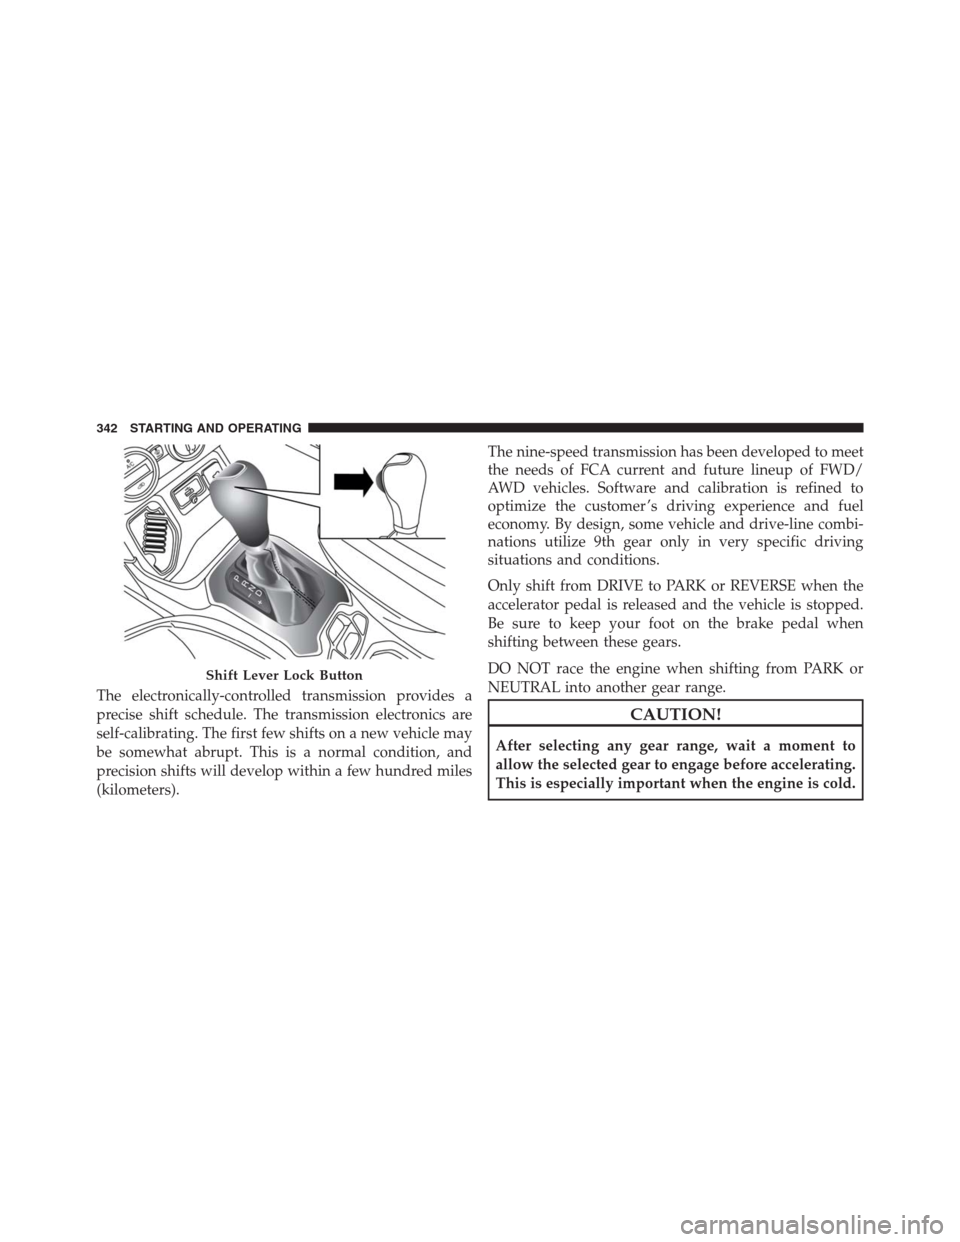
Shift Lever Lock Button
342 STARTING AND OPERATING
Page 347 of 688
CAUTION!(Continued)
•DO NOT race the engine when shifting from
PARK or NEUTRAL into another gear range, as this
can damage the drivetrain.
The following indicators should be used to ensure that
you have engaged the transmission into the PARK posi-
tion:
•When shifting into PARK, press the LOCK button on
the shift lever and firmly move the shift lever all the
way forward until it stops and is fully seated.
•Look at the transmission gear position display and
verify that it indicates the PARK position (P).
•With the brake pedal released, verify that the shift
lever will not move out of PARK.Reverse (R)
This range is for moving the vehicle backward. Shift into
REVERSE only after the vehicle has come to a complete
stop.
Neutral (N)
Use this range when the vehicle is standing for prolonged
periods with the engine running. The engine may be
started in this range. Apply the electric park brake and
shift the transmission into PARK if you must leave the
vehicle.
WARNING!
Do not coast in NEUTRAL and never turn off the
ignition to coast down a hill. These are unsafe
practices that limit your response to changing traffic
or road conditions. You might lose control of the
vehicle and have a collision.
7
STARTING AND OPERATING 345
Page 352 of 688
Key Ignition Park Interlock
Vehicles Equipped With Keyless Enter-N-Go:
This vehicle is equipped with a Key Ignition Park Inter-
lock which requires the transmission to be in PARK
before the ignition can be turned to the STOP/OFF
position. Also, the transmission is locked in PARK when-
ever the ignition is in the STOP/OFF position.
Vehicles With Mechanical Key:
This vehicle is equipped with a Key Ignition Park Inter-
lock which requires the transmission to be in PARK
before the ignition can be turned to the STOP/OFF (key
removal) position. The key can only be removed from the
ignition when the ignition is in the STOP/OFF position,
and the transmission is locked in PARK whenever the
ignition is in the STOP/OFF position.If the vehicle’s battery becomes discharged, the key will
be trapped in the ignition switch even when the shift
lever is in PARK. To extract the key, refer to “Ignition Key
Removal Override” in “In Case Of Emergency”.
Brake/Transmission Shift Interlock System
This vehicle is equipped with a Brake Transmission Shift
Interlock system (BTSI) that holds the shift lever in PARK
unless the brakes are applied. To shift the transmission
out of PARK, the ignition switch must be turned to the
MAR/RUN position (engine running or not) and the
brake pedal must be pressed.
The brake pedal must also be pressed before pushing the
button on the shift lever to shift from NEUTRAL into
DRIVE or REVERSE when the vehicle is stopped or
moving at low speeds.
350 STARTING AND OPERATING
Page 389 of 688
When the vehicle is shifted out of REVERSE (with camera
delay turned OFF), the rear camera mode is exited and
the navigation or audio screen appears again.
When the vehicle is shifted out of REVERSE (with camera
delay turned ON), the camera image will continue to be
displayed for up to 10 seconds after shifting out ofREVERSE unless the vehicle speed exceeds 8 mph
(13 km/h), the vehicle is shifted into PARK or the ignition
is switched to the STOP/OFF position.
A touchscreen button to disable the camera is available
when the vehicle is not in REVERSE. Display of the
camera image after shifting out of REVERSE can be
disabled via Uconnect Settings.
When enabled, active guide lines are overlaid on the
image to illustrate the width of the vehicle and its
projected backup path based on the steering wheel
position.
When enabled, fixed guide lines are overlaid on the
image to illustrate the width of the vehicle.
Different colored zones indicate the distance to the rear of
the vehicle.
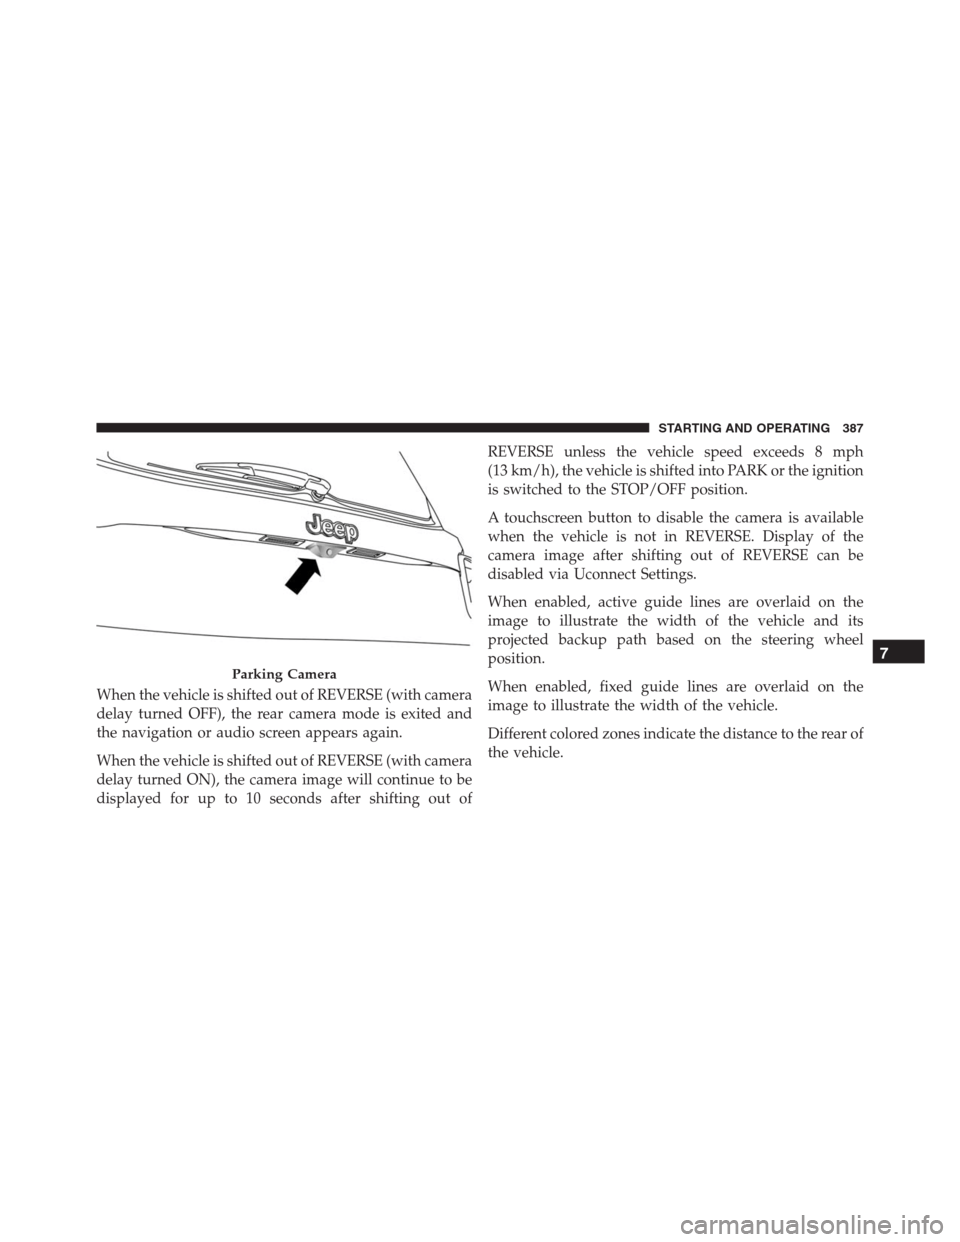
Parking Camera
7
STARTING AND OPERATING 387
Page 499 of 688
WARNING!(Continued)
•A loose Tire Service Kit thrown forward in a
collision or hard stop could endanger the occupants
of the vehicle. Always stow the Tire Service Kit in
the place provided. Failure to follow these warn-
ings can result in injuries that are serious or fatal to
you, your passengers, and others around you.
•Take care not to allow the contents of Tire Service
Kit to come in contact with hair, eyes, or clothing.
Tire Service Kit sealant is harmful if inhaled,
swallowed, or absorbed through the skin. It causes
skin, eye, and respiratory irritation. Flush immedi-
ately with plenty of water if there is any contact
with eyes or skin. Change clothing as soon as
possible, if there is any contact with clothing.
(Continued)
WARNING!(Continued)
•Tire Service Kit Sealant solution contains latex. In
case of an allergic reaction or rash, consult a physician
immediately. Keep Tire Service Kit out of reach of
children. If swallowed, rinse mouth immediately with
plenty of water and drink plenty of water. Do not
induce vomiting! Consult a physician immediately.
Insert the power plug into the vehicle power outlet
socket. Start the vehicle engine.
Push the Tire Service Kit power button to the “I” position.
The electric compressor will be turned on, sealant and air
will inflate the tire.
Minimum 26 psi (1.8 bar) of pressure should be reached
within 20 minutes. If the pressure has not been reached
turn off and remove the Tire Service Kit, drive the vehicle
30 feet (10 meters) back and forth, to better distribute the
sealant inside the tire.
8
IN CASE OF EMERGENCY 497
Page 615 of 688
pressure to avoid a potential frontal collision. The
ABA system becomes active at 5 mph (8 km/h).
For further information, refer to “Forward Collision
Warning-Plus (FCW+) With Mitigation” in “Safety.”
•ParkSense — If Equipped
The ParkSense system will scan for objects behind the
vehicle when the transmission shift lever/gear selector is
in REVERSE and the vehicle speed is less than 11 mph
(18 km/h). It will provide an alert (audible and/or
visual) to indicate the proximity to other objects. The
system can be enabled with Sound Only, or Sound and
Display. To change the ParkSense status, press and re-
lease the “Sound Only” or “Sounds and Display” button.
Refer to “ParkSense” in “Starting And Operating” for
system function and operating information.
•Rear ParkSense Volume — If Equipped
Rear Park Assist chime volume settings can be se-
lected from the EVIC/DID or Uconnect System (ifequipped). The chime volume settings include
“LOW,” “MEDIUM,” and “HIGH.” The factory de-
fault volume setting is MEDIUM.
•Front ParkSense Volume — If Equipped
Front Park Assist chime volume settings can be
selected from the EVIC/DID or Uconnect System (if
equipped). The chime volume settings include
“LOW,” “MEDIUM,” and “HIGH.” The factory de-
fault volume setting is MEDIUM.
•Rear ParkSense Braking Assist — If Equipped
When this feature is selected, the park assist system
will detect objects located behind the vehicle and
utilize autonomous braking to stop the vehicle.
Refer to “ParkSense Rear Park Assist” in “Starting
and Operating” for system function and operating
information.
11
MULTIMEDIA 613