tow JEEP RENEGADE LATITUDE 2017 User Guide
[x] Cancel search | Manufacturer: JEEP, Model Year: 2017, Model line: RENEGADE LATITUDE, Model: JEEP RENEGADE LATITUDE 2017Pages: 516, PDF Size: 5.3 MB
Page 208 of 516
pets be restrained in the rear seat (if equipped) in pet
harnesses or pet carriers that are secured by seat belts, and
cargo is properly stowed.
BeltAlert can be activated or deactivated by your autho-
rized dealer. FCA US LLC does not recommend deactivat-
ing BeltAlert.
NOTE:If BeltAlert has been deactivated and the driver or
outboard front seat passenger (if equipped with outboard
front passenger seat BeltAlert) is unbuckled the Seat Belt
Reminder Light will turn on and remain on until the driver
and outboard front seat passenger seat belts are buckled.
Lap/Shoulder Belts
All seating positions in your vehicle are equipped with
lap/shoulder belts.
The seat belt webbing retractor will lock only during very
sudden stops or collisions. This feature allows the shoulder
part of the seat belt to move freely with you under normal
conditions. However, in a collision the seat belt will lock
and reduce your risk of striking the inside of the vehicle or
being thrown out of the vehicle.
Page 239 of 516
strap. The tether strap will have a hook at the end to attach
to the top tether anchorage and a way to tighten the strap
after it is attached to the anchorage.
Center Seat LATCH
WARNING!
•Do not install a child restraint in the center position
using the LATCH system. This position is not ap-
proved for installing child seats using the LATCH
attachments. You must use the seat belt and tether
anchor to install a child seat in the center seating
position.
• Never use the same lower anchorage to attach more
than one child restraint. Please refer to “Installing
The LATCH-Compatible Child Restraint System” for
typical installation instructions.
Always follow the directions of the child restraint manu-
facturer when installing your child restraint. Not all child
restraint systems will be installed as described here.
To Install A LATCH-Compatible Child Restraint
If the selected seating position has a Switchable Automatic
Locking Retractor (ALR) seat belt, stow the seat belt, following the instructions below. See the section “Installing
Child Restraints Using The Vehicle Seat Belt” to check what
type of seat belt each seating position has.
1. Loosen the adjusters on the lower straps and on the
tether strap of the child seat so that you can more easily
attach the hooks or connectors to the vehicle anchor-
ages.
2. Place the child seat between the lower anchorages for that seating position. For some second row seats, you
may need to recline the seat and/or raise the head
restraint to get a better fit. If the rear seat can be moved
forward and rearward in the vehicle, you may wish to
move it to its rear-most position to make room for the
child seat. You may also move the front seat forward to
allow more room for the child seat.
3. Attach the lower hooks or connectors of the child restraint to the lower anchorages in the selected seating
position.
4. If the child restraint has a tether strap, connect it to the top tether anchorage. See the section “Installing Child
Restraints Using The Top Tether Anchorage” for direc-
tions to attach a tether anchor.
5
SAFETY 237
Page 240 of 516
5. Tighten all of the straps as you push the child restraintrearward and downward into the seat. Remove slack in
the straps according to the child restraint manufactur-
er ’s instructions.
6. Test that the child restraint is installed tightly by pulling back and forth on the child seat at the belt path. It
should not move more than 1 inch (25.4 mm) in any
direction.
How To Stow An Unused Switchable-ALR (ALR)
Seat Belt
When using the LATCH attaching system to install a child
restraint, stow all ALR seat belts that are not being used by
other occupants or being used to secure child restraints. An
unused belt could injure a child if they play with it and
accidentally lock the seat belt retractor. Before installing a
child restraint using the LATCH system, buckle the seat
belt behind the child restraint and out of the child’s reach.
If the buckled seat belt interferes with the child restraint
installation, instead of buckling it behind the child re-
straint, route the seat belt through the child restraint belt
path and then buckle it. Do not lock the seat belt. Remind
all children in the vehicle that the seat belts are not toys and
that they should not play with them.
Page 248 of 516
WARNING!(Continued)
•ONLY use the driver ’s side floor mat on the driver ’s
side floor area. To check for interference, with the
vehicle properly parked with the engine off, fully
depress the accelerator, the brake, and the clutch
pedal (if present) to check for interference. If your
floor mat interferes with the operation of any pedal,
or is not secure to the floor, remove the floor mat
from the vehicle and place the floor mat in your
trunk.
• ONLY use the passenger ’s side floor mat on the
passenger ’s side floor area.
• ALWAYS make sure objects cannot fall or slide into
the driver ’s side floor area when the vehicle is
moving. Objects can become trapped under accelera-
tor, brake, or clutch pedals and could cause a loss of
vehicle control.
• NEVER place any objects under the floor mat (e.g.,
towels, keys, etc.). These objects could change the
position of the floor mat and may cause interference
with the accelerator, brake, or clutch pedals.
(Continued)
Page 268 of 516
Gear Ranges
PARK (P)
This range supplements the Electric Park Brake (EPB) by
locking the transmission. The engine can be started in this
range. Never attempt to use PARK while the vehicle is in
motion. Apply the EPB when leaving the vehicle in this
range.
When parking on a level surface, you may shift the
transmission into PARK first, and then apply the EPB.
When parking on a hill, apply the EPB before shifting the
transmission to PARK, otherwise the load on the transmis-
sion locking mechanism may make it difficult to move the
gear selector out of PARK. As an added precaution, turn
the front wheels toward the curb on a downhill grade and
away from the curb on an uphill grade.
When exiting the vehicle, always:
•Apply the parking brake.
• Shift the transmission into PARK.
• Turn the ignition OFF.
• Remove the key fob from the vehicle.
Page 270 of 516
REVERSE (R)
This range is for moving the vehicle backward. Shift into
REVERSE only after the vehicle has come to a complete
stop.
NEUTRAL (N)
Use this range when the vehicle is standing for prolonged
periods with the engine running. The engine may be
started in this range. Apply the electric park brake and shift
the transmission into PARK if you must exit the vehicle.
CAUTION!
Towing the vehicle, coasting, or driving for any other
reason with the transmission in NEUTRAL can cause
severe transmission damage. Refer to “Recreational
(Continued)
Page 299 of 516
WARNING!
It is important that you do not exceed the maximum
front or rear GAWR. A dangerous driving condition
can result if either rating is exceeded.
Tongue Weight (TW)
The tongue weight is the downward force exerted on the
hitch ball by the trailer. You must consider this as part of
the load on your vehicle.
Frontal Area
The frontal area is the maximum height multiplied by the
maximum width of the front of a trailer.
Trailer Sway Control — Mechanical
The trailer sway control is a telescoping link that can be
installed between the hitch receiver and the trailer tongue
that typically provides adjustable friction associated with
the telescoping motion to dampen any unwanted trailer
swaying motions while traveling.
Weight-Carrying Hitch
A weight-carrying hitch supports the trailer tongue weight,
just as if it were luggage located at a hitch ball or someother connecting point of the vehicle. These kinds of
hitches are the most popular on the market today and they
are commonly used to tow small and medium sized
trailers.
Weight-Distributing Hitch
A weight-distributing system works by applying leverage
through spring (load) bars. They are typically used for
heavier loads to distribute trailer tongue weight to the tow
vehicle’s front axle and the trailer axle(s). When used in
accordance with the manufacturer’s directions, it provides
for a more level ride, offering more consistent steering and
brake control thereby enhancing towing safety. The addi-
tion of a friction/hydraulic sway control also dampens
sway caused by traffic and crosswinds and contributes
positively to tow vehicle and trailer stability. Trailer sway
control and a weight distributing (load equalizing) hitch
are recommended for heavier Tongue Weights (TW) and
may be required depending on vehicle and trailer
configuration/loading to comply with Gross Axle Weight
Rating (GAWR) requirements.
6
STARTING AND OPERATING 297
Page 300 of 516
WARNING!
•An improperly adjusted Weight Distributing Hitch
system may reduce handling, stability, braking per-
formance, and could result in a collision.
• Weight Distributing Systems may not be compatible
with Surge Brake Couplers. Consult with your hitch
and trailer manufacturer or a reputable Recreational
Vehicle dealer for additional information.
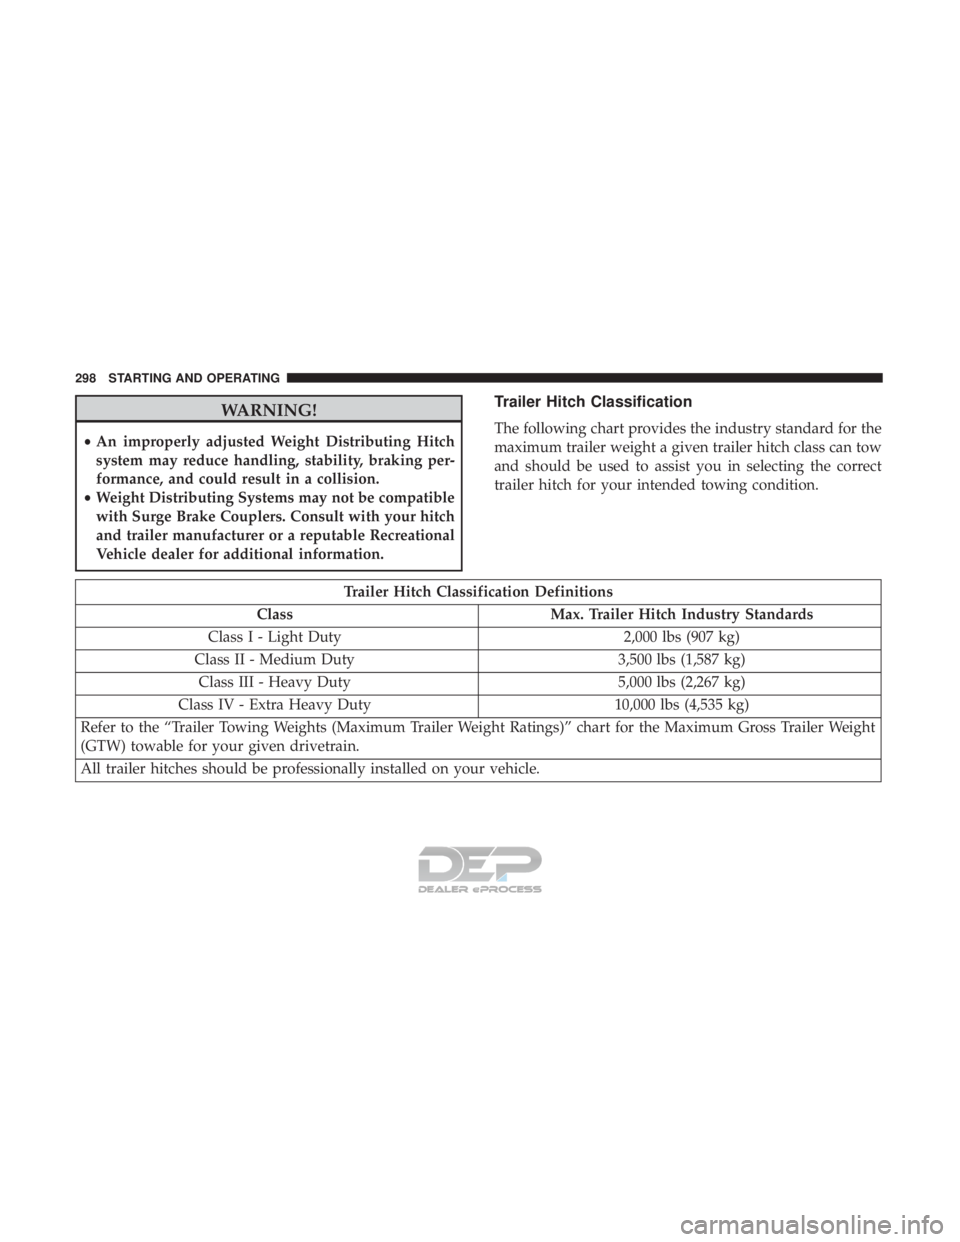
Trailer Hitch Classification
The following chart provides the industry standard for the
maximum trailer weight a given trailer hitch class can tow
and should be used to assist you in selecting the correct
trailer hitch for your intended towing condition.
Page 302 of 516
Consider the following items when computing the weight
on the rear axle of the vehicle:
•The tongue weight of the trailer.
• The weight of any other type of cargo or equipment put
in or on your vehicle.
• The weight of the driver and all passengers.
NOTE: Remember that everything put into or on the
trailer adds to the load on your vehicle. Also, additional
factory-installed options or dealer-installed options must
be considered as part of the total load on your vehicle.
Refer to the “Tire And Loading Information” placard for
the maximum combined weight of occupants and cargo for
your vehicle.
Towing Requirements
To promote proper break-in of your new vehicle drivetrain
components, the following guidelines are recommended:
Page 303 of 516
WARNING!(Continued)
•Total weight must be distributed between the tow
vehicle and the trailer such that the following four
ratings are not exceeded:
1. GVWR
2. GTW
3. GAWR
4. Tongue weight rating for the trailer hitch utilized.
CAUTION!
• Do not tow a trailer at all during the first 500 miles
(805 km) the new vehicle is driven. The engine, axle
or other parts could be damaged.
• Then, during the first 500 miles (805 km) that a trailer
is towed, do not drive over 50 mph (80 km/h) and do
not make starts at full throttle. This helps the engine
and other parts of the vehicle wear in at the heavier
loads.
Towing Requirements — Tires
• Do not attempt to tow a trailer while using a compact
spare tire. •
Proper tire inflation pressures are essential to the safe
and satisfactory operation of your vehicle. Refer to
“Tires – General Information” in “Serving And Mainte-
nance” for proper tire inflation procedures.
• Check the trailer tires for proper tire inflation pressures
before trailer usage.
• Check for signs of tire wear or visible tire damage before
towing a trailer. Refer to “Tires – General Information”
in “Serving And Maintenance” for the proper inspection
procedure.
• When replacing tires, refer to “Tires – General Informa-
tion” in “Serving And Maintenance” for the proper tire
replacement procedures. Replacing tires with a higher
load carrying capacity will not increase the vehicle’s
GVWR and GAWR limits.
Towing Requirements — Trailer Brakes
•Do not interconnect the hydraulic brake system or
vacuum system of your vehicle with that of the trailer.
This could cause inadequate braking and possible per-
sonal injury.
6
STARTING AND OPERATING 301