check engine JEEP RENEGADE LATITUDE 2017 Owners Manual
[x] Cancel search | Manufacturer: JEEP, Model Year: 2017, Model line: RENEGADE LATITUDE, Model: JEEP RENEGADE LATITUDE 2017Pages: 516, PDF Size: 5.3 MB
Page 140 of 516
Red TelltaleLight What It Means
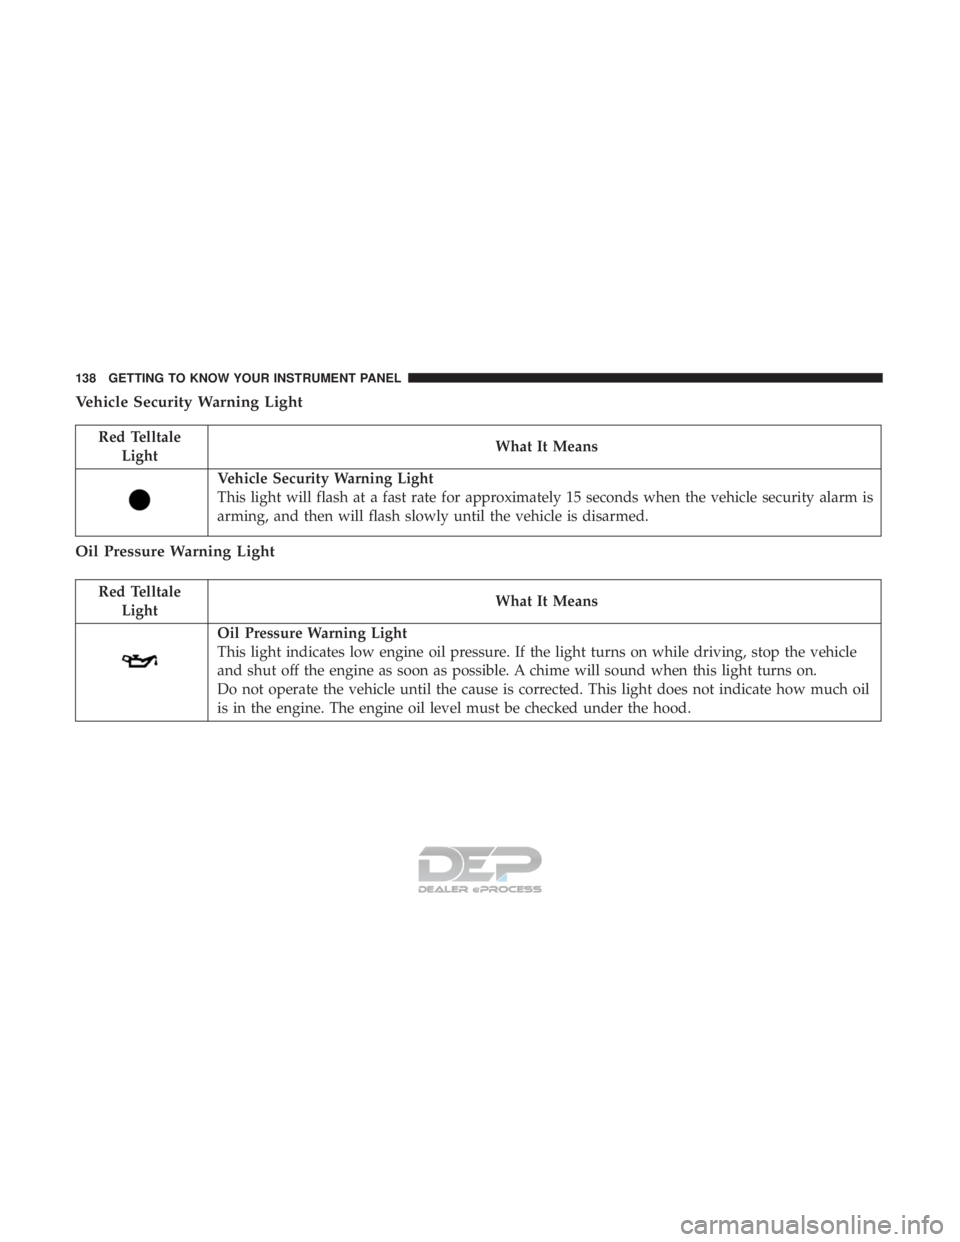
Vehicle Security Warning Light
This light will flash at a fast rate for approximately 15 seconds when the vehicle security alarm is
arming, and then will flash slowly until the vehicle is disarmed.
Oil Pressure Warning Light
Red Telltale
Light What It Means
Oil Pressure Warning Light
This light indicates low engine oil pressure. If the light turns on while driving, stop the vehicle
and shut off the engine as soon as possible. A chime will sound when this light turns on.
Do not operate the vehicle until the cause is corrected. This light does not indicate how much oil
is in the engine. The engine oil level must be checked under the hood.
138 GETTING TO KNOW YOUR INSTRUMENT PANEL
Page 145 of 516
Red TelltaleLight What It Means
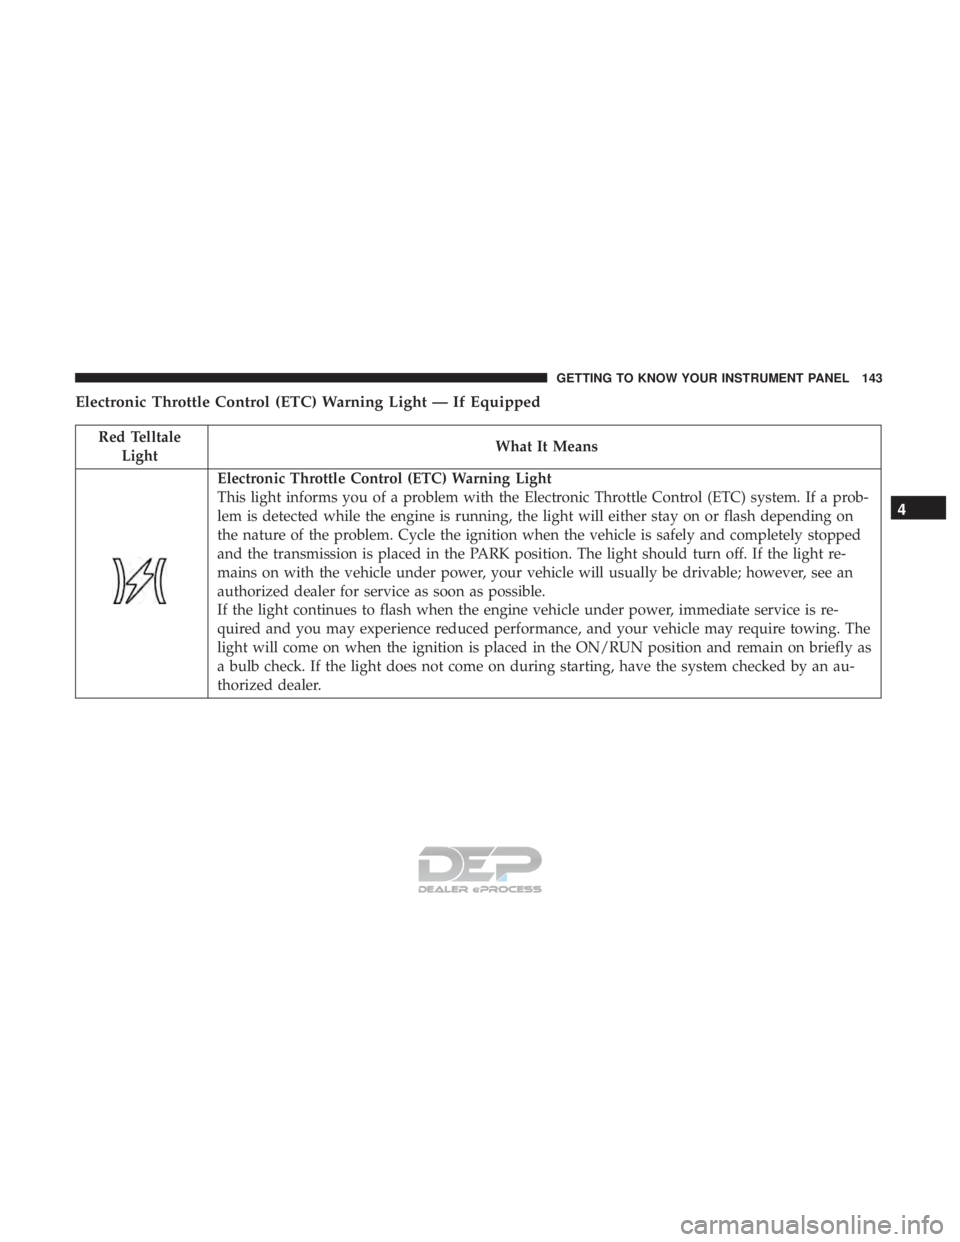
Electronic Throttle Control (ETC) Warning Light
This light informs you of a problem with the Electronic Throttle Control (ETC) system. If a prob-
lem is detected while the engine is running, the light will either stay on or flash depending on
the nature of the problem. Cycle the ignition when the vehicle is safely and completely stopped
and the transmission is placed in the PARK position. The light should turn off. If the light re-
mains on with the vehicle under power, your vehicle will usually be drivable; however, see an
authorized dealer for service as soon as possible.
If the light continues to flash when the engine vehicle under power, immediate service is re-
quired and you may experience reduced performance, and your vehicle may require towing. The
light will come on when the ignition is placed in the ON/RUN position and remain on briefly as
a bulb check. If the light does not come on during starting, have the system checked by an au-
thorized dealer.
4
GETTING TO KNOW YOUR INSTRUMENT PANEL 143
Page 217 of 516
Air Bag Warning Light
The ORC monitors the readiness of the electronic parts of
the air bag system whenever the ignition switch is in the
AVV/START or MAR/ACC/ON/RUN position. If the
ignition switch is in the STOP/OFF/LOCK position the air
bag system is not on and the air bags will not inflate.
The ORC contains a backup power supply system that may
deploy the air bag system even if the battery loses power or
it becomes disconnected prior to deployment.
The ORC turns on the Air Bag Warning Light in the
instrument panel for approximately four to eight seconds
for a self-check when the ignition switch is in the MAR/
ACC/ON/RUN position. After the self-check, the Air Bag
Warning Light will turn off. If the ORC detects a malfunc-
tion in any part of the system, it turns on the Air Bag
Warning Light, either momentarily or continuously. A
single chime will sound to alert you if the light comes on
again after initial startup.
The ORC also includes diagnostics that will illuminate the
instrument panel Air Bag Warning Light if a malfunction is
detected that could affect the air bag system. The diagnos-
tics also record the nature of the malfunction. While the airbag system is designed to be maintenance free, if any of the
following occurs, have an authorized dealer service the air
bag system immediately.
•
The Air Bag Warning Light does not come on during the
four to eight seconds when the ignition switch is first in
the MAR/ACC/ON/RUN position.
• The Air Bag Warning Light remains on after the four to
eight-second interval.
• The Air Bag Warning Light comes on intermittently or
remains on while driving.
NOTE: If the speedometer, tachometer, or any engine
related gauges are not working, the Occupant Restraint
Controller (ORC) may also be disabled. In this condition
the air bags may not be ready to inflate for your protection.
Have an authorized dealer service the air bag system
immediately.
Page 248 of 516
WARNING!(Continued)
•ONLY use the driver ’s side floor mat on the driver ’s
side floor area. To check for interference, with the
vehicle properly parked with the engine off, fully
depress the accelerator, the brake, and the clutch
pedal (if present) to check for interference. If your
floor mat interferes with the operation of any pedal,
or is not secure to the floor, remove the floor mat
from the vehicle and place the floor mat in your
trunk.
• ONLY use the passenger ’s side floor mat on the
passenger ’s side floor area.
• ALWAYS make sure objects cannot fall or slide into
the driver ’s side floor area when the vehicle is
moving. Objects can become trapped under accelera-
tor, brake, or clutch pedals and could cause a loss of
vehicle control.
• NEVER place any objects under the floor mat (e.g.,
towels, keys, etc.). These objects could change the
position of the floor mat and may cause interference
with the accelerator, brake, or clutch pedals.
(Continued)
Page 303 of 516
WARNING!(Continued)
•Total weight must be distributed between the tow
vehicle and the trailer such that the following four
ratings are not exceeded:
1. GVWR
2. GTW
3. GAWR
4. Tongue weight rating for the trailer hitch utilized.
CAUTION!
• Do not tow a trailer at all during the first 500 miles
(805 km) the new vehicle is driven. The engine, axle
or other parts could be damaged.
• Then, during the first 500 miles (805 km) that a trailer
is towed, do not drive over 50 mph (80 km/h) and do
not make starts at full throttle. This helps the engine
and other parts of the vehicle wear in at the heavier
loads.
Towing Requirements — Tires
• Do not attempt to tow a trailer while using a compact
spare tire. •
Proper tire inflation pressures are essential to the safe
and satisfactory operation of your vehicle. Refer to
“Tires – General Information” in “Serving And Mainte-
nance” for proper tire inflation procedures.
• Check the trailer tires for proper tire inflation pressures
before trailer usage.
• Check for signs of tire wear or visible tire damage before
towing a trailer. Refer to “Tires – General Information”
in “Serving And Maintenance” for the proper inspection
procedure.
• When replacing tires, refer to “Tires – General Informa-
tion” in “Serving And Maintenance” for the proper tire
replacement procedures. Replacing tires with a higher
load carrying capacity will not increase the vehicle’s
GVWR and GAWR limits.
Towing Requirements — Trailer Brakes
•Do not interconnect the hydraulic brake system or
vacuum system of your vehicle with that of the trailer.
This could cause inadequate braking and possible per-
sonal injury.
6
STARTING AND OPERATING 301
Page 361 of 516
If a tire is punctured, you can make a first emergency repair
using the Tire Service Kit located in the rear storage
compartment inside the storage container.
1. Remove the Tire Service Kit from the vehicle, take it outfrom the bag and place it near the punctured tire. Screw
the clear flexible filling tube to the tire valve.
2. Insert the power plug into the vehicle power outlet socket. Start the vehicle engine.
3. Push the Tire Service Kit power button to the “I” position. The electric compressor will be turned on,
sealant and air will inflate the tire.
Minimum 26 psi (1.8 bar) of pressure should be reached within
20 minutes. If the pressure has not been reached turn off and
remove the Tire Service Kit, drive the vehicle 30 feet (10 meters)
back and forth, to better distribute the sealant inside the tire.
4. Attach the clear flexible filling tube of the compressordirectly to the tire valve and repeat the inflation process.
When the correct pressure has been reached, start driving the
vehicle to uniformly distribute the sealant inside the tire.
After 10 minutes, stop and check the tire pressure. If the
pressure is below 19 psi (1.3 bar), do not drive the vehicle, as
the tire is too damaged, contact the nearest authorized dealer.
Page 386 of 516
Checking the oil while the vehicle is on level ground, and
approximately five minutes after a fully warmed engine is
shut off, will improve the accuracy of the oil level readings.
Maintain the oil level between the range markings on the
dipstick. The safe range is indicated by a crosshatch zone.
Adding 1 quart (0.9 Liters) of oil when the reading is at the
low end of the indicated range will result in the oil level at
the full end of the indicator range.
Page 387 of 516
Coolant Checks
Check engine coolant (antifreeze) protection every 12
months (before the onset of freezing weather, where appli-
cable). If the engine coolant (antifreeze) is dirty or rusty in
appearance, the system should be drained, flushed and
refilled with fresh engine coolant (antifreeze). Check the
front of the A/C condenser for any accumulation of bugs,
leaves, etc. If dirty, clean by gently spraying water from a
garden hose vertically down the face of the condenser.
Adding Washer Fluid
The windshield washer fluid reservoir is located in the
engine compartment, and the fluid level should be checked
at regular intervals. Fill the reservoir with windshield
washer solvent (not engine coolant/ antifreeze). Refer to
“Engine Compartment” in this section for further informa-
tion.
Page 391 of 516
WARNING!
The air induction system (air cleaner, hoses, etc.) can
provide a measure of protection in the case of engine
backfire. Do not remove the air induction system (air
cleaner, hoses, etc.) unless such removal is necessary
for repair or maintenance. Make sure that no one is
near the engine compartment before starting the ve-
hicle with the air induction system (air cleaner, hoses,
etc.) removed. Failure to do so can result in serious
personal injury.
Air Conditioner Maintenance
For best possible performance, your air conditioner should
be checked and serviced by an authorized dealer at the
start of each warm season. This service should include
cleaning of the condenser fins and a performance test.
Drive belt tension should also be checked at this time.NOTE:
•
Use only refrigerants and compressor lubricants ap-
proved by the manufacturer for your air conditioning
system. Some unapproved refrigerants are flammable
and can explode, injuring you. Other unapproved refrig-
erants or lubricants can cause the system to fail, requir-
ing costly repairs. Refer to the Warranty Information
Book for further warranty information.
• Use only refrigerants and compressor lubricants ap-
proved by the manufacturer for your air conditioning
system. Some unapproved refrigerants are flammable
and can explode, injuring you. Other unapproved refrig-
erants or lubricants can cause the system to fail, requir-
ing costly repairs.
• The air conditioning system contains refrigerant under
high pressure. To avoid risk of personal injury or dam-
age to the system, adding refrigerant or any repair
requiring lines to be disconnected should be done by an
experienced technician.
8
SERVICING AND MAINTENANCE 389
Page 396 of 516
WARNING!(Continued)
•Keep hands, tools, clothing, and jewelry away from
the radiator cooling fan when the hood is raised. The
fan starts automatically and may start at any time,
whether the engine is running or not.
• When working near the radiator cooling fan, discon-
nect the fan motor lead or turn the ignition switch to
the OFF position. The fan is temperature controlled
and can start at any time the ignition switch is in the
ON position.
• You or others can be badly burned by hot engine
coolant (antifreeze) or steam from your radiator. If
you see or hear steam coming from under the hood,
do not open the hood until the radiator has had time
to cool. Never try to open a cooling system pressure
cap when the radiator is hot.
Coolant Checks
Check engine coolant (antifreeze) protection every 12
months (before the onset of freezing weather, where appli-
cable). If the engine coolant (antifreeze) is dirty or rusty in
appearance, the system should be drained, flushed and
refilled with fresh engine coolant (antifreeze). Check the
front of the A/C condenser for any accumulation of bugs, leaves, etc. If dirty, clean by gently spraying water from a
garden hose vertically down the face of the condenser.
Cooling System — Drain, Flush And Refill
NOTE:
Some vehicles require special tools to add coolant
properly. Failure to fill these systems properly could lead to
severe internal engine damage. If any coolant is needed to
be added to the system please contact your local autho-
rized dealer.
If the engine coolant (antifreeze) is dirty or contains visible
sediment, have an authorized dealer clean and flush with
OAT coolant (antifreeze) (conforming to MS.90032).
Refer to the “Maintenance Plan” in this section for the
proper maintenance intervals.
Selection Of Coolant
Refer to “Fluids And Lubricants” in “Technical Specifica-
tions” for further information.
394 SERVICING AND MAINTENANCE