warning lights JEEP RENEGADE LATITUDE 2017 Owners Manual
[x] Cancel search | Manufacturer: JEEP, Model Year: 2017, Model line: RENEGADE LATITUDE, Model: JEEP RENEGADE LATITUDE 2017Pages: 516, PDF Size: 5.3 MB
Page 43 of 516
WARNING!(Continued)
•Seats should be adjusted before fastening the seat
belts and while the vehicle is parked. Serious injury
or death could result from a poorly adjusted seat belt.
• Do not ride with the seatback reclined so that the
shoulder belt is no longer resting against your chest.
In a collision you could slide under the seat belt,
which could result in serious injury or death.
CAUTION!
Do not place any article under a power seat or impede
its ability to move as it may cause damage to the seat
controls. Seat travel may become limited if movement
is stopped by an obstruction in the seat’s path.
Power Lumbar Adjustment— If Equipped
Push the switch forward or rearward to increase or de-
crease the lumbar support. Push the switch upward or
downward to raise or lower the lumbar support. NOTE:
Power seat adjustments are only allowed when the
ignition device is turned to ON, and for about 30 minutes
after it is turned to OFF. The seats can also be moved after
opening/closing the doors for about 30 minutes, locking or
unlocking the doors, or switching on of the front courtesy
lights.
Heated Seats — If Equipped
The heated seat switches are located on the instrument
panel.
You can choose between two heating levels:
• Push the heated seat button
once to turn the HI
setting on.
• Push the heated seat buttona second time to turn
the LO setting on.
• Push the heated seat buttona third time to turn the
heating elements off.
If the HI-level setting is selected, the system will automati-
cally switch to LO-level after approximately 145 minutes of
continuous operation. At that time, the display will change
from HI to LO, indicating the change. The LO-level setting
will turn off automatically after approximately 60 minutes.
3
GETTING TO KNOW YOUR VEHICLE 41
Page 162 of 516
Green TelltaleLight What It Means
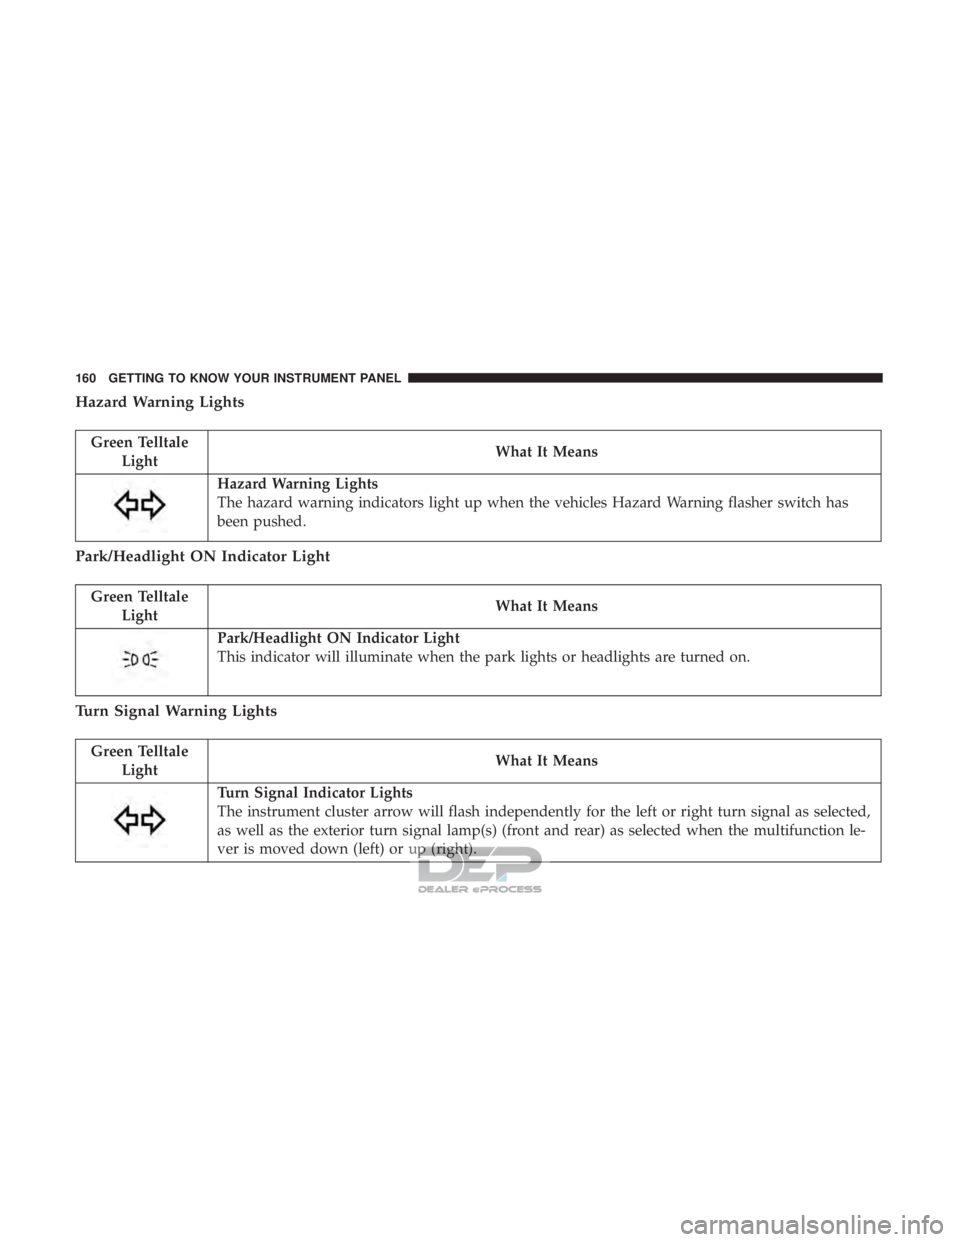
Hazard Warning Lights
The hazard warning indicators light up when the vehicles Hazard Warning flasher switch has
been pushed.
Park/Headlight ON Indicator Light
Green Telltale
Light What It Means
Park/Headlight ON Indicator Light
This indicator will illuminate when the park lights or headlights are turned on.
Turn Signal Warning Lights
Green Telltale
Light What It Means
Turn Signal Indicator Lights
The instrument cluster arrow will flash independently for the left or right turn signal as selected,
as well as the exterior turn signal lamp(s) (front and rear) as selected when the multifunction le-
ver is moved down (left) or up (right).
160 GETTING TO KNOW YOUR INSTRUMENT PANEL
Page 165 of 516
White WarningLight What It Means
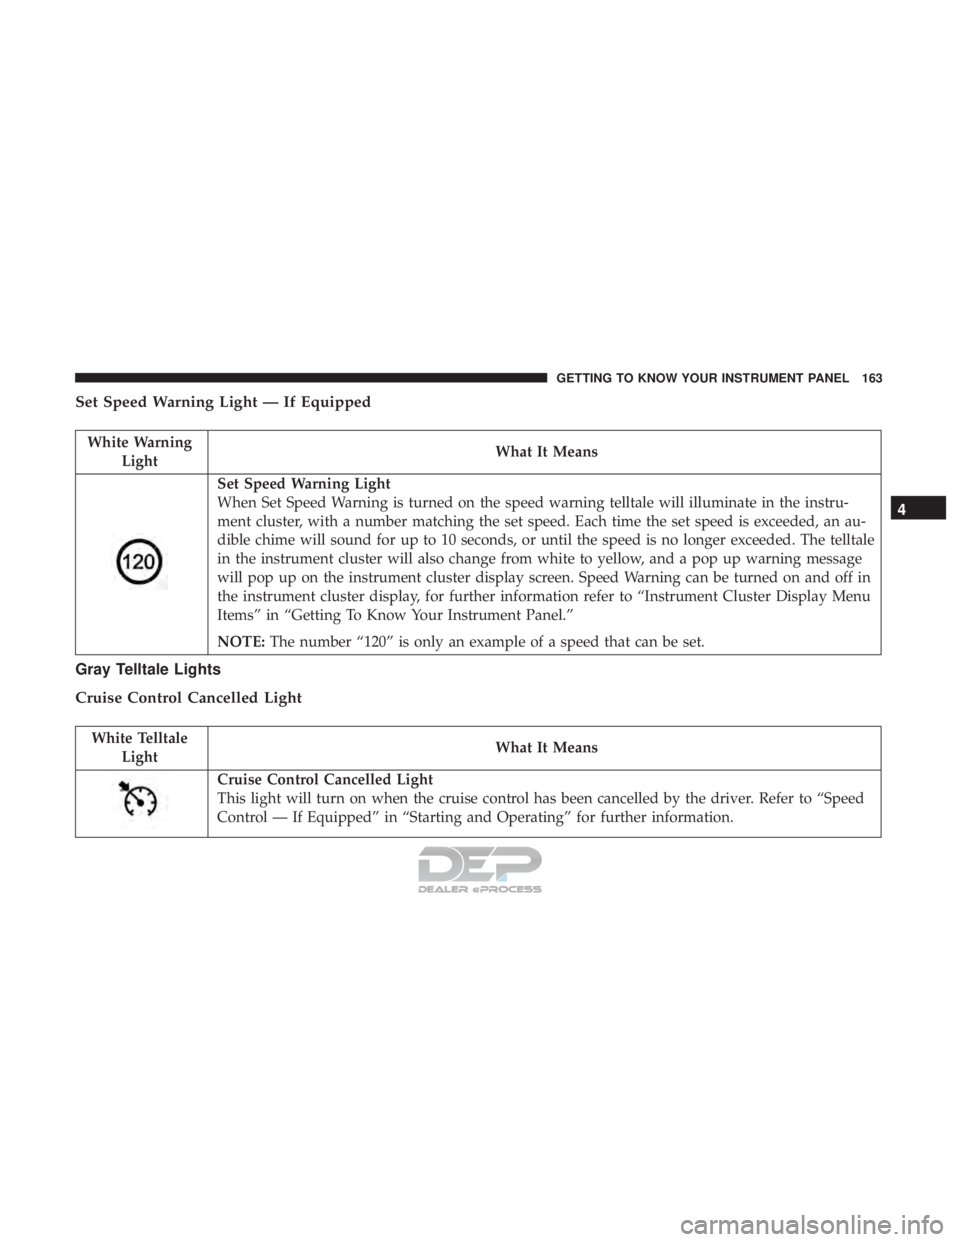
Set Speed Warning Light
When Set Speed Warning is turned on the speed warning telltale will illuminate in the instru-
ment cluster, with a number matching the set speed. Each time the set speed is exceeded, an au-
dible chime will sound for up to 10 seconds, or until the speed is no longer exceeded. The telltale
in the instrument cluster will also change from white to yellow, and a pop up warning message
will pop up on the instrument cluster display screen. Speed Warning can be turned on and off in
the instrument cluster display, for further information refer to “Instrument Cluster Display Menu
Items” in “Getting To Know Your Instrument Panel.”
NOTE:
The number “120” is only an example of a speed that can be set.
Gray Telltale Lights
Cruise Control Cancelled Light
White Telltale
Light What It Means
Cruise Control Cancelled Light
This light will turn on when the cruise control has been cancelled by the driver. Refer to “Speed
Control — If Equipped” in “Starting and Operating” for further information.
4
GETTING TO KNOW YOUR INSTRUMENT PANEL 163
Page 218 of 516
WARNING!(Continued)
stays on after you start the vehicle, or if it comes on as
you drive, have an authorized dealer service the air bag
system immediately.
Redundant Air Bag Warning Light
If a fault with the Air Bag Warning Light is
detected, which could affect the Supplemental
Restraint System (SRS), the Redundant Air Bag
Warning Light will illuminate on the instrument
panel. The Redundant Air Bag Warning Light will stay on
until the fault is cleared. In addition, a single chime will
sound to alert you that the Redundant Air Bag Warning
Light has come on and a fault has been detected. If the
Redundant Air Bag Warning Light comes on intermittently
or remains on while driving have an authorized dealer
service the vehicle immediately. For additional information
regarding the Redundant Air Bag Warning Light, refer to
“Warning/Indicator Lights And Messages” in “Getting To
Know Your Instrument Panel” section of this manual.
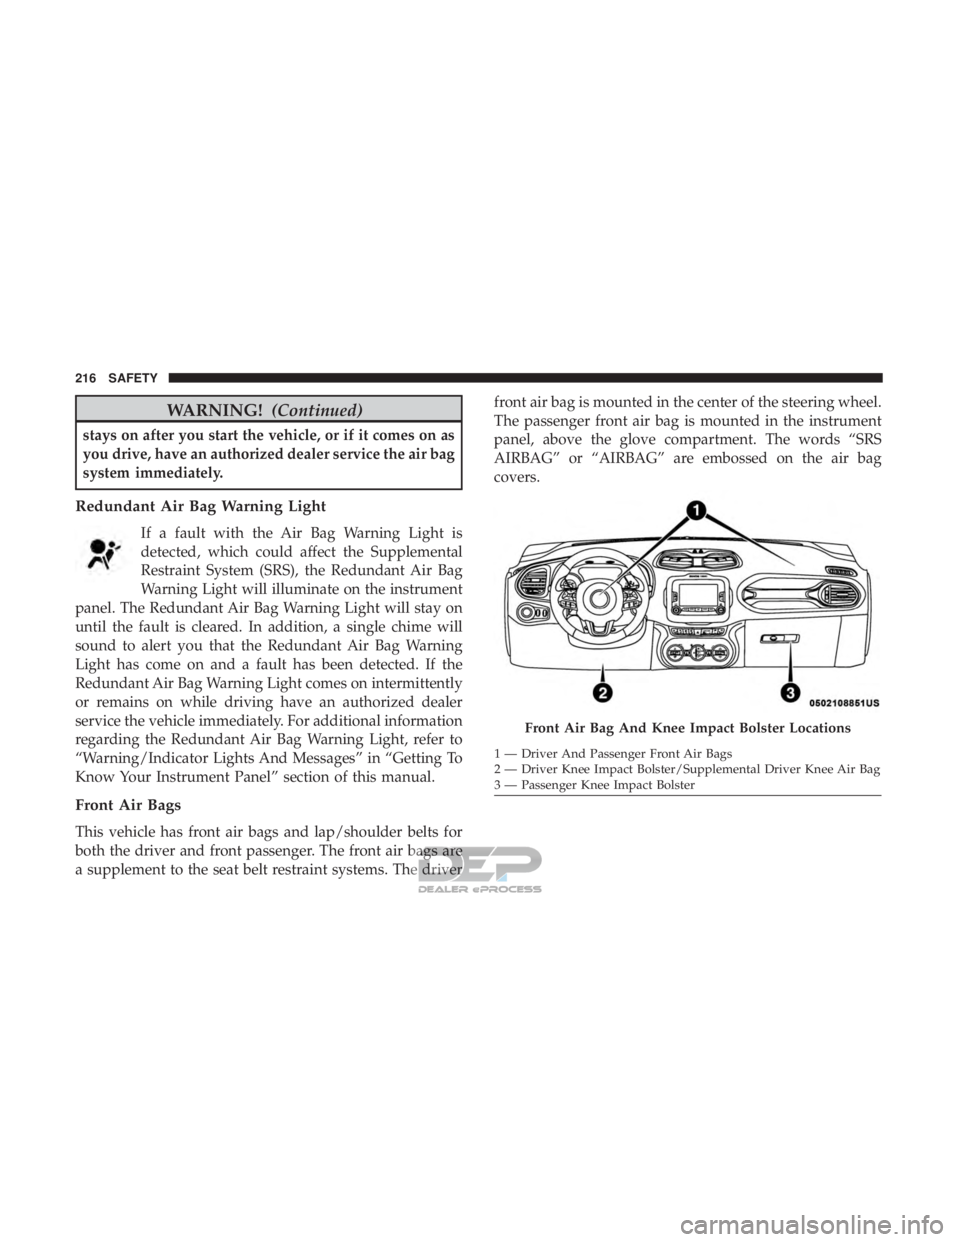
Front Air Bags
This vehicle has front air bags and lap/shoulder belts for
both the driver and front passenger. The front air bags are
a supplement to the seat belt restraint systems. The driver front air bag is mounted in the center of the steering wheel.
The passenger front air bag is mounted in the instrument
panel, above the glove compartment. The words “SRS
AIRBAG” or “AIRBAG” are embossed on the air bag
covers.
Page 221 of 516
WARNING!
•Do not drill, cut, or tamper with the knee impact
bolsters in any way.
• Do not mount any accessories to the knee impact
bolsters such as alarm lights, stereos, citizen band
radios, etc.
Supplemental Driver Knee Air Bag
This vehicle is equipped with a Supplemental Driver Knee
Air Bag mounted in the instrument panel below the
steering column. The Supplemental Driver Knee Air Bag
provides enhanced protection during a frontal impact by
working together with the seat belts, pretensioners, and
front air bags.
Supplemental Side Air Bags
Your vehicle is equipped with two types of side air bags:
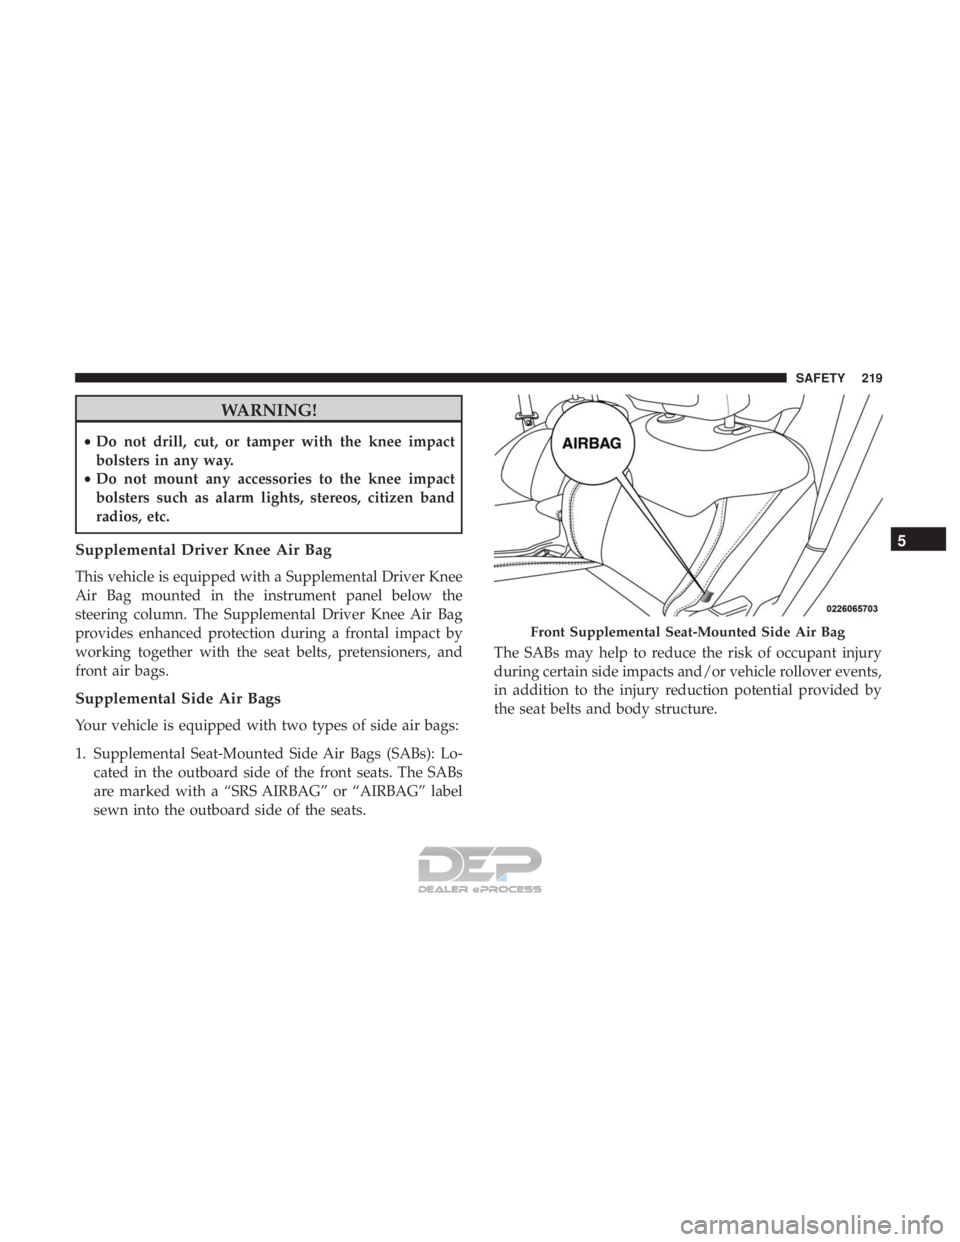
1. Supplemental Seat-Mounted Side Air Bags (SABs): Lo-
cated in the outboard side of the front seats. The SABs
are marked with a “SRS AIRBAG” or “AIRBAG” label
sewn into the outboard side of the seats. The SABs may help to reduce the risk of occupant injury
during certain side impacts and/or vehicle rollover events,
in addition to the injury reduction potential provided by
the seat belts and body structure.
Page 228 of 516
Customer ActionCustomer Will See
NOTE: Each step MUST BE held for at least two sec-
onds
SOLID.
10. Turn left turn signal
switch OFF. (Turn Signal
Switch Must be placed in
Neutral State). Right turn light is OFF.
Left turn light is OFF.
11. Turn ignition STOP/
OFF/LOCK.
12. Turn ignition MAR/
ACC/ON/RUN. (Entire
sequence needs to be
completed within one
minute or sequence will
need to be repeated). System is now reset and
the engine may be started.
Turn hazard flashers OFF
(Manually)
If a reset procedure step is not completed within 60
seconds, then the turn signal lights will blink and the reset
procedure must be performed again in order to be success-
ful.Maintaining Your Air Bag System
WARNING!
• Modifications to any part of the air bag system could
cause it to fail when you need it. You could be
injured if the air bag system is not there to protect
you. Do not modify the components or wiring, in-
cluding adding any kind of badges or stickers to the
steering wheel hub trim cover or the upper right side
of the instrument panel. Do not modify the front
bumper, vehicle body structure, or add aftermarket
side steps or running boards.
• It is dangerous to try to repair any part of the air bag
system yourself. Be sure to tell anyone who works on
your vehicle that it has an air bag system.
• Do not attempt to modify any part of your air bag
system. The air bag may inflate accidentally or may
not function properly if modifications are made.
Take your vehicle to an authorized dealer for any air
bag system service. If your seat, including your trim
cover and cushion, needs to be serviced in any way
(including removal or loosening/tightening of seat
attachment bolts), take the vehicle to your authorized
(Continued)
226 SAFETY
Page 318 of 516
WARNING!(Continued)
•Modifications to any part of the 9-1-1 Call system
could cause the air bag system to fail when you need
it. You could be injured if the air bag system is not
there to help protect you.
9-1-1 Call System Limitations
Vehicles sold in Canada and Mexico DO NOThave 9-1-1
Call system capabilities.
9-1-1 or other emergency line operators in Canada and
Mexico may not answer or respond to 9-1-1 system calls.
If the 9-1-1 Call system detects a malfunction, any of the
following may occur at the time the malfunction is de-
tected, and at the beginning of each ignition cycle:
• The overhead console lights located on the Assist and
9-1-1 buttons will continuously be illuminated red.
• The Device Screen will display the following message
“Vehicle Device Requires Service. Please Contact Your
Dealer.”
• An In-Vehicle Audio message will state “Vehicle Device
Requires Service. Please Contact Your Dealer.”