window JEEP RENEGADE LATITUDE 2017 Owners Manual
[x] Cancel search | Manufacturer: JEEP, Model Year: 2017, Model line: RENEGADE LATITUDE, Model: JEEP RENEGADE LATITUDE 2017Pages: 516, PDF Size: 5.3 MB
Page 33 of 516
WARNING!
•For personal security and safety in the event of a
collision, lock the vehicle doors before you drive as
well as when you park and leave the vehicle.
• When leaving the vehicle, always remove the key fob
from the vehicle and lock your vehicle. Always make
sure the ignition is in “OFF” mode, remove the key
fob from the vehicle and lock the vehicle. Unsuper-
vised use of vehicle equipment may cause severe
personal injuries or death.
• Never leave children alone in a vehicle, or with
access to an unlocked vehicle. Allowing children to
be in a vehicle unattended is dangerous for a number
of reasons. A child or others could be seriously or
fatally injured. Children should be warned not to
touch the parking brake, brake pedal or the gear
selector.
• Do not leave the key fob in or near the vehicle, or in
a location accessible to children, and do not leave the
ignition in the ON or RUN mode. A child could
operate power windows, other controls, or move the
vehicle.
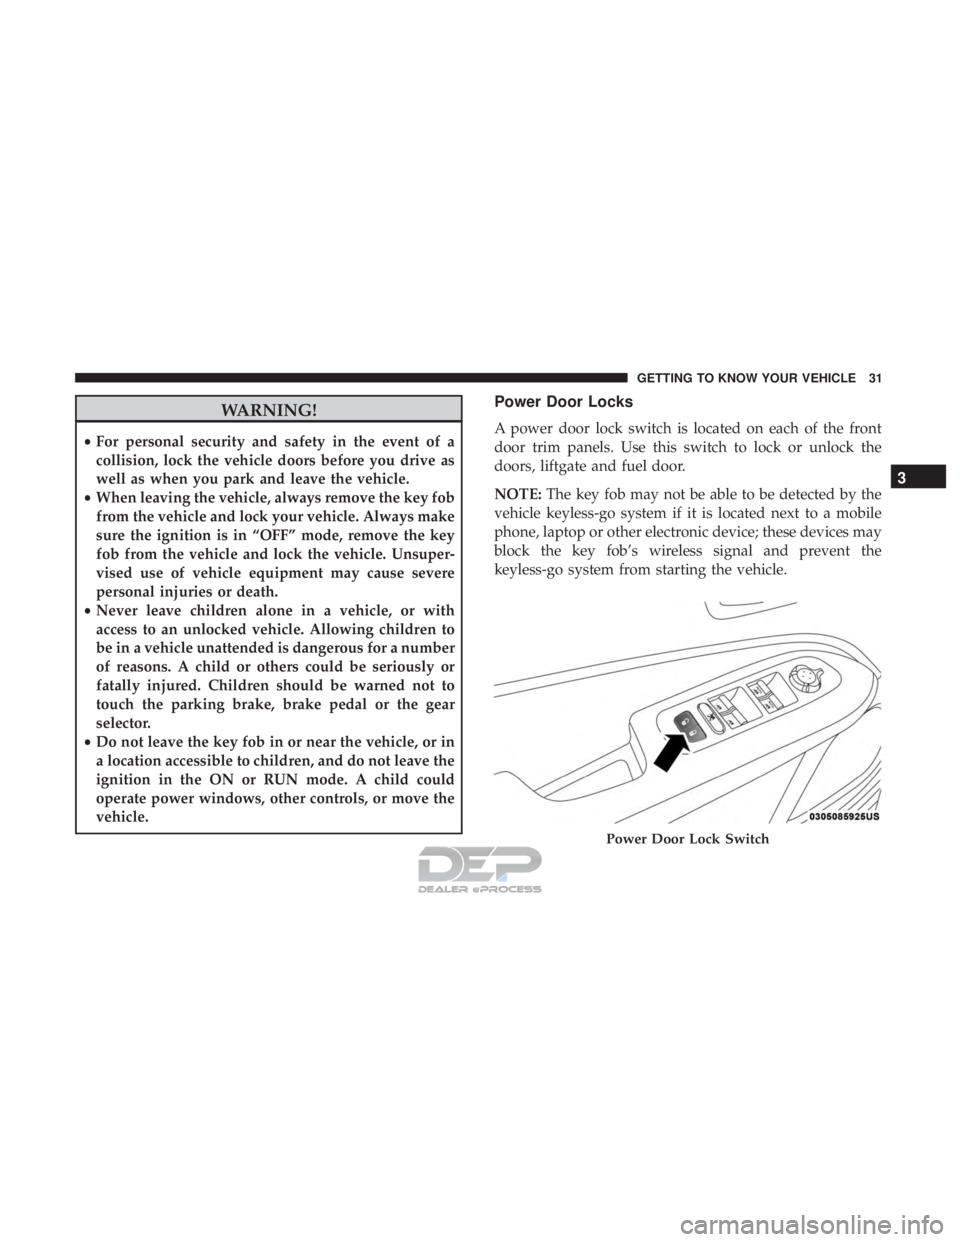
Power Door Locks
A power door lock switch is located on each of the front
door trim panels. Use this switch to lock or unlock the
doors, liftgate and fuel door.
NOTE: The key fob may not be able to be detected by the
vehicle keyless-go system if it is located next to a mobile
phone, laptop or other electronic device; these devices may
block the key fob’s wireless signal and prevent the
keyless-go system from starting the vehicle.
Page 40 of 516
•For emergency exit with the system engaged, rotate the
lock/unlock dial to the unlocked position, roll down the
window, and open the door with the outside door
handle.
Page 71 of 516
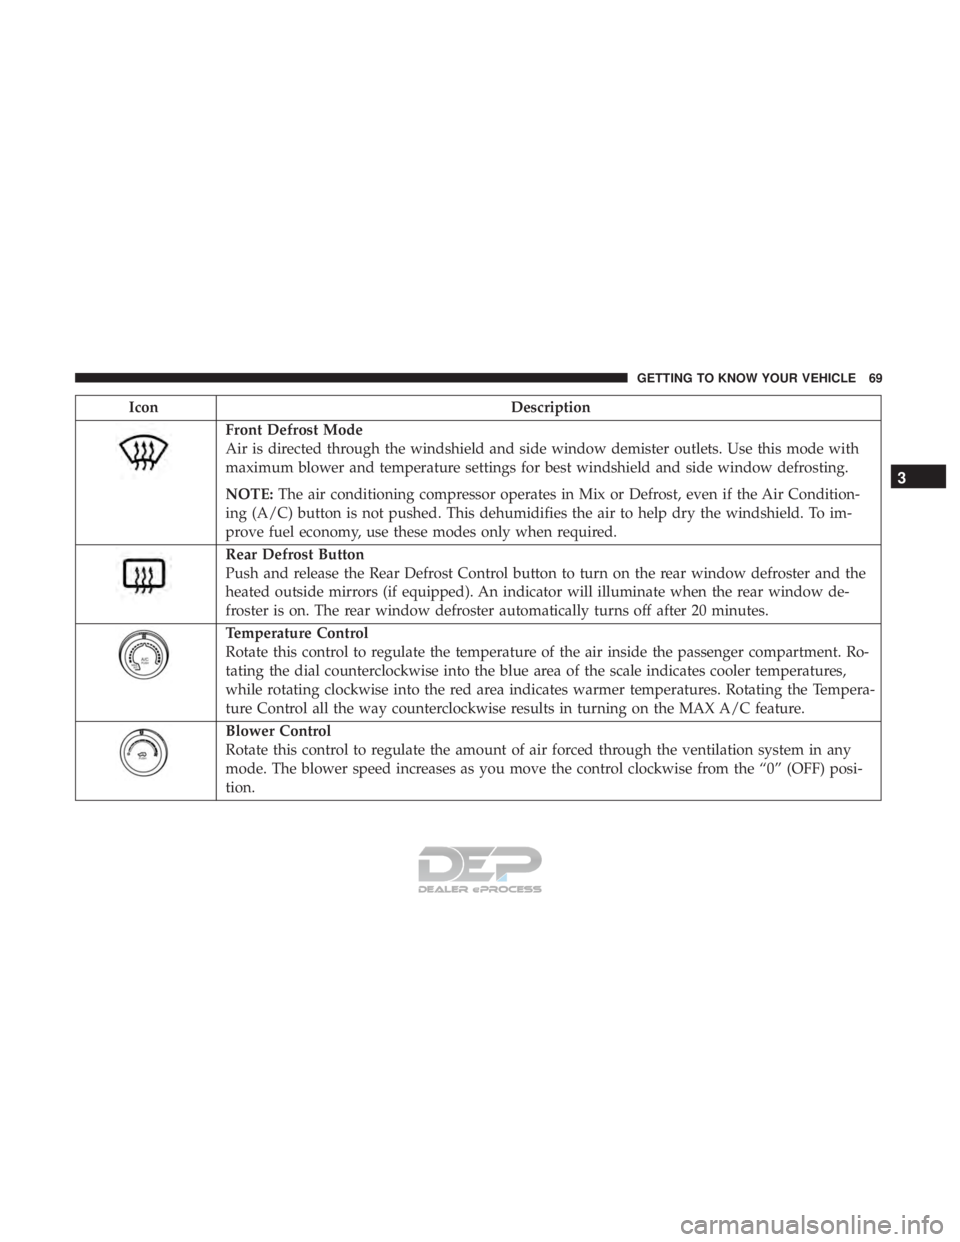
Front Defrost Mode
Air is directed through the windshield and side window demister outlets. Use this mode with
maximum blower and temperature settings for best windshield and side window defrosting.
NOTE:The air conditioning compressor operates in Mix or Defrost, even if the Air Condition-
ing (A/C) button is not pushed. This dehumidifies the air to help dry the windshield. To im-
prove fuel economy, use these modes only when required.
Page 72 of 516
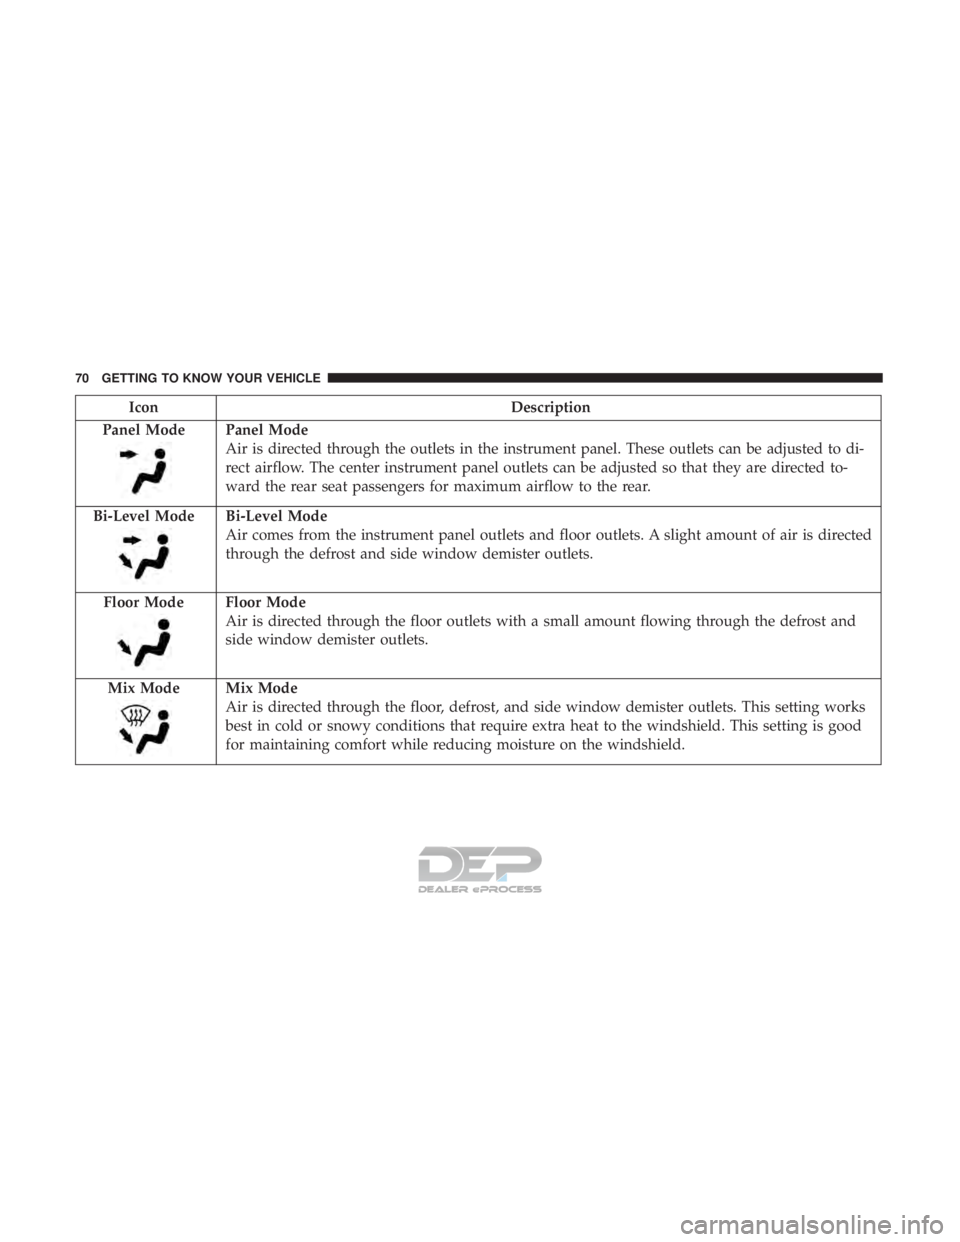
Panel Mode
Air is directed through the outlets in the instrument panel. These outlets can be adjusted to di-
rect airflow. The center instrument panel outlets can be adjusted so that they are directed to-
ward the rear seat passengers for maximum airflow to the rear.
Bi-Level Mode
Bi-Level Mode
Air comes from the instrument panel outlets and floor outlets. A slight amount of air is directed
through the defrost and side window demister outlets.
Floor Mode
Floor Mode
Air is directed through the floor outlets with a small amount flowing through the defrost and
side window demister outlets.
Mix Mode
Mix Mode
Air is directed through the floor, defrost, and side window demister outlets. This setting works
best in cold or snowy conditions that require extra heat to the windshield. This setting is good
for maintaining comfort while reducing moisture on the windshield.
70 GETTING TO KNOW YOUR VEHICLE
Page 77 of 516
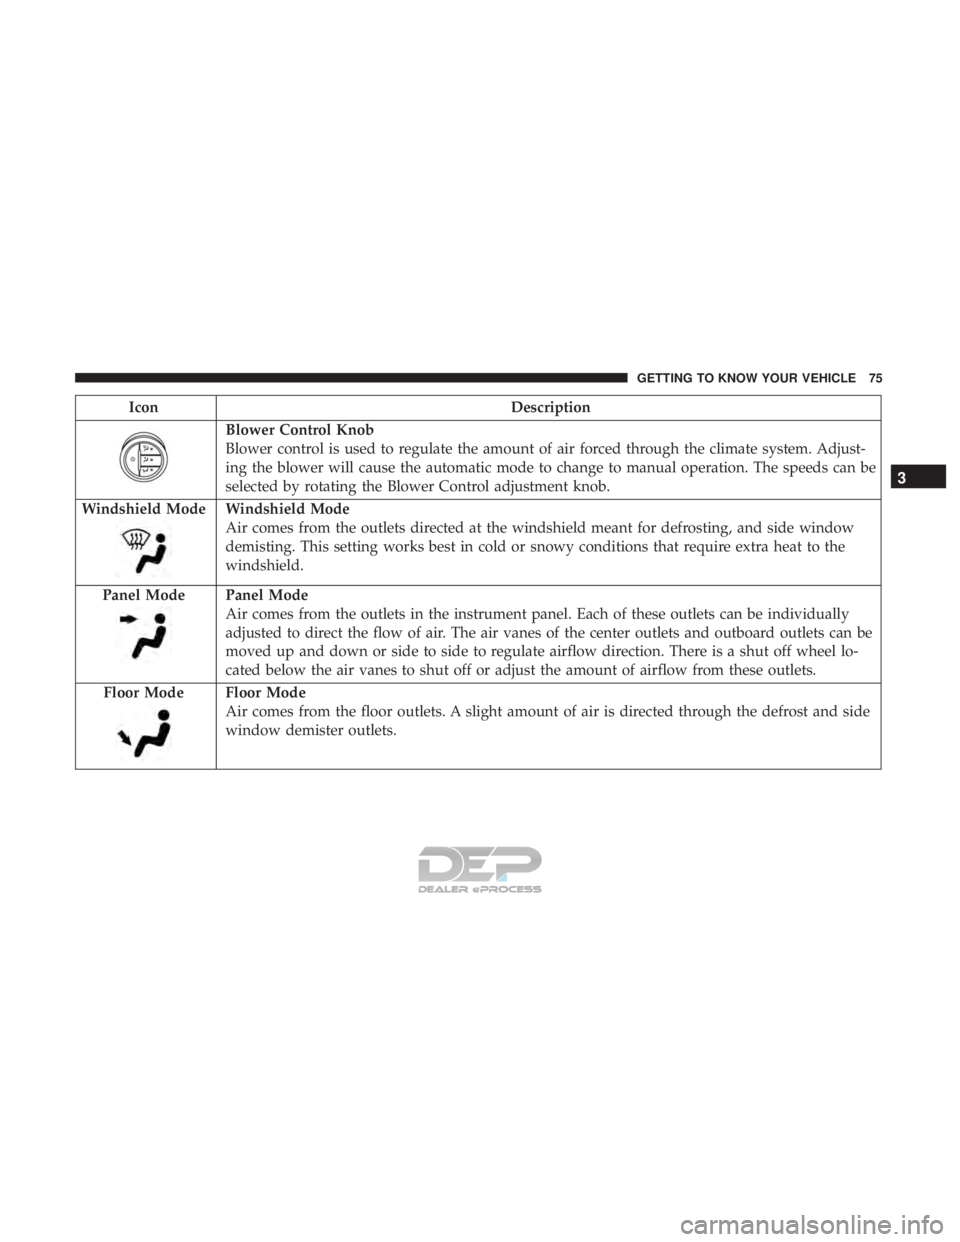
Blower Control Knob
Blower control is used to regulate the amount of air forced through the climate system. Adjust-
ing the blower will cause the automatic mode to change to manual operation. The speeds can be
selected by rotating the Blower Control adjustment knob.
Windshield Mode
Windshield Mode
Air comes from the outlets directed at the windshield meant for defrosting, and side window
demisting. This setting works best in cold or snowy conditions that require extra heat to the
windshield.
Panel Mode
Panel Mode
Air comes from the outlets in the instrument panel. Each of these outlets can be individually
adjusted to direct the flow of air. The air vanes of the center outlets and outboard outlets can be
moved up and down or side to side to regulate airflow direction. There is a shut off wheel lo-
cated below the air vanes to shut off or adjust the amount of airflow from these outlets.
Floor Mode
Floor Mode
Air comes from the floor outlets. A slight amount of air is directed through the defrost and side
window demister outlets.
3
GETTING TO KNOW YOUR VEHICLE 75
Page 78 of 516
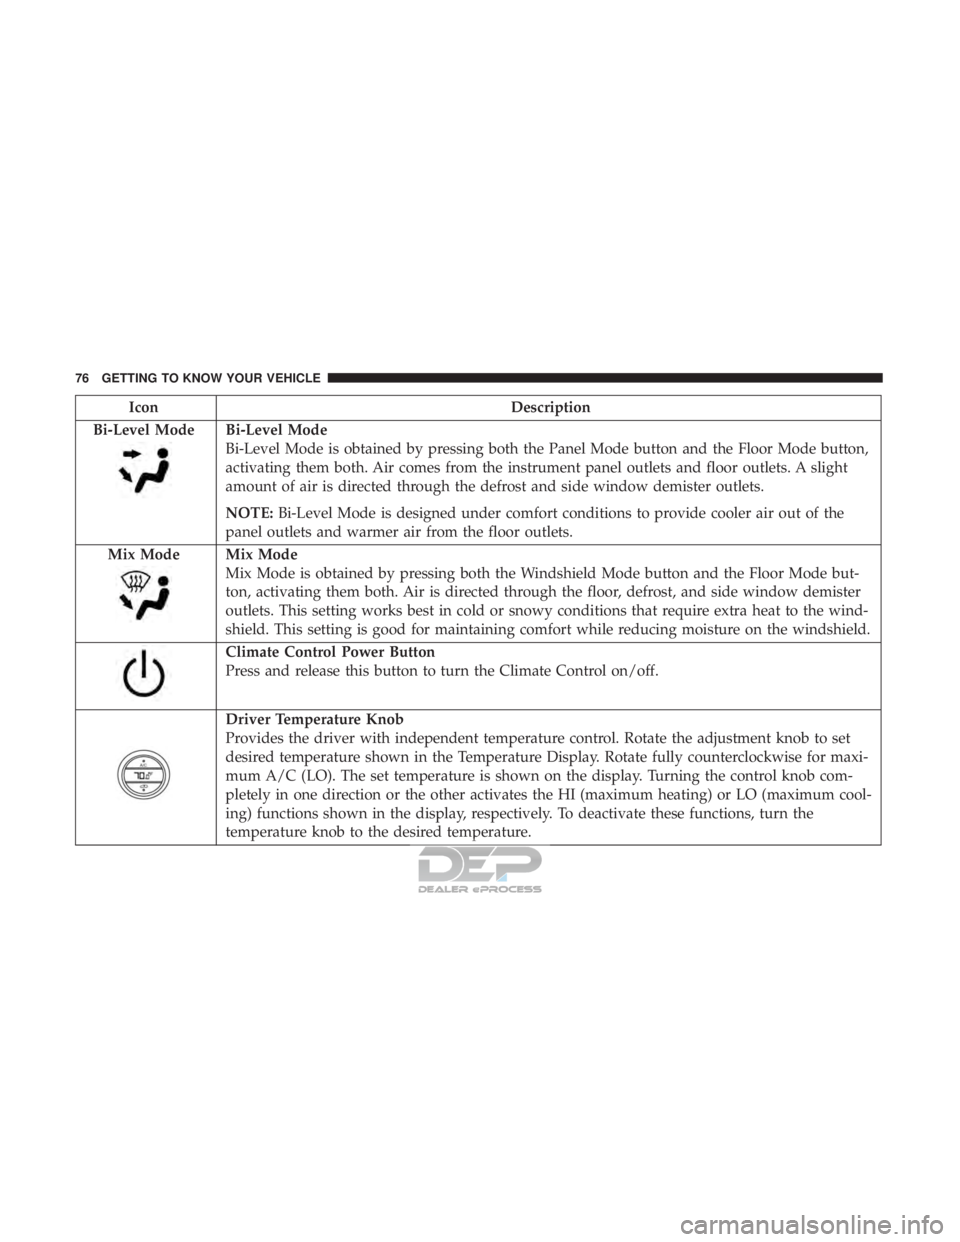
Bi-Level Mode
Bi-Level Mode is obtained by pressing both the Panel Mode button and the Floor Mode button,
activating them both. Air comes from the instrument panel outlets and floor outlets. A slight
amount of air is directed through the defrost and side window demister outlets.
NOTE:Bi-Level Mode is designed under comfort conditions to provide cooler air out of the
panel outlets and warmer air from the floor outlets.
Mix Mode
Mix Mode
Mix Mode is obtained by pressing both the Windshield Mode button and the Floor Mode but-
ton, activating them both. Air is directed through the floor, defrost, and side window demister
outlets. This setting works best in cold or snowy conditions that require extra heat to the wind-
shield. This setting is good for maintaining comfort while reducing moisture on the windshield.
Page 85 of 516
WINDOWS
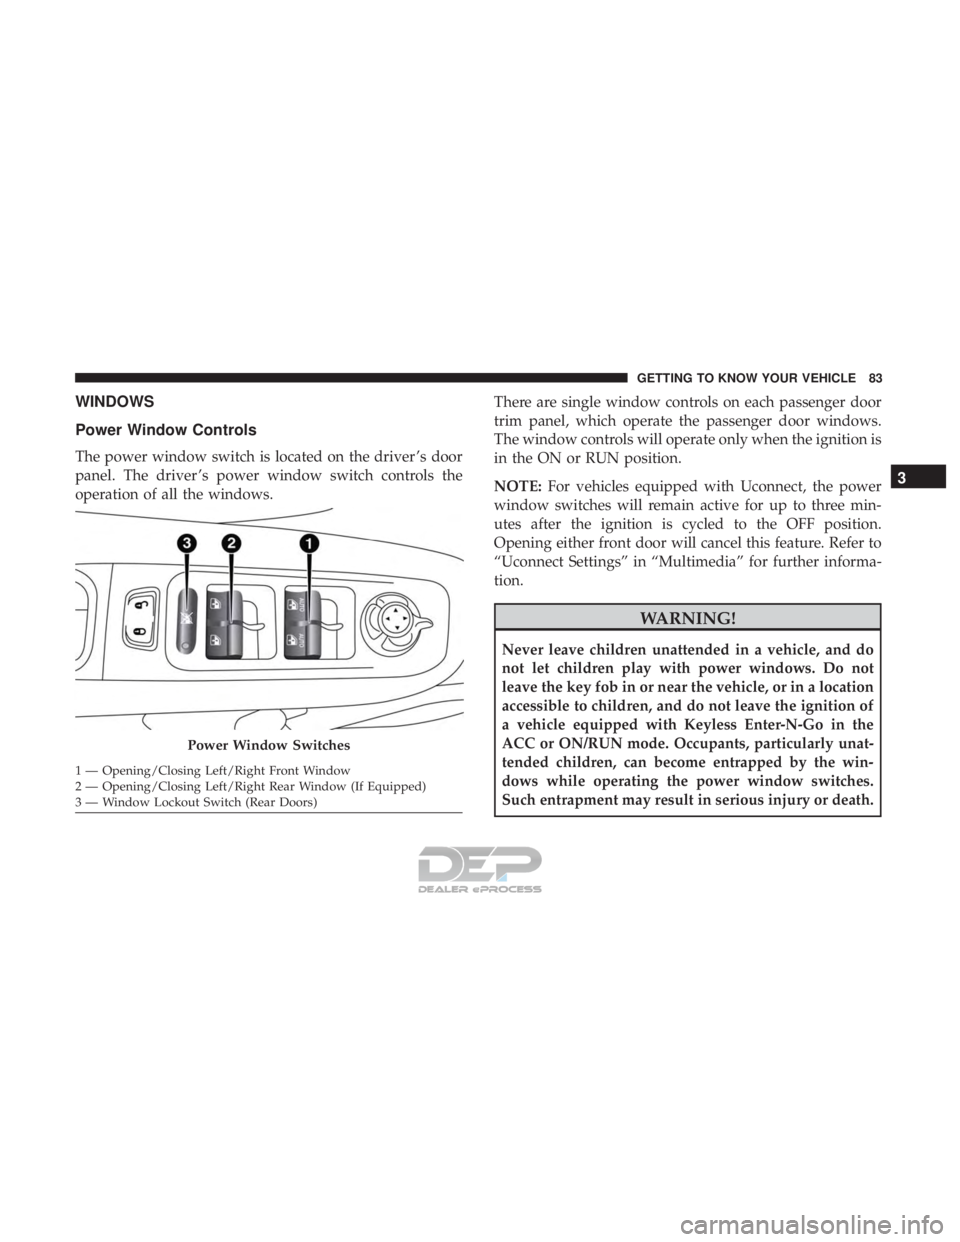
Power Window Controls
The power window switch is located on the driver ’s door
panel. The driver ’s power window switch controls the
operation of all the windows.There are single window controls on each passenger door
trim panel, which operate the passenger door windows.
The window controls will operate only when the ignition is
in the ON or RUN position.
NOTE:
For vehicles equipped with Uconnect, the power
window switches will remain active for up to three min-
utes after the ignition is cycled to the OFF position.
Opening either front door will cancel this feature. Refer to
“Uconnect Settings” in “Multimedia” for further informa-
tion.
Power Window Switches
Page 86 of 516
Auto-Down Feature
The driver door power window switch and the passenger
door power window switches have an Auto-Down feature.
Push the window switch down, for a short period of time,
and release and the window will go down automatically.
To open the window part way, push the window switch
down briefly and release it when you want the window to
stop.
To stop the window from going all the way down during
the Auto-Down operation, pull up on the switch briefly.
Auto-Up Feature With Auto-Reverse Protection — If
Equipped
Lift the window switch up, for a short period of time, and
release and the window will go up automatically.
To stop the window from going all the way up during the
Auto-Up operation, push down on the switch briefly.
To close the window part way, lift the window switch
briefly and release it when you want the window to stop.NOTE:
•
If the window runs into any obstacle during auto-
closure, it will reverse direction and then go back down.
Remove the obstacle and use the window switch again
to close the window.
• Any impact due to rough road conditions may trigger
the auto-reverse function unexpectedly during auto-
closure. If this happens, pull the switch lightly to the first
detent and hold to close the window manually.
Page 206 of 516
restraints or belt-positioning booster seats should ride
properly buckled up in a vehicle with a rear seat.
4. Never allow children to slide the shoulder belt behind them or under their arm.
5. You should read the instructions provided with your child restraint to make sure that you are using it
properly.
6. All occupants should always wear their lap and shoul- der belts properly.
7. The driver and front passenger seats should be moved back as far as practical to allow the front air bags room
to inflate.
8. Do not lean against the door or window. If your vehicle has side air bags, and deployment occurs, the side air
bags will inflate forcefully into the space between occu-
pants and the door and occupants could be injured.
9. If the air bag system in this vehicle needs to be modified to accommodate a disabled person, refer to the “Cus-
tomer Assistance” section for customer service contact
information.
Page 224 of 516
WARNING!
•Side Air Bags need room to inflate. Do not lean
against the door or window. Sit upright in the center
of the seat.
• Being too close to the Side Air Bags during deploy-
ment could cause you to be severely injured or
killed.
• Relying on the Side Air Bags alone could lead to
more severe injuries in a collision. The Side Air Bags
work with your seat belt to restrain you properly. In
some collisions, Side Air Bags won’t deploy at all.
Always wear your seat belt even though you have
Side Air Bags.
NOTE: Air bag covers may not be obvious in the interior
trim, but they will open during air bag deployment.
Side Impacts
In side impacts, the side impact sensors aid the ORC in
determining the appropriate response to impact events.
The system is calibrated to deploy the Side Air Bags on the
impact side of the vehicle during impacts that require Side
Air Bag occupant protection. In side impacts, the Side Air Bags deploy independently; a left side impact deploys the
left Side Air Bags only and a right side impact deploys the
right Side Air Bags only.
The Side Air Bags will not deploy in all side collisions,
including some collisions at certain angles, or some side
collisions that do not impact the area of the passenger
compartment. The Side Air Bags may deploy during
angled or offset frontal collisions where the front air bags
deploy.
Rollover Events
Side Air Bags are designed to activate in certain rollover
events. The ORC determines whether the deployment of
the Side Air Bags in a particular rollover event is appro-
priate, based on the severity and type of collision. Vehicle
damage by itself is not a good indicator of whether or not
Side Air Bags should have deployed.
The Side Air Bags will not deploy in all rollover events. The
rollover sensing system determines if a rollover event may
be in progress and whether deployment is appropriate. In
the event the vehicle experiences a rollover or near rollover
event, and deployment of the Side Air Bags is appropriate,
the rollover sensing system will also deploy the seat belt
pretensioners on both sides of the vehicle.
222 SAFETY