transmission JEEP WRANGLER 2004 TJ / 2.G Owner's Manual
[x] Cancel search | Manufacturer: JEEP, Model Year: 2004, Model line: WRANGLER, Model: JEEP WRANGLER 2004 TJ / 2.GPages: 299, PDF Size: 6.82 MB
Page 181 of 299

CAUTION!
The Anti-Lock Brake System is subject to possible
detrimental effects of electronic interference caused
by improperly installed aftermarket radios or tele-
phones.
NOTE:During severe braking conditions, a pulsing
sensation may occur and a clicking noise will be heard.
This is normal, indicating that the Anti-Lock Brake
System is functioning.
ON-ROAD DRIVING TIPS
Utility vehicles have higher ground clearance and a
narrower track to make them capable of performing in a
wide variety of off-road applications. Specific design
characteristics give them a higher center of gravity than
ordinary cars.
An advantage of the higher ground clearance is a better
view of the road, allowing you to anticipate problems.
They are not designed for cornering at the same speeds asconventional 2-wheel drive vehicles any more than low-
slung sports cars are designed to perform satisfactorily in
off-road conditions. If at all possible, avoid sharp turns or
abrupt maneuvers. As with other vehicles of this type,
failure to operate this vehicle correctly may result in loss
of control or vehicle rollover.
OFF-ROAD DRIVING TIPS
When To Use Low Range
When driving off-road, shift to 4L (Low) for additional
traction in pulling forward or descending a hill, for
low-speed pulling power or to improve handling and
control on slippery or difficult terrain. Also use 4L (Low)
in rain, ice, snow, mud or sand to get heavy loads rolling,
or whenever 4H (High) range four-wheel drive traction
will not do the job.
In Snow, Mud and Sand
In heavy snow, when pulling a load, or for additional
control at slower speeds, shift the transmission to a low
gear and shift the transfer case to 4L (Low) if necessary.
STARTING AND OPERATING 181
5
Page 182 of 299
Don't shift to a lower gear than necessary to maintain
headway. Over-revving the engine can spin the wheels
and traction will be lost.
Do not downshift on icy or slippery roads because engine
braking may cause skidding and loss of control.
When driving on soft sand, reduce your tire pressure to
15 psi (103 kPa) minimum to allow greater tire surface
area. You must return the tires to normal air pressure
before driving on pavement or other hard surfaces.
NOTE:Reduced tire pressures below 15 psi (103 kPa)
may cause tire unseating and loss of air pressure.
Hill Climbing
Before climbing a steep hill,change transmission to a
lower gear and shift the transfer case to 4L (Low). Use
first gear and 4L (Low) for very steep hills.
If you stall or begin to lose headwaywhile climbing a
steep hill, allow your vehicle to come to a stop and
immediately apply the brake. Restart the engine and shift
to R (Reverse). Back up slowly down the hill allowing the
compression braking of the engine and transmission tohelp regulate your speed. If the brakes are required to
control vehicle speed, apply them lightly and avoid
locking or skidding the tires.
WARNING!
If the engine stalls or you lose headway or cannot
make it to the top of a steep hill or grade, never
attempt to turn around. To do so may result in
tipping and rolling the vehicle. Always back care-
fully straight down a hill in R (Reverse) gear. Never
back down a hill in N (Neutral) or with the clutch
pedal depressed, using only the brake.
Remember, never drive diagonally across a hill, always
drive straight up or down.
If the wheels start to slip as you approach the crest of a
hill, ease off the accelerator and maintain headway by
turning the front wheels sharply left and right. This will
provide fresh ªbiteº into the surface and will usually
provide traction to complete the climb.
182 STARTING AND OPERATING
Page 183 of 299
Traction Downhill
Shift the transmission into a low gear and transfer case to
4L (Low) range. Let the vehicle go slowly down the hill
with all four wheels turning against engine compression
drag. This will permit you to control the vehicle speed
and direction.
After Driving Off-Road
Off-road operation puts more stress on your vehicle than
does most on-road driving. After driving off-road, it is
always a good idea to check for damage.
²Completely inspect the underbody of your vehicle.
Check tires, body structure, steering, suspension, and
exhaust system for damage.
²Check threaded fasteners for looseness, particularly on
the chassis, drivetrain components, steering, and sus-
pension. Retighten them, if required, and torque to the
values specified in the Service Manual.
²Check for accumulations of plants or brush. These
things could be a fire hazard, or they might hide
damage to fuel lines, brake hoses, axle pinion seals,
and propeller shafts.
²After extended operation in mud, sand, water, or
similar dirty conditions, have brake drums, brake
linings, and axle yokes inspected and cleaned as soon
as possible.
WARNING!
Abrasive material in any part of the brakes may
cause excessive wear or unpredictable braking. You
might not have full braking power when you need it
to prevent an accident. If you have been operating
your vehicle in dirty conditions, get your brakes
checked and cleaned as necessary.
²If you experience unusual vibration after driving in
mud, slush or similar conditions, check the wheels for
packed material. Packed foreign material can cause a
wheel imbalance and freeing the wheels will correct
the situation.
STARTING AND OPERATING 183
5
Page 203 of 299
²The weight of any other type of cargo or equipment
put in or on your vehicle.
Remember that everything put in or on the trailer adds to
the load on your vehicle.
Warranty Requirements
The manufacturer's warranty will apply to vehicles used
to tow trailers for noncommercial use, however the
following conditions must be met:
²The ªDº Overdrive range can be selected when tow-
ing. However, if frequent shifting occurs move the
shift lever to the next lower position to eliminate
excessive automatic transmission shifting. This action
will also reduce the possibility of transmission over-
heating and provide better engine braking. Refer to
ªTransmission Shiftingº in this section for additional
information.
²A load equalizing hitch is recommended for loaded
trailer weights above 1,000 lbs (454 kg).
CAUTION!
If the trailer weighs more than 1,000 lbs (454 kg)
loaded, it should have its own brakes and they
should be of adequate capacity. Failure to do this
could lead to accelerated brake lining wear, higher
brake pedal effort, and longer stopping distances.
WARNING!
Connecting trailer brakes to your vehicle's hydraulic
brake lines can overload your brake system and
cause it to fail. You might not have brakes when you
need them and could have an accident.
²Whenever you pull a trailer, regardless of the trailer
size, stop lights and turn signals on the trailer are
mandatory for motoring safety.
²Follow the maintenance intervals in schedule ªBº for
changing the automatic transmission fluid and filter, if
you REGULARLY tow a trailer for more than 45
minutes of continuous operation.
STARTING AND OPERATING 203
5
Page 205 of 299

NOTE:Refer to ªRecommended Fluids, Lubricants,
and Genuine Partsº in Section 7 for axle differential
lubrication specifications for towing.
SNOW PLOW
Snow plowsshould notbe added to the front end of your
vehicle.
RECREATIONAL TOWING (BEHIND
MOTORHOME, ETC.)
CAUTION!
Internal damage to the transfer case will occur if a
front or rear wheel lift is used when recreational
towing.
NOTE:The transfer case must be shifted into N (Neu-
tral) for recreational towing.
Shifting Into Neutral (N)
Use the following procedure to prepare your vehicle for
recreational towing.
CAUTION!
It is necessary to follow these steps to be certain that
the transfer case is fully in N (Neutral) before
recreational towing to prevent damage to internal
parts.
1. Depress brake pedal.
2. Shift automatic transmission into N (Neutral) or de-
press clutch pedal on manual transmission.
3. Shift transfer case lever into N (Neutral).
4. Start engine.
5. Shift automatic transmission into D (Drive) or manual
transmission into gear.
STARTING AND OPERATING 205
5
Page 206 of 299

6. Release brake pedal and ensure that there is no vehicle
movement.
7. Shut the engine off and place the ignition key into the
unlocked OFF position.
8. Shift automatic transmission into P (Park).
9. Apply parking brake.
10. Attach vehicle to the tow vehicle with tow bar.
11. Release parking brake.
CAUTION!
Damage to the transmission may occur if the trans-
mission is shifted into P (Park) with the transfer case
in N (Neutral) and the engine running. With the
transfer case in N (Neutral) ensure that the engine is
off prior to shifting the transmission into P (Park)
(refer to steps7±8above).
Shifting Out Of Neutral (N)
Use the following procedure to prepare your vehicle for
normal usage.
1. Shift automatic transmission into N (Neutral) or de-
press clutch pedal on manual transmission.
2. Shift transfer case lever into desired position.
3. Shift automatic transmission into D (Drive) or release
clutch on manual transmissions.
NOTE:When shifting out of transfer case N (Neutral)
on automatic transmission equipped vehicles, turning
the engine off may be required to avoid gear clash.
206 STARTING AND OPERATING
Page 207 of 299
WARNING!
You or others could be injured if you leave the
vehicle unattended with the transfer case in the N
(Neutral) position without first fully engaging the
parking brake. The transfer case N (Neutral) position
disengages both the front and rear driveshafts from
the powertrain and will allow the vehicle to move
despite the transmission position. The parking
brake should always be applied when the driver is
not in the vehicle.
CAUTION!
²Do not use a bumper mounted clamp-on tow bar
on your vehicle. The bumper face bar will be
damaged.
STARTING AND OPERATING 207
5
Page 210 of 299

HAZARD WARNING FLASHER
The flasher switch is on top of the steering column, just
behind the steering wheel. Depress the switch and both
cluster indicators and all front and rear directional sig-
nals will flash. Depress the switch again to turn Hazard
Warning Flashers off.Do not use this emergency warning system when the
vehicle is in motion. Use it when your vehicle is disabled
and is creating a safety hazard for other motorists.
If it is necessary to leave the vehicle to go for service, the
flasher system will continue to operate with the ignition
key removed and the vehicle locked.
NOTE:With extended use, the flasher may wear down
your battery.
IF YOUR ENGINE OVERHEATS
In any of the following situations, you can reduce the
potential for overheating by taking the appropriate ac-
tion.
²On the highways Ð Slow down.
²In city traffic Ð While stopped, put transmission in N
(Neutral), but do not increase engine idle speed.
NOTE:There are steps that you can take to slow down
an impending overheat condition. If your air conditioner
is on, turn it off. The air conditioning system adds heat to
the engine cooling system and turning off the A/C
removes this heat. You can also turn the Temperature
210 WHAT TO DO IN EMERGENCIES
Page 213 of 299

Spare Tire Location
To remove the spare tire from the carrier, remove the tire
cover, if equipped, and remove the lug nuts with the lug
wrench turning them counterclockwise. If equipped with
an anti-theft lug nut (A), use the ªKeyº (B) and the lug
wrench. The ªKeyº is stored in the glove box.
NOTE:If you have added aftermarket accessories to the
spare tire mounted carrier, it cannot exceed a gross
weight of 50 lbs (23 kg) including the weight of the spare
tire.
Tire Changing Procedures
WARNING!
You can be injured or killed if you try to change a
wheel too close to moving traffic. Pull far enough off
the road to avoid being hit when operating the jack
or changing the wheel.
Preparation
²
Park on a firm, level surface well off the road, to
provide ample work space. Place automatic transmis-
sion in P (Park), or manual transmission in R (Re-
verse), and stop engine. Set parking brake firmly and
activate hazard warning flasher.
WHAT TO DO IN EMERGENCIES 213
6
Page 217 of 299
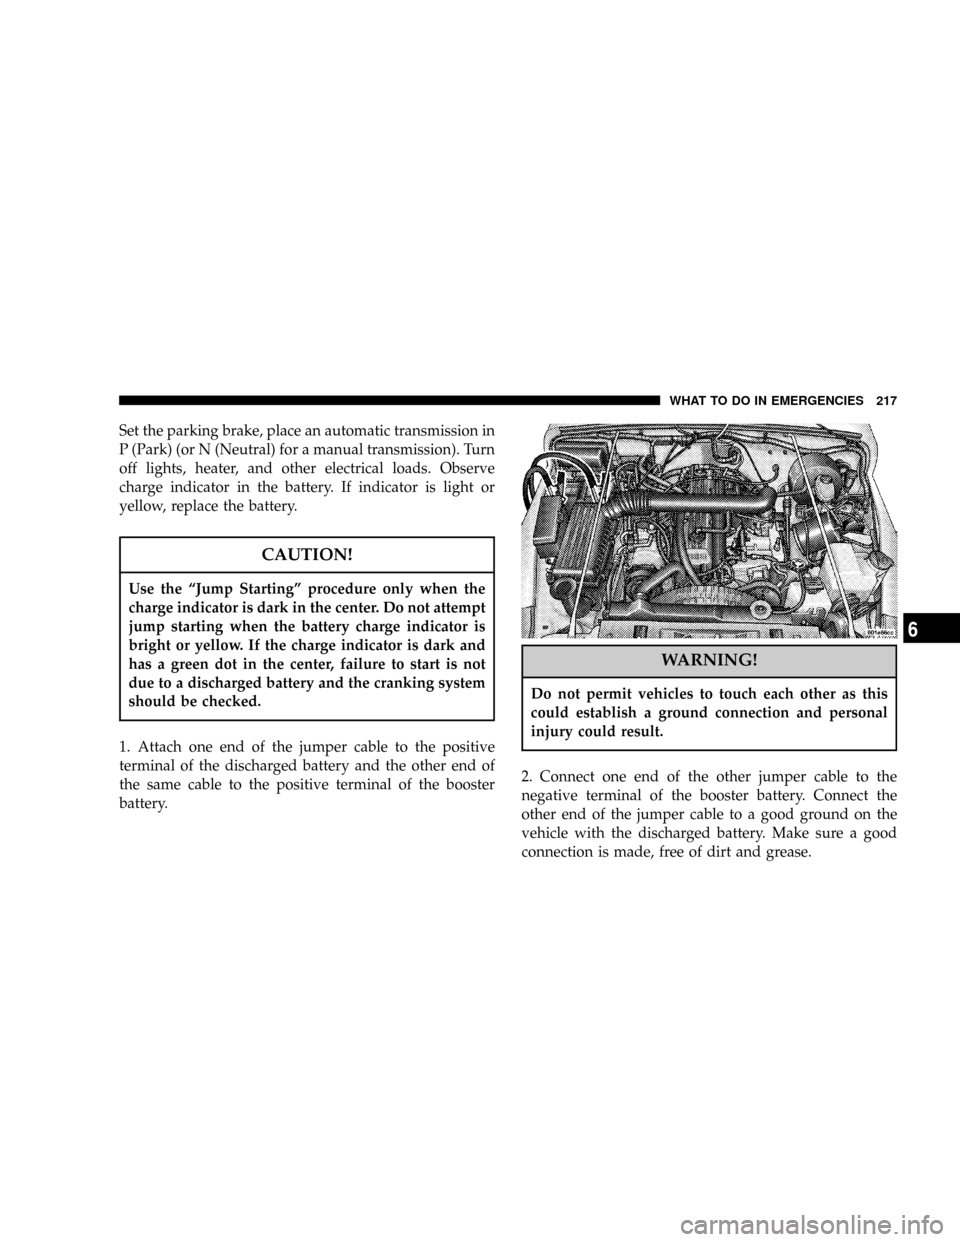
Set the parking brake, place an automatic transmission in
P (Park) (or N (Neutral) for a manual transmission). Turn
off lights, heater, and other electrical loads. Observe
charge indicator in the battery. If indicator is light or
yellow, replace the battery.
CAUTION!
Use the ªJump Startingº procedure only when the
charge indicator is dark in the center. Do not attempt
jump starting when the battery charge indicator is
bright or yellow. If the charge indicator is dark and
has a green dot in the center, failure to start is not
due to a discharged battery and the cranking system
should be checked.
1. Attach one end of the jumper cable to the positive
terminal of the discharged battery and the other end of
the same cable to the positive terminal of the booster
battery.
WARNING!
Do not permit vehicles to touch each other as this
could establish a ground connection and personal
injury could result.
2. Connect one end of the other jumper cable to the
negative terminal of the booster battery. Connect the
other end of the jumper cable to a good ground on the
vehicle with the discharged battery. Make sure a good
connection is made, free of dirt and grease.
WHAT TO DO IN EMERGENCIES 217
6