JEEP WRANGLER 2009 Owners Manual
WRANGLER 2009
JEEP
JEEP
https://www.carmanualsonline.info/img/16/56060/w960_56060-0.png
JEEP WRANGLER 2009 Owners Manual
Trending: transmission, fog light bulb, bulb, warning, oil capacity, TPMS reset, gas type
Page 201 of 502
4
UNDERSTANDING YOUR INSTRUMENT PANEL 199
Page 202 of 502
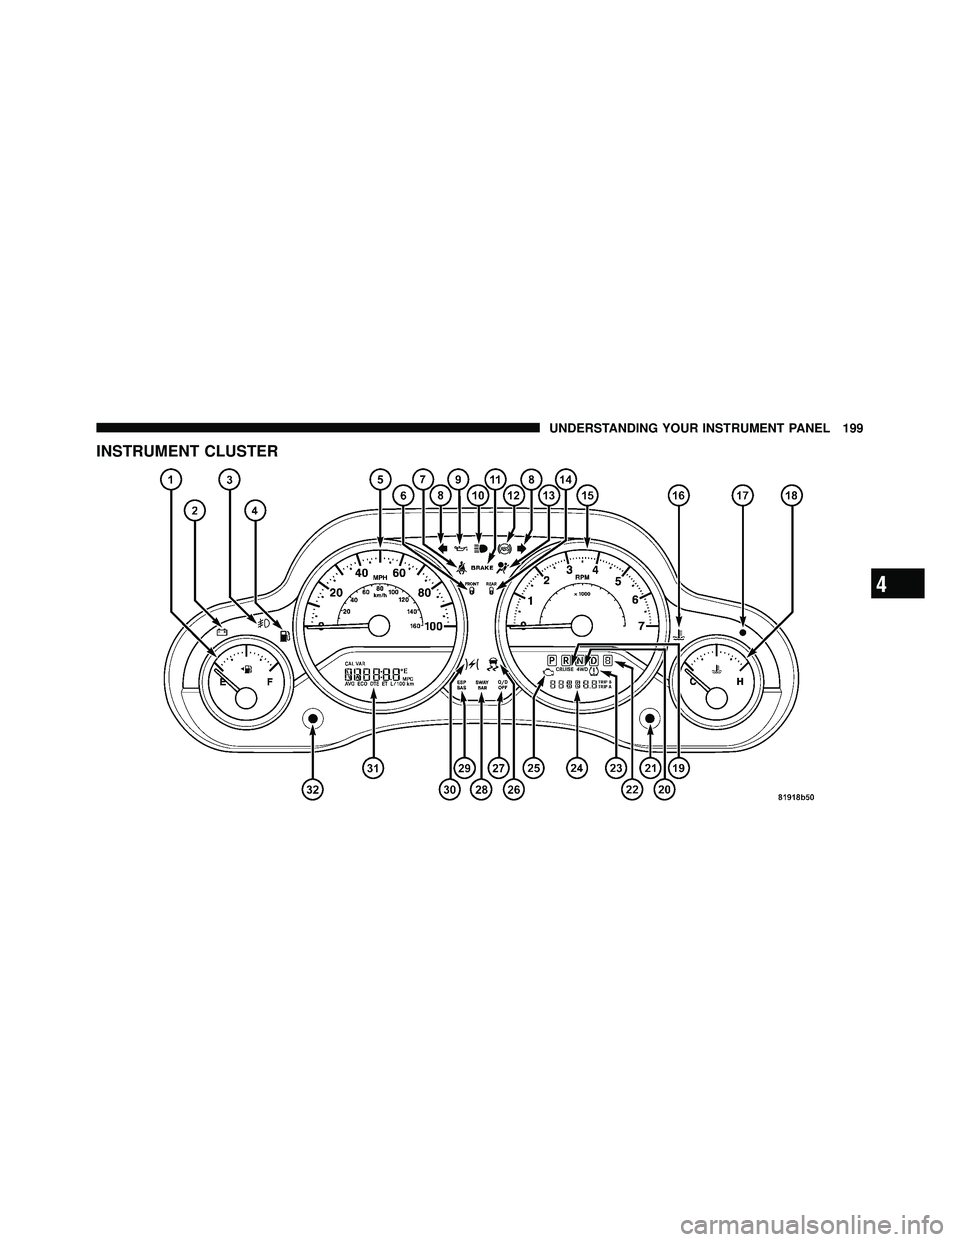
INSTRUMENT CLUSTER DESCRIPTION
1. Fuel Gauge
The pointer shows the level of fuel in the fuel tank.
NOTE:When the ignition switch is turned to OFF, the
fuel gauge, voltmeter, oil pressure and temperature
gauges may not show accurate readings. When the
engine is not running, turn the ignition switch to ON to
obtain accurate readings.
2. Charging System Light This light shows the status of the electrical charg-
ing system. The light should come on when the
ignition switch is first turned ON, and remain on briefly
as a bulb check. If the light stays on or comes on while
driving, turn off some of the vehicle’s non-essential
electrical devices or increase engine speed (if at idle). If
the charging system light remains on, it means that the vehicle is experiencing a problem with the charging
system. Obtain SERVICE IMMEDIATELY. See an autho-
rized dealer.
If jump starting is required, refer to “Jump Starting
Procedures” in section 6 of this manual.
3. Front Fog Light Indicator — If Equipped
This indicator will illuminate when the front fog
lights are on.
4. Low Fuel Warning Light When the fuel level reaches approximately 2.8 gal
(10.6L) this light will turn on and a single chime
will sound.
5. Speedometer
Indicates vehicle speed.
Page 203 of 502
4
UNDERSTANDING YOUR INSTRUMENT PANEL 201
Page 204 of 502
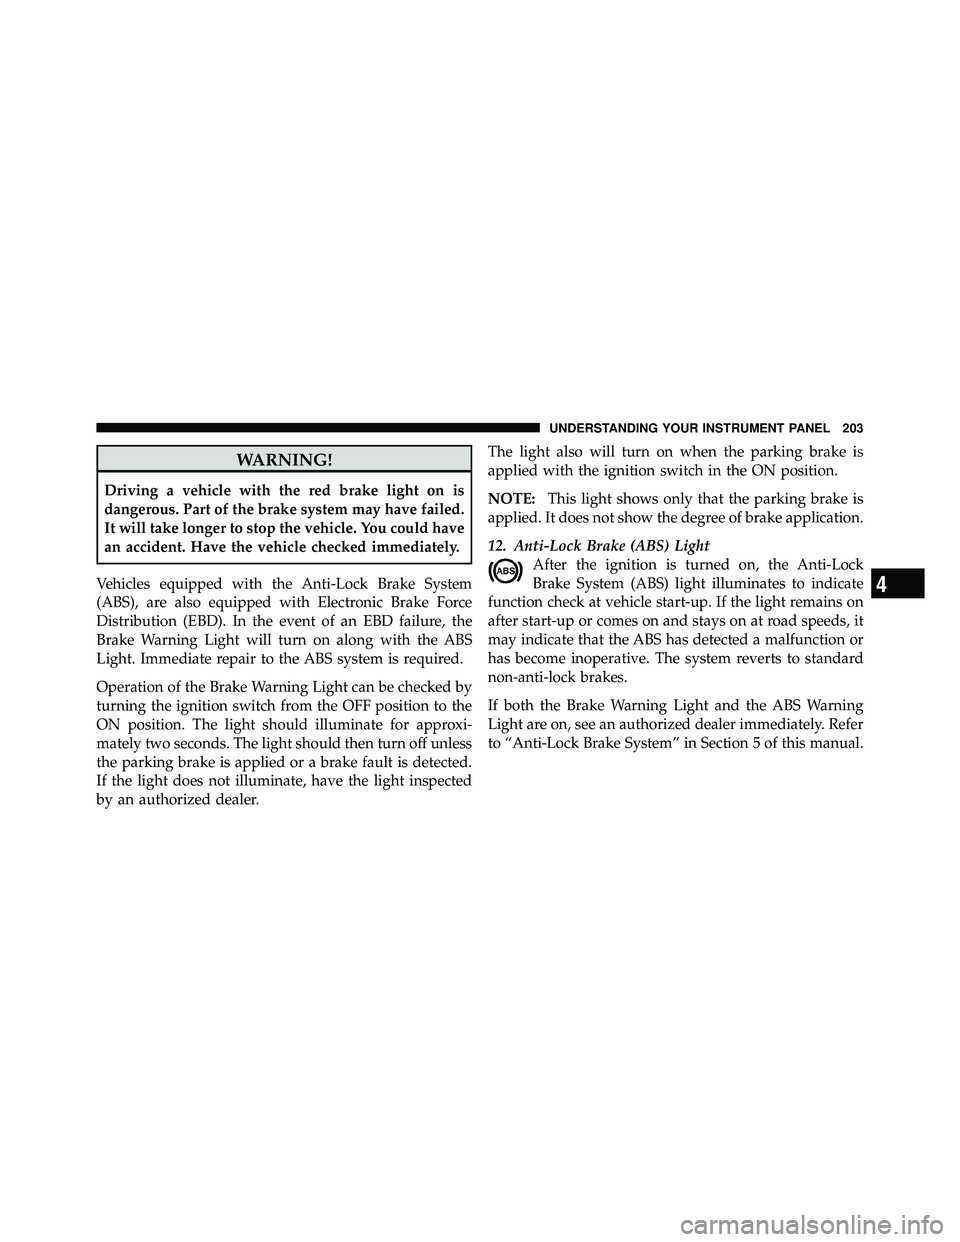
11. Brake Warning LightThis light monitors various brake functions,
including brake fluid level and parking brake
application. If the brake light turns on, it may
indicate that the parking brake is applied, that
the brake fluid level is low, or that there is a problem with
the anti-lock brake system reservoir.
If the light remains on when the parking brake has been
disengaged, and the fluid level is at the full mark on the
master cylinder reservoir, it indicates a possible brake
hydraulic system malfunction or that a problem with the
Brake Booster has been detected by the Anti-Lock Brake
System (ABS) / Electronic Stability Program (ESP) sys-
tem. In this case, the light will remain on until the
condition has been corrected. If the problem is related to
the brake booster, the ABS pump will run when applying
the brake and a brake pedal pulsation may be felt during
each stop. The dual brake system provides a reserve braking capac-
ity in the event of a failure to a portion of the hydraulic
system. A leak in either half of the dual brake system is
indicated by the Brake Warning Light, which will turn on
when the brake fluid level in the master cylinder has
dropped below a specified level.
The light will remain on until the cause is corrected.
NOTE:
The light may flash momentarily during sharp
cornering maneuvers, which change fluid level condi-
tions. The vehicle should have service performed, and
the brake fluid level checked.
If brake failure is indicated, immediate repair is neces-
sary.
Page 205 of 502
4
UNDERSTANDING YOUR INSTRUMENT PANEL 203
Page 206 of 502
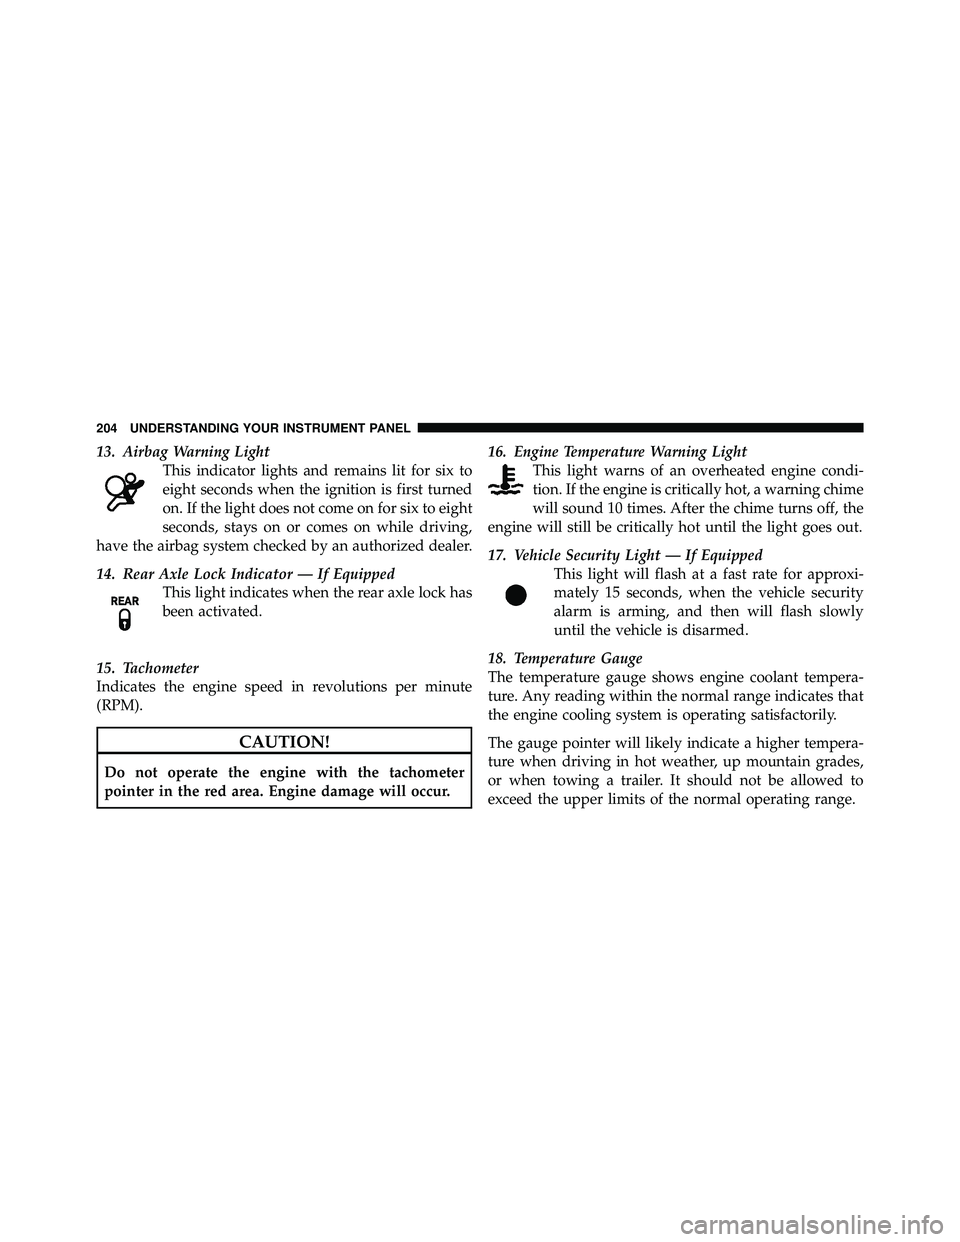
13. Airbag Warning LightThis indicator lights and remains lit for six to
eight seconds when the ignition is first turned
on. If the light does not come on for six to eight
seconds, stays on or comes on while driving,
have the airbag system checked by an authorized dealer.
14. Rear Axle Lock Indicator — If Equipped This light indicates when the rear axle lock has
been activated.
15. Tachometer
Indicates the engine speed in revolutions per minute
(RPM).
Page 207 of 502
4
UNDERSTANDING YOUR INSTRUMENT PANEL 205
Page 208 of 502
21. Odometer / Trip Odometer Reset Button
Press this button to change the display from odometer to
either of the two trip odometer settings. Trip A or Trip B
will appear when in the trip odometer mode. Press and
hold the button for two seconds to reset the trip odometer
to 0 miles or kilometers. The odometer must be in trip
mode to reset.
22. Shift Lever Indicator
The Shift Lever Indicator is self-contained within the
instrument cluster. It displays the gear position of the
automatic transmission.
23. Tire Pressure Monitoring Telltale LightEach tire, including the spare (if provided),
should be checked monthly, when cold and
inflated to the inflation pressure recommended
by the vehicle manufacturer on the vehicle placard or tire
inflation pressure label. (If your vehicle has tires of a
different size than the size indicated on the vehicle placard or tire inflation pressure label, you should deter-
mine the proper tire inflation pressure for those tires.)
As an added safety feature, your vehicle has been
equipped with a Tire Pressure Monitoring System
(TPMS) that illuminates a low tire pressure telltale when
one or more of your tires is significantly under-inflated.
Accordingly, when the low tire pressure telltale illumi-
nates, you should stop and check your tires as soon as
possible, and inflate them to the proper pressure. Driving
on a significantly under-inflated tire causes the tire to
overheat and can lead to tire failure. Under-inflation also
reduces fuel efficiency and tire tread life, and may affect
the vehicle’s handling and stopping ability.
Please note that the TPMS is not a substitute for proper
tire maintenance, and it is the driver ’s responsibility to
maintain correct tire pressure, even if under-inflation has
not reached the level to trigger illumination of the TPMS
low tire pressure telltale.
Page 209 of 502
Page 210 of 502
U.S. Federal regulations require that upon transfer of
vehicle ownership, the seller certify to the purchaser the
correct mileage that the vehicle has been driven. If your
odometer needs to be repaired or serviced, the repair
technician should leave the odometer reading the same
as it was before the repair or service. If s/he cannot do so,
then the odometer must be set at zero, and a sticker must
be placed in the door jamb stating what the mileage was
before the repair or service. It is a good idea for you to
make a record of the odometer reading before the repair/
service, so that you can be sure that it is properly reset, or
that the door jamb sticker is accurate if the odometer
must be reset at zero.Vehicle Odometer Messages
When the appropriate conditions exist, the following
odometer messages will display:
door
............................. Door Ajar
gATE ........................... Liftgate Ajar
LoW tirE ..................... LowTirePr essure
gASCAP ....................... Fuel Cap Fault
noFUSE .......................... Fuse Fault
CHAngE OIL ............... Oil Change Required
ESPOFF ...................... ESP Deactivated
LoW tirE
When the appropriate condition exists, the odometer
display will toggle between LoW and tirE for three
cycles.
208 UNDERSTANDING YOUR INSTRUMENT PANEL
Trending: CD player, door lock, clock setting, radio, jump start, audio, heater
