JEEP WRANGLER 2009 Owners Manual
WRANGLER 2009
JEEP
JEEP
https://www.carmanualsonline.info/img/16/56060/w960_56060-0.png
JEEP WRANGLER 2009 Owners Manual
Trending: service interval, manual transmission, radiator, fuel filter, service reset, interior lights, automatic transmission fluid
Page 261 of 502
Page 262 of 502
•Dense tree coverage may interrupt reception in the
form of short audio mutes.
•Driving under wide bridges or along tall buildings can
cause intermittent reception.
•Placing objects over or too close to the antenna can
cause signal blockage.
Operating Instructions — uconnect�studios
(Satellite) Mode
NOTE: The ignition switch must be in the ON or ACC
position to operate the radio.
SEEK Buttons
Press and release the SEEK buttons to search for the next
channel in Satellite mode. Press the right switch to seek
up and the left switch to seek down. The radio will
remain tuned to the new channel until you make another
selection. Holding either button will bypass channels
without stopping until you release it.
SCAN Button (When Equipped)
Pressing the SCAN button causes the tuner to search for
the next channel, pausing for eight seconds before con-
tinuing to the next. To stop the search, press the SCAN
button a second time.
INFO Button — Except REU Radio
Pressing the INFO button will cycle the display informa-
tion between Artist, Song Title, and Composer (if avail-
able). Also, pressing and holding the INFO button for an
additional three seconds will make the radio display the
song title all of the time (press and hold again to return to
normal display).
INFO Button — REU Radio
Pressing the INFO button will display information about
Artist, Song Title, and Composer (if available). Pressing
the INFO button again will close the INFO screen.
260 UNDERSTANDING YOUR INSTRUMENT PANEL
Page 263 of 502
Page 264 of 502
SETUP Button
Pressing the SETUP button allows you to select the
following items:
•Display Sirius ID number — Press the AUDIO/
SELECT button to display the Sirius ID number. This
number is used to activate, deactivate, or change the
Sirius subscription.
SET Button – To Set the Pushbutton Memory
When you are receiving a channel that you wish to
commit to pushbutton memory, press the SET button.
The symbol SET 1 will now show in the display window.
Select the button (1-6) you wish to lock onto this channel
and press and release that button. If a button is not
selected within five seconds after pressing the SET but-
ton, the channel will continue to play but will not be
stored into pushbutton memory.You may add a second channel to each pushbutton by
repeating the above procedure with this exception: Press
the SET button twice and SET 2 will show in the display
window. Each button can be set for SET 1 and SET 2. This
allows a total of 12 Satellite channels to be stored into
pushbutton memory. The channels stored in SET 2
memory can be selected by pressing the pushbutton
twice.
Every time a preset button is used, a corresponding
button number will display.
Buttons 1 - 6
These buttons tune the radio to the channels that you
commit to pushbutton memory (12 Satellite stations).
Operating Instructions — uconnect�
phone (If
Equipped)
Refer to “uconnect� phone” in Section 3.
262 UNDERSTANDING YOUR INSTRUMENT PANEL
Page 265 of 502
Page 266 of 502
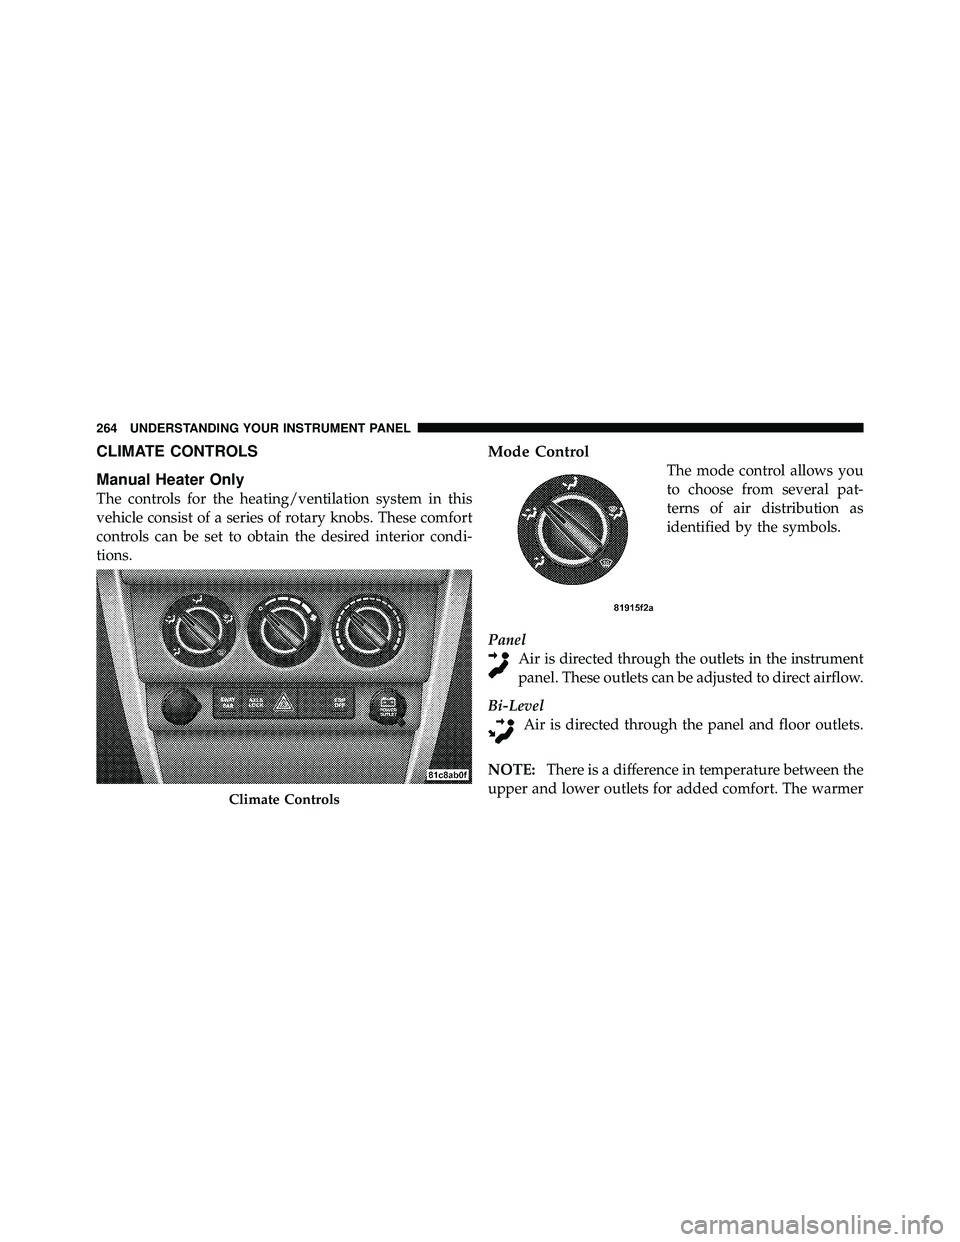
CLIMATE CONTROLS
Manual Heater Only
The controls for the heating/ventilation system in this
vehicle consist of a series of rotary knobs. These comfort
controls can be set to obtain the desired interior condi-
tions.
Mode Control
The mode control allows you
to choose from several pat-
terns of air distribution as
identified by the symbols.
Panel Air is directed through the outlets in the instrument
panel. These outlets can be adjusted to direct airflow.
Bi-Level Air is directed through the panel and floor outlets.
NOTE: There is a difference in temperature between the
upper and lower outlets for added comfort. The warmer
Page 267 of 502
4
UNDERSTANDING YOUR INSTRUMENT PANEL 265
Page 268 of 502
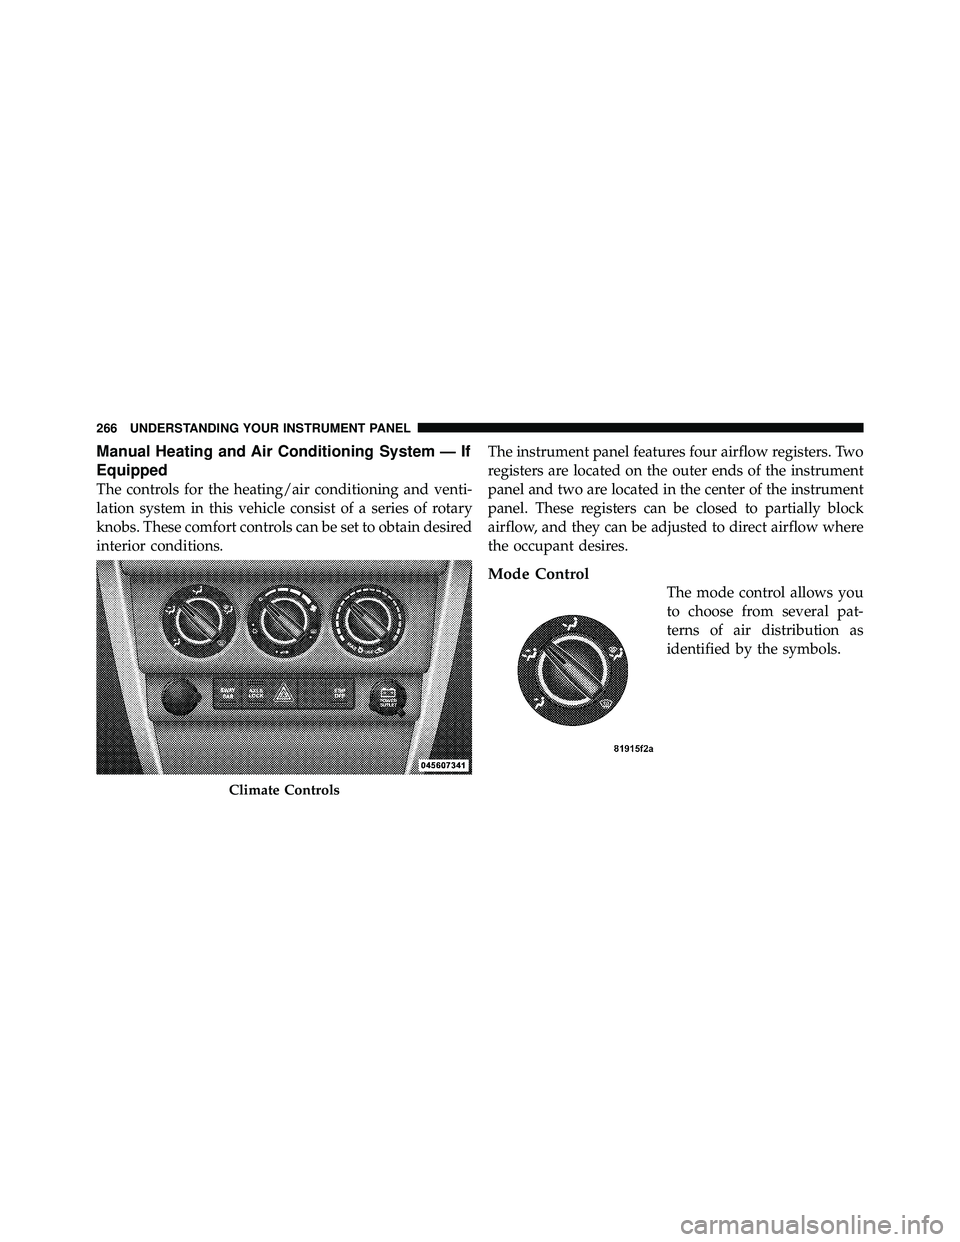
Manual Heating and Air Conditioning System — If
Equipped
The controls for the heating/air conditioning and venti-
lation system in this vehicle consist of a series of rotary
knobs. These comfort controls can be set to obtain desired
interior conditions.The instrument panel features four airflow registers. Two
registers are located on the outer ends of the instrument
panel and two are located in the center of the instrument
panel. These registers can be closed to partially block
airflow, and they can be adjusted to direct airflow where
the occupant desires.
Mode Control
The mode control allows you
to choose from several pat-
terns of air distribution as
identified by the symbols.
Page 269 of 502
4
UNDERSTANDING YOUR INSTRUMENT PANEL 267
Page 270 of 502
Blower Control
Use this control to regulate the
amount of air forced through the
system in any mode you select.
The fan speed increases as you
move the control to the right from
the OFF position.
Temperature Control
Use this control to regulate the
temperature of the air inside the
passenger compartment. The blue
area of the scale indicates cooler
temperatures while the red area
indicates warmer temperatures.NOTE:
If your air conditioning performance seems
lower than expected, check the front of the A/C con-
denser: located in front of the radiator, for an accumula-
tion of dirt or insects. Clean with a gentle water spray
from behind the radiator and through the condenser.
Fabric front fascia protectors may reduce air flow to the
condenser, reducing air conditioning performance.
Recirculation Control
Press this button to choose be-
tween outside air intake or recir-
culation of the air inside the ve-
hicle. A light will illuminate when
you are in “Recirculation” mode.
Only use the “Recirculation”
mode to temporarily block out
any outside odors, smoke, or dust
and to cool the interior rapidly
upon initial start up in very hot or humid weather.
Trending: service reset, engine oil capacity, AUX, trailer, differential, jacking, turn signal bulb
