warning JEEP WRANGLER 2009 Owner's Manual
[x] Cancel search | Manufacturer: JEEP, Model Year: 2009, Model line: WRANGLER, Model: JEEP WRANGLER 2009Pages: 502, PDF Size: 13.82 MB
Page 358 of 502
vehicle in place of the spare tire, the TPMS will update
automatically and the “Tire Pressure Monitoring Tell-
tale Light” will turn OFF, as long as no tire pressure is
below the low-pressure warning limit in any of the
four active road tires. The vehicle may need to be
driven for up to 20 minutes above 15 mph (25 km/h)
in order for the TPMS to receive this information.
General Information
This device complies with part 15 of the FCC rules and
RSS 210 of Industry Canada. Operation is subject to the
following conditions:
•This device may not cause harmful interference.
•This device must accept any interference received,
including interference that may cause undesired
operation.The tire pressure sensors are covered under one of the
following licenses:
United States
..................... KR5S120123
Canada ........................ 2671-S120123
FUEL REQUIREMENTS
All engines are designed to meet all emis-
sions regulations and provide excellent
fuel economy and performance when us-
ing high quality unleaded “regular” gaso-
line having an octane rating of 87. The use
of premium gasoline is not recommended,
as it will not provide any benefit over regular gasoline in
these engines.
Light spark knock at low engine speeds is not harmful to
your engine. However, continued heavy spark knock at
high speeds can cause damage, and immediate service is
required.
Page 362 of 502
CAUTION! (Continued)
•The use of fuel additives which are now being
sold as octane enhancers is not recommended.
Most of these products contain high concentra-
tions of methanol. Fuel system damage or vehicle
performance problems resulting from the use of
such fuels or additives is not the responsibility of
the manufacturer.
NOTE: Intentional tampering with emissions control
systems can result in civil penalties being assessed
against you.
Carbon Monoxide Warnings
Page 370 of 502
WARNING!
•An improperly adjusted weight-distributing hitch
system may reduce handling, stability, braking
performance, and could result in an accident.
•Weight-Distributing Hitch Systems may not be
compatible with Surge Brake Couplers. Consult
with your hitch and trailer manufacturer or a
reputable Recreational Vehicle dealer for addi-
tional information.
Trailer Hitch Classification
The following chart provides the industry standard for
the maximum trailer weight a given trailer hitch class can
tow and should be used to assist you in selecting the
correct trailer hitch for your intended towing condition.
Refer to the Trailer Towing Weights (Maximum Trailer
Weight Ratings) chart for the Max. GTW towable for your
given drivetrain.
Page 380 of 502
WARNING! (Continued)
4. Tongue weight rating for the trailer hitch utilized
(This requirement may limit the ability to always
achieve the 10% to 15% range of tongue weight as a
percentage of total trailer weight).
Towing Requirements — Tires
�
Do not attempt to tow a trailer while using a compact
spare tire.
�Proper tire inflation pressures are essential to the safe
and satisfactory operation of your vehicle. Refer to
“Tires–General Information” in this section for proper
tire inflation procedures.
�Check the trailer tires for proper tire inflation pres-
sures before trailer usage.
�Check for signs of tire wear or visible tire damage
before towing a trailer. Refer to “Tires–General Infor-
mation” in this section for the proper inspection pro-
cedure.
�When replacing tires, refer to “Tires–General Informa-
tion” in this section for proper tire replacement proce-
dures. Replacing tires with a higher load carrying
capacity will not increase the vehicle’s GVWR and
GAWR limits.
Towing Requirements — Trailer Brakes
�
Do not interconnect the hydraulic brake system or
vacuum system of your vehicle with that of the trailer.
This could cause inadequate braking and possible
personal injury.
378 STARTING AND OPERATING
Page 390 of 502
HAZARD WARNING FLASHER
The Hazard Warning flasher switch is located on the
lower switch bank below the climate controls.Press the switch to turn on the Hazard Warning
flasher. When the switch is activated, all directional
turn signals will flash on and off to warn oncoming
traffic of an emergency. Press the switch a second time to
turn off the Hazard Warning flasher.
This is an emergency warning system and should not be
used when the vehicle is in motion. Use it when your
vehicle is disabled and is creating a safety hazard for
other motorists.
If it is necessary to leave the vehicle to go for service, the
Hazard Warning flasher will continue to operate with the
ignition key removed and the vehicle locked.
NOTE: With extended use, the Hazard Warning flasher
may wear down your battery.
IF YOUR ENGINE OVERHEATS
In any of the following situations, you can reduce the
potential for overheating by taking the appropriate ac-
tion.
•On the highways — slow down.
•In city traffic — while stopped, shift transmission into
NEUTRAL, but do not increase engine idle speed.
Page 393 of 502
2. Set the parking brake.
3. Shift the automatic transmission into PARK, or a
manual transmission into REVERSE.
4. Turn the ignition to LOCK.
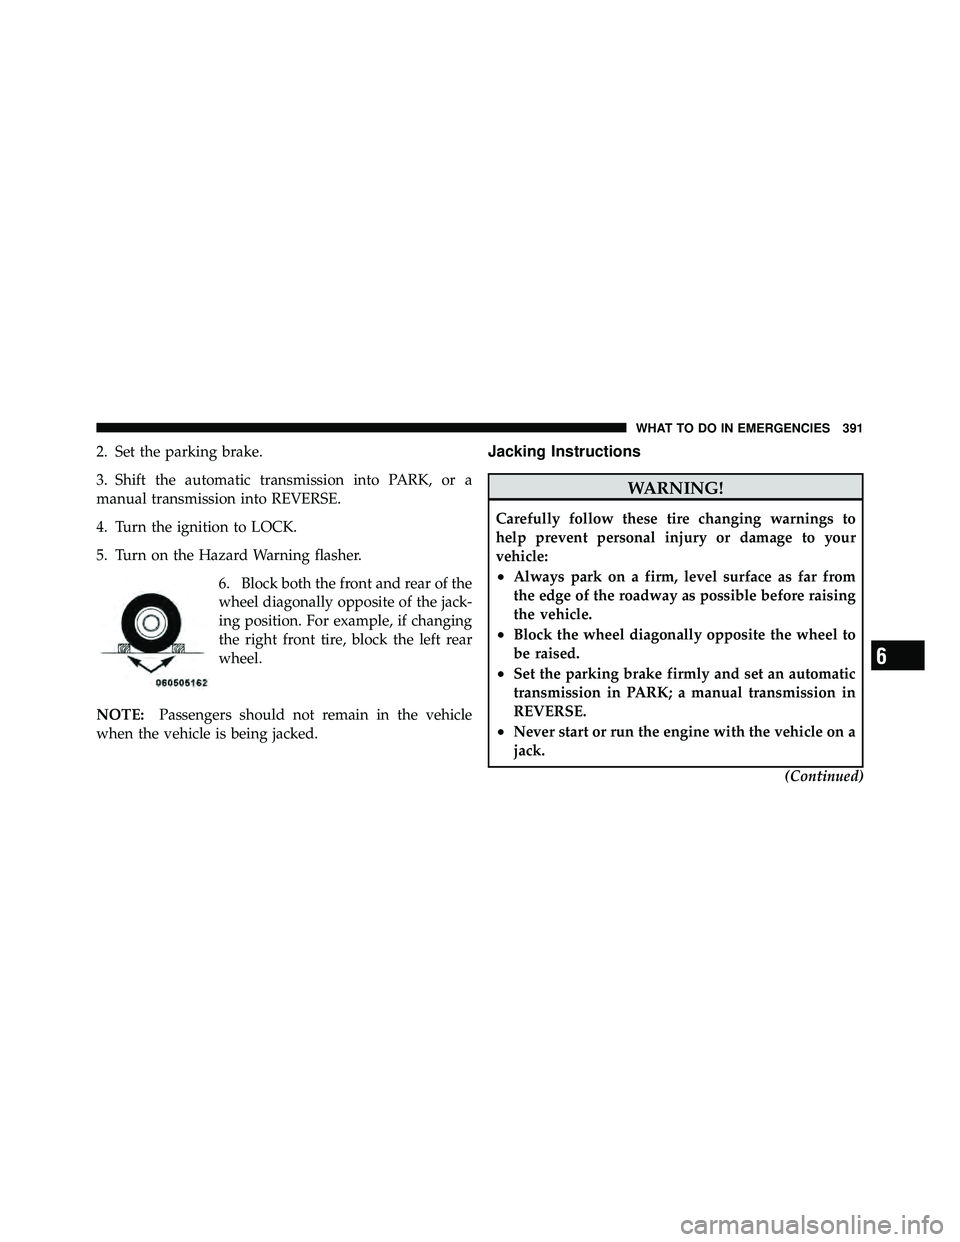
5. Turn on the Hazard Warning flasher.6. Block both the front and rear of the
wheel diagonally opposite of the jack-
ing position. For example, if changing
the right front tire, block the left rear
wheel.
NOTE: Passengers should not remain in the vehicle
when the vehicle is being jacked.Jacking Instructions
6
WHAT TO DO IN EMERGENCIES 391
Page 394 of 502
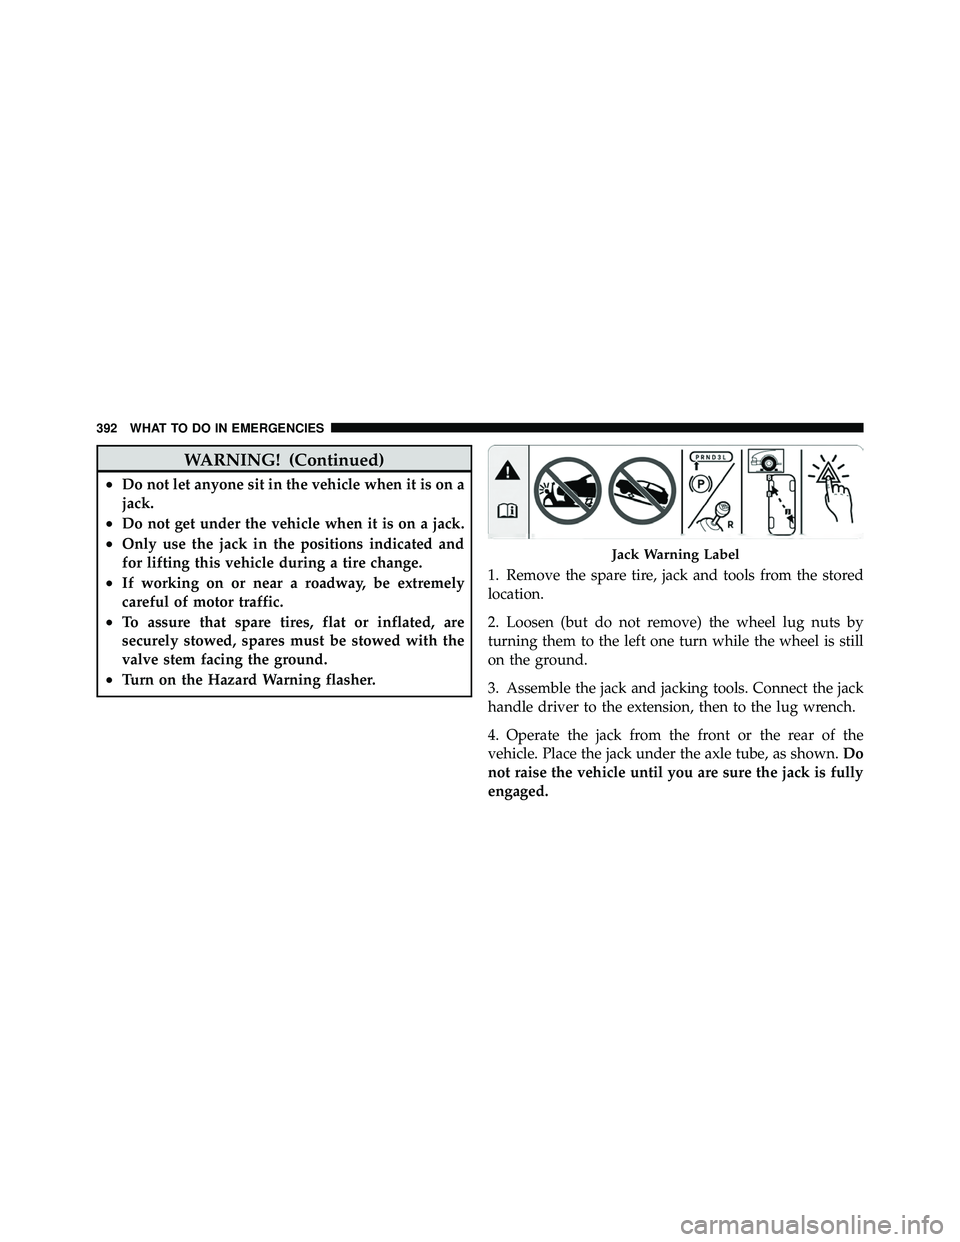
WARNING! (Continued)
•Do not let anyone sit in the vehicle when it is on a
jack.
•Do not get under the vehicle when it is on a jack.
•Only use the jack in the positions indicated and
for lifting this vehicle during a tire change.
•If working on or near a roadway, be extremely
careful of motor traffic.
•To assure that spare tires, flat or inflated, are
securely stowed, spares must be stowed with the
valve stem facing the ground.
•Turn on the Hazard Warning flasher.1. Remove the spare tire, jack and tools from the stored
location.
2. Loosen (but do not remove) the wheel lug nuts by
turning them to the left one turn while the wheel is still
on the ground.
3. Assemble the jack and jacking tools. Connect the jack
handle driver to the extension, then to the lug wrench.
4. Operate the jack from the front or the rear of the
vehicle. Place the jack under the axle tube, as shown.
Do
not raise the vehicle until you are sure the jack is fully
engaged.
Page 398 of 502
WARNING!
Any procedure other than above could result in:
•Personal injury caused by electrolyte squirting out
the battery vent.
•Personal injury or property damage due to battery
explosion.
•Damage to the charging system of the booster
vehicle or of the immobilized vehicle.
•You should not try to start your vehicle by pushing
or towing.
•Do not connect the cable to the negative post of the
discharge battery. The resulting electrical spark
could cause the battery to explode.(Continued)
Page 399 of 502
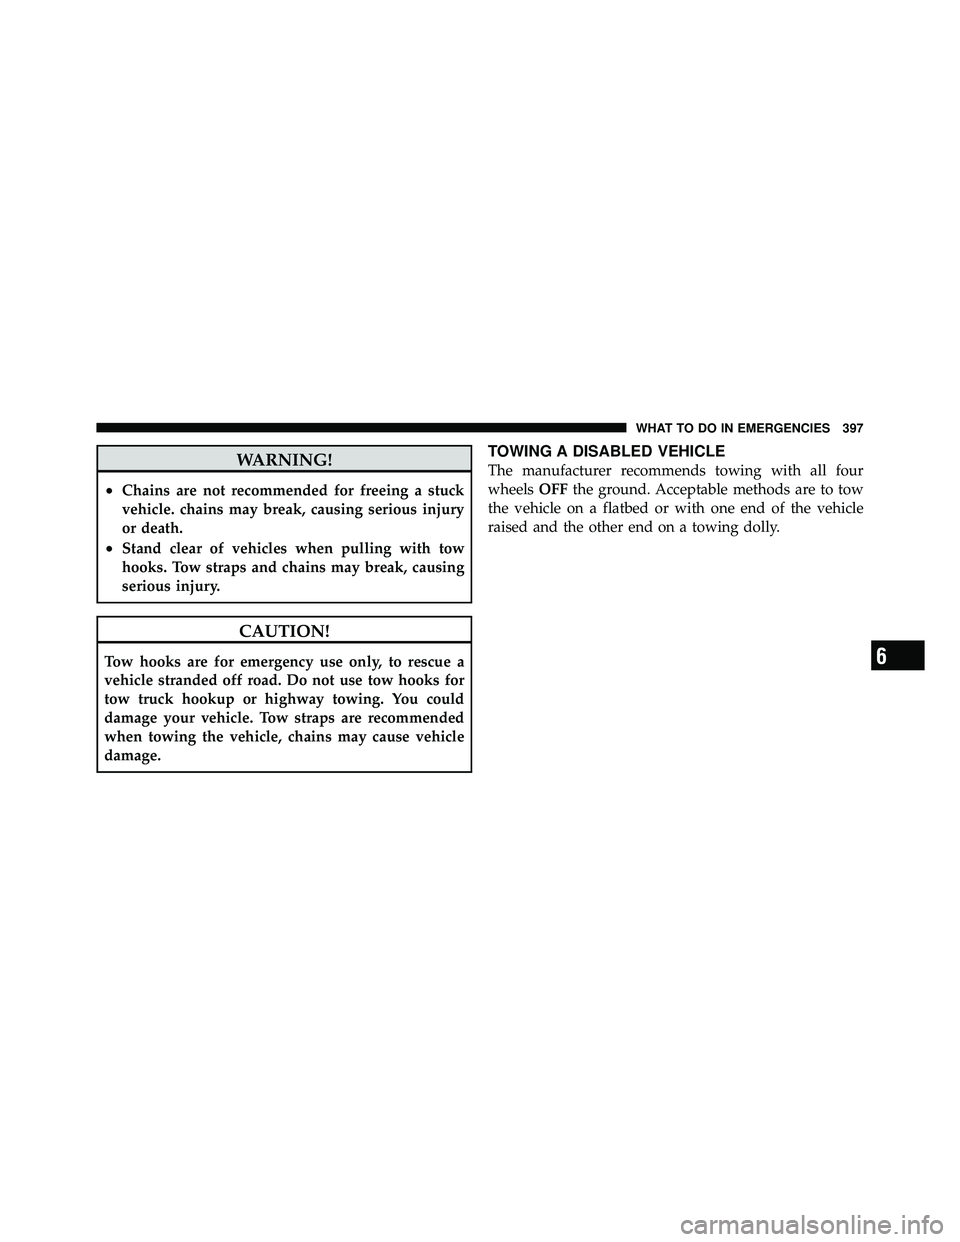
WARNING!
•Chains are not recommended for freeing a stuck
vehicle. chains may break, causing serious injury
or death.
•Stand clear of vehicles when pulling with tow
hooks. Tow straps and chains may break, causing
serious injury.
Page 484 of 502
ABS (Anti-Lock Brake System)............203,316
Adding Fuel ........................... 361
Air Cleaner, Engine (Engine Air Cleaner Filter) . . . 409
Air Conditioner Maintenance ............... 410
Air Conditioning ..................... 266,269
Air Conditioning Controls ................. 269
Air Conditioning, Operating Tips ............ 270
Air Conditioning Refrigerant ................ 411
Air Conditioning System .................. 269
Air Filter .............................. 409
Air Pressure, Tires ....................... 343
Airbag ................................ 48
Airbag Deployment ....................... 56
Airbag Light ....................... 58,76,204
Airbag Maintenance ....................... 58
Airbag, Side ............................ 55
Alarm Light ........................... 204
Alarm (Security Alarm) .................... 17
Alterations/Modifications, Vehicle ............. 8Antenna, Satellite Radio
................... 259
Antifreeze (Engine Coolant) ................ 447
Anti-Lock Brake System (ABS) ............316,319
Anti-Lock Warning Light .................. 203
Appearance Care ........................ 428
Arming Theft System (Security Alarm) ......... 18
Auto Down Power Windows ................ 36
Automatic Transmission ................... 423
Fluid and Filter Changes ................. 423
Fluid Level Check ..................... 424
Fluid Type ........................... 423
Gear Ranges ......................... 288
Shifting ............................. 287
Special Additives ...................... 425
Torque Converter ...................... 291
Auxiliary Electrical Outlet (Power Outlet) ...... 106
Auxiliary Power Outlet ................... 106
Axle Lock .......................... 296,297
482 INDEX