air condition JEEP WRANGLER 2009 Owners Manual
[x] Cancel search | Manufacturer: JEEP, Model Year: 2009, Model line: WRANGLER, Model: JEEP WRANGLER 2009Pages: 502, PDF Size: 13.82 MB
Page 204 of 502
11. Brake Warning LightThis light monitors various brake functions,
including brake fluid level and parking brake
application. If the brake light turns on, it may
indicate that the parking brake is applied, that
the brake fluid level is low, or that there is a problem with
the anti-lock brake system reservoir.
If the light remains on when the parking brake has been
disengaged, and the fluid level is at the full mark on the
master cylinder reservoir, it indicates a possible brake
hydraulic system malfunction or that a problem with the
Brake Booster has been detected by the Anti-Lock Brake
System (ABS) / Electronic Stability Program (ESP) sys-
tem. In this case, the light will remain on until the
condition has been corrected. If the problem is related to
the brake booster, the ABS pump will run when applying
the brake and a brake pedal pulsation may be felt during
each stop. The dual brake system provides a reserve braking capac-
ity in the event of a failure to a portion of the hydraulic
system. A leak in either half of the dual brake system is
indicated by the Brake Warning Light, which will turn on
when the brake fluid level in the master cylinder has
dropped below a specified level.
The light will remain on until the cause is corrected.
NOTE:
The light may flash momentarily during sharp
cornering maneuvers, which change fluid level condi-
tions. The vehicle should have service performed, and
the brake fluid level checked.
If brake failure is indicated, immediate repair is neces-
sary.
Page 210 of 502
U.S. Federal regulations require that upon transfer of
vehicle ownership, the seller certify to the purchaser the
correct mileage that the vehicle has been driven. If your
odometer needs to be repaired or serviced, the repair
technician should leave the odometer reading the same
as it was before the repair or service. If s/he cannot do so,
then the odometer must be set at zero, and a sticker must
be placed in the door jamb stating what the mileage was
before the repair or service. It is a good idea for you to
make a record of the odometer reading before the repair/
service, so that you can be sure that it is properly reset, or
that the door jamb sticker is accurate if the odometer
must be reset at zero.Vehicle Odometer Messages
When the appropriate conditions exist, the following
odometer messages will display:
door
............................. Door Ajar
gATE ........................... Liftgate Ajar
LoW tirE ..................... LowTirePr essure
gASCAP ....................... Fuel Cap Fault
noFUSE .......................... Fuse Fault
CHAngE OIL ............... Oil Change Required
ESPOFF ...................... ESP Deactivated
LoW tirE
When the appropriate condition exists, the odometer
display will toggle between LoW and tirE for three
cycles.
208 UNDERSTANDING YOUR INSTRUMENT PANEL
Page 268 of 502
Manual Heating and Air Conditioning System — If
Equipped
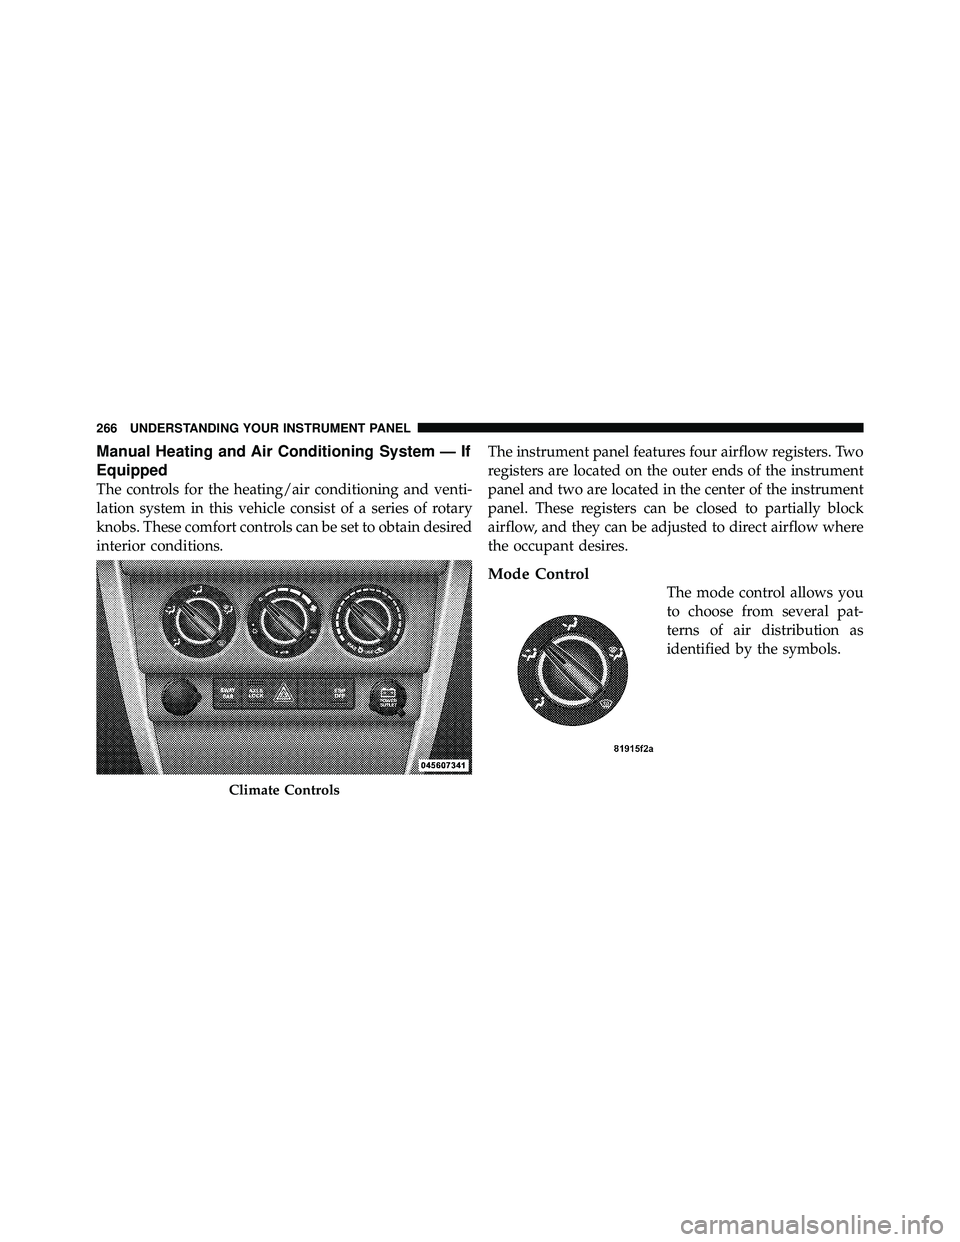
The controls for the heating/air conditioning and venti-
lation system in this vehicle consist of a series of rotary
knobs. These comfort controls can be set to obtain desired
interior conditions.The instrument panel features four airflow registers. Two
registers are located on the outer ends of the instrument
panel and two are located in the center of the instrument
panel. These registers can be closed to partially block
airflow, and they can be adjusted to direct airflow where
the occupant desires.
Mode Control
The mode control allows you
to choose from several pat-
terns of air distribution as
identified by the symbols.
Page 270 of 502
Blower Control
Use this control to regulate the
amount of air forced through the
system in any mode you select.
The fan speed increases as you
move the control to the right from
the OFF position.
Temperature Control
Use this control to regulate the
temperature of the air inside the
passenger compartment. The blue
area of the scale indicates cooler
temperatures while the red area
indicates warmer temperatures.NOTE:
If your air conditioning performance seems
lower than expected, check the front of the A/C con-
denser: located in front of the radiator, for an accumula-
tion of dirt or insects. Clean with a gentle water spray
from behind the radiator and through the condenser.
Fabric front fascia protectors may reduce air flow to the
condenser, reducing air conditioning performance.
Recirculation Control
Press this button to choose be-
tween outside air intake or recir-
culation of the air inside the ve-
hicle. A light will illuminate when
you are in “Recirculation” mode.
Only use the “Recirculation”
mode to temporarily block out
any outside odors, smoke, or dust
and to cool the interior rapidly
upon initial start up in very hot or humid weather.
Page 272 of 502
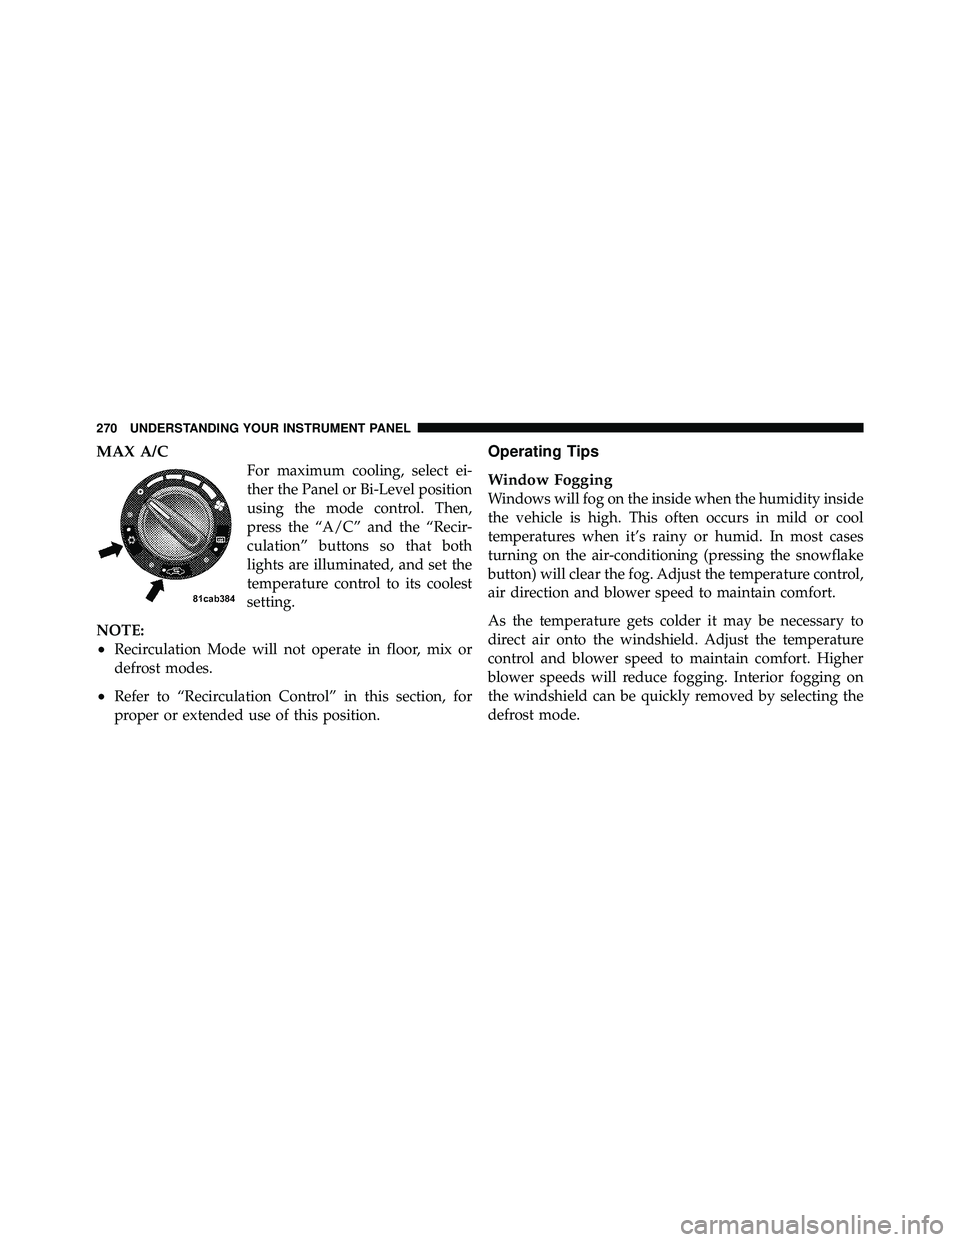
MAX A/C
For maximum cooling, select ei-
ther the Panel or Bi-Level position
using the mode control. Then,
press the “A/C” and the “Recir-
culation” buttons so that both
lights are illuminated, and set the
temperature control to its coolest
setting.
NOTE:
•Recirculation Mode will not operate in floor, mix or
defrost modes.
•Refer to “Recirculation Control” in this section, for
proper or extended use of this position.
Operating Tips
Window Fogging
Windows will fog on the inside when the humidity inside
the vehicle is high. This often occurs in mild or cool
temperatures when it’s rainy or humid. In most cases
turning on the air-conditioning (pressing the snowflake
button) will clear the fog. Adjust the temperature control,
air direction and blower speed to maintain comfort.
As the temperature gets colder it may be necessary to
direct air onto the windshield. Adjust the temperature
control and blower speed to maintain comfort. Higher
blower speeds will reduce fogging. Interior fogging on
the windshield can be quickly removed by selecting the
defrost mode.
Page 384 of 502
Electronic Speed Control — If Equipped
�
Do not use in hilly terrain or with heavy loads.
�When using the speed control, if you experience speed
drops greater than 10 mph (16 km/h), disengage until
you can get back to cruising speed.
�Use speed control in flat terrain and with light loads to
maximize fuel efficiency.
Cooling System
To reduce potential for engine and transmission over-
heating, take the following actions:
�Highway Driving
Reduce speed.
�Air Conditioning
Turn off temporarily.
RECREATIONAL TOWING (BEHIND
MOTORHOME, ETC.)
Page 391 of 502
NOTE:There are steps that you can take to slow down
an impending overheat condition:
•If your air conditioner (A/C) is on, turn it off. The A/C
system adds heat to the engine cooling system and
turning the A/C off can help remove this heat.
•You can also turn the temperature control to maximum
heat, the mode control to floor and the blower control
to high. This allows the heater core to act as a
supplement to the radiator and aids in removing heat
from the engine cooling system.
JACKING AND TIRE CHANGING
Page 412 of 502
CAUTION!
It is essential when replacing the cables on the
battery that the positive cable is attached to the
positive post and the negative cable is attached to the
negative post. Battery posts are marked (+) positive
and negative (-) and are identified on the battery
case. Also, if a “fast charger” is used while the battery
is in the vehicle, disconnect both vehicle battery
cables before connecting the charger to the battery.
Do not use a “fast charger” to provide starting
voltage.
Air Conditioner Maintenance
For best possible performance, your air conditioner
should be checked and serviced by an authorized dealer
at the start of each warm season. This service should
include cleaning of the condenser fins and a performance
test. Drive belt tension should also be checked at this
time.
Page 430 of 502
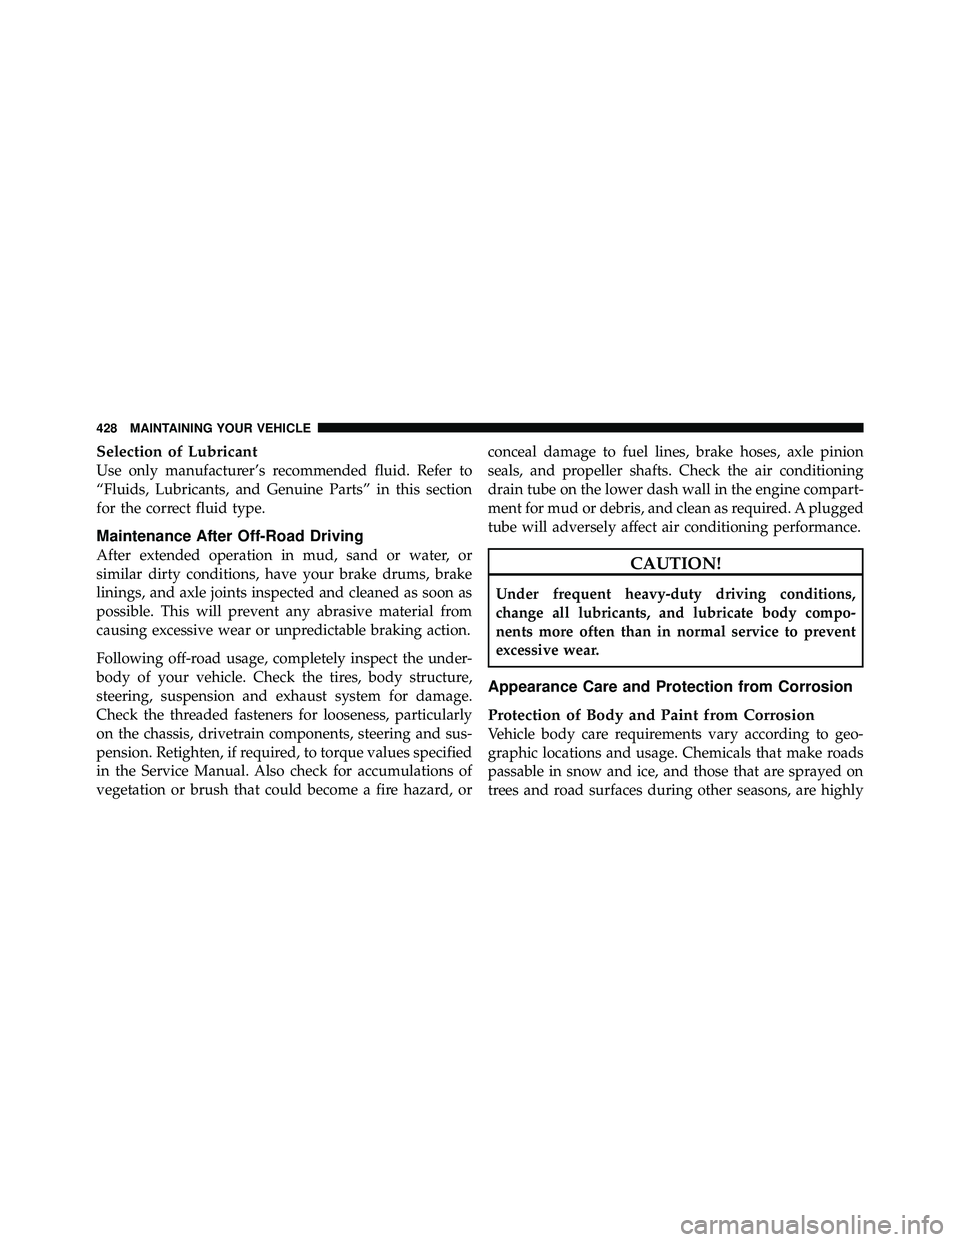
Selection of Lubricant
Use only manufacturer’s recommended fluid. Refer to
“Fluids, Lubricants, and Genuine Parts” in this section
for the correct fluid type.
Maintenance After Off-Road Driving
After extended operation in mud, sand or water, or
similar dirty conditions, have your brake drums, brake
linings, and axle joints inspected and cleaned as soon as
possible. This will prevent any abrasive material from
causing excessive wear or unpredictable braking action.
Following off-road usage, completely inspect the under-
body of your vehicle. Check the tires, body structure,
steering, suspension and exhaust system for damage.
Check the threaded fasteners for looseness, particularly
on the chassis, drivetrain components, steering and sus-
pension. Retighten, if required, to torque values specified
in the Service Manual. Also check for accumulations of
vegetation or brush that could become a fire hazard, orconceal damage to fuel lines, brake hoses, axle pinion
seals, and propeller shafts. Check the air conditioning
drain tube on the lower dash wall in the engine compart-
ment for mud or debris, and clean as required. A plugged
tube will adversely affect air conditioning performance.
Page 484 of 502
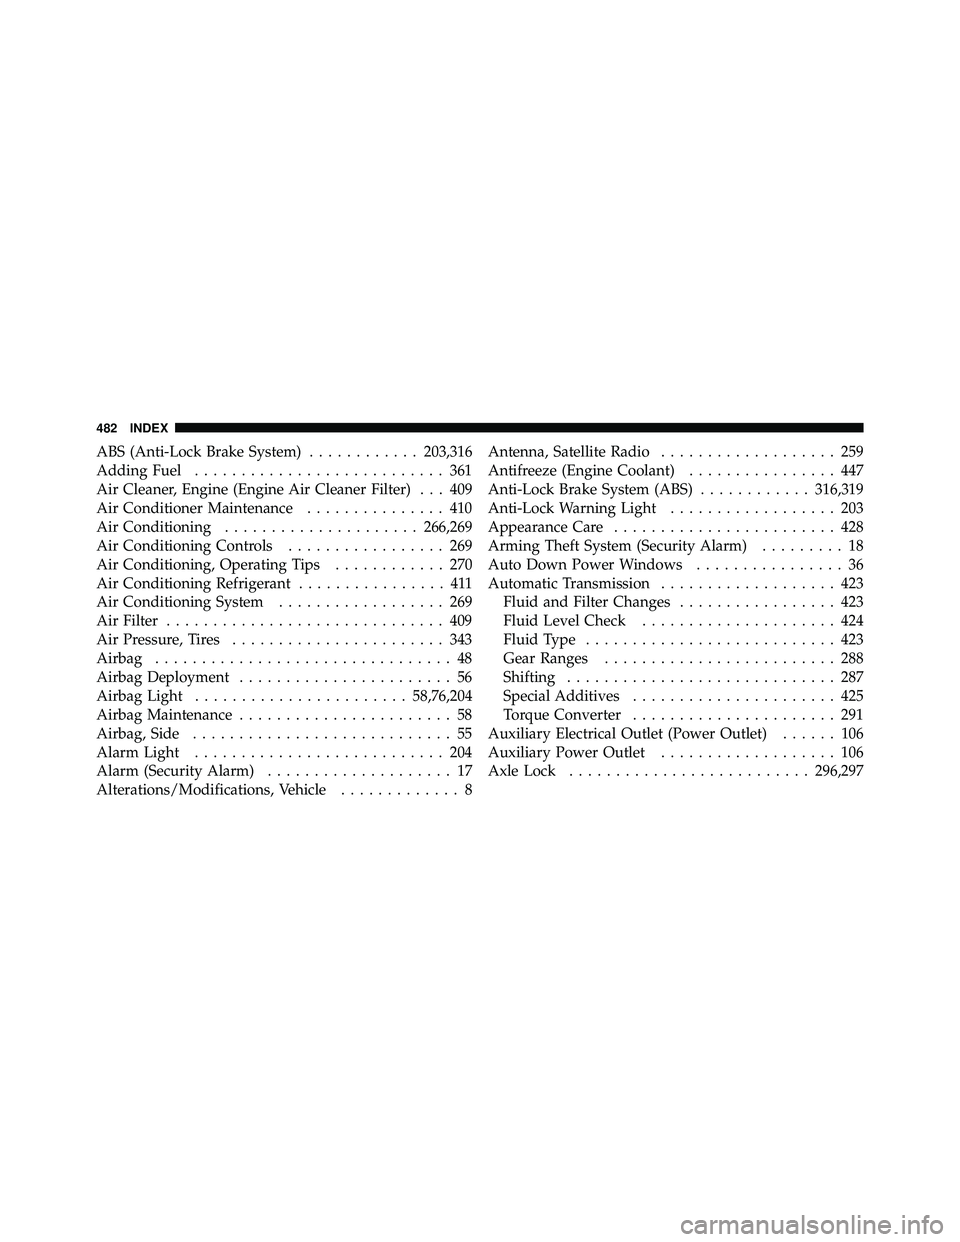
ABS (Anti-Lock Brake System)............203,316
Adding Fuel ........................... 361
Air Cleaner, Engine (Engine Air Cleaner Filter) . . . 409
Air Conditioner Maintenance ............... 410
Air Conditioning ..................... 266,269
Air Conditioning Controls ................. 269
Air Conditioning, Operating Tips ............ 270
Air Conditioning Refrigerant ................ 411
Air Conditioning System .................. 269
Air Filter .............................. 409
Air Pressure, Tires ....................... 343
Airbag ................................ 48
Airbag Deployment ....................... 56
Airbag Light ....................... 58,76,204
Airbag Maintenance ....................... 58
Airbag, Side ............................ 55
Alarm Light ........................... 204
Alarm (Security Alarm) .................... 17
Alterations/Modifications, Vehicle ............. 8Antenna, Satellite Radio
................... 259
Antifreeze (Engine Coolant) ................ 447
Anti-Lock Brake System (ABS) ............316,319
Anti-Lock Warning Light .................. 203
Appearance Care ........................ 428
Arming Theft System (Security Alarm) ......... 18
Auto Down Power Windows ................ 36
Automatic Transmission ................... 423
Fluid and Filter Changes ................. 423
Fluid Level Check ..................... 424
Fluid Type ........................... 423
Gear Ranges ......................... 288
Shifting ............................. 287
Special Additives ...................... 425
Torque Converter ...................... 291
Auxiliary Electrical Outlet (Power Outlet) ...... 106
Auxiliary Power Outlet ................... 106
Axle Lock .......................... 296,297
482 INDEX