transmission oil JEEP WRANGLER 2009 Owners Manual
[x] Cancel search | Manufacturer: JEEP, Model Year: 2009, Model line: WRANGLER, Model: JEEP WRANGLER 2009Pages: 502, PDF Size: 13.82 MB
Page 212 of 502
NOTE:If the indicator message illuminates when you
start the vehicle, the oil change indicator system did not
reset. If necessary repeat this procedure.
25. Malfunction Indicator Light (MIL) The Malfunction Indicator Light (MIL) is a part of
an Onboard Diagnostic System called OBD II that
monitors engine and automatic transmission con-
trol systems. The light will illuminate when the ignition
is in the ON position, before engine start. If the bulb does
not come on when turning the key from OFF to ON, have
the condition checked promptly.
Certain conditions such as a loose or missing gas cap,
poor quality fuel, etc. may illuminate the light after
engine start. The vehicle should be serviced if the light
stays on through several typical driving styles. In most
situations, the vehicle will drive normally and will not
require towing.
Page 292 of 502
If the transmission overheats, a “HOTOIL” message will
be displayed in the odometer and a chime will sound.
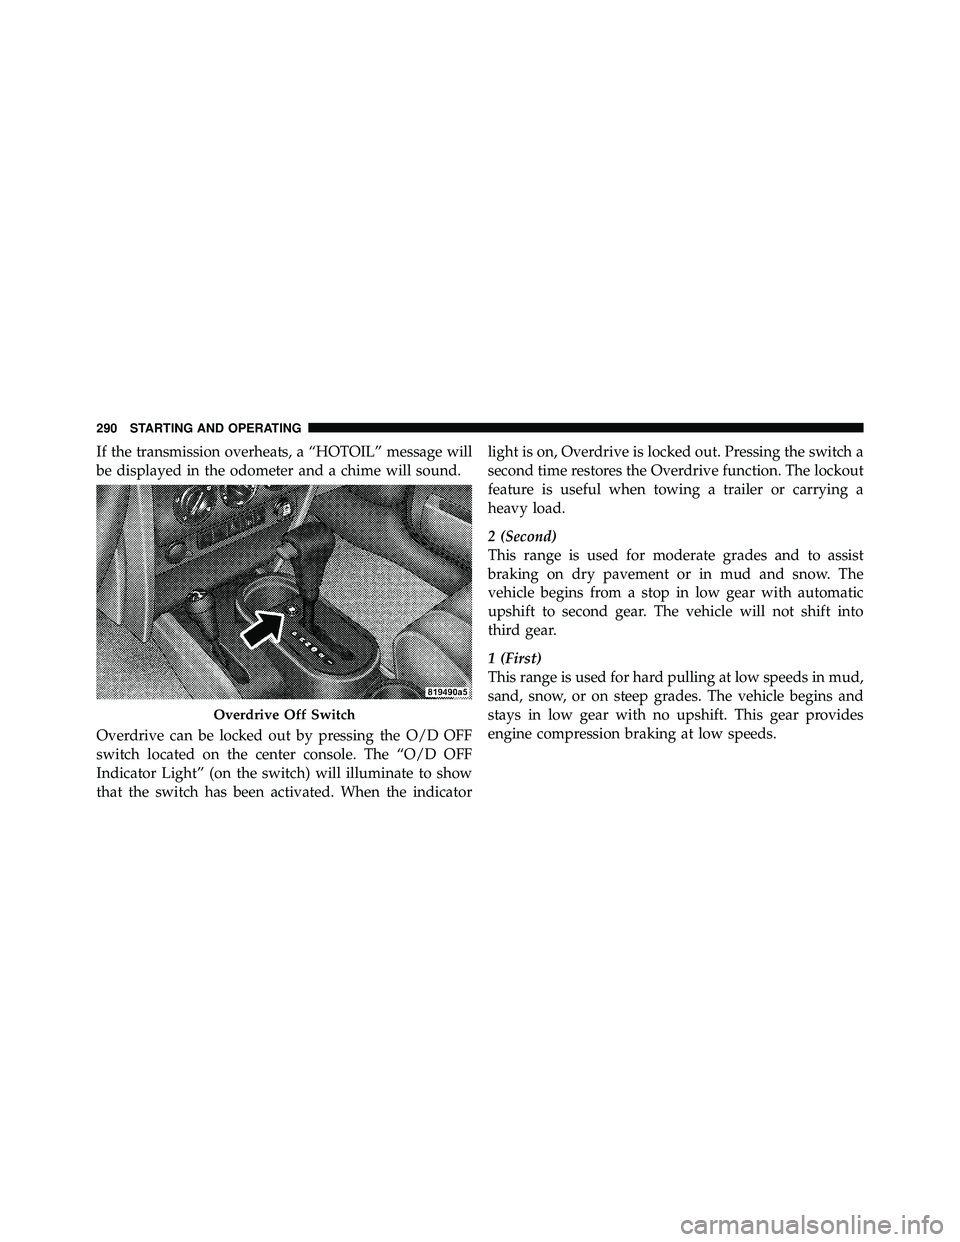
Overdrive can be locked out by pressing the O/D OFF
switch located on the center console. The “O/D OFF
Indicator Light” (on the switch) will illuminate to show
that the switch has been activated. When the indicatorlight is on, Overdrive is locked out. Pressing the switch a
second time restores the Overdrive function. The lockout
feature is useful when towing a trailer or carrying a
heavy load.
2 (Second)
This range is used for moderate grades and to assist
braking on dry pavement or in mud and snow. The
vehicle begins from a stop in low gear with automatic
upshift to second gear. The vehicle will not shift into
third gear.
1 (First)
This range is used for hard pulling at low speeds in mud,
sand, snow, or on steep grades. The vehicle begins and
stays in low gear with no upshift. This gear provides
engine compression braking at low speeds.
Page 408 of 502
CAUTION! (Continued)
•Your vehicle has been built with improved fluids
that protect the performance and durability of
your vehicle and also allow extended maintenance
intervals. Do not use chemical flushes in these
components as the chemicals can damage your
engine, transmission, power steering or air condi-
tioning. Such damage is not covered by the New
Vehicle Limited Warranty. If a flush is needed
because of component malfunction, use only the
specified fluid for the flushing procedure.
Engine Oil
Checking Oil Level
To assure proper lubrication of your vehicle’s engine, the
engine oil must be maintained at the correct level. The
best time to check the engine oil level is about five
minutes after a fully warmed up engine is shut off or
before starting the engine after it has sat overnight.
Checking the oil while the vehicle is on level ground will
improve the accuracy of the oil level readings. Always
maintain the oil level within the SAFE zone on the
dipstick. Adding 1 U.S. Quart (0.95L) of oil when the
reading is at the bottom of the SAFE zone will result in a
reading at the top of the safe zone on these engines.
Page 426 of 502
CAUTION!
Using a transmission fluid other than the manufac-
turer’s recommended fluid may cause deterioration
in transmission shift quality and/or torque converter
shudder. Using a transmission fluid other than the
manufacturer’s recommended fluid will result in
more frequent fluid and filter changes. Refer to
“Fluids, Lubricants, and Genuine Parts” in this sec-
tion for the correct fluid type.
Fluid Level Check — 42RLE
Check the fluid level while the transmission is at normal
operating temperature 180° F (82° C). This occurs after at
least 15 miles (25 km) of driving. At normal operating
temperature, the fluid cannot be held comfortably be-
tween the fingertips.
If the transmission overheats, a “HOTOIL” message will
be displayed in the odometer and a chime will sound.To properly check the automatic transmission fluid level,
the following procedure must be used:
1. Operate the engine at idle speed and normal operating
temperature.
2. The vehicle must be on level ground.
3. Fully apply the parking brake.
4. Place the shift lever momentarily into each gear posi-
tion ending with the shift lever in PARK.
5. Remove the dipstick, wipe it clean and reinsert it until
seated.
6. Remove the dipstick again and note the fluid level on
both sides. The fluid level should be between the HOT
(upper) reference holes on the dipstick at normal operat-
ing temperature. Verify that a solid coating of oil is seen
on both sides of the dipstick. If the fluid is low, add as
required into the dipstick tube.
Do not overfill.After
424 MAINTAINING YOUR VEHICLE
Page 488 of 502
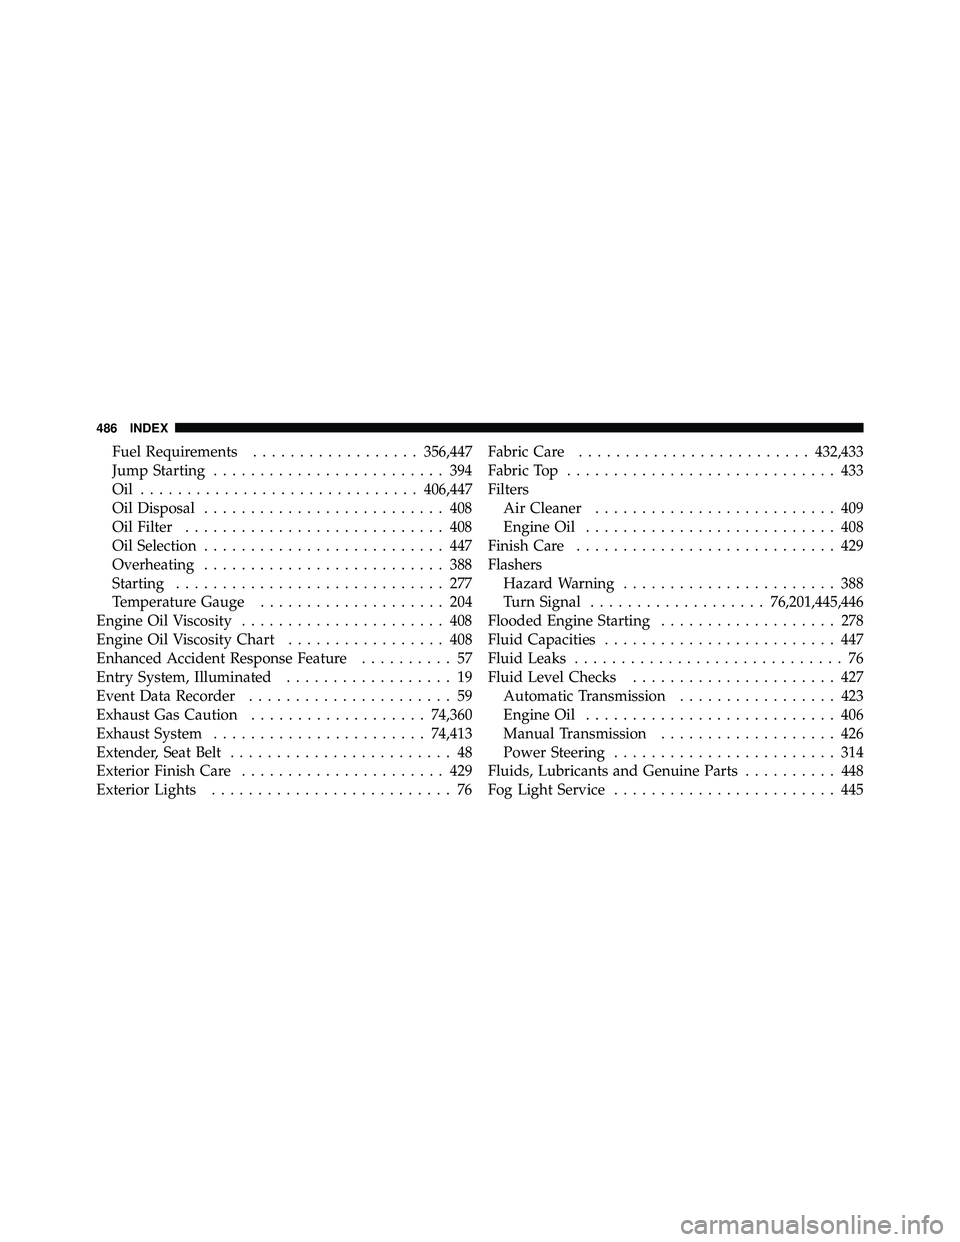
Fuel Requirements.................. 356,447
Jump Starting ......................... 394
Oil .............................. 406,447
Oil Disposal .......................... 408
Oil Filter ............................ 408
Oil Selection .......................... 447
Overheating .......................... 388
Starting ............................. 277
Temperature Gauge .................... 204
Engine Oil Viscosity ...................... 408
Engine Oil Viscosity Chart ................. 408
Enhanced Accident Response Feature .......... 57
Entry System, Illuminated .................. 19
Event Data Recorder ...................... 59
Exhaust Gas Caution ................... 74,360
Exhaust System ....................... 74,413
Extender, Seat Belt ........................ 48
Exterior Finish Care ...................... 429
Exterior Lights .......................... 76 Fabric Care
......................... 432,433
Fabric Top ............................. 433
Filters Air Cleaner .......................... 409
Engine Oil ........................... 408
Finish Care ............................ 429
Flashers Hazard Warning ....................... 388
Turn Signal ................... 76,201,445,446
Flooded Engine Starting ................... 278
Fluid Capacities ......................... 447
Fluid Leaks ............................. 76
Fluid Level Checks ...................... 427
Automatic Transmission ................. 423
Engine Oil ........................... 406
Manual Transmission ................... 426
Power Steering ........................ 314
Fluids, Lubricants and Genuine Parts .......... 448
Fog Light Service ........................ 445
486 INDEX
Page 496 of 502
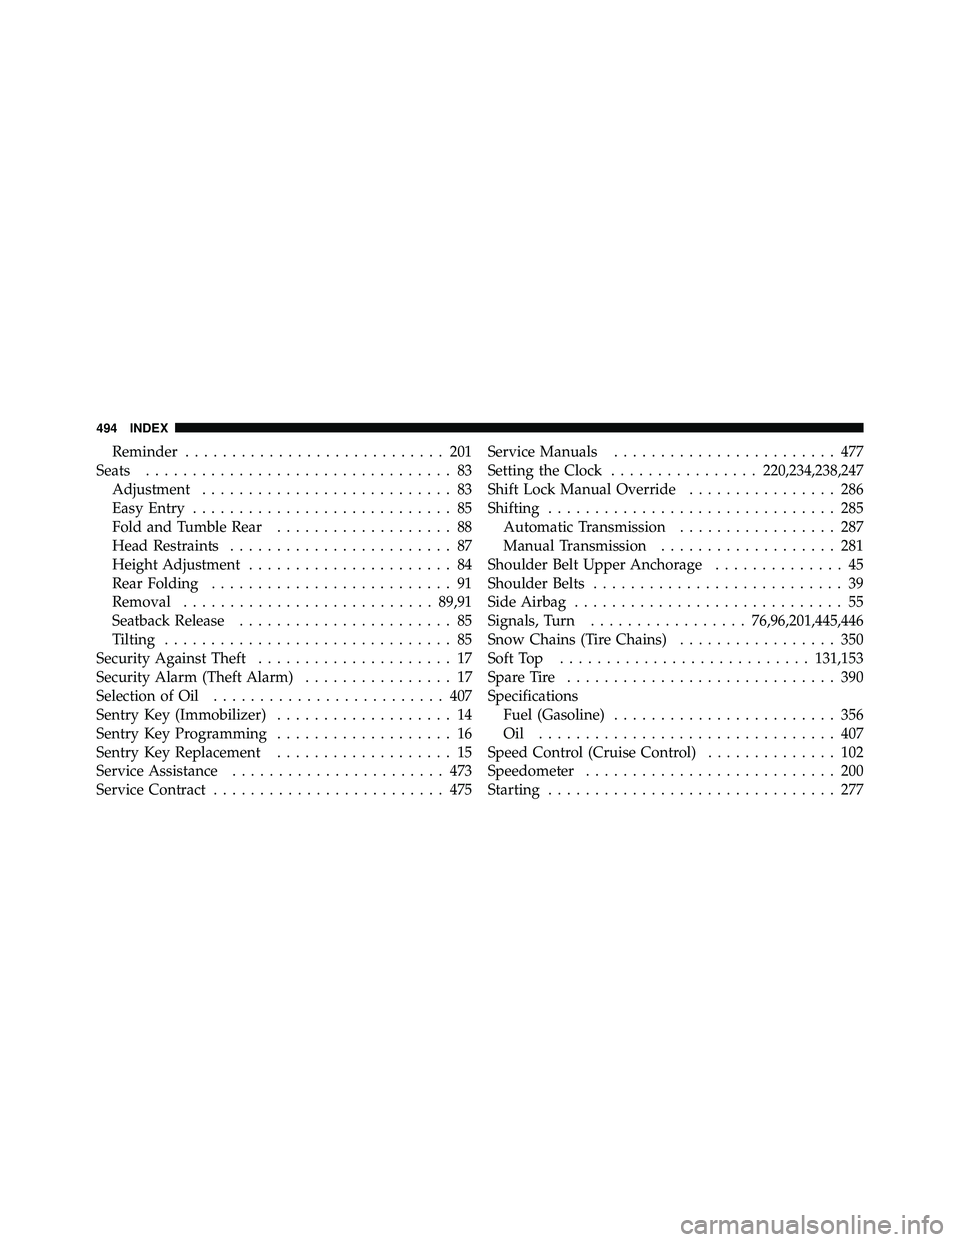
Reminder............................ 201
Seats ................................. 83
Adjustment ........................... 83
Easy Entry ............................ 85
Fold and Tumble Rear ................... 88
Head Restraints ........................ 87
Height Adjustment ...................... 84
Rear Folding .......................... 91
Removal ........................... 89,91
Seatback Release ....................... 85
Tilting ............................... 85
Security Against Theft ..................... 17
Security Alarm (Theft Alarm) ................ 17
Selection of Oil ......................... 407
Sentry Key (Immobilizer) ................... 14
Sentry Key Programming ................... 16
Sentry Key Replacement ................... 15
Service Assistance ....................... 473
Service Contract ......................... 475 Service Manuals
........................ 477
Setting the Clock ................ 220,234,238,247
Shift Lock Manual Override ................ 286
Shifting ............................... 285
Automatic Transmission ................. 287
Manual Transmission ................... 281
Shoulder Belt Upper Anchorage .............. 45
Shoulder Belts ........................... 39
Side Airbag ............................. 55
Signals, Turn ................. 76,96,201,445,446
Snow Chains (Tire Chains) ................. 350
Soft Top ........................... 131,153
Spare Tire ............................. 390
Specifications Fuel (Gasoline) ........................ 356
Oil ................................ 407
Speed Control (Cruise Control) .............. 102
Speedometer ........................... 200
Starting ............................... 277
494 INDEX