change wheel JEEP WRANGLER 2014 JK / 3.G User Guide
[x] Cancel search | Manufacturer: JEEP, Model Year: 2014, Model line: WRANGLER, Model: JEEP WRANGLER 2014 JK / 3.GPages: 148, PDF Size: 12.93 MB
Page 5 of 148
WELCOME FROM CHRYSLER GROUP LLC
Congratulations on selecting your new Chrysler Group LLC vehicle. Be assured that it
represents precision workmanship, distinctive styling, and high quality - all essen-
tials that are traditional to our vehicles.
Your new Chrysler Group LLC vehicle has characteristics to enhance the driver's
control under some driving conditions. These are to assist the driver and are never a
substitute for attentive driving. They can never take the driver's place. Always drive
carefully.
Your new vehicle has many features for the comfort and convenience of you and your
passengers. Some of these should not be used when driving because they take your
eyes from the road or your attention from driving. Never text while driving or take your
eyes more than momentarily off the road.
This guide illustrates and describes the operation of features and equipment that are
either standard or optional on this vehicle. This guide may also include a description
of features and equipment that are no longer available or were not ordered on this
vehicle. Please disregard any features and equipment described in this guide that are
not available on this vehicle. Chrysler Group LLC reserves the right to make changes
in design and specifications and/or make additions to or improvements to its
products without imposing any obligation upon itself to install them on products
previously manufactured.
This User Guide has been prepared to help you quickly become acquainted with the
important features of your vehicle. It contains most things you will need to operate
and maintain the vehicle, including emergency information.
The DVD includes a computer application containing detailed owner's information
which can be viewed on a personal computer or MAC computer. The multimedia DVD
also includes videos which can be played on any standard DVD player (Uconnect
®
Touchscreen Radios if equipped with DVD player capabilities). Additional DVD
operational information is located on the back of the DVD sleeve.
For complete owner information, refer to your Owner's Manual on the DVD in the owner’s
kit provided at the time of new vehicle purchase.For your convenience, the information
contained on the DVD may also be printed and saved for future reference.
Chrysler Group LLC is committed to protecting our environment and natural re-
sources. By converting from paper to electronic delivery for the majority of the user
information for your vehicle, together we greatly reduce the demand for tree-based
products and lessen the stress on our environment.
This is a specialized utility vehicle designed for both on-road and off-road use. It can
go places and perform tasks for which conventional two-wheel drive enclosed
vehicles were not intended. It handles and maneuvers differently from many
passenger cars both on-road and off-road, so take time to become familiar with your
vehicle.
INTRODUCTION/WELCOME
3
Page 83 of 148
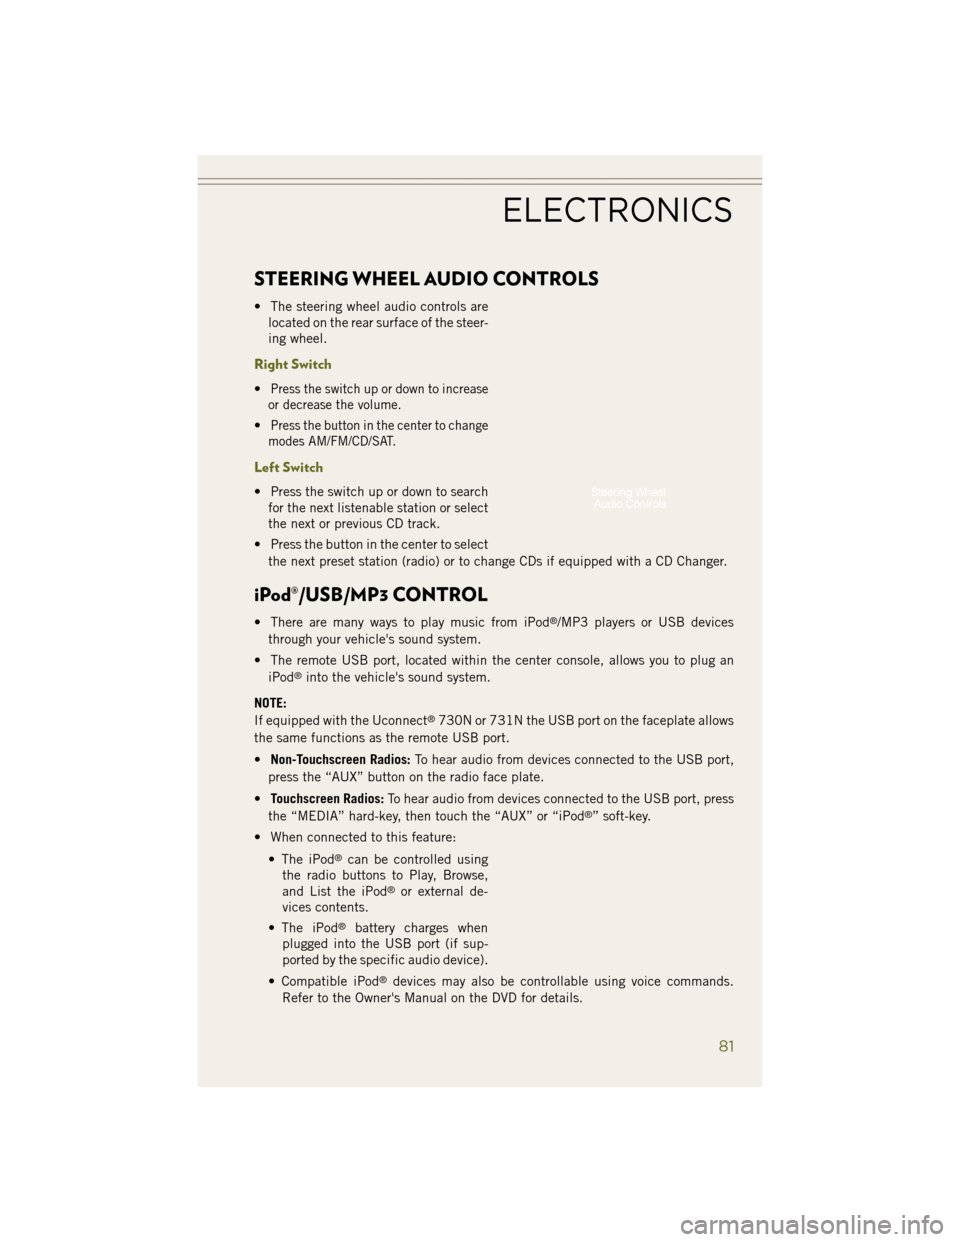
STEERING WHEEL AUDIO CONTROLS
• The steering wheel audio controls arelocated on the rear surface of the steer-
ing wheel.
Right Switch
•Press the switch up or down to increase
or decrease the volume.
•Press the button in the center to change
modes AM/FM/CD/SAT.
Left Switch
• Press the switch up or down to search for the next listenable station or select
the next or previous CD track.
• Press the button in the center to select the next preset station (radio) or to change CDs if equipped with a CD Changer.
iPod®/USB/MP3 CONTROL
• There are many ways to play music from iPod®/MP3 players or USB devices
through your vehicle's sound system.
• The remote USB port, located within the center console, allows you to plug an iPod
®into the vehicle's sound system.
NOTE:
If equipped with the Uconnect
®730N or 731N the USB port on the faceplate allows
the same functions as the remote USB port.
• Non-Touchscreen Radios: To hear audio from devices connected to the USB port,
press the “AUX” button on the radio face plate.
• Touchscreen Radios: To hear audio from devices connected to the USB port, press
the “MEDIA” hard-key, then touch the “AUX” or “iPod
®” soft-key.
• When connected to this feature:
• The iPod
®can be controlled using
the radio buttons to Play, Browse,
and List the iPod
®or external de-
vices contents.
• The iPod
®battery charges when
plugged into the USB port (if sup-
ported by the specific audio device).
• Compatible iPod
®devices may also be controllable using voice commands.
Refer to the Owner's Manual on the DVD for details.
ELECTRONICS
81
Page 103 of 148
IF THE LIGHT STARTS FLASHING INDICATING A LOW TIRE PRESSURE, ADJUST THE AIR
PRESSURE IN THE LOW TIRE TO THE AIR PRESSURE SHOWN ON THE VEHICLE PLACARD OR
TIRE INFLATION PRESSURE LABEL LOCATED ON THE DRIVER'S DOOR.
NOTE:
AFTER INFLATION, THE VEHICLE MAY NEED TO BE DRIVEN FOR 20 MINUTES
BEFORE THE FLASHING LIGHT WILL TURN OFF.
Please note that the TPMS is not a substitute for proper tire maintenance, and it is
the driver’s responsibility to maintain correct tire pressure, even if under-inflation
has not reached the level to trigger illumination of the TPMS low tire pressure telltale.
Your vehicle has also been equipped with a TPMS malfunction indicator to indicate
when the system is not operating properly. The TPMS malfunction indicator is
combined with the low tire pressure telltale.
When the system detects a malfunction, the telltale will flash for approximately one
minute and then remain continuously illuminated. This sequence will continue upon
subsequent vehicle start-ups as long as the malfunction exists. When the malfunc-
tion indicator is illuminated, the system may not be able to detect or signal low tire
pressure as intended. TPMS malfunctions may occur for a variety of reasons,
including the installation of replacement or alternate tires or wheels on the vehicle
that prevent the TPMS from functioning properly. Always check the TPMS malfunc-
tion telltale after replacing one or more tires or wheels on your vehicle to ensure that
the replacement or alternate tires and wheels allow the TPMS to continue to function
properly.
NOTE:
Tire pressures change by approximately 1 psi (7 kPa) per 12° F (7° C) of air
temperature change. Keep this in mind when checking tire pressure inside a garage,
especially in the Winter. Example: If garage temperature is 68°F (20°C) and the
outside temperature is 32°F (0°C), then the cold tire inflation pressure should be
increased by 3 psi (21 kPa), which equals 1 psi (7 kPa) for every 12°F (7°C) for this
outside temperature condition.
CAUTION!
The TPMS has been optimized for the original equipment tires and wheels. TPMS
pressures and warning have been established for the tire size equipped on your
vehicle. Undesirable system operation or sensor damage may result when using
replacement equipment that is not of the same size, type, and/or style. Aftermar-
ket wheels can cause sensor damage. Do not use tire sealant from a can, or
balance beads if your vehicle is equipped with a TPMS, as damage to the sensors
may result.
WHAT TO DO IN EMERGENCIES
101
Page 106 of 148
- Air Bag Warning Light
• If the light is not on during starting, stays on, or turns on while driving, have thevehicle serviced by an authorized service center immediately.
Fuel Cap/Loose Gas Cap Message
• If a “gas cap” message (shown as Check Fuel Cap) appears, tighten the gas capuntil a “clicking” sound is heard.
• Press the odometer reset button to turn the message off.
• If the message continues to appear for more than three days after tightening the gas cap, see your authorized service center.
Oil Change EVIC Indicator
Message
If an “oil change” message (shown as “Change Oil Soon” and “Oil Change Needed”)
appears and a single chime sounds, it is time for your next required oil change.
Resetting The Light After Servicing
1. Turn the ignition switch to the ON/RUN position (do not start engine).
2. Fully depress the accelerator pedal three times within 10 seconds.
3. Turn the ignition switch to the OFF/LOCK position.
HOTOIL – Transmission Temperature Warning Message
• The HOTOIL cluster message will appear in the odometer accompanied with achime to indicate that there is excessive transmission fluid temperature that might
occur with severe usage such as trailer towing.
• It may also occur when operating the vehicle in a high torque converter slip condition, such as 4-wheel-drive operation (e.g., snow plowing, off-road opera-
tion).
• If this HOTOIL message turns on, stop the vehicle and run the engine at idle or faster, with the transmission in NEUTRAL until the message turns off.
CAUTION!
Continuous driving with the Transmission Temperature HOTOIL Warning message
illuminated will eventually cause severe transmission damage and transmission
failure.
WARNING!
Continued operation with the Transmission Temperature HOTOIL Warning mes-
sage illuminated could cause the fluid to boil over, come into contact with the hot
engine or exhaust components causing a fire that may result in personal injury.
WHAT TO DO IN EMERGENCIES
104
Page 112 of 148
WARNING!
• Do not attempt to change a tire on the side of the vehicle close to movingtraffic. Pull far enough off the road to avoid the danger of being hit when
operating the jack or changing the wheel.
• Being under a jacked-up vehicle is dangerous. The vehicle could slip off the
jack and fall on you. You could be crushed. Never put any part of your body
under a vehicle that is on a jack. If you need to get under a raised vehicle, take
it to a service center where it can be raised on a lift.
• Never start or run the engine while the vehicle is on a jack.
• The jack is designed to be used as a tool for changing tires only. The jack
should not be used to lift the vehicle for service purposes. The vehicle should
be jacked on a firm level surface only. Avoid ice or slippery areas.
• Carefully follow these tire changing warnings to help prevent personal injury or
damage to your vehicle:
• Always park on a firm, level surface as far from the edge of the roadwayas possible before raising the vehicle.
• Turn on the Hazard Warning flasher.
• Block the wheel diagonally opposite the wheel to be raised.
• Set the parking brake firmly and set an automatic transmission in PARK;
a manual transmission in REVERSE.
• Do not let anyone sit in the vehicle when it is on a jack.
• Do not get under the vehicle when it is on a jack.
• Only use the jack in the positions indicated and for lifting this vehicle
during a tire change.
• If working on or near a roadway, be extremely careful of motor traffic.
• To assure that spare tires, flat or inflated, are securely stowed, spares
must be stowed with the valve stem facing the ground.
• Raising the vehicle higher than necessary can make the vehicle less
stable and cause a collision. It could slip off the jack and hurt someone
near it. Raise the vehicle only enough to remove the tire.
• To avoid the risk of forcing the vehicle off the jack, do not tighten the
wheel nuts fully until the vehicle has been lowered.
• A loose tire or jack, thrown forward in a collision or hard stop, could en-
danger the occupants of the vehicle. Always stow the jack parts and the
spare tire in the places provided.
• To avoid the risk of forcing the vehicle off the jack, do not tighten the lug
nuts fully until the vehicle is lowered to the ground.
WHAT TO DO IN EMERGENCIES
110
Page 140 of 148
Fluids, Lubricants and GenuineParts ................119
Fog Lights .............24, 25
Folding Rear Seat ...........21
Four Wheel Drive ............93
Operation ..............93
Shifting ...............93
Systems ..............93
Four Wheel Drive Operation ......93
Freeing A Stuck Vehicle .......115
Frequently Asked Questions .....135
Front Heated Seats ...........23
Fuel Filler Cap (Gas Cap) .......104
Requirements ..........119
Tank Capacity ..........119
Fuel, Flexible .............121
Fuse ..................127
Fuses ..................127
Gasohol ................121
Gasoline (Fuel) ............121
GPS Navigation (Uconnect
®gps) . . .65
Headlights Automatic .............24
Dimmer Switch ..........25
High Beam .............25
Head Restraints ............18
Heated Seats ..............23
High Beam/Low Beam Select (Dimmer) Switch ................25
Hood Release .............117
Instrument Cluster ............8
Indicators ..............9
Instrument Cluster Warning Lights ..............8,100
Integrated Power Module (Fuses) . .127
Interior and Instrument Lights .....7
Intermittent Wipers (Delay Wipers) . .26
Inverter Outlet (115V) .........91
Inverter, Power .............91
iPod
®/USB/MP3 Control ........81
Bluetooth®Streaming Audio . . .88
Jacking Instructions .........107
Jack Location .............106 Jack Operation
.........106, 107
Jump Starting .............111
KeyFob.................10 Arm The Alarm ...........11
Disarm The Alarm .........12
Key Fob Programmable Features . . .90
Lane Change and Turn Signals ....25
Lane Change Assist ..........25
LATCH (Lower Anchors and Tether for CHildren) ..........15, 17
Lights Engine Temperature Warning . .102
Tire Pressure Monitoring
(TPMS) ..............100
Turn Signal .............25
Warning (Instrument Cluster
Description) .............8
Lower Anchors and Tether for CHildren (LATCH) ..........15
Maintenance Record .........126
Maintenance Schedule ........121
Malfunction Indicator Light (Check Engine) ..........102
Media Center Radio ........53, 56
Navigation .............63, 73
Navigation System (Uconnect
®gps) ..........63
Navigation Voice Prompt Volume .............63, 74
New Vehicle Break-In Period .....24
Odometer Messages ...........9
Oil Change Indicator .........104
Oil Change Indicator, Reset .....104
Oil, Engine Capacity ..............119
Recommendation ........119
Viscosity .............119
Oil Pressure Light ...........103
Outlet Power ................92
Overheating, Engine .........105
Panic Alarm ...............10
INDEX
138