heating JEEP WRANGLER 2015 JK / 3.G Owners Manual
[x] Cancel search | Manufacturer: JEEP, Model Year: 2015, Model line: WRANGLER, Model: JEEP WRANGLER 2015 JK / 3.GPages: 695, PDF Size: 20.64 MB
Page 102 of 695
Exhaust Gas
WARNING!
Exhaust gases can injure or kill. They contain carbon
monoxide (CO), which is colorless and odorless.
Breathing it can make you unconscious and can
eventually poison you. To avoid breathing (CO),
follow these safety tips:
•Do not run the engine in a closed garage or in
confined areas any longer than needed to move
your vehicle in or out of the area.
•If you are required to drive with the trunk/liftgate/
rear doors open, make sure that all windows are
closed and the climate control BLOWER switch is
set at high speed. DO NOT use the recirculation
mode.
(Continued)
WARNING!(Continued)
•If it is necessary to sit in a parked vehicle with the
engine running, adjust your heating or cooling
controls to force outside air into the vehicle. Set the
blower at high speed.
The best protection against carbon monoxide entry into
the vehicle body is a properly maintained engine exhaust
system.
Whenever a change is noticed in the sound of the exhaust
system, when exhaust fumes can be detected inside the
vehicle, or when the underside or rear of the vehicle is
damaged, have a competent mechanic inspect the com-
plete exhaust system and adjacent body areas for broken,
damaged, deteriorated, or mispositioned parts. Open
seams or loose connections could permit exhaust fumes
to seep into the passenger compartment. In addition,
inspect the exhaust system each time the vehicle is raised
for lubrication or oil change. Replace as required.
100 THINGS TO KNOW BEFORE STARTING YOUR VEHICLE
Page 160 of 695
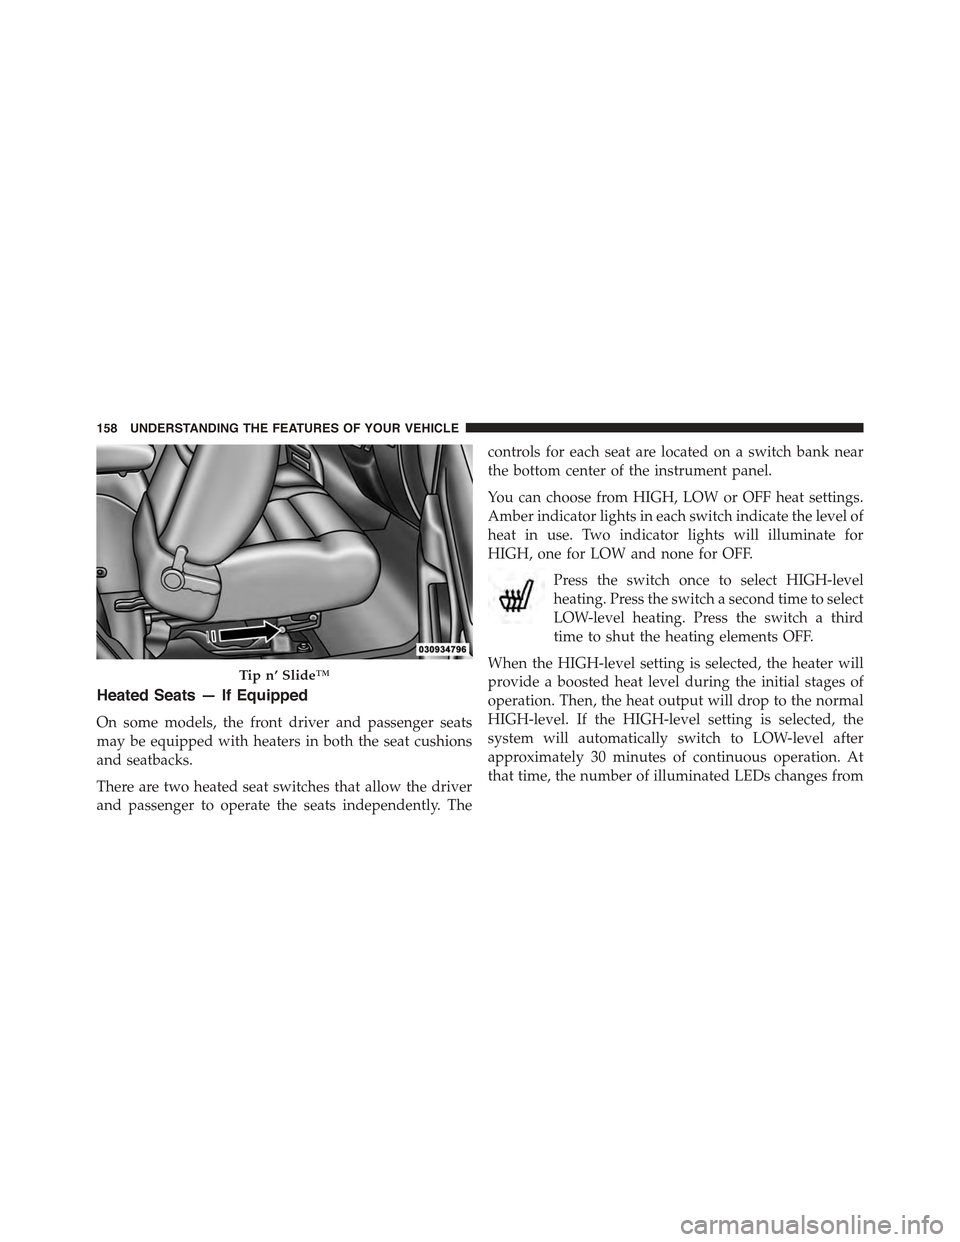
Heated Seats — If Equipped
On some models, the front driver and passenger seats
may be equipped with heaters in both the seat cushions
and seatbacks.
There are two heated seat switches that allow the driver
and passenger to operate the seats independently. The
controls for each seat are located on a switch bank near
the bottom center of the instrument panel.
You can choose from HIGH, LOW or OFF heat settings.
Amber indicator lights in each switch indicate the level of
heat in use. Two indicator lights will illuminate for
HIGH, one for LOW and none for OFF.
Press the switch once to select HIGH-level
heating. Press the switch a second time to select
LOW-level heating. Press the switch a third
time to shut the heating elements OFF.
When the HIGH-level setting is selected, the heater will
provide a boosted heat level during the initial stages of
operation. Then, the heat output will drop to the normal
HIGH-level. If the HIGH-level setting is selected, the
system will automatically switch to LOW-level after
approximately 30 minutes of continuous operation. At
that time, the number of illuminated LEDs changes from
Tip n’ Slide™
158 UNDERSTANDING THE FEATURES OF YOUR VEHICLE
Page 185 of 695
WARNING!
Electronic Speed Control can be dangerous where the
system cannot maintain a constant speed. Your ve-
hicle could go too fast for the conditions, and you
could lose control and have an accident. Do not use
Electronic Speed Control in heavy traffic or on roads
that are winding, icy, snow-covered or slippery.
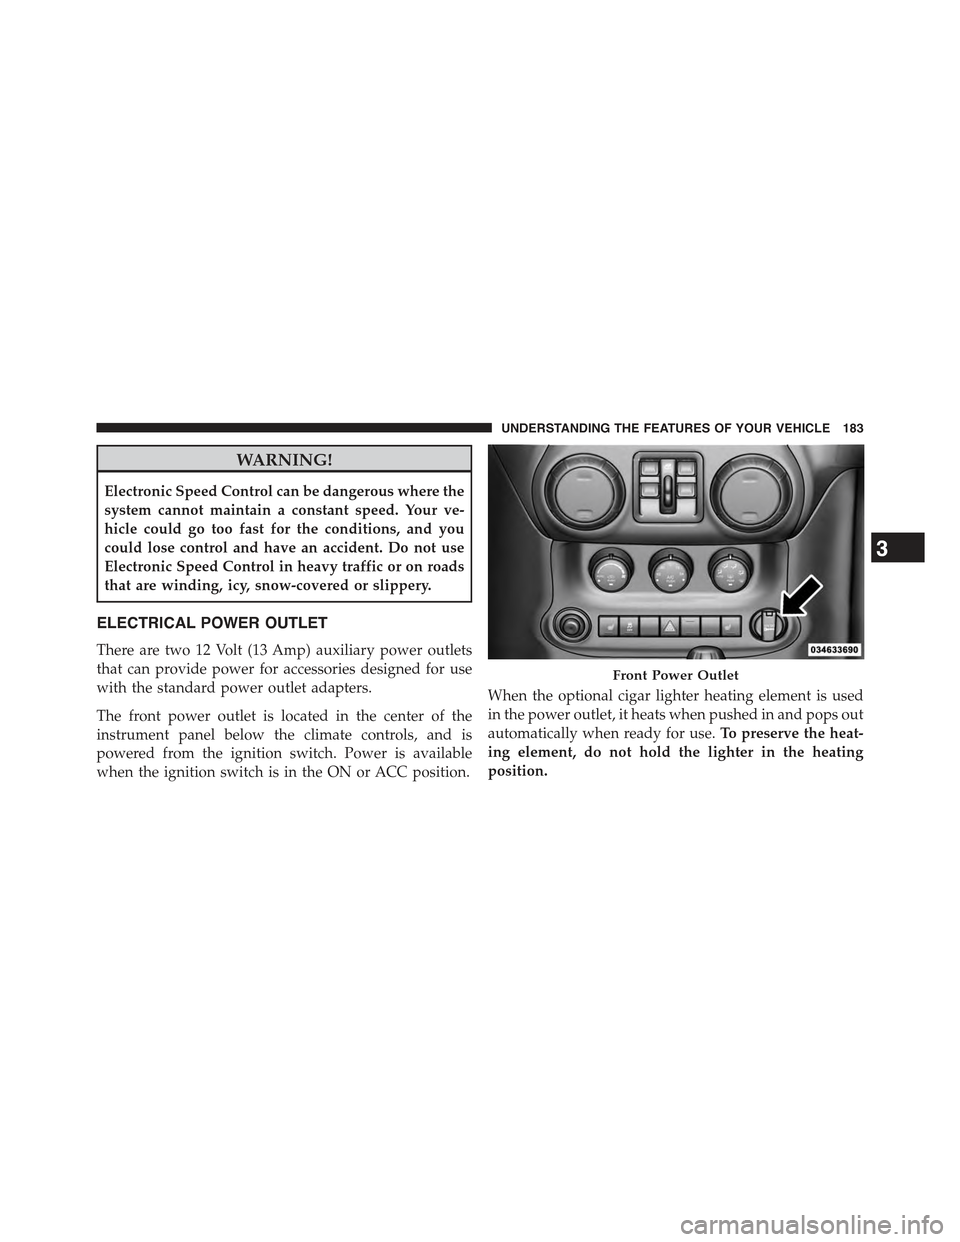
ELECTRICAL POWER OUTLET
There are two 12 Volt (13 Amp) auxiliary power outlets
that can provide power for accessories designed for use
with the standard power outlet adapters.
The front power outlet is located in the center of the
instrument panel below the climate controls, and is
powered from the ignition switch. Power is available
when the ignition switch is in the ON or ACC position.
When the optional cigar lighter heating element is used
in the power outlet, it heats when pushed in and pops out
automatically when ready for use.To preserve the heat-
ing element, do not hold the lighter in the heating
position.
Front Power Outlet
3
UNDERSTANDING THE FEATURES OF YOUR VEHICLE 183
Page 301 of 695

CAUTION!
Failure to follow these cautions can cause damage to
the heating elements:
•Use care when washing the inside of the rear
window. Do not use abrasive window cleaners on
the interior surface of the window. Use a soft cloth
and a mild washing solution, wiping parallel to the
heating elements. Labels can be peeled off after
soaking with warm water.
•Do not use scrapers, sharp instruments, or abrasive
window cleaners on the interior surface of the
window.
•Keep all objects a safe distance from the window.
3
UNDERSTANDING THE FEATURES OF YOUR VEHICLE 299
Page 305 of 695
!Uconnect® 130 WITH SATELLITE RADIO.....372
▫Operating Instructions — Radio Mode......372
▫Operation Instructions — CD MODE For CD And
MP3 Audio Play......................378
▫Notes On Playing MP3 Files.............380
▫LIST Button — CD Mode For MP3 Play......383
▫INFO Button — CD Mode For MP3 Play.....384
▫Uconnect® (Satellite Radio) — If Equipped . . .384
!iPod®/USB/MP3 CONTROL — IF EQUIPPED . .389
▫Connecting The iPod® Or External USB
Device.............................389
▫Using This Feature.....................390
▫Controlling The iPod® Or External USB Device
Using Radio Buttons...................390
▫Play Mode..........................390
▫List Or Browse Mode...................392
▫Bluetooth® Streaming Audio (BTSA).......394
!STEERING WHEEL AUDIO CONTROLS......396
▫Radio Operation......................397
▫CD Player...........................397
!CD/DVD DISC MAINTENANCE...........397
!RADIO OPERATION AND MOBILE PHONES . . .398
▫Regulatory And Safety Information.........398
!CLIMATE CONTROLS...................400
▫Manual Heating And Air Conditioning......400
▫Automatic Temperature Control (ATC) — If
Equipped...........................404
▫Operating Tips.......................412
4
UNDERSTANDING YOUR INSTRUMENT PANEL 303
Page 314 of 695
NOTE:As the coolant temperature gauge approaches
#H,#this indicator will illuminate and a single chime will
sound. Further overheating will cause the temperature
gauge to pass#H.#In this case, a continuous chime will
sound, until the engine is allowed to cool or the 4 minutes
duration is expired, whichever come first.
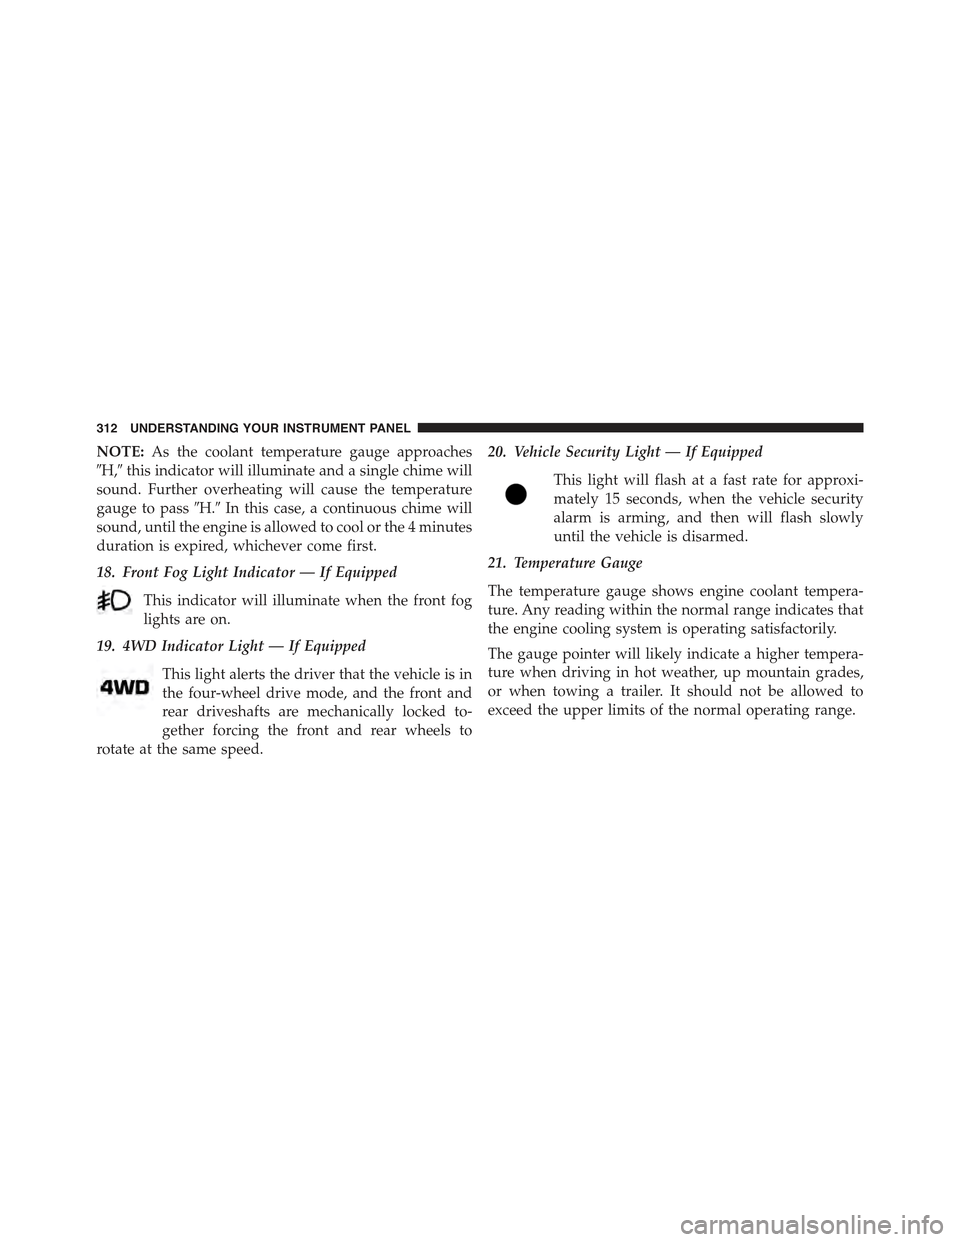
18. Front Fog Light Indicator — If Equipped
This indicator will illuminate when the front fog
lights are on.
19. 4WD Indicator Light — If Equipped
This light alerts the driver that the vehicle is in
the four-wheel drive mode, and the front and
rear driveshafts are mechanically locked to-
gether forcing the front and rear wheels to
rotate at the same speed.
20. Vehicle Security Light — If Equipped
This light will flash at a fast rate for approxi-
mately 15 seconds, when the vehicle security
alarm is arming, and then will flash slowly
until the vehicle is disarmed.
21. Temperature Gauge
The temperature gauge shows engine coolant tempera-
ture. Any reading within the normal range indicates that
the engine cooling system is operating satisfactorily.
The gauge pointer will likely indicate a higher tempera-
ture when driving in hot weather, up mountain grades,
or when towing a trailer. It should not be allowed to
exceed the upper limits of the normal operating range.
312 UNDERSTANDING YOUR INSTRUMENT PANEL
Page 402 of 695
by turning the equipment off and on, the user is
encouraged to try to correct the interference by one or
more of the following measures:
•Increase the separation between the equipment and
receiver.
•Consult the dealer or an experienced radio technician
for help.
CLIMATE CONTROLS
The air conditioning and heating system is designed to
make you comfortable in all types of weather.
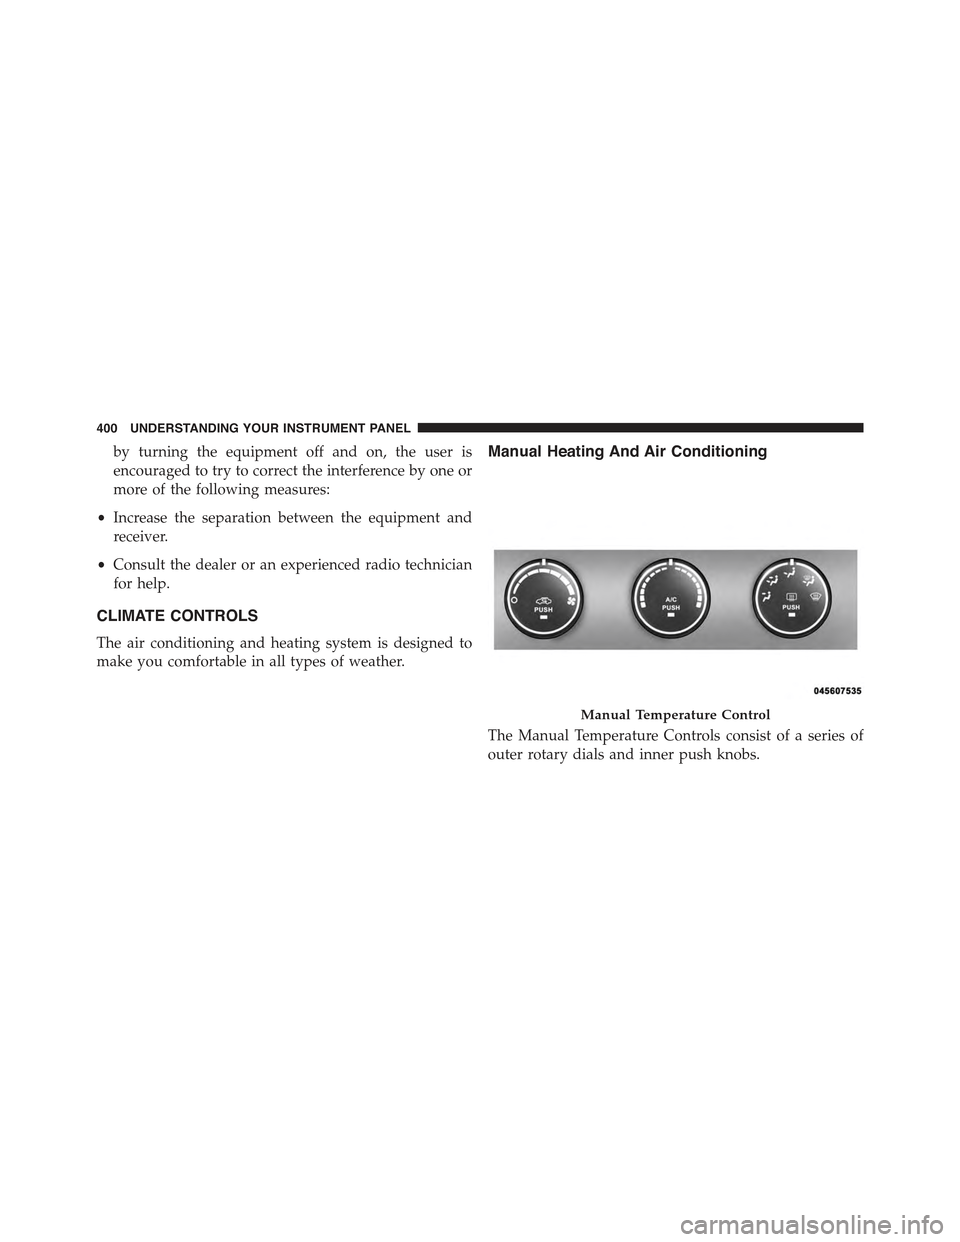
Manual Heating And Air Conditioning
The Manual Temperature Controls consist of a series of
outer rotary dials and inner push knobs.
Manual Temperature Control
400 UNDERSTANDING YOUR INSTRUMENT PANEL
Page 407 of 695
Automatic Operation
The Automatic Temperature Control system automati-
cally maintains the climate in the cabin of the vehicle at
the comfort levels desired by the driver and passenger.
Operation of the system is quite simple.
Turn the Mode Control knob (on the right) and the
Blower Control knob (on the left) to AUTO.
NOTE:The AUTO position performs best for front seat
occupants only.
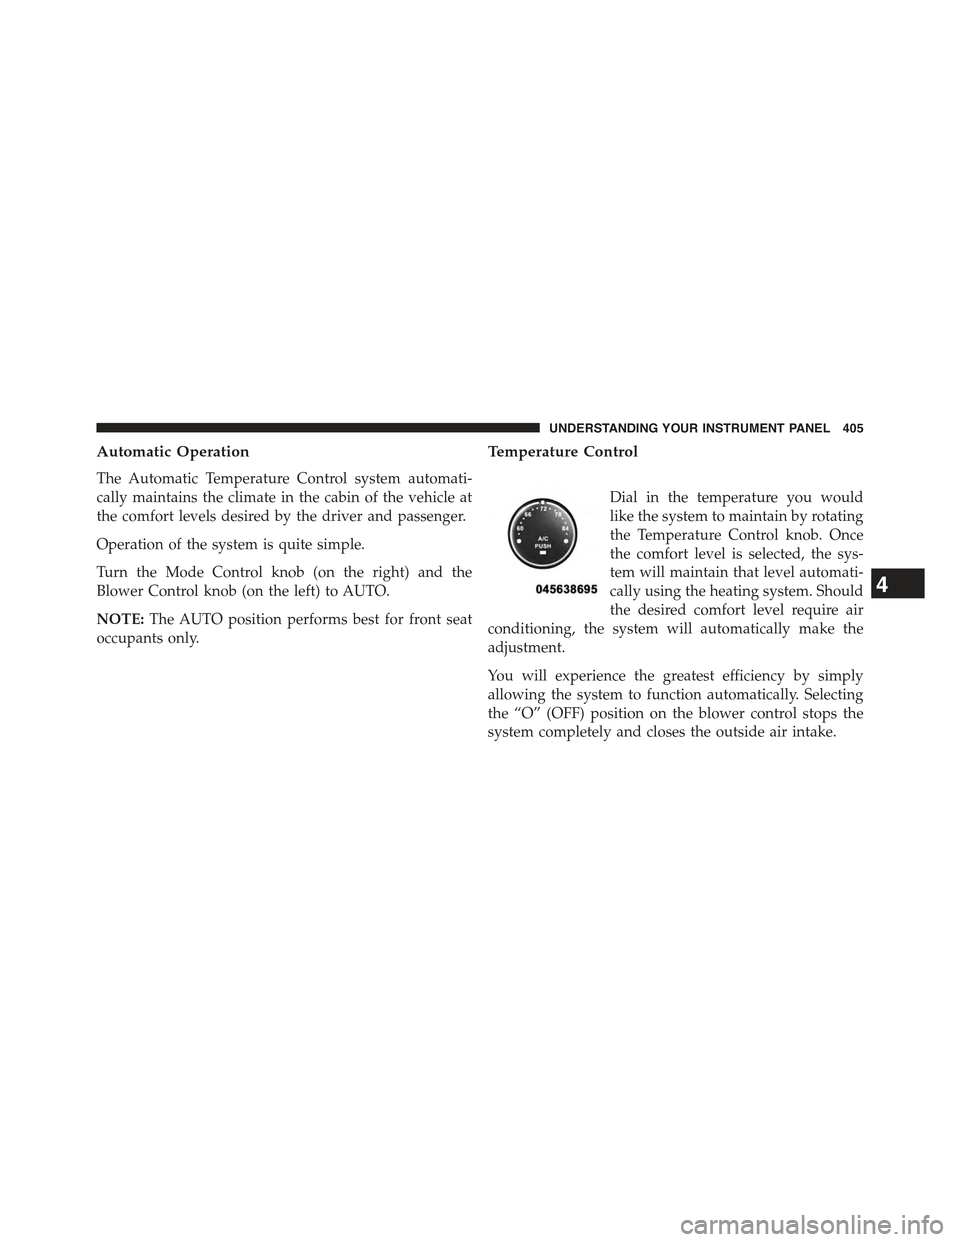
Temperature Control
Dial in the temperature you would
like the system to maintain by rotating
the Temperature Control knob. Once
the comfort level is selected, the sys-
tem will maintain that level automati-
cally using the heating system. Should
the desired comfort level require air
conditioning, the system will automatically make the
adjustment.
You will experience the greatest efficiency by simply
allowing the system to function automatically. Selecting
the “O” (OFF) position on the blower control stops the
system completely and closes the outside air intake.
4
UNDERSTANDING YOUR INSTRUMENT PANEL 405
Page 414 of 695
Operating Tips
NOTE:Refer to the chart at the end of this section for
suggested control settings for various weather conditions.
Summer Operation
The engine cooling system must be protected with a
high-quality antifreeze coolant to provide proper corro-
sion protection and to protect against engine overheating.
A solution of 50% OAT (Organic Additive Technology)
coolant that meets the requirements of Chrysler Material
Standard MS-12106 and 50% water is recommended.
Refer to “Maintenance Procedures” in “Maintaining Your
Vehicle” for proper coolant selection.
Winter Operation
Use of the air Recirculation mode during winter months
is not recommended because it may cause window
fogging.
Vacation Storage
Anytime you store your vehicle, or keep it out of service
(i.e., vacation) for two weeks or more, run the air
conditioning system at idle for about five minutes in the
fresh air and high blower settings. This will ensure
adequate system lubrication to minimize the possibility
of compressor damage when the system is started again.
Window Fogging
Interior fogging on the windshield can be quickly re-
moved by turning the mode selector to Defrost. The
Defrost/Floor mode can be used to maintain a clear
windshield and provide sufficient heating. If side win-
dow fogging becomes a problem, increase blower speed.
Vehicle windows tend to fog on the inside in mild but
rainy or humid weather.
NOTE:Recirculate without A/C should not be used for
long periods as fogging may occur.
412 UNDERSTANDING YOUR INSTRUMENT PANEL
Page 488 of 695
However, the driver can override HDC operation by
applying the brake to slow the vehicle down below the
HDC control speed. If more speed is desired during HDC
control, the accelerator pedal will increase vehicle speed
in the usual manner. When either the brake or the
accelerator is released, HDC will control the vehicle at the
original set speed.
Enabling HDC
1. Shift the transfer case into 4WD LOW range. Refer to
“Four-Wheel Drive Operation” in “Starting and Oper-
ating” for further information.
2. Press the “Hill Descent” button. The “Hill Descent
Control Indicator Light” in the instrument cluster will
turn on solid.
NOTE:
•If the transfer case is not in 4WD LOW range, the
“Hill Descent Control Indicator Light” will flash for
five seconds and HDC will not be enabled.
•If the ESC senses that the brakes are overheating the
“Hill Descent Control Indicator Light” will flash for
five seconds and HDC will become deactivated until
the brakes have cooled.
Disabling HDC
Press the “Hill Descent” button or shift the transfer case
out of 4WD LOW range. The “Hill Descent Control
Indicator” light in the instrument cluster will turn off.
486 STARTING AND OPERATING